The hidden cost of buying a cheap espresso machine on sale
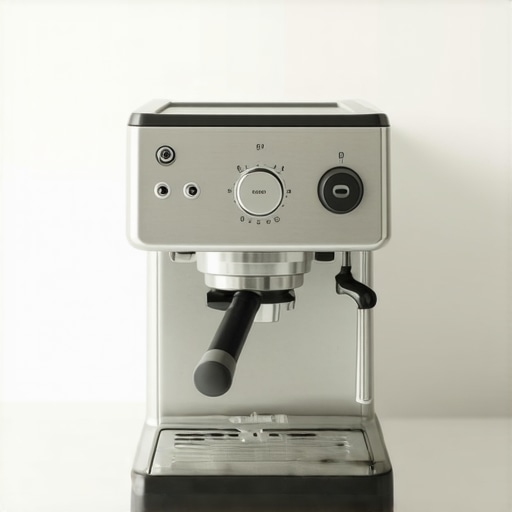
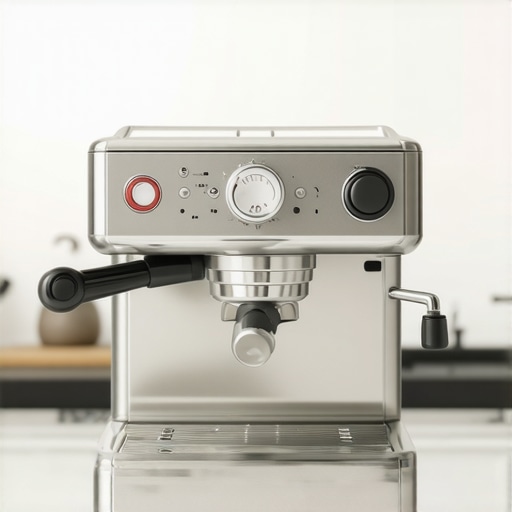
It happened to me in the most frustrating way possible — I bought what seemed like an unbeatable deal on a supposedly ‘top-rated’ espresso machine during a sale, only to realize it was more trouble than it was worth after the first week. The frother was inconsistent, the shot quality was unpredictable, and I spent more time troubleshooting than actually enjoying my coffee. That lightbulb moment made me realize something crucial: sometimes, the cheapest option isn’t really a bargain.
Why a Low-Priced Espresso Machine Might Cost You More in the Long Run
If you’ve been tempted by irresistible discounts on home espresso gear, you’re not alone. Many coffee enthusiasts fall into the trap of believing that a lower price means savings. But what I didn’t grasp initially is that these budget machines often lack the essential features and durability needed for consistently good espresso. Over time, you’ll find yourself investing more in repairs, replacements, or even upgrading to a better model — making the initial savings a false economy. Research suggests that poorly made espresso machines can lead to espresso with off-flavors or even damage to your equipment due to scale build-up or faulty components. If you’re serious about elevating your home brewing, understanding the real cost of cheap options is vital.
Does That Breeze-Priced Machine Really Save You Money?
When I first started, I was convinced that snagging a sale deal was a smart move. But my mistake was overlooking the quality and the potential hidden costs — like replacing cheap gaskets or fixing leaks. A better approach is to invest in a machine built with quality parts and thoughtful design — it might cost more upfront, but it saves money and frustration over time. For a comprehensive guide on selecting the right equipment, check out how to choose the perfect grinder or explore the best barista gear for enthusiasts.
This is just the start. Next, I’ll share practical insights so you can avoid falling into the same trap I did, ensuring your home espresso setup is a joy, not a headache.
Choose Quality Parts from the Start
Begin by selecting a reliable espresso machine, ideally from the top-rated options. When I replaced my budget machine with a mid-range one, I immediately noticed a difference in shot consistency. Focus on machines with sturdy group heads and easy-to-clean components. Don’t overlook the importance of quality coffee grinders—they are the backbone of great espresso. Consider conical or flat burrs for consistency, and calibrate your grinder often, especially after replacing burrs, to maintain perfect fineness. I learned this the hard way when my shots went from perfect to sour because of a slight discrepancy in grind size.
Set Up and Calibrate Your Equipment Properly
Once your gear arrives, don’t just plug and play. Take the time to calibrate your grinder using a simple calibration method. It involves adjusting burr height based on shot weight and grind size, ensuring consistent extraction. During my first calibration, I used a scale and a timer to fine-tune my grind, which paid off by yielding richer, more balanced espresso. Proper calibration ensures even extraction, preventing channeling or underextraction. Use the mirror trick to check for channeling and improve your tamping pressure for uniformity.
Perfect Your Tamping Technique
Consistency starts with tamping. Use a tamper that fits your portafilter snugly and apply even pressure—about 30 pounds—to compact the coffee uniformly. I once pressed harder without realizing it, resulting in a bitter shot. To improve, I adopted a tactile approach by feeling the resistance, making tamping more controlled. A level tamp helps prevent uneven water flow, which can cause inconsistent shots. For finer control, watch your shot during extraction to spot early signs of channeling or uneven flow.
Master the Brew Temperature and Pressure
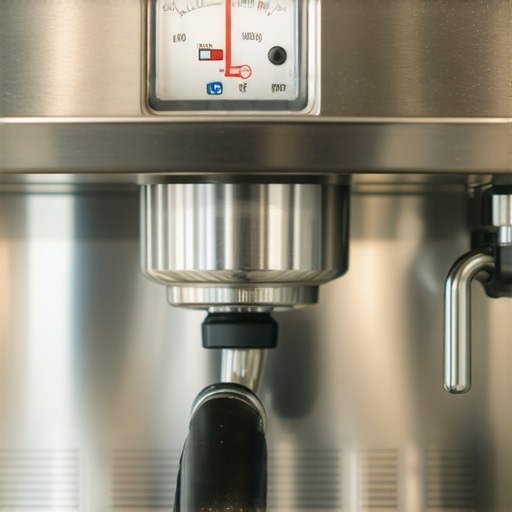
Your machine’s boiler temperature and pressure gauge are critical. Make sure it heats up adequately—about 200°F (93°C)—and maintains stable pressure around 9 bars. I used a pressure gauge to monitor my machine, discovering that my temp would fluctuate during long sessions. Regularly check and calibrate your boiler if needed. Additionally, preheat your portafilter by running hot water through it before brewing, reducing temperature loss and improving extraction quality. If your machine has a dedicated water filtration system, ensure it’s maintained to prevent mineral buildup that can affect temperature and flow.
Optimize Milk Frothing and Pouring
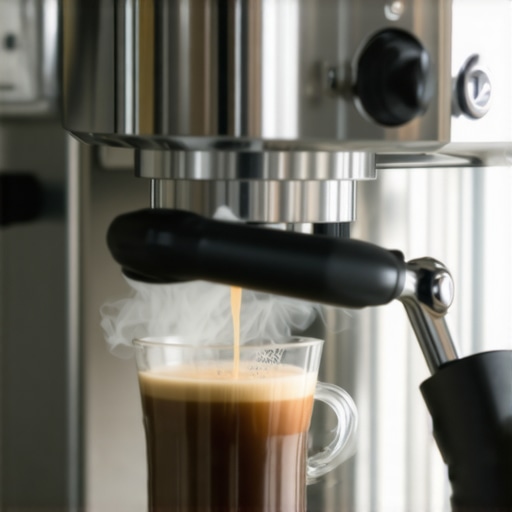
For silky microfoam, train on your steam wand technique. Start by purging steam for a few seconds, then submerge the wand tip just below the milk surface. Use consistent, circular motion—think of it as swirling to incorporate air evenly. I experimented with different pitcher sizes, discovering that smaller pitchers produce better control for latte art. Use a thermometer to keep milk between 140-150°F (60-65°C). For visual cues, listen for a fine hissing sound indicating good microfoam. Once you master steaming, practice pouring to create classic hearts or rosettas—it’s about wrist control and patience.
Regular Maintenance and Troubleshooting
Keep your machine and grinder in top shape with routine cleaning. Backflush the brew group weekly and descale monthly, especially if you have hard water. Use cleaning brushes to remove coffee residue from shower screens and gasket areas. If you notice sluggish steam, check for scale build-up or faulty pressure valves. I once ignored a slow-steaming wand and ended up replacing the gasket after it cracked due to mineral deposits. Stay proactive by referring to your machine’s manual, and don’t hesitate to reach out via our contact page for advice.
Many home baristas fall into the trap of believing that more expensive coffee gear automatically guarantees perfect results, but this isn’t always the case. A frequent misconception is that high-end espresso machines require less maintenance or are foolproof, yet, in reality, they demand a nuanced understanding of calibration and upkeep to truly perform at their best. Moreover, some enthusiasts assume that simply upgrading their grinder or milk frother will instantly elevate their coffee, ignoring the importance of technique and understanding the equipment’s limitations. For instance, using a cheap, low-quality grinder might seem like a money-saver, but as highlighted in expert guides, selecting the right grinder with proper burr alignment and consistent grind size is crucial for optimal extraction. Also, many overlook the fact that even the best machine can underperform without proper calibration—calibrating your grinder after replacing burrs or adjusting your brew temperature can make a significant difference, as explained in our detailed calibration guide. When it comes to milk frothers, many believe that all foam is the same; however, mastering the technique of steaming with the right pitch and temperature enhances microfoam quality, as demonstrated in this resource. An advanced mistake many make is neglecting regular maintenance, such as backflushing the brew group or descaling, which can silently degrade performance over time. This often leads to inconsistent shots and equipment failure—something you can prevent with routine care. The key is to recognize that quality gear, proper calibration, and consistent maintenance collectively contribute to achieving barista-level results at home. Have you ever fallen into this trap? Let me know in the comments.
Keep It Running: Must-Have Tools for Home Baristas
Maintaining your espresso gear doesn’t require an arsenal of specialized equipment, but having the right tools can make a significant difference. I personally rely on a digital calibration scale like the Escali Primo because it offers precise measurements down to the gram, which is crucial for dialing in shots consistently. Additionally, a torque wrench helps me apply exactly 30 pounds of tamping pressure, ensuring uniformity across every pour—tamping is often overlooked but vital for extraction quality. For cleaning, I keep a set of small brushes and a descaling solution on hand. Regular care, combined with these tools, extends the lifespan of my machine and improves shot consistency.
” alt=”Barista measuring coffee grounds with a digital scale” title=”Accurate Tamping and Grinding with Proper Tools” />
How do I maintain my equipment over time?
Routine maintenance is the backbone of a dependable home espresso setup. I recommend establishing a weekly cleaning schedule—backflushing the brew group with a cleaning disk and a proper backflush detergent can prevent buildup that impairs performance. Descaling every one to three months, depending on your water hardness, ensures scale doesn’t compromise temperature stability or flow rate. For grinders, I disassemble and brush burrs weekly, and I replace burrs after approximately 300-500 pounds of coffee, following guidelines from this calibration guide. Investing in quality parts, like ceramic burrs, minimizes wear and tear and maintains flavor clarity.
Tools I recommend to elevate your brewing game
Beyond basic maintenance, certain accessories can unlock enhanced flavor and efficiency. I swear by a microfoam thermometer when steaming milk; it helps me hit that ideal 140-150°F (60-65°C) without overshooting, resulting in velvety microfoam perfect for latte art. For grinding precision, I prefer a conical burr grinder like the Baratza Encore because it offers consistent grind size and is easy to calibrate. As my skills develop, I plan to upgrade to a purpose-built espresso grinder with stepless adjustment—an investment that ensures long-term consistency and scalability.
Where should you focus your upgrade efforts?
It’s tempting to focus solely on high-end machines, but I believe the real game-changer is in balanced, precise tools and vigilant maintenance. Upgrading your coffee grinder, for instance, has the greatest impact on shot quality, as outlined in this detailed guide. Also, maintaining those tools ensures they perform at peak efficiency. For example, replacing worn burrs or gaskets promptly prevents flavor degradation and reduces repair costs.
Make Your Maintenance Routine a Habit
Consistency is key. Set reminders to descale your machine every few months and to inspect critical parts like seals and gaskets. I’ve found that dedicating a half-hour on Sundays for maintenance keeps my gear in top shape and prevents costly repairs down the line. For detailed procedures, I consult the manufacturer’s manual or contact experts via our contact page. Mastering this routine not only prolongs equipment life but also ensures every cup is as good as the first.
Remember, a well-maintained setup and the right tools are investments in quality that pay off in every shot you pull. I challenge you to try calibrating your grinder using the method described in this calibration guide, and watch your espresso improve dramatically. Your future self will thank you!
Beware the Illusion of Savings: You Usually Get What You Pay For
My first big mistake was thinking that a cheap espresso machine would save me money in the long run. I learned the hard way that budget gear often lacks the durability and precise features needed for consistent results, leading to more repairs and replacements. Investing a bit more upfront in quality parts and reliable equipment truly pays off over time, ensuring every shot is a pleasure rather than a frustration.
Master Calibration Early and Often—Don’t Wait for Problems
One of my lightbulb moments was realizing that proper calibration of my grinder and machine was essential. I used a simple scale and a calibration technique from this guide to fine-tune my setup, which dramatically improved shot consistency. Regular calibration prevents develoment of off-flavors and makes troubleshooting much easier in the long run.
The Power of Routine Maintenance: Small Steps, Big Impact
I never underestimated how routine cleaning kept my machine performing at its best. I set a weekly schedule, including backflushing, descaling, and burr brushing, inspired by this detailed advice. It’s a simple habit that prevents costly repairs and keeps the flavor profile sharp, transforming your home brew into a true barista-quality experience.
Choose Tools That Elevate Your Skill and Flavor
From a precise microfoam thermometer to a consistent grinder like the Baratza Encore, investing in essential tools has been a game-changer. They help me control temperature and grind size, pushing my espresso craft closer to pro level. Upgrading gear thoughtfully, like stepping up to a stepless grinder, can unlock flavors you never knew your beans could produce.
Your Persistent Effort Defines Your Coffee Journey
Every improvement—whether it’s a better tamping technique or a detailed routine—adds up. I challenge you to incorporate small, focused habits like calibrating after burr changes or regularly inspecting gaskets. Over time, these habits develop into a rhythm that ensures every shot is a step toward mastery. Remember, your dedication at home can rival any cafe, but it requires patience and a passion for consistent improvement.