The Hidden Valve That Makes Your Machine Louder Than Usual
Ever had that moment where your beloved espresso machine suddenly roars like a beast, spoiling your morning routine? I remember the first time it happened to me — I was just trying to pull a quiet shot, and instead, I got a loud, metallic clatter that seemed to come out of nowhere. It was frustrating, confusing, and honestly a bit alarming. That lightbulb moment made me realize there’s a sneaky little component lurking inside most home espresso setups causing this unexpected noise.
Unmasking the Culprit: The Hidden Valve
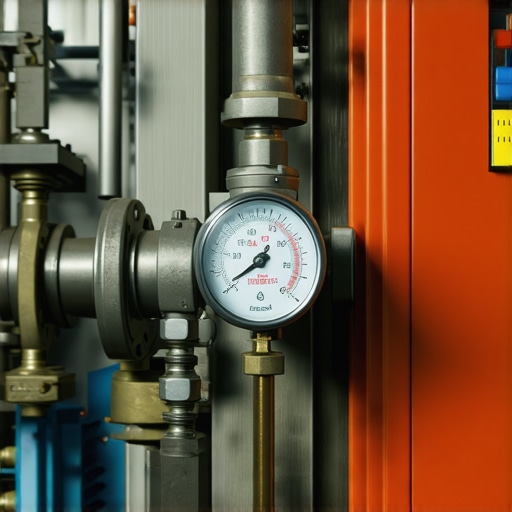
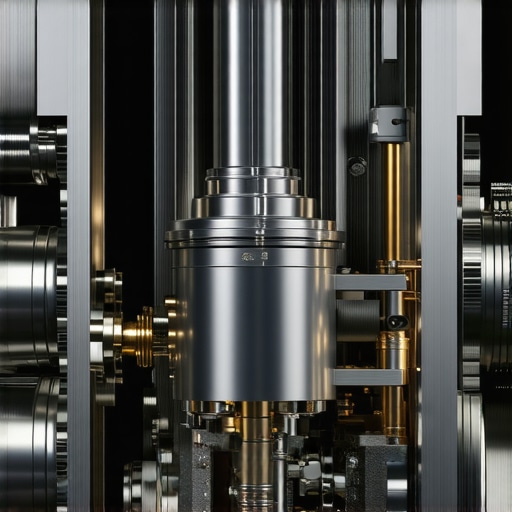
When I dug into the problem, I discovered that a small part called the pressure release or safety valve — often hidden from plain sight — is responsible for much of the noise increase. This valve is designed to vent excess pressure, protecting your machine from damage. But over time, it can become clogged, sticky, or malfunctioning, forcing it to open or rattle more often than intended, which amplifies the noise during operation.
Think of it this way: your espresso machine is like a car engine. When certain valves or parts stick or get blocked, the engine starts to make more noise, vibrate, or even behave unpredictably. The problem isn’t just about loud sounds; it can also signal that your machine isn’t functioning at its best, potentially leading to more serious issues if ignored.
But here’s the good news — this isn’t a death sentence for your machine. In fact, many times a simple troubleshoot, like cleaning or adjusting this valve, can quiet things down and restore that satisfying home-brew experience you crave.
Are you tired of the rattle ruining your morning ritual? If so, stay tuned. I’ll walk you through identifying if this hidden valve is the sneaky culprit behind your noisy machine and show you how to fix it yourself. Trust me, a little DIY care can make a world of difference.
Is a Noisy Espresso Machine a Sign of Bigger Problems?
I used to think that loud noises were just part of owning a bustling espresso setup. Early on, I made the mistake of ignoring the strange sounds, assuming they were normal wear and tear. That was a mistake. According to experts, persistent or unusual noises can indicate worn-out gaskets, pressure build-up, or even impending pump failure — issues that could cost you more if left unaddressed. Recognizing early signs and maintenance opportunities can save your machine and your coffee.
If you’re curious about other common issues, I highly recommend checking out [this guide on mastering home espresso](https://espressotechguide.com/mastering-the-art-of-home-espresso-tips-for-beginners). It’s packed with insights that can help you avoid costly repairs and brew consistently delicious coffee.
Now, onto the nuts and bolts — how to tell if the pressure valve is causing your troubles and what steps you can take to fix or replace it. Because a quieter, happier machine is just a few troubleshooting steps away.
Identify the Faulty Valve
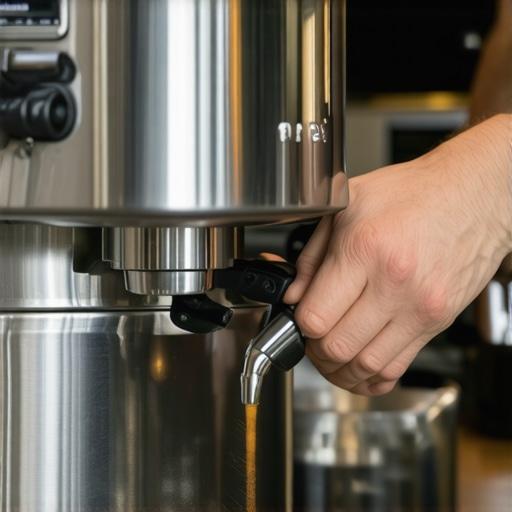
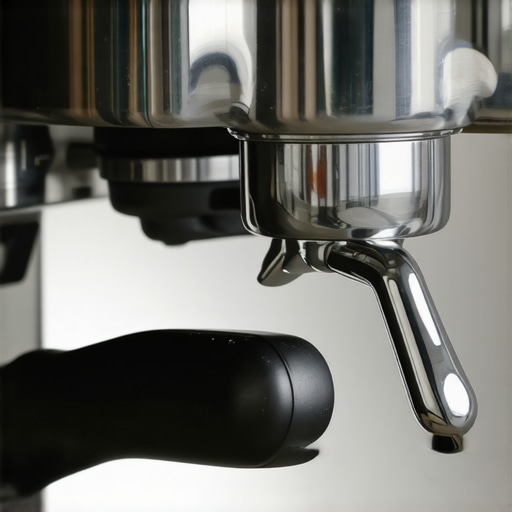
Start by unplugging your machine and removing the shower screen to access the group head. Turn on the machine and listen carefully for the noise—if it peaks during the pre-infusion cycle or when the pump runs, the pressure relief valve is likely the culprit. To confirm, press lightly on the valve with a wooden stick or plastic tool; if the noise lessens temporarily, you’ve found your suspect. Remember, disconnecting power before any inspection is crucial for safety.
Disassemble the Pressure Valve
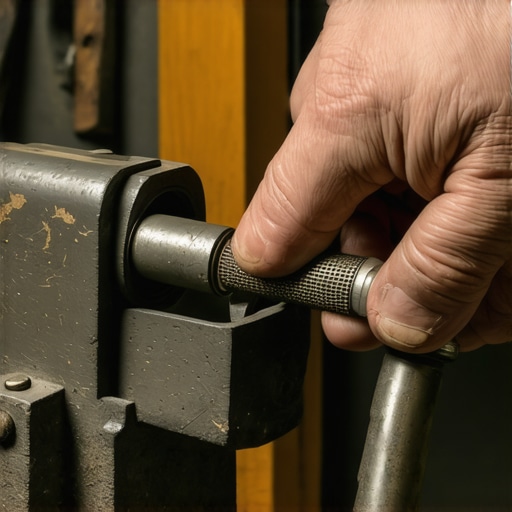
Carefully unscrew the pressure relief valve using a wrench or pliers, noting its orientation—taking a quick photo helps during reassembly. Place a towel or tray beneath, as a small spring or gasket might come loose. Clean the components thoroughly with warm water and a mild brush, removing any mineral buildup or coffee oils. If the valve’s spring feels weak or the gasket is cracked, replacement is necessary; consult your machine’s manual for specific part numbers, or check this guide for resources.
Deep Clean for Lasting Silence
Before reassembling, soak the valve parts in a vinegar solution (one part vinegar to three parts water) for 10-15 minutes to dissolve mineral deposits. Rinse thoroughly and dry completely. During reassembly, ensure the gasket sits snugly and the spring is seated correctly. Tighten everything firmly but avoid over-torquing, which can damage threads.
Test and Fine-Tune
Reinstall the valve and shower screen, then fill the water reservoir with filtered water. Power on the machine and run a few water-only shots or steam cycles. Observe the noise level; it should now be significantly reduced. If it persists, recheck the valve’s seating or consider replacing it altogether. Regular maintenance—such as descaling and cleaning—can prevent future clogging and unwanted noises.
Prevent Future Problems
Implement a routine cleaning schedule: flush the group head after each use with a 30-second rinse (learn more about flushing) and descale every 2-3 months based on water hardness. Use filtered water to minimize mineral buildup that can stress the valves and pump. For a comprehensive approach, explore grinder and machine maintenance tips to keep every component in optimal condition.Many home baristas fall prey to widespread myths that can hinder their pursuit of perfect coffee. One such misconception is that investing in high-end gear automatically guarantees excellent results. While quality equipment matters, mastering the nuances of technique, grind size, and tamp pressure often has a greater impact on your Espresso shot quality. Relying solely on top-tier machines without understanding these subtleties can lead to disappointment, despite what seasoned baristas might suggest. Additionally, there’s a prevalent belief that more expensive grinders always produce better espresso; however, many overlook that frequent maintenance and proper calibration are crucial for consistent grind size, which directly influences extraction. Avoid the trap of equating cost with perfection—many affordable grinders, with proper care, can produce remarkably uniform grounds, as highlighted in discussions on how to choose the right grinder. Another common myth involves milk frothing techniques, where enthusiasts often think that steaming longer yields creamier microfoam. In reality, oversteaming can scald milk, degrade flavor, and produce larger bubbles, defeating the purpose of microfoam. Mastery comes from precise temperature control and understanding milk behavior, which expert tutorials cover comprehensively. Curious how to perfect your frothing at home? Check out this detailed guide.”Ensuring your home espresso gear stays in top shape requires more than casual cleaning; it involves strategic maintenance and the right tools. I personally rely on a high-quality burr grinder calibration kit, which allows me to fine-tune my grinder after each burr replacement, ensuring consistent extraction and flavor. Using a digital scale that auto-stops helps me dial in precise shot volumes and prevents over-extraction. For cleaning, I swear by a dedicated espresso machine cleaner, which effectively dissolves coffee oils that accumulate unnoticed. Regular descaling, especially in areas with hard water, prolongs your machine’s life—descale every 2-3 months, or more often if your water is very hard. In the future, I predict that smart, app-connected tools will become standard; for example, digital pressure gauges that monitor real-time performance can alert you before any problem escalates, saving time and costly repairs. How do I maintain my espresso machine and tools over time? I adopt an integrated approach: weekly cleaning of removable parts, monthly thorough descaling, and annual professional servicing. I also keep a record of maintenance dates and automations like scheduled descales—this proactive approach keeps everything running smoothly. Investing in a quality steam cleaner for accessories like milk pitchers and portafilters simplifies hygiene routines and makes deep-cleaning parts faster and more effective. When choosing such tools, prioritize models with adjustable steam pressure and temperature control, which I found essential after experimenting with less versatile cleaners. Get into the habit of inspecting gaskets and seals for cracks—replacing them at the first signs of wear can prevent leaks and pressure issues. For detailed guidelines, visit my comprehensive espresso maintenance guide. Remember, consistent upkeep not only preserves your equipment but also ensures every cup is as good as the first. A tip I deeply recommend trying is calibrating your grinder with a specialized tool—accurate grind size is foundational, and miscalibrations are a common cause of inconsistent shots. With the right tools and routines, your home barista setup can deliver professional-quality coffee for years to come.
Over the years, I’ve uncovered some priceless insights that no manual or online forum could teach. The journey to a silent, smoothly operating espresso machine has been filled with lightbulb moments that transformed my approach. One crucial lesson was realizing that small components, like the pressure relief valve, have outsized impacts on sound and performance. Embracing routine maintenance—not just reacting to problems—keeps the machine humming and your mornings peaceful. I also discovered that neglecting mineral buildup leads to more noise and potential damage, underscoring the importance of regular descaling. Lastly, understanding the subtle cues your machine gives—like changes in pump noise or temperature stability—can prevent costly repairs and ensure consistently excellent shots.