The secret to dialing in dark roasts without the burnt aftertaste
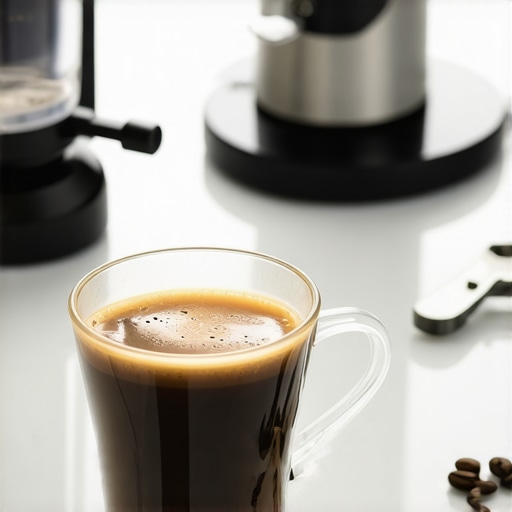
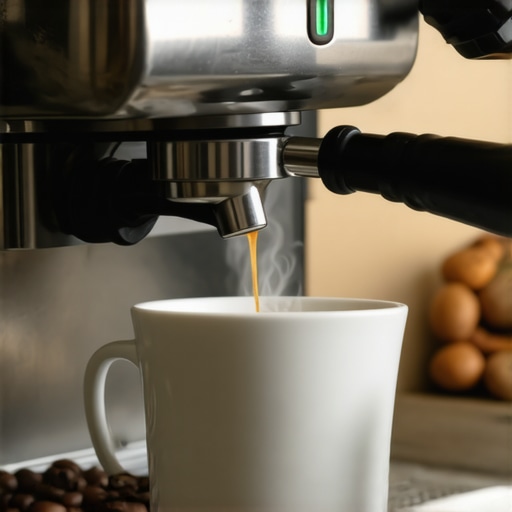
It was late afternoon, and I was eager to brew a rich, dark espresso to kickstart my weekend. I loaded my favorite dark roast beans into the grinder, adjusted the settings, and hit start. But instead of the deep, smoky aroma I craved, I was greeted with a burnt, bitter aftertaste that ruined the shot. Frustrated, I realized I had fallen into the common trap: trying to load a dark roast without understanding how to dial in my grinder and machine properly.
That experience was a revelation. Like many home baristas, I was convinced that dark roasts were just a matter of pushing the brew button longer or turning up the heat. But I soon learned that the secret to extracting the bold flavor without the harsh burnt notes lies in precise control and a few insider tricks. Today, I want to share the approach that transformed my coffee—and can do the same for you.
Why Dark Roasts Can Be Trickier Than You Think
Dark roasts pack intense flavors, but their very richness masks subtle flaws—especially if your espresso machine isn’t calibrated for them. The problem is, many of us underestimate how different dark beans are from lighter ones when it comes to grind size, temperature, and extraction time. A mistake I made early on? Using my standard grind settings without adjusting for the roast level, which led to over-extraction and that dreaded burnt taste. Learning to fine-tune these variables made all the difference.
Most people don’t realize that when brewing dark roasts, you need to be more precise. Even a slight misadjustment can turn a luscious shot into a charred, bitter disappointment. Luckily, with a few simple tweaks—like adjusting your grinder coarseness, control over brew temperature, and tamping pressure—you can unlock the true potential of those smoky beans.
Are you struggling with dark roast bitterness? Have you ever wondered why your favorite beans don’t taste quite right at home? You’re not alone. Many enthusiasts face this challenge, and I’ve been there myself. In fact, I once thought my machine was faulty until I discovered that managing specific settings made all the difference.
By understanding and controlling these nuanced variables, you can enjoy the bold flavors of dark roasts without the burnt aftertaste. Ready to see how? Let’s start by exploring the most common mistake home baristas make and how to fix it.
Adjust Your Grind Size for Optimal Extraction
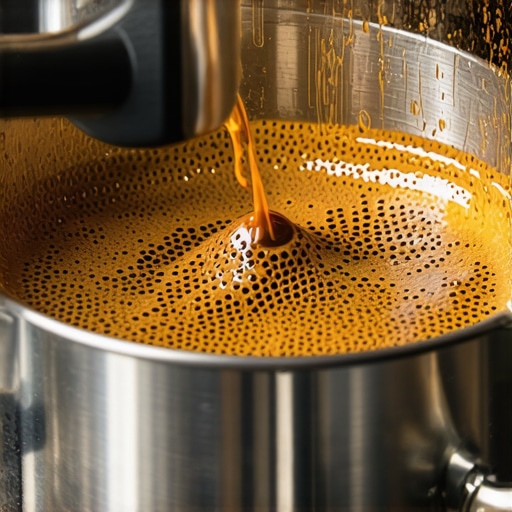
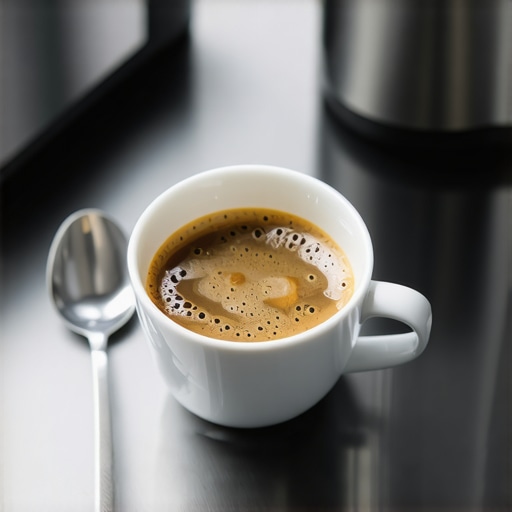
Begin by setting your grinder to a slightly coarser grind than usual. Dark roasts are more soluble and can over-extract easily, leading to bitterness. I recall a morning when I mistakenly used my fine setting, and the shot was overly bitter. Switching to a coarser grind improved clarity and sweetness. To find the right balance, start with a coarser grind and gradually tighten until you achieve a thick, caramel-colored crema without over-extraction. For more insights, check out this guide on selecting the ideal grinder.
Optimize Brew Temperature with Precise Controls
Your machine’s temperature plays a vital role. Dark beans require slightly lower extraction temperatures to prevent scorching and bitterness. If your espresso machine has adjustable PID settings, consider lowering the temperature by a few degrees, especially during hot summer mornings. I once lowered mine by 2°C, resulting in a smoother shot with fuller flavor. Use a calibrated thermometer or explore this tutorial for precise adjustments.
Control Tamping Pressure for Uniform Puck
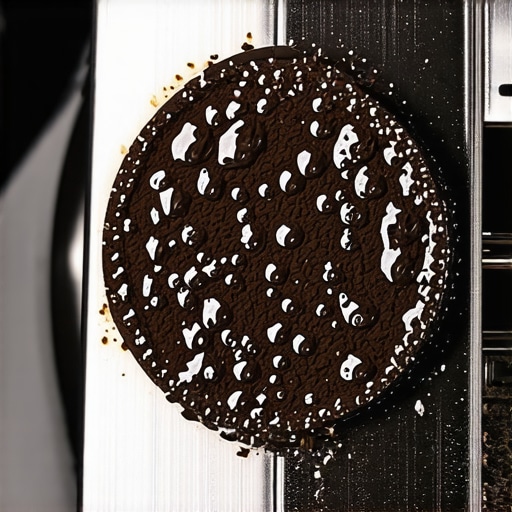
Consistent tamping ensures even water flow and extraction. Use a tamper with a firm, level press—think of it like sealing a package tightly. I found that pressing with about 30 pounds of pressure consistently gave me better results. Avoid the temptation to over-tamp, which can block water flow and cause bitterness. For tools that can help standardize your tamping, visit this page.
Monitor Brew Time and Flow Rate Carefully
Dark roasts benefit from a slightly shorter extraction time—around 25-30 seconds. Use a timer to track your shots precisely. I used to pull shots for 35 seconds, which over-extracted the beans. Now, I aim for a steady, controlled pour that ends around 28 seconds, resulting in a rich, balanced shot. If your espresso pours too slowly or quickly, adjustments are needed—either in grind size or tamping pressure. For fine-tuning, see this resource.
Manage Your Machine’s Temperature Stability
Fluctuations in machine temperature can cause inconsistency. If your machine lacks advanced controls, pre-warm it thoroughly before brewing. Consider running a blank shot to stabilize temperature. Once stable, your dark roasts will extract more uniformly, reducing burnt notes. For machines with PID controllers, regular calibration ensures consistent results—investing a few minutes here pays off in shot quality. Learn more at this article.
Experiment and Log Your Results
The key to mastering dark roast espresso lies in systematic experimentation. Keep a shot journal: record grind setting, temperature, tamping pressure, brew time, and tasting notes. I once tweaked my grind from 3 to 2.8 and achieved a shot that was surprisingly smooth. By consistently tracking these parameters, you can identify what works best with your beans and equipment. For comprehensive advice, visit this guide.
Many coffee enthusiasts assume that owning high-end espresso machines or grinders guarantees perfect results, but the truth is, there’s more to consistent espresso than just the gear. A prevalent misconception is that upgrading to the latest barista gear automatically improves your shot quality. In reality, understanding the nuanced variables—like grind distribution or machine calibration—is crucial for extracting the best flavors.
For example, many believe that a larger, commercial-style grinder always outperforms smaller home models. While capacity and build quality matter, the key lies in choosing a grinder with the right burr design and controlling static buildup, as discussed in this detailed guide. Overlooking such details can lead to inconsistent dosing or uneven grind particles, which subtly sabotage your brew.
Another common pitfall involves milk frothing equipment. Many think that any frother can produce microfoam, but the reality is that milk temperature, pitcher shape, and steam wand positioning significantly influence foam quality. Failing to master these factors can result in large bubbles or collapsed foam, diminishing café-quality drinks. To improve your frothing technique, explore this expert advice.
Are You Sabotaging Your Shots Without Knowing?
One advanced mistake that even experienced home baristas make is neglecting to calibrate their grinder’s zero point or forgetting to account for coffee bean density. Authentic espresso extraction depends on uniform particle size, which begins with precise grinder settings. Relying solely on appearance or trial-and-error can introduce static issues or inconsistent dosing, especially when switching beans. As demonstrated in this article, routinely calibrating and cleaning your grinder ensures reliable, high-quality shots. Have you ever fallen into this trap? Let me know in the comments.Maintaining your home espresso gear is crucial to ensure consistent performance and exceptional coffee quality over time. One of my go-to tools is a high-quality burr cleaning brush, like the Bürstenhaus Redecker Burr Brush, which I use weekly to remove coffee oils and residue from my grinder’s burrs. Regular cleaning prevents flavor contamination and keeps the grinder operating smoothly, extending its lifespan. For my espresso machine, I rely on a descaling solution such as Dezcal, which safely dissolves mineral buildup, ensuring hot water flows freely and the heat exchange remains efficient. Incorporating a water filter pitcher like the Brita Grand into my routine has also helped reduce calcification, minimizing maintenance frequency and protecting delicate machine components.
A digital timer integrated with my grinder’s pulse switch allows me to precisely control grind times, ensuring consistency especially when switching between bean types or roasts. Additionally, I use an espresso scale with a built-in timer, like the Acaia Pearl, which grants me detailed feedback on shot weight and extraction time—critical data for dialing in the perfect shot. These tools have transformed my training process, enabling me to develop reliable techniques for my specific equipment.
Predicting future trends, I believe smart, IoT-enabled devices will become standard in home barista setups. Imagine grinders that automatically calibrate based on the beans or machines that alert you when descaling is needed via a smartphone app. Embracing these innovations can streamline maintenance and elevate your brewing consistently.
How do I maintain my equipment to last for years?
Keeping your espresso gear in top shape involves routine cleaning, calibration, and timely replacements. For grinders, monthly disassembly to clean the burrs and static buildup is essential. For machines, a quarterly descaling schedule—especially if using hard water—prevents mineral deposits that impair performance. I recommend scheduling these tasks just like your coffee routine: consistent, deliberate, and thorough. Comparing your setup to a finely tuned race car, regular tune-ups are key to longevity and peak performance. For comprehensive procedures, see this guide.
Using a combination of precision tools and scheduled maintenance will drastically reduce unexpected breakdowns and ensure every shot is as good as the first. Want to go a step further? Try calibrating your grinder with a digital scale that can save your settings and help you recognize drifts over time—this small investment pays off in consistent, high-quality espresso. For detailed calibration tips, explore this tutorial.
Lessons That Changed My Barista Game
One of the toughest lessons I learned was not to oversimplify dark roast brewing. Instead of just dialing down the heat or adjusting times blindly, I discovered that tuning the grind size and tamping pressure in tandem unlocked a sweeter profile. That revelation came after countless bitter shots—now I see every misstep as a chance to refine my technique.
I also realized that uniformity in extraction isn’t just about equipment but about developing a consistent ritual. Every morning, I tighten my process—pre-warming my machine, cleaning my grinder, and logging parameters—because consistency breeds confidence and great coffee.
Finally, understanding that every bean variety reacts differently to the same settings was a game-changer. I adapted my approach for each origin—highlighting subtle flavors others miss—making every cup a personalized masterpiece.
Tools and Resources That Elevated My Coffee Journey
My favorite resource has become this detailed guide on choosing the right grinder. It helped me select a burr grinder with precise controls, essential for dark roasts. For calibration, I rely on my PID controller adjustments, ensuring temperature stability in my setup. To deepen my understanding, I turn to books like The Blue Bottle Craft of Coffee, which provided insights into the science behind perfect extraction. Lastly, top-quality milk frothers have helped me craft cafe-level microfoam, elevating the entire experience.
Your Next Delicious Step Awaits
Mastering dark roast espresso is an ongoing adventure—one filled with discovery, patience, and a dash of curiosity. Remember, every adjustment you make gets you closer to that perfect shot that balances boldness with smoothness. Don’t hesitate to experiment and keep detailed notes; with persistence, you’ll find the rhythm that makes your beans shine. Your journey to exceptional coffee starts today.
What’s the biggest challenge you’ve faced with dark roast brewing at home? Share your experiences below—I’d love to hear your story!