Why Your Machine Cabinet Is Getting Hot and What It Means for the Electronics
I’ll never forget the moment I first noticed my espresso machine’s cabinet feeling abnormally warm. Imagine pulling a shot, only to see the entire console warm to the touch—like I’d left a hot plate underneath. That lightbulb moment made me realize something wasn’t just a minor inconvenience; it could be a sign of deeper issues lurking inside my beloved gear. If you’ve ever felt your machine’s cabinet getting unexpectedly hot, you know how unsettling it can be, especially when you’re aiming for that perfect brew.
Understanding the Heat: Why Your Machine Gets Warm and What It Signals
Many baristas and home espresso enthusiasts overlook the significance of a warm or hot machine cabinet. But trust me, it’s more than just a cozy spot for electronics. Elevated temperatures inside your espresso machine’s housing can indicate a range of problems—some minor, others potentially damaging your equipment and affecting your coffee quality. From poor ventilation and faulty cooling fans to malfunctioning sensors or even overworked heating elements, the reasons are varied—and understanding them is crucial to preventing costly repairs or performance dips.
Early on, I made the mistake of dismissing the warmth as normal. Turns out, ignoring it only worsened the situation. An article from Espresso Tech Guide confirms that overheating components could be related to failing capacitors or sensors that inaccurately regulate temperature. This mismatch can cause electronic components to work harder than they should, generating excessive heat and risking damage to your machine. Keeping an eye on these signs and acting swiftly ensures your gear remains reliable and your espresso top-notch.
But how do we differentiate between normal warmth during brewing and heat that signals trouble? That’s what we’ll dive into next. Have you felt your machine running hotter than usual lately? If so, don’t worry—you’re not alone, and I’ve got practical steps to help you troubleshoot safely and effectively. Let’s get to the root of the issue and keep your espresso routines smooth and enjoyable.
Will Your Coffee Gear Survive Ignoring Rising Temps?
One of the biggest mistakes I learned early is ignoring recurring warmth inside the cabinet. I thought a warm machine was just a part of the process—after all, it’s heating water and steam, right? Wrong. Persistent heat can accelerate wear on electronic parts, compromise safety, and even cause your machine to trip circuits or shut down unexpectedly. It’s a mistake that could cost you more than just money—your coffee experience depends on your gear’s health.
Next, we’ll explore the practical steps I took to assess and address this issue, so you can keep brewing without worry. Ready to uncover the secrets behind your machine’s temperature trouble? Let’s go!
,
Check Your Ventilation and Placement First
Start by examining where your machine sits. Is it tucked into a tight corner or surrounded by other appliances? An analogy: like a car engine overheating because of poor airflow, your espresso machine needs proper ventilation. Move it to an open spot or ensure vents aren’t blocked. I once placed mine too close to a heat source in the kitchen, causing it to run hotter. Once I moved it, temperatures regulated better, and the warmth was normal.
Inspect Cooling Fans and Internal Components
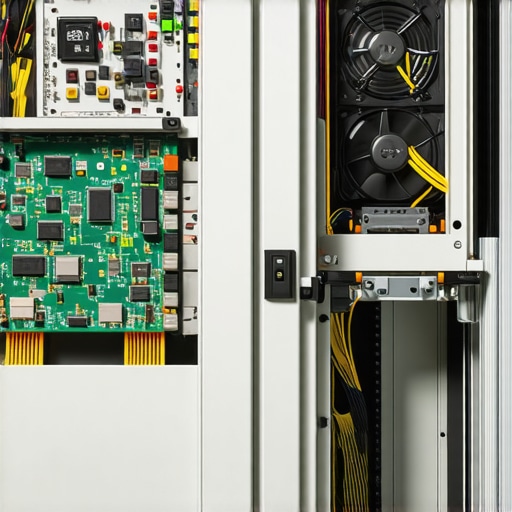
Many machines rely on internal fans to dissipate heat. Power off the machine and open the access panel carefully—think of it like checking the cooling fins of a computer. Look for dust buildup, damaged blades, or unresponsive fans. If the fan isn’t spinning or looks clogged, replace or clean it. This step was crucial when I cleaned the fan in my espresso machine; afterward, the cabinet stayed cooler during operation.
Replace or Clean Internal Fans
If cleaning doesn’t resolve the issue, consider replacing the fan. You can find compatible replacements online—just match specifications. Replacing a fan is often straightforward: disconnect power, remove mounting screws, swap the fan, and reassemble. Proper cooling prevents overheating of electronics, prolonging your machine’s lifespan.
Test and Calibrate Sensors and Thermostats
Sensors regulate temperature, acting like thermometers inside your machine. Check if they’re clean and correctly positioned. Dirty or misaligned sensors can give false readings, causing the machine to overheat. For example, I had a faulty thermistor that read higher than actual temperature, prompting the system to work harder, creating excess heat. Replacing the sensor or adjusting its position can restore normal operation. Always follow your machine’s manual for calibration procedures.
Adjust Your PID Settings
If your espresso machine has a PID controller, fine-tune its settings to prevent overheating, especially in high-altitude conditions. For instance, I adjusted mine to higher target temperatures, which improved stability and reduced cabinet heat. Refer to this guide for detailed steps. Correct PID tuning ensures the internal components operate within safe temperature ranges.
Monitor Electrical and Heating Elements
Sometimes, heating elements malfunction, causing prolonged heat buildup. Turn off the machine and perform a visual inspection. If you notice signs like scorch marks or mineral deposits, consider replacing the element. Similar to changing a burnt-out element in a fuse box, doing so restores proper heating without excess heat. Use a multimeter to test continuity, referencing your machine’s wiring diagram to ensure proper connections.
Prevent Future Overheating
Once you’ve addressed immediate issues, adopt habits to keep your machine cool: clean regularly, ensure surroundings are well ventilated, and avoid overloading it with continuous use. Regular maintenance like descaling and cleaning filters can also reduce internal strain. Remember, a well-maintained machine not only produces better espresso but also stays cooler during extended use.
When it comes to home espresso, many enthusiasts believe they have it all figured out—grinding, tamping, pulling shots. But beneath the surface lies a complex world of nuances that even seasoned home baristas often miss. One common myth is that a high-end machine alone guarantees great espresso, but in reality, understanding the subtleties of grind size, dose consistency, and temperature stability can make or break your shot.
For instance, many assume that increasing tamping pressure will enhance extraction, yet overcompression can lead to channeling and uneven extraction, resulting in bitter or weak shots. The key is achieving uniform tamping and dose distribution, which is often overlooked. A related pitfall is neglecting the impact of water quality; minerals and contaminants can alter extraction dynamics and cause scale buildup, affecting machine longevity. Regular descaling and water testing, like referencing this guide, are vital for maintaining optimal performance.
Is Your Grinder Truly Consistent or Just Cheaply Made?
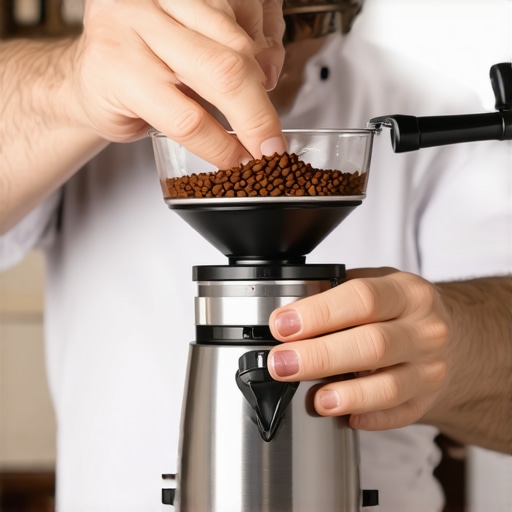
Advanced users know that an inconsistent grind size wreaks havoc on shot consistency. What many don’t realize is that subtle mechanical imperfections, like a misaligned burr or a worn-out screw, can produce variable particle sizes even in seemingly calibrated grinders. This is especially true for budget models that promise precision but lack proper build quality. Upgrading to a quality grinder or performing regular maintenance can drastically improve shot clarity and flavor. Never underestimate how much a tiny adjustment or cleaning can influence your results.
Another often-overlooked nuance involves temperature control. While many machines have PID controllers, operators might fail to fine-tune settings to match ambient conditions or bean roast profiles. Adjusting PID settings for high-altitude brewing, for example, can prevent common issues such as under-extraction or sourness, which are sometimes dismissed as mere anomalies. For practical tips on this front, check this detailed guide.
Lastly, understanding the critical role of pre-infusion can elevate your espresso game. Many home setups skip this step, assuming it’s unnecessary. However, proper pre-infusion evenly saturates the coffee puck, reducing channeling and uneven extraction. This is especially true for high-quality espresso machines with programmable pre-infusion, which can be fine-tuned for your specific beans and roast levels. Mastering pre-infusion, much like careful water temperature management, unlocks a richer flavor profile and smoother crema.
In essence, mastering the nuances of home espresso involves attention to detail that goes beyond basic操作. From machine calibration and grind consistency to water quality and pre-infusion techniques, every element plays a part. Remember, standard advice often misses the subtleties that can turn a decent shot into a truly extraordinary one. Have you ever fallen into this trap? Let me know in the comments.
Keeping Your Equipment in Prime Condition
Consistent maintenance is the backbone of a reliable and high-quality home espresso setup. Investing in specialized tools tailored for espresso gear can dramatically extend the lifespan of your machines and accessories. I personally rely on a few key items that streamline my maintenance routine and ensure top performance every morning.
A Quality Shot Timer Syncs with Your Grinder
Accurate shot timing is crucial, and a digital shot timer with programmable presets helps me dial in my espresso faster. I use a timer that connects via Bluetooth to my smartphone, allowing me to monitor extraction time closely. This eliminates guesswork and ensures consistency—especially vital when experimenting with new beans or recipes. For example, maintaining a precise shot duration prevents over-extraction that can lead to bitterness.
Microfiber Cloths and Cleaning Brushes
Keeping the group head, portafilter, and valves spotless is non-negotiable. I prefer high-quality microfiber cloths that absorb oils and residues effectively without scratching surfaces. For detailed cleaning, I use specialized brushes designed for espresso machines, which reach into tight spots without damaging delicate seals. Regular cleaning with these tools prevents buildup that can cause inconsistent temperatures or blockages.
Descaling Solutions and pH Test Kits
Hard water is a notorious enemy of espresso gear. I swear by a food-grade descaling solution, which I use at least once a month according to the manufacturer’s guidelines. Additionally, monitoring my water’s pH with a test kit ensures I maintain optimal mineral balance. Excess mineral deposits can cause scale buildup, impacting temperature stability and flow rate. For guidance on this, check out this article.
Pressure Gauges and Flow Meters for Fine-Tuning
Understanding the internal pressure helps me identify issues before they escalate. I’ve installed a high-precision pressure gauge that fits onto my espresso machine’s portafilter or steam wand. Paired with a flow meter, I can fine-tune pressure and flow rate to achieve ideal extraction. These tools are especially valuable if you’re adjusting PID settings for high-altitude brewing, as discussed here.
Advanced Tip: Automate Your Routine
Consider using an IoT-enabled monitoring system that tracks temperature, pressure, and usage patterns. Some systems notify you when maintenance is due or if an anomaly occurs. Implementing automation can turn a once-manual routine into a proactive process, preventing issues before they affect your brew quality. With these tools and habits, your setup will remain reliable and your shots consistent for years to come.
If you’re serious about maintaining your home espresso gear, start with a good-quality shot timer and cleaning brushes. These small investments significantly reduce downtime and improve flavor extraction. Ready to take your maintenance to the next level? Try integrating a flow meter into your setup and see how it transforms your understanding of pressure and flow dynamics.
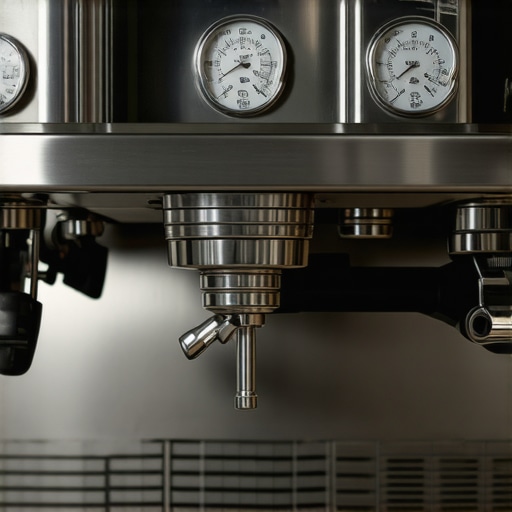
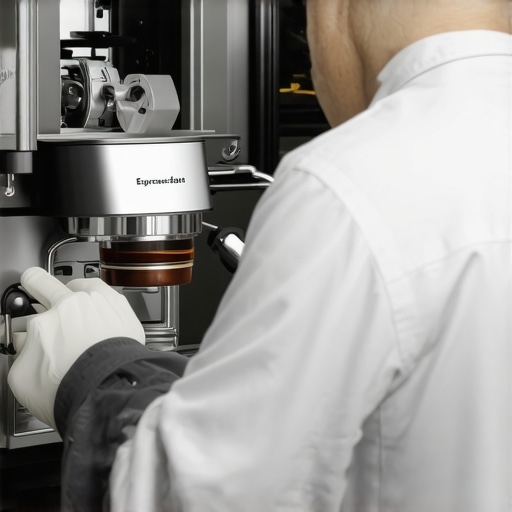
For a visual reference, here’s an ideal setup of a pressure gauge connected to an espresso machine, helping you fine-tune your extraction parameters with precision.
Unseen Lessons That Changed My Espresso Game
- Patience: I learned that rushing the calibration process, especially adjusting PID settings, leads to inconsistent shots. Taking my time to test and fine-tune made a world of difference in flavor and machine longevity.
- Listening: Sounds matter. The subtle hum of a properly functioning pump or the click of a cooling fan can tell you when your equipment is healthy—or heading towards trouble. Tuning into these cues saves money and improves your brew.
- Embracing Routine: Regular maintenance isn’t just a chore; it’s an investment. Developing a weekly checklist for cleaning, descaling, and inspecting internal parts has kept my espresso house running smoothly, avoiding unexpected breakdowns.
- Water Quality: I used to think that fresh beans alone determined great espresso. It turns out, good water is the silent hero. Investing in a water test kit and adjusting mineral levels dramatically improved shot clarity and machine lifespan.
- Curiosity Over Comfort: Initially, I stuck to what I knew, but exploring new techniques like pre-infusion and experimenting with grind sizes unlocked new flavor nuances that I hadn’t thought possible at home.
Tools and Resources That Keep Me Brewing Better
- Precision Pressure Gauge: Monitoring pressure during extraction revealed subtle issues like channeling or uneven flow. I trust my high-accuracy gauge to keep my shots on point, and it’s a game-changer for high-altitude adjustments, as explained here.
- Quality Grinder Maintenance Kit: Regularly cleaning and calibrating my grinder prevents particle inconsistency, leading to more uniform extraction. It’s surprising how much a simple tune-up improves flavor profile.
- Water Filtration System: Perfect espresso starts with pure water. I use a tested pH kit to monitor my water’s mineral content, which helps prevent scale buildup and enhances shot taste. This routine is essential in my setup.
- Home Barista Course: Investing in online courses and masterclasses expanded my understanding of shot dynamics and milk microfoam techniques. The knowledge gained motivates me to refine my craft continually.
Keep Your Espresso Passion Alive and Flourishing
Remember, home espresso is a journey filled with discovery, patience, and a bit of experimentation. Every tweak and every lesson learned brings you closer to craft that satisfies more than just your palate. Embrace the process, stay curious, and keep pushing your limits. Your perfect cup is waiting—are you ready to chase it? If so, share your biggest current challenge below, and let’s tackle it together!