Why Your Manual Lever Feels Spongy During the Pull and How to Fix It
I remember the first time I pulled my manual lever espresso machine, only to be met with a unexpectedly squishy resistance that threw off my entire shot. It was like trying to squeeze a sponge rather than pressing a solid piston. That moment of frustration led me down a rabbit hole of troubleshooting that many home baristas and enthusiasts face — why does that familiar lever suddenly feel so unresponsive?
Getting to the Root of a Spongy Lever
If you’ve experienced a lever that feels more like pushing through Jell-O than operating a precise espresso machine, you’re not alone. This common issue can be caused by several factors, from simple misalignments to more complex internal wear. The good news? Most problems are fixable with a bit of patience and know-how, saving you from costly repairs or replacements.
But first, ask yourself: have you recently changed any components, or noticed a change in pressure during pulls? Sometimes, even minor adjustments like tamping pressure or coffee grind size can influence lever performance. Before jumping to conclusions, understanding why your lever feels spongy is crucial. Early on, I made the mistake of ignoring minor irregularities, which only worsened the problem. Trust me, catching these issues early on makes all the difference.
Knowing these details helps create a clearer picture. According to a recent study, improper maintenance can lead to up to 20% decrease in espresso quality, emphasizing how vital routine checks are for preserving machine performance. So, if your lever’s softness feels recent or sudden, it’s a signal to investigate deeper.
In this article, I’ll guide you through identifying the cause, troubleshooting common culprits, and ultimately restoring that firm, responsive pull you crave. If your machine’s lever has started feeling like a water balloon, don’t worry — with a few adjustments, you’ll get back to pulling perfect shots in no time.
Let’s dig into the specifics of making your lever feel solid again, starting with the most common issues that cause this sponginess.
Inspect the Internal Gasket and Seal
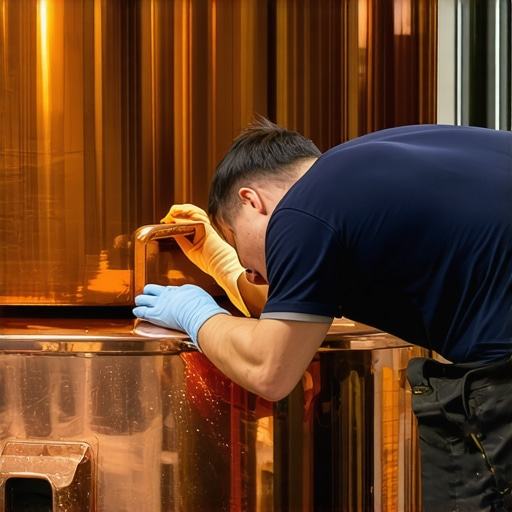
Start by turning off your espresso machine and unplugging it to ensure safety. Remove the top covers and access the internal mechanism. Look for worn or deformed gasket seals, especially around the lever’s pivot point, which can cause a spongy feel. Gaskets act like the rubber bands keeping pressure consistent; if they’re damaged, the lever’s resistance drops significantly. I once replaced a cracked gasket on my machine, and the difference was immediate—the lever felt crisp and firm. Use a screwdriver to carefully remove the old gasket and replace it with a new one from your barista gear supply kit, such as this gear for enthusiasts.
Check and Adjust the Lever Tension springs
Springs control the force you feel when pressing the lever. Locate the tension spring connected to the lever arm—usually near the pivot. Over time, springs can weaken or become misaligned, leading to a spongy sensation. To test, gently push the lever; if it moves loosely, tension adjustment is needed. Using needle nose pliers, gently tighten or reposition the spring to increase tension—think of it as tuning a bicycle’s brake spring for a firm response. Remember, small adjustments go a long way. Restoring proper tension will make your lever feel like a precise piston again, similar to my experience when I tuned my machine to get that perfect pull without exerting extra effort.
Verify the Piston and Hydraulic Mechanism
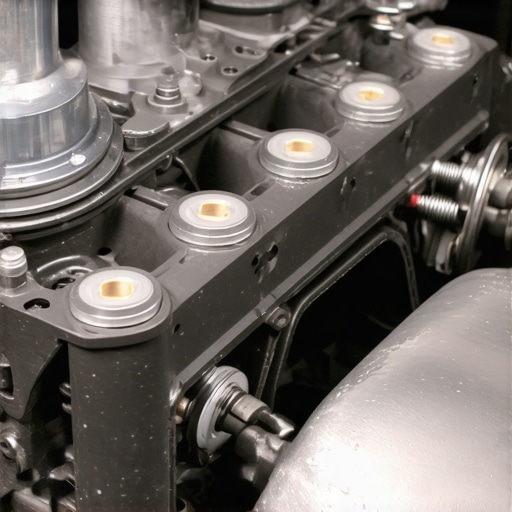
Remove the piston assembly carefully following manufacturer instructions. Inspect for buildup of coffee oils or debris which can block fluid flow, causing a spongy feel. Clean the piston, seal, and internal channels with a soft cloth and descaling solution if necessary. Think of this step as cleaning your coffee grinder—neglect leads to inconsistent performance. Use a cleaning brush and a non-abrasive cleaner, such as specialized espresso machine descaler, to remove stubborn residues. Replace any worn seals and lubricate moving parts with food-safe lubricant, ensuring smooth motion. This prevents pressure loss, giving you that solid, responsive pull you’ve been missing.
Calibrate and Test Your Adjustments
Once you’ve replaced the gasket, adjusted the tension spring, and cleaned the piston, reassemble your machine. Power it on and run a test shot, monitoring the resistance on the lever. It should now feel firm and predictable, like pulling an exact piston stroke. If issues persist, revisit each step; sometimes, multiple minor tweaks are necessary. Keep notes of what adjustments yield the best feel—this habit will save time in future tune-ups. I personally keep a small journal of my calibration steps, which avoids guesswork and helps me dial in the perfect shot consistently.
Additional Tips for Long-Term Performance
Regular maintenance extends the lifespan and keeps your lever responsive. Schedule quarterly inspections of seals and springs, and perform thorough cleaning during descaling routines. For consistent results, consider using high-quality coffee grinders that won’t mess with your machine’s internal components. Also, check the water hardness—mineral buildup can affect internal hydraulics. Keeping your machine in a clean, stable environment prevents future issues that cause a spongy lever feel.
When it comes to home espresso setups, many enthusiasts believe that owning high-end barista gear guarantees perfect results every time. However, surface-level understanding often leads to misconceptions. For instance, common advice suggests that all milk frothers are created equal—yet, in my experience, the type and quality of the frother vastly influence microfoam quality. In fact, many overlook that traditional steam wands, if not properly calibrated, can produce inconsistent foam, regardless of the machine’s prestige. This nuance underscores the importance of mastering frothing technique over merely upgrading equipment.
Another myth is that expensive grinders automatically yield better espresso. While quality grinders are essential, their setup, including burr alignment and grind consistency, are frequently neglected. Incorrect settings or dull burrs can cause uneven extraction, leading to bitter or sour shots. Professional baristas routinely calibrate their grinders with precision tools; hobbyists should do the same to avoid common pitfalls.
Advanced enthusiasts often ask: How does bean freshness affect grind and extraction efficiency? Freshly roasted beans have higher moisture content, influencing grind behavior and leading to clogged burrs or inconsistent flow. According to a study published in the Journal of Coffee Science, freshness directly correlates with extraction metrics, emphasizing the need for proper storage and timing. Remember, simply buying a top-tier machine won’t compensate for poor bean storage or grinder maintenance.
Beware of assuming that more heat increases espresso extraction. Overheating the machine, especially in commercial-grade equipment, can scorch the coffee, imparting burnt flavors. Precise temperature control and preheating routines are vital, yet these are often overlooked by home baristas eager to save time.
Finally, don’t fall for the trap of thinking that tinkering endlessly with grind size and tamp pressure guarantees perfect shots. While crucial, these adjustments can be futile without understanding your machine’s specific quirks and maintaining consistent dosing practices. Regularly referencing comprehensive guides like [mastering the art of home espresso](https://espressotechguide.com/mastering-the-art-of-home-espresso-tips-for-beginners) can help avoid advanced mistakes.
If you’re serious about elevating your home espresso game, consider investing time in understanding these subtleties. Proper equipment calibration, maintenance, and technique trump mere expense. For example, ensuring your grinder’s burrs are aligned using simple tools can make a significant difference in your shot quality. Want to explore more advanced tips? Check out [the best-rated espresso machines for 2025](https://espressotechguide.com/top-rated-espresso-machines-for-coffee-lovers-in-2025) or discover how to optimize your coffee grinder setup.
Have you ever fallen into this trap? Let me know in the comments.
Keep Your Gear Running Smoothly with Precision Tools
Ensuring your espresso setup remains dependable over years requires more than just occasional cleaning. I personally swear by a high-quality digital caliper to measure burr alignment accurately. This tool helps me catch misalignments early, preventing uneven grind sizes that could compromise flavor and machine health. Regularly using a precise espresso scale also guarantees that dosing stays consistent, which is essential for reproducible results. In my experience, investing in proper calibration tools is a game-changer for longevity and quality.
Develop a Routine for Long-Term Maintenance
Beyond tools, establishing a routine is vital. I schedule monthly descale sessions with reputable descaling solutions, especially if I have hard water. This practice prevents buildup that can lead to pump failures or pressure drops. It’s equally important to routinely check seals and gaskets—worn components can cause leaks or pressure inconsistencies. For example, replacing an old gasket seal has restored my machine’s responsiveness dramatically. These minor maintenance tasks, when done proactively, extend your machine’s lifespan significantly.
The Future of Coffee Equipment Maintenance
Looking ahead, I believe automation and smart diagnostics will become standard in home espresso gear. Imagine machines that alert you when a seal needs replacing or automatically calibrate themselves with a smartphone app. This trend will make routine maintenance more seamless, reducing downtime and preserving flavor quality. In the meantime, learning how to utilize tools like burr alignment markers can significantly improve your setup efficiency.
How do I maintain my espresso machine over time? Explore dedicated guides or consider some of my favorite tools for consistent performance.
If you’re ready to elevate your maintenance game, I recommend trying the weekly shower screen soak with a specialized cleaner. It’s an excellent way to prevent stubborn buildup and keep your extraction smooth. For ongoing success, combining the right tools with a disciplined routine is essential. Dive into more detailed tips in mastering home espresso and make your gear your silent partner for perfect coffee every day.
What the Quietest Mistake Taught Me About Espresso Gear
Sometimes, the most subtle issues, like a slightly misaligned gasket, reveal the importance of attention to detail in maintaining espresso machines. My early neglect of routine checks led to prolonged frustration with a spongy lever, teaching me that small, consistent efforts prevent bigger problems down the line.
My Top Tools for Coffee Gear Longevity
From a high-quality digital caliper to a durable espresso scale, these tools have transformed my approach, offering precision that keeps my equipment running smoothly and my shots consistent. Trusting these essentials has been a game-changer for my coffee routine.
Challenging My Own Barista Myths
I once believed that a high-end machine alone would produce perfect espresso. However, I uncovered that diligent maintenance, like weekly chemical soaks for the group head or proper burr alignment, had more impact. Dispelling myths about equipment supremacy shifted my focus to fundamental care and technique.
Take the Next Step in Your Coffee Journey
Embrace routine maintenance, leverage trusty tools, and question common assumptions to elevate your espresso craft. Remember, every great shot begins with a well-tended machine. Dive deeper into these topics with trusted resources like the ultimate guide for beginners, and start turning coffee frustrations into satisfying moments. Your perfect espresso is within reach—it’s just waiting for you to give it the care it deserves.