Why Your Milk Foam Separates Before You Can Pour Art
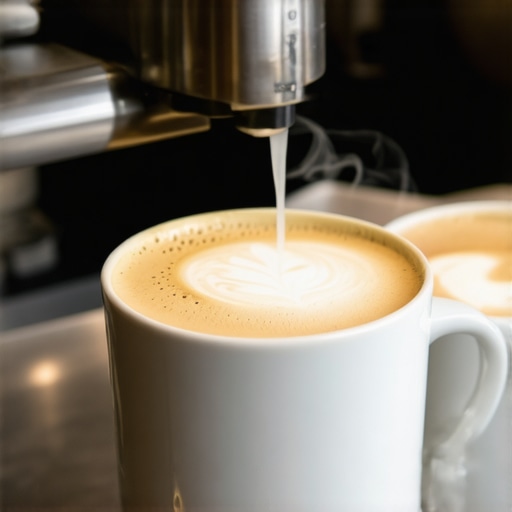
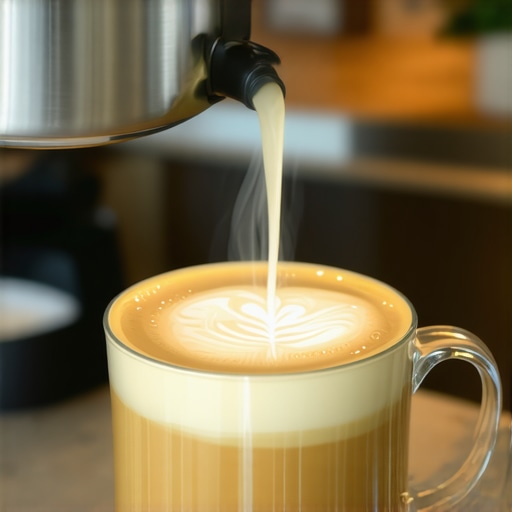
Picture this: you’re finally ready after a long morning, steamed milk in hand, focusing intently on your cup as you try to craft that perfect heart or rosette. But as you pour, the milk’s microfoam suddenly separates, leaving you with a watery puddle instead of the glossy surface you envisioned. Frustration creeps in. I’ve been there—fighting with milk that refuses to stay smooth just when I want to impress friends or up my barista game at home.
Getting to the Bottom of Milk Foam Separation
This common issue can make even seasoned home baristas feel like giving up. The good news? Once you understand why your milk foam separates prematurely, you can tackle the root cause and enjoy those velvety textures again.
Is Your Milk Frothing Technique the Real Culprit?
Early on, I made the mistake of assuming my steaming wand was faulty or that I needed a special milk type. It wasn’t until I examined my technique—and the milk’s temperature—that I discovered the real issue. According to professional baristas, the key lies in creating a stable microfoam, which depends on proper steaming and milk handling. Interestingly, the temperature at which you steam milk dramatically affects foam stability. The International Barista Academy emphasizes that microfoam is best created at around 140°F (60°C). Going beyond that point causes the proteins in milk to break down, leading to separation.
Have you ever faced this problem? If so, you’re not alone. Many home and professional baristas wrestle with foam that separates too soon, derailing their latte art efforts and diminishing the overall drinking experience.
Next, we’ll explore practical steps and common pitfalls that can cause your milk to falter just when you need it most. Staying aware of these factors can make all the difference between a successful pour and a disappointing mess. Ready to transform your microfoam? Let’s dive in!
,
Maintain Proper Milk Temperature During Steaming
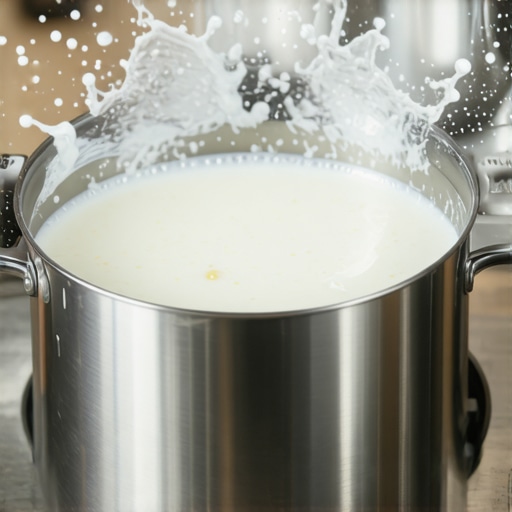
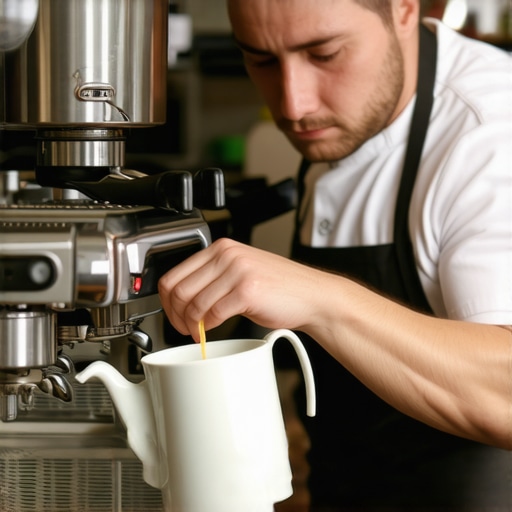
Hot milk is key to a stable microfoam. Use a reliable thermometer and aim for around 140°F (60°C). I remember when I ignored my thermometer and overheated the milk to 150°F; the foam immediately lost its gloss and separated. To prevent this, gently position the steam wand just below the surface and keep an eye on the temperature, adjusting your steam pressure accordingly.
Choose the Right Milk and Frothing Equipment
Not all milks froth equally. Full-fat milk produces creamier microfoam but can be trickier to handle if your technique isn’t precise. I discovered that fresh, cold milk with minimal age yields better stability. Also, using a clean, properly maintained steam wand or milk frother ensures consistent results. For home, a good handheld frother can work if you keep it clean and use the right technique.
Refine Your Frothing Technique
Position the Wand Correctly
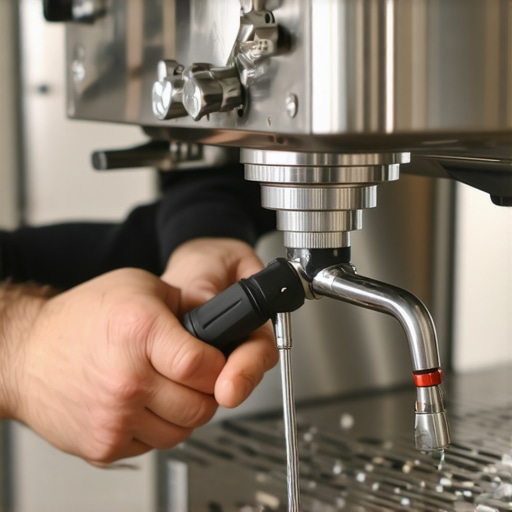
Keep the steam wand just below the milk surface to introduce air, then gradually submerge it deeper to incorporate microbubbles. I had a habit of placing the wand too deep, which resulted in larger bubbles that burst quickly. Practice slowly raising and lowering the wand, aiming for a whirlpool motion that creates uniform microfoam. Regular practice improves texture and reduces separation issues.
Control the Steaming Duration
Over-steaming can push the milk past the optimal temperature, breaking down proteins and causing separation. Aim for 20-25 seconds of steaming once you’ve reached the right temperature. During my early days, I would steam for too long, resulting in froth that turned watery. Use the thermometer to stop steaming exactly at 140°F — the difference is night and day.
Handle Milk Gently Post-Frothing
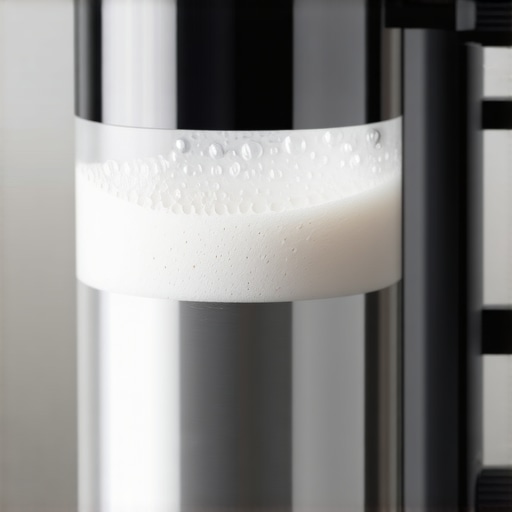
After steaming, gently swirl the milk pitcher to integrate the microbubbles and eliminate large bubbles. Avoid vigorous shaking, which introduces air randomly. I find a gentle swirl and tap on the counter knock out any remaining large bubbles, sealing the microfoam for pouring. This step ensures the foam stays glossy and stable during pouring and latte art creation.
Maintain Equipment and Environment Cleanliness
Residual milk residues clog the steam wand and cause uneven steaming. Regularly clean the wand after each use with a damp cloth and backflush your espresso machine if applicable. Clean equipment prevents contamination that can destabilize foam formation, as explained in this cleaning tip. Ensuring your setup is pristine is vital for microfoam consistency.
Experiment and Record Your Results
Every milk type and frothing style can behave differently. Keep a small log of your method, milk brand, temperature, and texture results. Over time, you’ll identify your ideal steaming profile, reducing surprises and foam separation. I spent several weeks adjusting my technique until I consistently produced glossy, velvety microfoam with no separation, turning my latte art into masterpieces.
” alt=”Barista steaming milk with thermometer in use” title=”Proper milk steaming technique with thermometer”/>When it comes to crafting the perfect espresso or milk microfoam, many home enthusiasts and even seasoned baristas fall prey to misconceptions about gear selection and usage. Let’s unravel some hidden nuances that can dramatically impact your results. One pervasive myth is that upgrading to the latest espresso machine guarantees better shots. In reality, even top-tier equipment can’t compensate for technique flaws or improper maintenance. For instance, a study published in the Journal of Coffee Science emphasizes that regular descaling and calibration are more crucial than brand prestige in maintaining optimal performance.
Another misconception revolves around coffee grinders. Many believe that coarse grind settings are suitable for all brewing methods. However, as I explained in this guide, grinders often struggle with coarse settings if the motor isn’t powerful enough or if the burrs are dull. Using an insufficient grinder can lead to uneven extraction and bitter flavors, regardless of your brewing technique. Beware of relying solely on grinder adjustments without addressing underlying hardware limitations.
Many assume that vintage milk frothers are inherently better than modern electric ones. While some vintage models are charming, they often lack the precise temperature control critical for stable microfoam, as discussed in this article. An advanced mistake is overlooking the importance of pre-infusion in espresso extraction. Proper pre-infusion ensures even saturation and reduces channeling, leading to richer crema and complex flavors. Skipping this step is a subtle but frequent cause of sour or under-extracted shots.
Are higher-end gear always worth it for home baristas?
It’s tempting to think that investing in expensive machines or accessories automatically elevates your coffee game. However, experts emphasize that understanding the nuanced operation and limitations of your equipment is more impactful. For example, a study by the Specialty Coffee Association highlights that user calibration and routine cleaning outperform raw investment in gear quality. An overlooked aspect that can cause frustration is the misuse of steam wands, leading to watery or uneven microfoam. Preventing this requires mastering proper steaming techniques, as elaborated in this guide.
Have you ever fallen into this trap? Let me know in the comments. Remember, mastery of the nuances often outweighs gear specs alone. By focusing on technique, maintenance, and understanding gear limitations, you’ll unlock truly professional results in your home setup.
Investing in Precision: My Favorite Equipment for Consistent Coffee Quality
Over the years, I’ve learned that maintaining the right tools is crucial to achieving and sustaining cafe-level coffee right at home. I rely heavily on a high-quality burr grinder, specifically the Baratza Sette 270Wi, because I appreciate its grind consistency and ease of calibration. Regular calibration ensures my grinder remains within optimal performance, especially when switching between beans, which is vital for balancing extraction and flavor. For espresso extraction, I prefer the Profitec Pro 700 espresso machine, which offers precise temperature control and stability, essential for consistent shots. Investing in equipment that allows for routine calibration and maintenance minimizes long-term issues and keeps your coffee experience at its peak.
Streamlining Maintenance with Smart Tools
To keep my machine in top shape, I use the descaling solutions specifically designed for espresso boilers. Regular descaling prevents mineral buildup that can impair performance and flavor. Additionally, I utilize a portafilter gasket replacement kit, which makes it easier to replace worn seals without dismantling the entire machine, saving time and ensuring a tight seal for optimal pressure during extraction. For cleaning grinders, I employ a dedicated grinder brush and cleaning pellets that remove coffee oils and fines, maintaining grind purity. Investing in these specialized tools significantly reduces downtime and helps preserve your equipment’s longevity.
Tools That Support Long-Term Success
Beyond routine maintenance, I recommend a digital thermometer calibrated for steaming milk—a must-have for microfoam stability. I use the Thermapen Mk4, renowned for its rapid response and accuracy, which enables me to fine-tune my steaming process and avoid separation issues. Moreover, having a good quality scale with a timer helps me dose precisely and monitor extraction times. For calibration, I keep a set of precision torque wrenches to ensure my group head and portafilter are tightened uniformly, preventing leaks or pressure inconsistencies. These tools are investments that pay off over time, preserving the quality of both equipment and coffee.
Forecast: The Future of Home Barista Tools and Maintenance
Looking ahead, I anticipate smart, IoT-enabled coffee gear becoming more prevalent. Devices that automatically log temperature, pressure, and maintenance schedules will empower home baristas to optimize performance effortlessly. Integrated cleaning alerts and remote diagnostics could reduce equipment downtime even further, making professional-grade maintenance accessible to everyone. Embracing these innovations now will prepare you for a future where your coffee setup becomes smarter and more intuitive.
How do I maintain my equipment over time?
Developing a regular maintenance schedule is key. I set weekly reminders to clean and inspect components, such as wiping the steam wand, backflushing the espresso machine, and cleaning the grinder burrs with a dedicated brush. Preventive care, including descale every few months and gasket checks annually, prevents costly repairs and ensures optimal performance. Learning detailed procedures, like replacing a group gasket without extensive disassembly (see here), helps you troubleshoot and address issues promptly. Keeping documentation of your equipment’s maintenance history also helps identify recurring problems early.
Three Lessons That Changed My Approach to Home Espresso
One of the toughest lessons I learned was that even the best gear won’t save you if your technique isn’t dialed in. For example, I once believed that a fancy commercial grinder alone would fix my inconsistent shots, but I overlooked simple issues like burr alignment and motor capacity, which you can explore in this detailed guide. It taught me that understanding the hardware specs and how they impact grind uniformity is indispensable. Another revelation came when I discovered that temperature control during steaming isn’t just about safety—it fundamentally affects foam stability. I used to steam milk blindly until I started using a reliable thermometer, aiming for 140°F, and noticed a dramatic improvement, which is discussed in this article. Lastly, I realized that routine cleaning isn’t just maintenance—it directly influences microfoam quality. Dust and milk residue on the steam wand or inside the machine can cause uneven steaming and foam separation, as explained in this cleaning method. These lessons, learned through real-world mishaps, have become the foundation of my consistent microfoam mastery.
My Favorite Tools That Keep My Coffee Consistently Great
Investing in precision tools has made all the difference. I swear by the Thermapen Mk4 because its rapid response helps me hit that sweet spot of 140°F during steaming every time. For grinding, my Baratza Sette 270Wi has proven invaluable, especially since I keep it calibrated with this calibration method. A clean, well-maintained espresso machine such as the Profitec Pro 700 offers stability allowing me to focus on technique, knowing that temperature and pressure are consistent. These tools form the backbone of my daily routine, decreasing guesswork and elevating my results, which I encourage every enthusiast to consider.
Taking Action to Elevate Your Coffee Game
The journey to quality microfoam and perfect espresso isn’t exclusive to professionals. It’s about embracing continuous learning, refining your craft, and investing in the right tools—your passion will naturally push you forward. Remember, mastering the nuanced interplay between gear and technique transforms your home setup into a professional-grade station. As the industry heads toward smart, connected devices, staying curious and proactive ensures you’re prepared for the future of coffee-making. Now, I want to hear from you—what’s the biggest challenge you’ve faced with microfoam stability? Share your experiences below, and let’s learn together.