Why Your Steam Wand Is Producing Wet Steam and How to Dry It
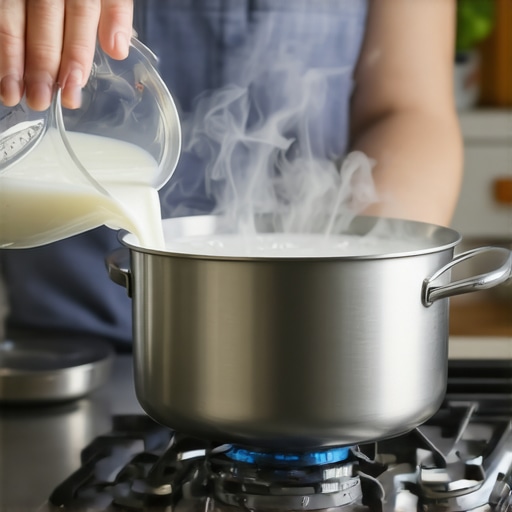
One morning, I was all set for my daily espresso ritual—fresh beans ground, perfect tamp, steaming milk. But as I turned on my espresso machine and activated the steam wand, instead of the warm, dry steam I expected, I was met with a burst of cold, wet vapor that instantly drenched my frothing jug. Frustration kicked in. I had gone through the routine countless times before, yet here I was, battling this annoying problem that seemed to pop up out of nowhere. That lightbulb moment made me realize: wet steam from the wand isn’t just a minor hiccup—it’s a signal something’s not quite right, and it’s worth fixing.
Getting to the Bottom of Wet Steam Issues in Your Espresso Routine
Is Wet Steam Actually Worth the Hype?
Early on, I made a critical mistake—I assumed that all steam was the same, and that wet steam was just a minor inconvenience. Turns out, that’s far from the truth. Wet steam indicates that your machine isn’t producing the ideal dry vapor needed for perfect foaming or temperature control. According to seasoned baristas, moist steam can hinder your ability to create that luscious microfoam or even cause water to drip into your espresso, diluting your shot. The fix isn’t complicated once you understand the root causes, but recognizing the problem is the first step. If you’ve been frustrated by inconsistent frothing, or just skeptical that a simple adjustment could save your morning routine, I’ve been there—and I promise, there is a way out.
Have you experienced your steam wand sputtering or producing visibly wet steam? If yes, you’re not alone, and today I’ll walk you through how to troubleshoot and dry out that steamer efficiently. For an even deeper dive into milk frother tips, check out my comprehensive guide. But first, let’s understand why this happens and how you can fix it quickly and effectively, turning your wet steam woes into confidence at the espresso machine.
Check and Adjust Your Water Level and Pressure
In my experience, the first step is ensuring your espresso machine’s water reservoir is filled correctly and that your pressure settings are optimal. Sometimes, a low water level causes incomplete vaporization, resulting in wetter steam. I once forgot to tighten my water reservoir fully, and my steam wand sputtered with moisture. Double-check that your water gauge shows the correct level and that the pressure is within the recommended range—usually around 9 bars for most home espresso machines. Refer to your machine’s manual or use the water temperature check guide for detailed insights.
Clean and Descale the Steam Wand and Boiler
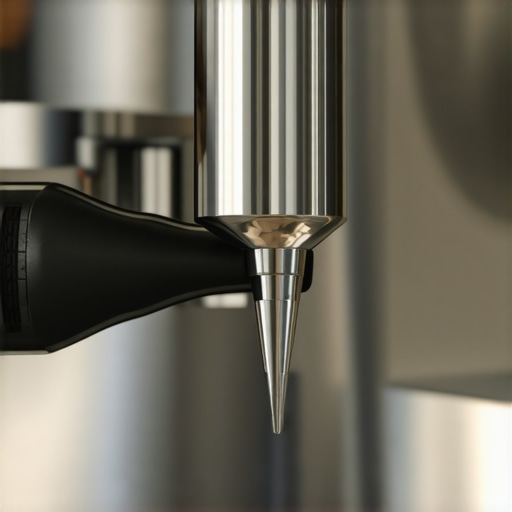
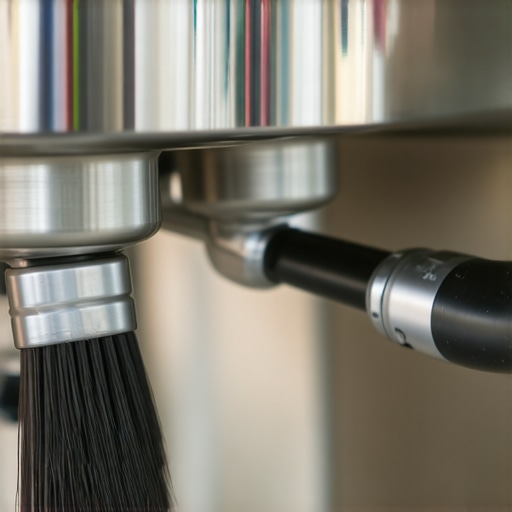
Accumulated mineral deposits or milk residues can hinder proper steam production. I regularly descale my machine using a citric acid solution, which dissolves scale effectively. Disassemble the steam wand and soak the tip in a vinegar solution if necessary, then scrub gentle areas with a brush—be sure to follow cleaning tips for coffee gear. For the boiler, use descaling solutions recommended by the manufacturer. This process ensures hot water and steam are generated efficiently, reducing wet vapor.
Adjust the Steam Wand Technique
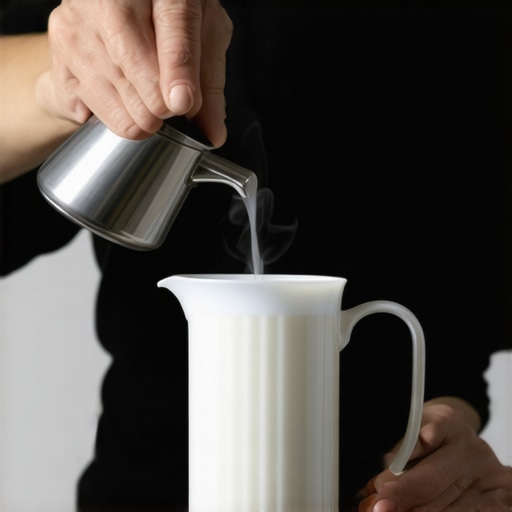
Sometimes, wet steam results from improper wand positioning or technique. I notice that angling the wand too steeply can trap water, which then produces wetter vapor. Keep the wand at a 45-degree angle and aim it just below the surface of the milk. Steady, controlled movements promote dry steam. I practiced this by steaming a small amount of milk at a low speed, which helped me develop a consistent technique. If you’re unsure, check out tutorials on home espresso tips for visual guidance.
Modify the Steaming Environment
Temperature and humidity can influence steam quality. If your machine is in a cold or humid space, it might struggle to produce dry vapor. I moved my setup to a warmer, dryer room and pre-heated everything—portafilter, milk jug, and steam wand—to optimize conditions. Consider using a dedicated espresso station with good ventilation to maintain stable conditions. For quick temperature checks, use the water temperature guide.
Perform a Test Run and Fine-Tune
After making adjustments, run a test steaming session with a small amount of milk. Observe the vapor—if it’s still wet, revisit your wand angle and cleaning routine. I once spent an hour tweaking and finally achieved a clean, dry vapor that transformed my microfoam. Over time, these small adjustments cumulative significantly, turning moist steam into perfect dry vapor that elevates your coffee experience. Keep a journal of your settings and steps to replicate success consistently. Neither over-tightening nor rushing the process will get you there—precision and patience are key.
 Many coffee lovers assume that mastering milk frothers, espresso machines, or grinders is simply about choosing the right equipment. However, even seasoned baristas often fall prey to common myths that hinder their progress. For instance, there’s a widespread belief that more expensive gear automatically guarantees better coffee, but in reality, understanding the nuances of each component—like the importance of grind size consistency or the temperature stability—can make a significant difference. An often-overlooked aspect is how everyday mistakes, such as neglecting regular calibration of your grinder or misinterpreting steam wand behavior, can sabotage your brewing efforts. According to coffee expert Scott Rao, precision and understanding the equipment’s intricacies are crucial for consistently great espresso. It’s tempting to think that good results come from pushing the equipment to its limits, but sometimes, less aggressive adjustments rooted in technical knowledge lead to breakthroughs. Have you ever fallen into this trap? Let me know in the comments to share your experiences or ask questions about optimizing your gear.Maintaining your espresso machines, grinders, and accessories is vital to ensuring consistency, flavor, and reliability over the years. Investing in quality tools and adopting proper upkeep routines not only prolongs the lifespan of your gear but also guarantees every cup remains at its peak. One of my go-to tools is a **precision calibration kit** for grinders, which allows me to fine-tune particle size and grind consistency, crucial for espresso extraction. I personally use a **digital dial gauge** to verify grinder burr alignment monthly, preventing uneven wear and maintaining uniformity—something that’s often overlooked by home baristas. For cleaning, I rely on **destoning solutions** compatible with my espresso boiler, combined with a **pressure tester** to check for leaks or pressure drops that could hint at internal issues. These tools form the foundation of a reliable maintenance routine, ensuring your equipment runs smoothly.
How do I keep my coffee gear in prime condition over time?
Long-term results depend on regular cleaning, descaling, and precise calibration. I schedule bi-weekly descale routines with citric acid—thoroughly cleaning boilers, steam wands, and group heads—using dedicated cleaning brushes I sourced from specialized coffee tool retailers. Toward this, I use a **water quality meter** to monitor mineral levels, preventing scale buildup that can impair performance. The trend is shifting toward **smart monitoring systems** that automatically report maintenance needs, and while I haven’t adopted these full-scale yet, I predict that integrating IoT tools will become the norm, providing real-time feedback and reducing guesswork. To stay ahead, I recommend consistently checking and adjusting your equipment based on these insights—making maintenance predictable and fuss-free.
Why is consistency in equipment upkeep so crucial for brewing excellence?
Consistency starts with tools that catch issues early, saving time and money. For example, regularly inspecting your **portafilter gasket** with a specialized gauge prevents leaks and uneven pressure, directly impacting shot quality. I also keep a **laser thermometer** handy to verify water temperature stability, as small fluctuations can dramatically alter extraction. The habit of maintaining your gear with these precise methods translates into more predictable results and allows you to focus on dialing in your espresso instead of troubleshooting hardware failures. For detailed step-by-step routines, check out this guide on cleaning coffee hoppers, which emphasizes essential maintenance practices that prevent performance dips over time. Remember, a well-maintained machine becomes a trustworthy partner in your coffee journey, and I encourage you to implement at least one new tool or routine from this advice this week. For the serious enthusiast, exploring advanced tools like automatic descaling systems can dramatically simplify long-term care—something I plan to incorporate into my setup soon.
Through my journey with milk frothers, espresso machines, and barista gear, I’ve come to realize that the real magic happens when we understand the subtle nuances that even seasoned enthusiasts often overlook. The hardest lesson I learned was that equipment maintenance and technique are intertwined—neglecting one can sabotage the other, leading to inconsistent results. For instance, I used to think that a shiny machine meant it was clean, but I discovered that regular calibration and descaling are what truly keep performance optimal. Additionally, I underestimated the importance of environmental factors; moving my setup to a warmer room drastically improved my steam quality. These insights taught me that mastery isn’t just about gear but about paying close attention to the details that influence your coffee’s flavor and texture.’},{