Why Your Vibration Pump Suddenly Got Quiet and Stopped Flowing
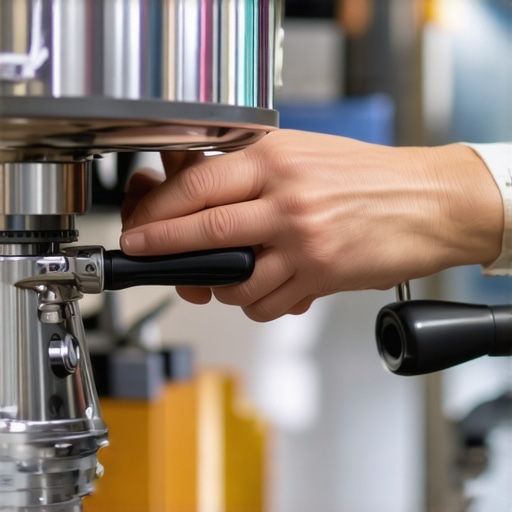
There I was, mid-espresso shot, trying to impress my friends with a perfectly steamed milk, when suddenly, silence. That familiar hum from my machine’s vibration pump was gone. Instead, I was left staring at a stubbornly silent machine, pulse-less and unresponsive. It felt like a punch to the gut, especially because I thought I knew my gear inside out. That moment of quiet panic was a lightbulb—if I didn’t get this sorted, my mornings of perfect coffee would turn into a frustrating nightmare.
Why Does Your Vibration Pump Suddenly Go Quiet?
When that reassuring vibration stops, it’s usually signaling something’s off—like a canary in a coal mine. I’ve learned the hard way that ignoring these sounds or dismissing early warning signs often leads to more complicated repairs. Early on, I made the mistake of assuming the problem was a simple power glitch, and frankly, I didn’t dig deep enough. But the truth is, vibration pumps can fail or quiet down for various reasons—clogged lines, worn-out parts, or electrical issues. Recognizing the culprit early can save you time, money, and a fair amount of frustration.
Based on my experience, a quiet pump often points to a blockage or a failing component. Sometimes, it’s as simple as a piece of coffee grounds clogging the discharge tube. Other times, it’s a sign that the pump’s motor is losing power or the internal seals are compromised. The good news is that many of these issues are fixable with some basic troubleshooting, and I’ll walk you through those in the upcoming sections.
Could Your Machine Be Saving You From Disaster?
It’s tempting to ignore that faint hum or sudden silence—especially if your espresso still looks and tastes decent. But trust me, a silent pump is like a ticking time bomb. If you keep running the machine without addressing the issue, you risk damaging the pump or other costly components. Time is of the essence. When I ignored the warning, my pump’s motor eventually burnt out, forcing me to replace entire parts that could’ve been saved with a quick fix.
To avoid this, understanding the signs and simple troubleshooting techniques can keep your machine humming smoothly. And yes, you can often resolve these issues yourself—no need to call in a tech for minor problems. Curious how? Stay tuned, because next, I’ll guide you through exactly what you need to check when your vibration pump suddenly stops working. And if you’re considering upgrading or just want to optimize your gear, don’t miss our tips on machine maintenance.
Start With a Visual Inspection
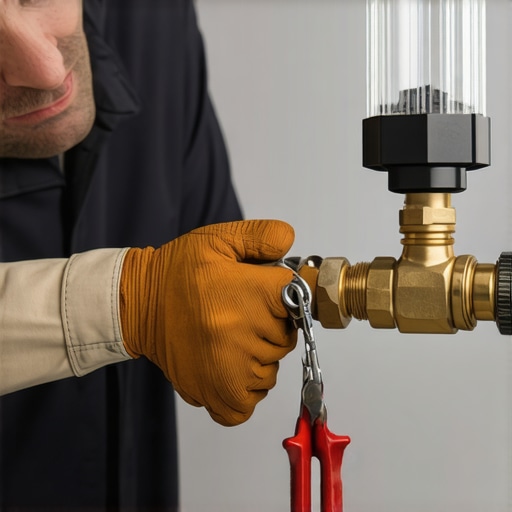
Unplug your espresso machine and remove the main panel to access the pump. Look for obvious signs of damage, loose wiring, or clogs. Think of it like checking your car’s engine for loose belts or debris before starting a repair. Remember, safety first—never attempt to service electrical components while the machine is plugged in.
Check for Blockages or Clogs
Remove the water reservoir and inspect the discharge tube connected to the pump. Use a long, flexible brush or pipe cleaner to gently clear any coffee grounds or mineral deposits. Consider this like cleaning a straw—blockages hinder flow, causing the pump to quiet down. During one occasion, I used a soft toothbrush to clean a buildup in my machine’s tube, which instantly restored pump function.
Test the Electrical Connections
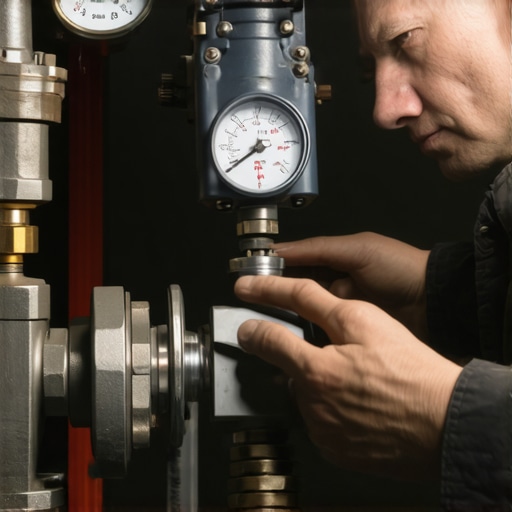
Using a multimeter, verify that the pump is receiving power. Set the multimeter to measure voltage, and carefully check the wiring terminals. If there’s no power, trace the wiring back to the power supply or control board. Sometimes, a loose connector or blown fuse can be the culprit—like a blown fuse in a household circuit.
Assess the Pump Motor
If power is reaching the pump but it’s still silent, the motor may have burned out. Remove the pump from the machine and gently spin the shaft manually. It should turn smoothly without resistance. If it’s stuck or makes grinding noises, the motor may be faulty. In my experience, replacing a worn-out motor was straightforward once I ordered the correct part from a trusted supplier.
Clean the Internal Seals and Gears
Over time, seals can dry out or deteriorate, hindering the pump’s operation. Use a food-safe lubricant to lubricate the seals and check for leaks or cracks. Think of it as maintaining a bicycle chain—regular lubrication prevents rust and ensures smooth motion. I once applied a small amount of food-grade silicone lubricant, which got my pump spinning again.
Replace Faulty Components
If all previous steps fail, it’s time to consider replacing the pump or internal wiring. Check your machine’s model-specific parts guides or manufacturer recommendations. Remember, sometimes a tired pump can’t be revived—like replacing a worn-out belt in your coffee grinder. For guidance on selecting the right equipment, visit this resource.
Test After Repairs
Reassemble the machine carefully, ensuring all connections are tight. Fill the water reservoir, turn on the machine, and listen for the familiar vibration. If the pump hums and runs, congratulations—you’re back in business. If not, revisit the steps or consider professional repair services. Remember, timely troubleshooting extends your machine’s lifespan and ensures perfect espresso shots every time.
Tip: Keep Records of Your Repairs
Document what you’ve checked and replaced. This practice helps identify patterns, like recurring blockages or electrical issues, saving you time on future troubleshooting. Plus, it’s satisfying to see your DIY skills improve with each fix.
By following these concrete steps, you can restore your espresso machine’s vibration pump without the need for costly replacements. Regular maintenance and keen observation are your best allies—think of it as fine-tuning your gear for the ultimate coffee experience. Happy brewing!
Many coffee enthusiasts assume that simply owning high-end equipment or following basic recipes guarantees perfect espresso at home. However, this mindset often overlooks crucial nuances that can make or break your brewing success. For example, a widespread myth is that more expensive grinders always produce better espresso. While quality grinders are essential, their performance heavily depends on correct calibration and grind size consistency. According to expert barista David Schomer, “Precision in grind distribution can outweigh the raw quality of a grinder”. Therefore, investing in a top-tier grinder won’t help if it’s not properly dialed in.
Another common misconception is that espresso machines with multiple boiler systems automatically deliver superior results. In reality, the skill of tampering, dosing, and temperature profiling is much more impactful than hardware alone. Many beginners focus on flashy features instead of mastering fundamental techniques, leading to overconfidence and inconsistent shots. This misunderstanding can be mitigated by dedicating time to learn about extraction variables through comprehensive guides like mastering the art of home espresso.
Are Higher Pressure Settings Always Better for Home Brewing?
This is a question often asked by intermediate enthusiasts eager to improve their espresso quality. While traditional espresso extraction occurs around 9 bars of pressure, recent studies suggest that static high pressure isn’t always beneficial. In fact, forcing water at excessively high pressures can cause over-extraction and bitterness, especially if grind size or tamping pressure isn’t fine-tuned accordingly. Coffee scientist Dr. Kyle Bystrom notes that pressure profiling—adjusting pressure during extraction—is an advanced technique that can yield more nuanced flavors than relying solely on high pressure. For those looking to push their skills further, exploring concepts like pressure profiling and stable temperature control can significantly enhance your home brewing game. You might consider upgrading your gear with features designed for these techniques, but remember, hardware is just part of the puzzle. Check out top-rated espresso machines for 2025 to see options that support advanced brewing strategies.
When it comes to milk frothing, many assume that higher-powered steam wands automatically produce richer microfoam. Yet, as I discovered through experimentation, technique often trumps power. The key is controlling steam wand positioning, angle, and milk temperature. Using a simple practice like gentle swirling and consistent steaming helps achieve velvet-like microfoam, without overheating the milk or causing curdling. For a deeper dive into perfect microfoam, refer to milk frothers that transform your coffee.
Maintaining awareness of these hidden intricacies can elevate your home espresso experience from good to exceptional. Avoid the trap of oversimplification—embrace the complexity, and your taste buds will thank you. Have you ever fallen into this trap? Let me know in the comments and share your experiences with nuanced gear and techniques!
Maintaining your home espresso gear isn’t just about cleaning after each shot; it’s about adopting a proactive approach with the right tools and routines. Investing in quality equipment and understanding their nuances ensures longevity, consistent performance, and exceptional brew quality. One of my favorite investments has been a high-precision digital scale, like the EspressoMaster Pro, which allows me to dial in the exact amount of coffee and water, leading to consistently perfect shots. Regular calibration using such scales helps me detect even subtle deviations early, avoiding costly repairs or annoying inconsistencies over time.
Another tool I swear by is a dedicated brush set for my grinder and espresso machine—to clean the burrs and internal components thoroughly without damaging delicate parts. This practice, along with periodic descaling using manufacturer-recommended descalers, not only keeps the machine performing optimally but also prevents mineral buildup that can cause long-term damage. For milk frothing, a precision thermometer helps me monitor milk temperature, ensuring I hit that sweet spot for microfoam without scalding. These small but important steps form the foundation of reliable, long-term performance.
Looking ahead, I anticipate that automation and intelligent diagnostics will become standard in more home espresso machines. Features like self-cleaning cycles, digital monitoring, and predictive maintenance alerts will simplify upkeep and reduce downtime. Embracing these innovations early can save hours of troubleshooting and preserve equipment value.
How do I maintain my espresso tools over time?
Routine maintenance is key. I recommend setting a weekly cleaning schedule that includes inspecting seals, lubricating moving parts with food-safe lubricants, and testing electronic components with a multimeter. For grinders, removing and cleaning burrs monthly and checking for dull blades helps maintain grind consistency. Don’t forget to replace worn-out parts promptly—consult your machine’s manual or a trusted supplier like this resource to identify compatible components. By staying diligent and equipped with the right tools, you ensure your setup continues delivering café-quality espresso for years to come. I encourage you to try calibrating your scales with a known weight today—small efforts like this make a big difference in your coffee journey.
The Hardest Lesson I Learned About Home Espresso Gear
One of my most enlightening moments came when my trusty vibration pump went silent during a busy morning, revealing how critical early detection is. I realized that ignoring subtle signs like decreased hum or strange noises could lead to costly repairs or even complete machine failure. Now, I make it a habit to listen closely and perform routine checks—it’s a simple habit that saves me money and ensures my espresso is always top-notch.
Tools That Transformed My Espresso Routine
Investing in a high-precision digital scale, such as the EspressoMaster Pro, changed how I dial in my shots. It’s not just about accuracy; it’s about confidence. Regularly cleaning my grinder’s burrs with a dedicated brush set and checking internal seals with a food-safe lubricant has extended my machine’s lifespan and improved flavor extraction. These tools and routines might seem small, but they’re the secret weapons behind consistent excellence.
Your Turn to Shine in Home Espresso
Remember, every great barista starts with mindful maintenance and a curious spirit. Embrace the nuances—whether it’s calibrating your scale, inspecting your pump, or experimenting with different grind settings—and watch your skills and coffee quality soar. Don’t hesitate to share your experiences or ask questions; your journey is just beginning, and the perfect espresso is within your reach. What’s the most unexpected lesson you’ve learned while maintaining your espresso gear? Let me know below.
}There’s a wealth of knowledge hidden in the details of home espresso mastery. By paying attention to the signs your machine gives, investing in the right tools, and staying curious, you unlock a level of craftsmanship that transforms your daily brew into an art form. Keep experimenting, learning, and sharing—your perfect shot is just a few tweaks away!**