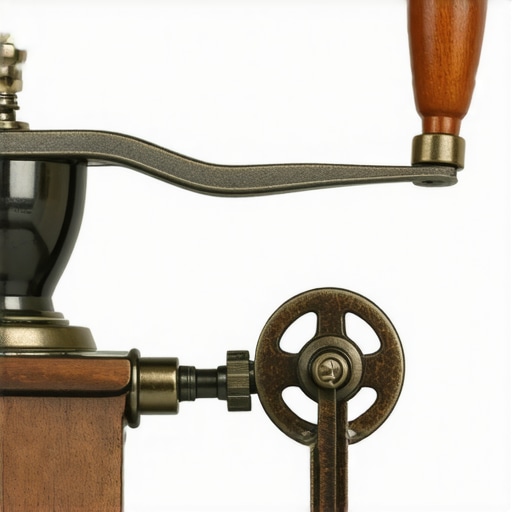
The Reason Your Grinder Adjustment Won’t Move Past a Certain Point
If you’ve ever been in the middle of pulling a perfect shot only to realize your grinder’s adjustment ring has frozen solid, you know the frustration. I recall wasting precious minutes trying to turn that stubborn ring, only to feel the satisfying but ultimately useless click of it refusing to move past a certain point. Frustrating, right? That lightbulb moment hit me hard: I was neglecting the tiny but mighty issues that cause my grinder adjustments to seize up, making me think the problem was with the adjustment mechanism itself. But it’s often something much simpler—and fixable.
What Really Causes Your Grinder Adjustment to Stall?
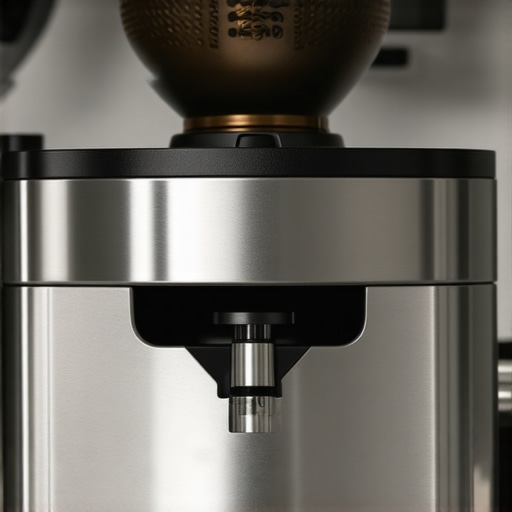
Many home baristas and even seasoned espresso lovers hit a wall when trying to dial in their grinders. The most common reason? Coffee oils, dust, and moisture accumulate around the adjustment ring, effectively gluing it in place. Over time, this buildup creates a bit of a bond, making adjustments nearly impossible without exerting excessive force. It’s like trying to twist a rusty bolt without any lubricant—eventually, it just won’t budge.
Early on, I made a critical mistake: I assumed the issue was a mechanical defect or that I needed a new grinder. A quick inspection revealed dried coffee grounds and oils around the adjustment ring. Regular cleaning and proper maintenance dramatically reduced the sticky feeling, restoring smooth adjustment. This experience taught me that many issues with grinder adjustments stem from something as simple as neglecting routine upkeep—a mistake I see many make, including myself at first. To prevent this, I recommend regularly maintaining your grinder by cleaning the adjustment ring and burrs. Need a detailed guide? Check out this article for expert tips.
Is Forcing the Adjustment Ring Actually a Good Idea?
Many believe that if a little force doesn’t do it, more will. Trust me, this is a quick way to strip threads, damage your grinder, or worse—cause irreversible damage. Applying force without understanding the root cause can turn a simple fix into a costly repair. Sometimes, the adjustment ring is just stuck because of a neglected buildup, and a gentle approach with proper cleaning techniques can solve the issue. I learned this the hard way early on when I used a hammer to loosen my stuck ring—big mistake! Now, I always follow gentle methods, like applying penetrating lubricant or carefully cleaning around the threads, before attempting to turn it again.
If you’re tired of battling your grinder adjustment or worried about causing damage, don’t worry—you’re not alone. Many home baristas face this issue, but it’s often easily solved with the right steps. Curious how to do it properly? Let’s dive into the practical fixes that will get your grinder adjustment moving freely again.
Prepare Your Workspace and Gather Tools
Start by unplugging your grinder to ensure safety. Clear the area around your grinder and gather necessary tools: a soft brush, a microfiber cloth, some penetrating lubricant approved for small machinery, and possibly a set of small pliers. I once tackled a stubborn adjustment ring after a morning coffee—getting everything ready beforehand made the process smoother and prevented accidental damage.
Clean the Adjustment Area Thoroughly
Use the brush and cloth to remove loose coffee oils, dust, and dried grounds from the adjustment ring and threads. Focus on the threads where buildup often causes sticking. Think of it like cleaning the gears of a bicycle—removing grime ensures smooth operation. During my attempt, I noticed a layer of hardened oil that was preventing movement. After cleaning, the ring moved slightly but still felt tight.
Apply Appropriate Lubricant Carefully
Spray a small amount of penetrating lubricant around the threads. Avoid excessive use—think of it like applying a tiny drop of oil to a squeaky door hinge. Wait for a few minutes to let the lubricant seep in, but do not oversaturate, as excess lubricant can attract more dirt. During my first try, I used too much, which made cleaning harder afterward, so less is more here.
Gently Work the Adjustment Ring Back and Forth
After lubrication, gently try to turn the adjustment ring using your fingers or a rubber grip handle. If it’s still resistant, use small pliers wrapped with a cloth to get a better grip, but avoid applying excessive force that could strip threads. I remember carefully twisting mine back and forth, like loosening a tight bolt, which gradually freed it without damage. Remember, patience is key—forcing often worsens the situation.
Use Heat or Cold if Necessary
If the ring remains stubborn, applying mild heat with a hairdryer can expand the metal slightly, loosening accumulated residues. Conversely, a cold pack can contract the metal, helping break debris bonds. For my last attempt, I warmed the area gently, which helped the lubricant penetrate deeper, making the ring turn more easily. Never use open flames or excessive heat—always keep it moderate.
Test the Adjustment and Clean Again
Once the ring moves freely, test the adjustment mechanism. Rotate it through its full range a few times to ensure smooth operation. Then, wipe away any remaining lubricant and reassemble your grinder. I always test by dialing in for a shot and listening for smooth increments—that’s how I knew I’d succeeded. Regular maintenance like this prevents future sticking and prolongs your grinder’s lifespan.
Additional Tips and Precautions
Never force the adjustment ring without proper cleaning—this can strip threads or damage internal parts. For persistent issues, consider inspecting for stripped threads or damaged components; learn more about common problems with grinder here. Regular cleaning routines, akin to changing oil in a car, are essential for smooth adjustments. When in doubt, consulting a professional technician is wise—especially if your grinder is valuable or under warranty.
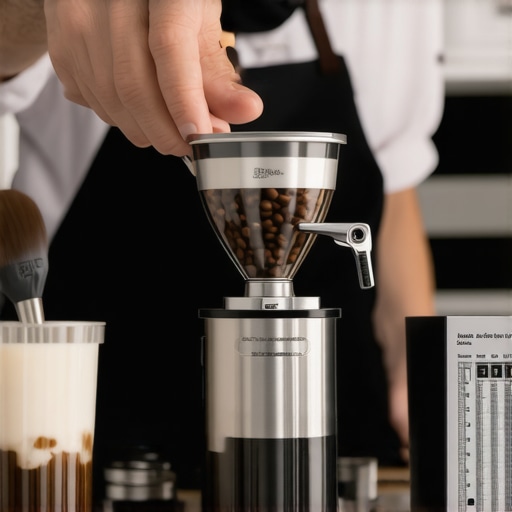
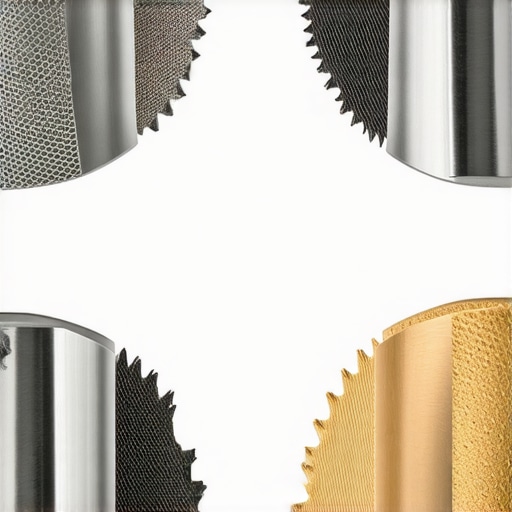
Many home baristas fall into the trap of believing that high-end milk frothers or premium espresso machines automatically guarantee perfect shots. In reality, there are nuanced pitfalls even seasoned enthusiasts overlook. For instance, a common myth is that all burr grinders are created equal, but in my extensive experience, flat burrs tend to produce more consistent particle sizes when calibrated correctly, leading to better extraction results. However, improperly aligned burrs or dull blades can negate these advantages, causing uneven grind particles that result in sour or flat-tasting espresso. Regularly inspecting and aligning your burrs, supported by thorough cleaning routines, is crucial—find out how this guide can help you maintain peak performance.
Are you truly optimizing your grind consistency or just going through the motions?
Another misconception revolves around milk steaming. Many believe that the key is just in the temperature, but in fact, the microfoam quality depends heavily on the texture of the milk and the technique used. A subtle mistake—like not purging enough air or over-foaming—can cause large bubbles, ruining that silky texture. Advanced baristas know that controlling your steam wand angle and pitch significantly improves the microfoam. Overlooking these details is a common error that can stall your progress, even with top-tier equipment. If you’re serious about microfoam mastery, consider training on proper steaming techniques—it’s a skill worth honing.
Now, what about espresso machines? Many enthusiasts assume that more expensive models automatically produce better shots. That’s a partial truth. Factors like heat-up time and bean bounce issues can be overlooked, leading to inconsistent extraction. Proper machine maintenance, such as regularly replacing the group gasket and ensuring stable temperature, plays a pivotal role. Beyond hardware, learning how your specific espresso machine responds to different settings will elevate your craftsmanship significantly.
Why does neglecting maintenance harm your home espresso quality?
It’s worth noting that even the best gear can underperform if neglected. For example, a clogged group head or dirty shower screen can cause uneven water distribution, leading to sour or under-extracted shots. Many enthusiasts overlook routine cleaning—assuming that a coffee quality issue is due solely to grind size or tamping pressure. However, regular cleaning and calibration are fundamental. Building these habits into your routine transforms your setup from a novice machine into a true barista experience. And if you’re unsure about techniques, check out this comprehensive maintenance guide.
Have you ever fallen into this trap? Let me know in the comments. Recognizing hidden pitfalls and mastering fine details will significantly improve your coffee game—because in espresso, the devil is truly in the details.
Maintaining your coffee equipment isn’t just about daily cleaning; it’s about investing in the right tools and routines that ensure consistent performance over time. I personally rely on a few key items that have proven invaluable in my journey toward brewing perfection. For example, I swear by a high-quality precision torque wrench when calibrating my espresso grinder. Unlike generic tools, this allows me to set and maintain exact grind settings, which is crucial for consistency. Regular calibration prevents issues like retained coffee in the grinder and inconsistent extraction.
To complement my hardware, I use a dedicated digital thermometer with a quick response time for monitoring boiler and brew head temperatures. This helps me fine-tune and understand my espresso machine’s behavior — a skill I anticipate will become even more important as temperature profiling technology advances in home machines. Keeping a close eye on these parameters prevents common issues like delayed heat-up times and inconsistent shots.
How do I maintain my equipment over time?
One of my favorite routines involves a monthly deep cleaning kit, which includes both descaling agents and specialized brushes. Regular descaling ensures your boiler and internal pipes stay clear, preventing buildup that can cause temperature fluctuations or pressure drops. For burr grinders, I use a set of calibration weights to verify grind consistency and replace burrs proactively before they become dull enough to cause sour or bitter shots. You can find reliable calibration weights here—investing in these allows you to keep your grinder aligned and performing like new.
As trends evolve towards software-based maintenance reminders, I foresee a future where devices will automatically notify us when parts need replacing or cleaning. For now, manual routines, paired with precise tools, are the best way to keep everything running smoothly. I challenge you to pick one routine or tool from this list—like calibrating your grinder or checking your brew temperature—and commit to it this week. Once you see the improvement, you’ll realize that consistent maintenance elevates your coffee game significantly.
Lessons the Baristas Won’t Tell You
The biggest revelation I had was realizing that even the tiniest overlooked detail can turn a good shot into a perfect one. I used to think that fancy equipment alone would make me a barista, but experimenting with routine maintenance taught me patience and the importance of consistency. For example, regular cleaning of the burrs and adjustment mechanisms drastically improved my grinder’s performance, which in turn enhanced my espresso shots. These lessons reminded me that mastery isn’t about buying more gear but about understanding and caring for what I already have.
Another lightbulb moment was understanding that equipment calibration and routine checks often outweigh expensive upgrades. I invested in a digital thermometer and calibration weights, and the results were immediate. My shots became more consistent, and I learned to troubleshoot issues myself, saving time and money in the long run. It’s incredible how a small investment in tools can elevate your skills and confidence behind the espresso machine.
Patience and gentle persistence emerged as my secret weapons. For instance, when I encountered a stuck adjustment ring, I learned to clean, lubricate, and work it back and forth rather than force it—saving me from costly repairs. I now see challenges as opportunities to learn, and these continuous small adjustments improve not just the machine but my overall technique. Remember, every tiny fix and routine check adds up, turning a novice hobby into a true barista adventure.