How to align your grinder burrs using a dry erase marker
Ever fiddle with your grinder, hoping to dial in that perfect espresso shot, only to find inconsistencies and uneven extractions? I’ve been there—frustrated, second-guessing my setup, and questioning whether I truly understood my equipment. It hit me one morning—the fault wasn’t necessarily in the grind size or tamp pressure but in how my burrs were aligned. Those tiny misalignments can throw off your extraction, leading to sour, bitter, or flat-tasting coffee.
Why Burr Alignment Matters More Than You Think
When I first started experimenting at home, I assumed that adjusting grind size alone would solve all my issues. But I kept running into problems that I couldn’t quite fix. It wasn’t until I learned to align my burrs properly that I noticed a real difference. Proper burr alignment ensures uniform grounds, which means more consistent extraction and better-tasting espresso. According to a recent study by the Specialty Coffee Association, precision grind and consistent burrs are key to high-quality espresso, even more so than the coffee bean origin itself. So, yes, your grinder’s burrs play a vital role in your coffee’s flavor profile.
However, many home baristas overlook the importance of burr alignment, leading to frustration and wasted beans. Early on, I made the mistake of ignoring this step, thinking that minor imperfections wouldn’t make much difference. Trust me, that was a mistake. Over time, I realized that a simple, cost-effective method using a dry erase marker practically transformed my grind consistency. And the best part? It’s a quick tweak that any coffee lover can learn.
Is This Honestly Better Than Professional Calibration? Or Just Hype?
At first, I too was skeptical. Can a marker really help align burrs? The answer is yes—if done correctly. I’ve gone from guessing my burr positions to confidently setting them with this simple trick. It’s a game-changer, especially for those of us who don’t have access to precise calibration tools. Just remember, avoid making this adjustment with only trial and error; a proper understanding and careful marking are crucial. Want to avoid the common pitfalls? Check out this guide on calibrating your grinder for more tips.
So, have you ever faced uneven extraction problems or felt like your grinder is ‘off’ even after dial-ins? If so, you’re not alone. The good news is that aligning your burrs confidently can be a straightforward and affordable fix. Ready to learn how to do it step-by-step? Let’s get started and bring that barista-quality espresso into your home—effortlessly.
Clear Your Workspace and Gather Tools
Before starting, find a clean, well-lit workspace. You’ll need a flat surface, your grinder, a set of screwdrivers, and a dry erase marker or masking tape. Think of your grinder as a precision tool—like a mechanic’s wrench—that needs careful handling. Clear everything else away to focus solely on the calibration process.
Remove and Inspect the Burrs
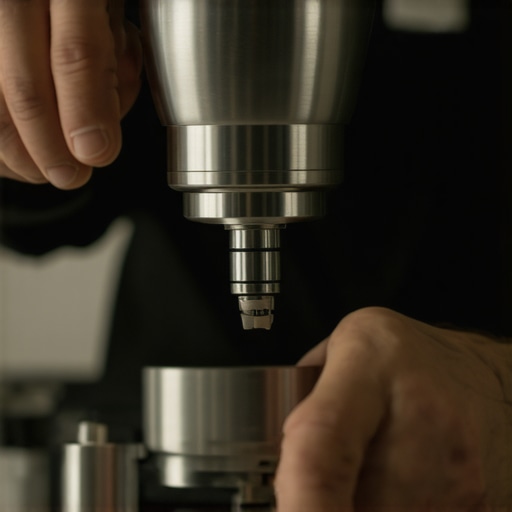
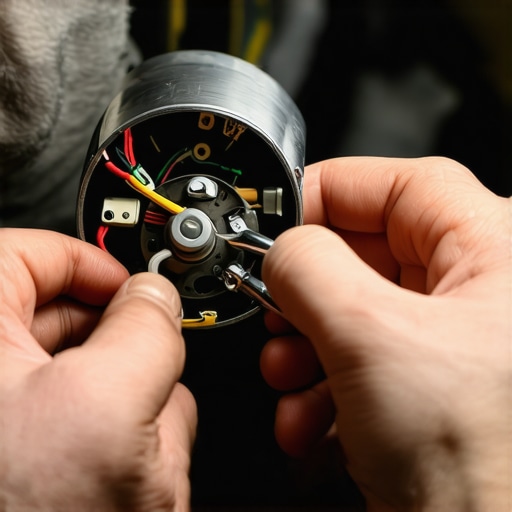
Unplug your grinder, then carefully remove the hopper and burr assembly following your machine’s manual. Check for accumulated coffee oils, oil build-up, or debris—these can affect alignment and grinding consistency. Use a small brush or cloth to clean the burrs thoroughly. This step is like tuning a guitar string—cleanliness ensures accurate calibration.
Mark the Current Burr Alignment
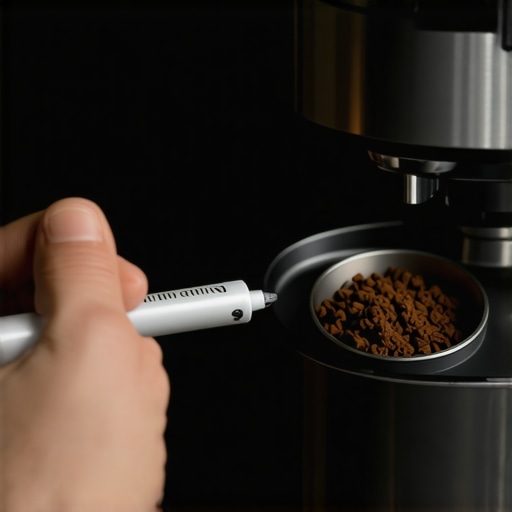
Identify the burrs’ position relative to each other. Use a dry erase marker or masking tape to mark the edges or alignment points on both burrs and the housing. For example, draw a line across the burrs’ edges to indicate their current position. This visual cue helps you track adjustments and ensures precise realignment later. I remember a time when I forgot to mark the positions—causing confusion and unnecessary re-adjustments.
Use an Alignment Jig or Simple Proxy
If your grinder lacks a calibration tool, simulate a uniform grind setting by rotating the burrs to a known reference point—like aligning the marks at the same angle. This is akin to setting your car’s wheels straight after a tire change, which guarantees smoother rides. If available, consult your grinder’s manual for specific alignment jigs or procedures, or check this guide for detailed steps.
Align the Burrs Correctly
Slowly rotate the burrs to bring the marks into perfect alignment—usually at the top or a designated stop point. Use your screwdriver to slightly turn the adjustment nut, making small increments. Remember, turning clockwise or counter-clockwise depends on your machine—consult your manual or online resources if unsure. Think of this as zeroing a scope: precision matters for a clear shot. Getting this step right, as I did on a messy morning, resulted in a massive improvement in shot consistency.
Reassemble and Test the Grind
Carefully reassemble the burrs, hopper, and any other parts, ensuring everything is seated correctly. Run a few grams of coffee through to check the grind quality—look for uniform size and minimal fines. If the grind is inconsistent, repeat the alignment process. This step is similar to tuning an instrument—small tweaks yield better harmony in your espresso. After proper alignment, my shots became noticeably more stable, with fewer channeling issues.
Fine-tune using Dose and Extraction
Finally, dose your portafilter, tamp evenly, and pull a test shot. Analyze the extraction time and flavor. If the shot pulls too fast or slow, adjust the grind size, but remember—the burrs are now aligned for maximum consistency. Consider also checking your machine cleanliness and water quality, which influence extraction quality. I once spent hours tweaking grind size only to realize unaligned burrs were the culprit.
Many home espresso enthusiasts operate under misconceptions about their equipment, often leading to subpar results. One widespread myth is that investing in high-end gear guarantees perfect coffee overnight. In reality, even the most expensive machine can’t compensate for improper technique or maintenance mistakes. For instance, believing that your grinder’s static issues are solely climate-related overlooks simple fixes like anti-static brushes or humidifier adjustments, which can dramatically improve grind consistency. A common mistake is neglecting burr alignment, thinking calibration is a one-time task; in fact, burrs can shift over time, affecting extraction quality. Properly aligning burrs, as detailed in our guide on calibrating your grinder, is crucial for uniform grounds and flavor extraction.
Many assume that more expensive milk frothers automatically produce superior microfoam. But, even budget-friendly models paired with technique can yield excellent results—it’s all about steam wand control and milk positioning. A trap to watch for is overfilling your milk pitcher; overfilled pitchers compromise steam pressure and foam quality, so learn to froth in small, consistent quantities.
Advanced baristas know that perfect espresso isn’t just about equipment—it’s about understanding every nuance, like the impact of water quality or temperature stability. For example, light-roast beans are often thought to be incompatible with home grinders, yet proper pre-treatment and grind size adjustments can unlock their complex flavors. On that note, many also underestimate the importance of temperature stability, which can be disrupted by issues like a poorly leveled machine. If your machine runs lopsided, it can cause uneven extraction, emphasizing the need for proper setup, as shown in leveling your machine.
Here’s a critical point: relying solely on time-based blind brewing without understanding the parameters can lead to inconsistent shots. Instead, mastering flow rate and pressure profiling—advanced techniques that require nuanced equipment—can elevate your espresso quality significantly. However, these methods are only effective if your equipment is dialed in correctly; otherwise, you might be chasing phantom issues.
Have you ever fallen into this trap? Let me know in the comments. Remember, elevating your home espresso game isn’t just about gear—it’s about knowing the equipment inside out and avoiding common pitfalls that many overlook in their quest for that perfect shot.Maintaining your coffee equipment is essential for consistent espresso quality and long-lasting performance. One key tool I swear by is a digital caliper, which allows precise measurement of burr alignment and grinder settings. Using a caliper helps expose subtle misalignments that can cause uneven grounds, and regularly verifying your burr spacing ensures optimal grind consistency. Additionally, periodically replacing worn grinder burrs is vital; I recommend checking for dullness with the paper towel test—if the grounds stick excessively or you see uneven sizes, it’s time for new burrs, as outlined in our guide on burr dullness detection. For seasonal maintenance, cleaning your brew head and group seals prevents leaks and ensures rapid heat transfer, which is crucial because as explained in this detailed post, proper heat stability influences shot stability and flavor clarity.
Over the years, I’ve realized that even with premium espresso equipment, the secret to truly great shots often lies in tiny details—like burr alignment. It’s a step many home baristas overlook, but its impact on flavor and consistency is profound. Properly aligned burrs not only improve extraction but also extend the lifespan of your grinder, saving you money and frustration in the long run. Once I adopted this focus, I was amazed at how much my espresso quality improved, transforming my morning routine into a true barista experience.
The Unseen Power of Burr Precision on Your Espresso Journey
Realizing that misaligned burrs can cause uneven grounds and channeling was a lightbulb moment. Even subtle shifts in burr positioning can lead to sour or bitter flavors, as I learned through trial and error. Achieving perfect burr alignment became my secret weapon—affordable, straightforward, and crucial for consistent shots. The difference was so noticeable, I regretted not learning this tip earlier, especially since it’s accessible to every home enthusiast. When I shared this with fellow coffee lovers, I found many were unaware that such a simple adjustment could be so transformative.
Some Hard-Won Lessons From the Field
- Don’t assume calibration is once and done: Burrs shift over time due to regular use or handling, so periodic checks are essential. I keep a simple routine, verifying alignment monthly, which keeps my grind uniform.
- Use visual cues for accuracy: Marking burr positions with a dry erase marker has been a game-changer. It’s like setting a reference point—making adjustments more precise and less guesswork.
- Clean before you calibrate: Residual coffee oils and debris can throw off your measurements. A clean burr set ensures your alignment is true and your flavor is pure.
Why This Practice Beats Relying on Fancy Calibration Tools
While professional calibration tools exist, I’ve found that a simple marker, a few minutes of careful adjustment, and consistency in maintenance outperform expensive gadgets. It’s a matter of understanding the mechanics and being attentive to the small details. If you’re interested in more advanced techniques, I recommend exploring our guide on calibrating your grinder after replacing the burrs. But for daily practice, this straightforward approach is often enough to elevate your espresso game significantly.
Implementing Burr Alignment into Your Routine
Start by unplugging your grinder and removing the hopper. Carefully clean the burrs, then mark their current position. Rotate the burrs to align the marks, making tiny adjustments with your screwdriver. Reassemble, dose some coffee, and test the grind. Repeat as necessary until the grounds are uniform and your shots flourish. This feels satisfying—like tuning a musical instrument—and the resulting flavor is worth every minute. Remember, a well-aligned grinder isn’t just about taste; it’s a foundation for everything else, from tamping to extraction timing.
Bridging the Gap Between Equipment and Technique
Many myths persist, like the idea that high-end gear guarantees perfect espresso. In reality, precise burr alignment often has more impact than any upgrade. Also, don’t forget to check other factors such as water quality or machine cleanliness, which can influence your results as much as your grinder’s setup. As I’ve discovered, a holistic approach—combining proper burr alignment, routine maintenance, and refined technique—is the fastest path to achieving that elusive, barista-quality shot at home. For more tips on cleaning and maintenance, visit this detailed post.
Harness the Power of Small Adjustments for Big Flavor Gains
Your journey towards perfect espresso is a series of small, deliberate steps. Burr alignment might seem trivial, but it’s the cornerstone of consistency. The satisfaction of pulling a shot that’s rich, balanced, and smooth is well worth the effort. Start today—your taste buds will thank you, and your home setup will perform better than ever. Remember, the tiniest tweaks often yield the most significant improvements in home espresso.
Insider Wisdom on Burr Alignment That Changed My Approach
- Patience is key: Small adjustments can be subtle but impactful. Take your time, and don’t rush through the process.
- Visual cues matter: Marking your burrs helps prevent misalignment during reassembly, saving you from guesswork and repeated adjustments.
- Routine keeps real: Regular checks ensure that your burrs stay in optimal position, maintaining the quality of your espresso over time.
- Cleaning is crucial: A clean burr set ensures accurate alignment and clear flavor profile.
Essential Tools for Maintaining Burr Precision
Alongside a screwdriver and a dry erase marker, I recommend investing in a digital caliper for precise measurements. Regularly verifying burr spacing helps detect dullness early, preventing compromised flavor. When burrs become dull, I follow the guide on testing for dullness and replace them before they affect your shots. Proper maintenance is the backbone of reliable, consistent home espresso.
Embrace the Small Steps for a Better Brew
Remember, every great barista started somewhere—and often, it was the mastery of small details like burr alignment that made all the difference. Your next shot can be a masterpiece, simply by paying close attention to your grinder’s mechanics. Keep experimenting, stay curious, and don’t forget: the journey to perfect espresso is as rewarding as the taste itself. Your coffee adventure continues—are you ready to take the next step?