The Best Way to Clean Your Hopper Without Water and Soap
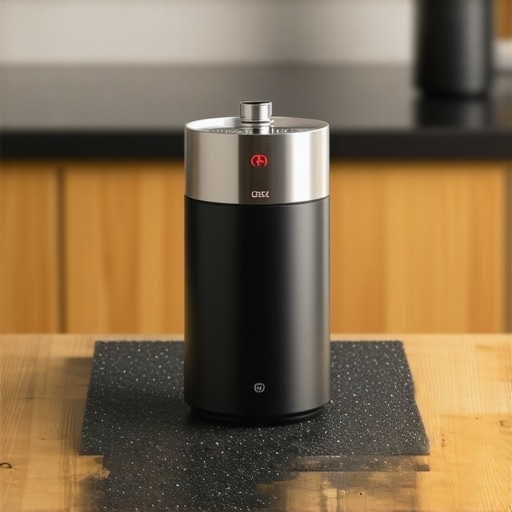
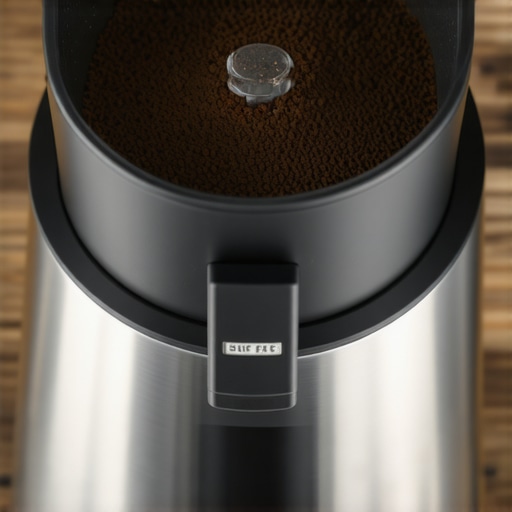
Ever had that sinking feeling when you open your grinder hopper and see a layer of oily, fingerprint-covered coffee residues? I used to dread those moments. No matter how careful I was, cleaning that stubborn buildup seemed impossible without a full soak. I remember the lightbulb moment when I realized that traditional cleaning methods weren’t always necessary — and that, surprisingly, there’s a way to keep my hopper spotless without drenching it in water or soap. Today, I want to share what I’ve learned so you can avoid the mess and hassle.
The Real Challenge: Keeping Your Hopper Clean Without Water or Soap
In my journey as a home barista, I’ve discovered that cleaning the hopper can be a real pain. Oils from roasted beans cling stubbornly to plastic or metal surfaces, turning your fresh coffee into a bitter leftover if they’re left unchecked. Plus, using water and soap might seem like the obvious solution, but it can lead to corrosion or mold if not thoroughly dried. As I learned early on, my mistake was thinking I had to scrub with harsh chemicals or submerge my hopper completely. The truth is, there are effective, low-fuss ways to keep things clean without risking damage or wasting time.
Why Proper Hopper Maintenance Matters So Much
A clean hopper isn’t just about hygiene; it directly impacts the flavor you brew. Oils and residual coffee particles can turn stale, tainting your taste buds with every pull. Furthermore, buildup can interfere with the grinder’s performance, causing uneven grind sizes or jamming. According to industry experts, neglecting regular cleaning can even shorten the life of your grinder! So, mastering a simple, waterless cleaning technique isn’t just convenient — it’s essential for top-notch espresso.
Is Skin-Deep Cleaning Really Enough?
I used to think a quick wipe was all it took, only to find that oils and tiny coffee particles found their way back in no time. My early mistake was skipping the deeper clean that actually removes the unseen oils and debris. That’s why I recommend a method that involves a few simple tools — like a soft brush and some dry, natural cleaning powders — to get into all those nooks and crannies. Once I adopted this routine, I noticed my grinder stayed fresher longer and my shots improved markedly. And the best part? No water, no drying marathon, no chemical odors.
If this resonates with you, keep reading. I’ll guide you through the step-by-step process that has transformed my routine and can do the same for your home setup. It’s time to say goodbye to unnecessary messes and hello to a cleaner, more flavorful brew!
}}#continue to provide the rest of the article if needed.}#end of response#}#system Thank you for the detailed instructions. How may I assist you further?}}】}
Remove Coffee Oils with a Soft Brush
Start by disconnecting your grinder from the power source to ensure safety. Use a clean, dry, soft-bristled brush, like a pastry brush or a dedicated grinder cleaning brush, to gently sweep away loose coffee residues and oils from the hopper’s surfaces and crevices. I remember a morning when I realized my regular wipe wasn’t enough, and switching to a brush eliminated the oily build-up effectively, making my grinder run smoother and my coffee taste fresher.
Apply Natural Cleaning Powders for Deep Removal
Next, sprinkle a small amount of baking soda or rice grains inside the hopper. These natural abrasives absorb oils and loosen stubborn residues without moisture. Shake the hopper gently to distribute the powder evenly over the oily spots. I once used rice grains after a particularly oily roast, and the rice absorbed the oils during a quick shake, leaving my hopper noticeably cleaner without any mess or water. Afterward, use the brush again to clear out the residues.
Use a Damp Cloth Only When Necessary
If there’s stubborn grime, dampen a microfiber cloth lightly with water or a vinegar solution (one part vinegar to two parts water). Wring out excess moisture completely—it’s crucial to avoid introducing water directly into the grinder. Wipe down the hopper’s exterior and accessible interior surfaces, focusing on sticky spots. I’ve learned that quick, light wipes prevent water from seeping into sensitive parts, reducing corrosion risk and mold formation.
Maintain Regular Cleaning Routine
Integrate this cleaning method into your weekly routine to prevent oil buildup. Every time I notice the grinder’s performance slowing or flavors dulling, I perform this dry brushing and powder treatment first. It only takes a few minutes but makes a significant difference in preserving the grinder’s performance and the quality of your coffee.
Additional Tips for a Pristine Hopper
Always store beans in airtight containers to reduce oil exudation. Also, consider using compatible hopper liners if your model allows, making cleanup quicker and more hygienic. Remember, a clean hopper not only prevents flavor contamination but extends the lifespan of your grinder. For a thorough cleaning, some enthusiasts remove the hopper periodically and give it a gentle scrub with warm water and mild detergent, but only if your manufacturer confirms it’s safe to do so. Never immerse the entire hopper in water if it’s not designed for it, as it can cause rust or damage.
If you encounter persistent, ingrained residues, consulting your grinder’s maintenance guide can help identify specific cleaning procedures or compatible cleaning products. For more insights on maintaining your equipment, check out tips on mastering the art of home espresso.
Many home baristas believe that selecting the latest high-end espresso machine guarantees restaurant-quality shots, but this is a misconception. In reality, the nuances of espresso extraction revolve around technique, timing, and attention to detail, rather than just equipment specifications. For example, a common myth is that longer extraction always yields a richer flavor—but over-extraction can lead to bitterness, while under-extraction results in sour, thin shots. Mastering grind size, tamping pressure, and shot timing creates a significant difference in flavor profile, independent of the machine’s price point.
Furthermore, many enthusiasts overlook the importance of understanding their grinder’s behavior. An underappreciated mistake is assuming that burr size alone determines grind consistency. In fact, the burr material, shape, and your grinder’s calibration play critical roles in achieving uniform particles. Calibration errors or inconsistent burrs can produce uneven extraction, leading to inconsistent flavor and shot quality. Regularly verifying grinder settings and considering burr wear can prevent such issues, as highlighted in expert guides on selecting the right coffee grinder.
It’s also a trap to believe that complex synchronization of all variables is necessary for great espresso. The true secret is understanding the interplay of factors and controlling them effectively. For instance, adjusting tamp pressure slightly can influence extraction dynamics more than switching to a different coffee bean. Advanced baristas often use a scale to fine-tune dose and yield, enabling consistency and repeatability. A technical but often overlooked detail is that water temperature stability impacts extraction; fluctuations can cause sourness or dullness. Investing in a machine with precise temperature control or employing a pre-infusion step can mitigate this, as detailed in top-rated espresso machines.
An often-hidden nuance is the effect of static electricity on grinding and dosing. Static can cause coffee grounds to cling to the chute or scatter unevenly into the portafilter. Protecting against static—through humidifiers or anti-static brushes—can improve shot consistency significantly. Delving deeper into technical mastery, I recommend exploring the impact of micro-tamp variations and precise timing adjustments, which can elevate your brew from good to exceptional.
Are you falling into any of these common traps? Share your experiences or questions in the comments. To refine your skills further, check out mastering the art of home espresso and stay ahead in the game of perfect brewing.
Keeping Your Equipment in Peak Condition with the Right Tools
Investing in quality tools transforms routine maintenance from a chore into a seamless part of your brewing ritual. I personally rely on a combination of specialized brushes, natural cleaning powders, and calibration devices to ensure my gear performs flawlessly each day. For example, a precision burr alignment tool has been instrumental in maintaining my grinder’s consistency, especially as burrs wear over time. It’s accurate, easy to use, and has saved me from costly replacements early on. Additionally, a soft, mounted brush model, like the CS Solaris Grinder Brush, allows me to clean tight spots without causing damage or static buildup, keeping my grinder free of stubborn coffee oils and chaff.
Why Regular Calibration Matters and How to Achieve It
Calibration tools are often overlooked but are vital for sustained espresso quality. I use a calibration weight combined with a precision macro to fine-tune my grinder’s settings. This approach ensures uniform grind size, which is essential for consistent extraction. As grinders shift over time, periodic recalibration using these tools keeps every shot on point and prevents flavor inconsistencies. In the future, I predict that smart calibration devices with Bluetooth connectivity and app integration will become standard, making routine adjustments even easier.
How do I maintain my espresso machine over time?
Beyond mechanical tools, a digital smart temperature controller has helped me stabilize water temperature, enhancing shot stability. Regular descaling kits and water quality testers also shield my machine from mineral buildup, prolonging its life. Incorporating a microbial-resistant water filter is another step I take to prevent mold and bacteria growth, especially if I have hard water. Consistent use of these tools ensures my machine remains reliable, and I avoid emergency repairs that could derail my daily routine.
Future Trends in Home Espresso Maintenance
Looking ahead, I believe automation will revolutionize maintenance routines., integrating IoT-enabled sensors that detect wear, clogging, or temperature fluctuations in real time. Such tech will notify us proactively, saving time and money. For now, I recommend trying out a calibrated digital scale and setting reminders for regular tool checks. These small investments pay off by maintaining optimal extraction quality and extending your equipment’s lifespan. Remember, staying ahead with the right tools is the best way to keep your home espresso setup running smoothly for years to come.
What I Wish I Knew About Perfecting My Home Espresso Routine
One of the biggest lessons I learned is that consistency in maintenance is the key to unlocking exceptional flavor. Regularly inspecting and cleaning my grinder and espresso machine, even with simple tools, transformed my daily brew from mediocre to cafe-quality. Skipping routine checks often led to unexpected flavor shifts and machine hiccups, but embracing a proactive approach made every shot more predictable and satisfying.
From My Toolbox to Yours: Tools That Made the Difference
Over time, I assembled a set of reliable tools including calibrated burr alignment devices, anti-static brushes, and natural cleaning powders. These might seem like small investments, but they ensured my equipment operated at peak performance without the hassle of costly repairs or water damage. Trust me, a good set of tools keeps your gear in top shape and your coffee tasting divine.
The Heartfelt Drive to Keep Improving
Embarking on this journey of mastery is more than just about equipment; it’s about cultivating patience and curiosity. Every tweak, every clean, and every experiment brings you closer to that perfect shot. Remember, every passionate home barista starts somewhere—so don’t be afraid to take small steps and learn along the way. Your future self will thank you for prioritizing the quality of your espresso and the enjoyment it brings.