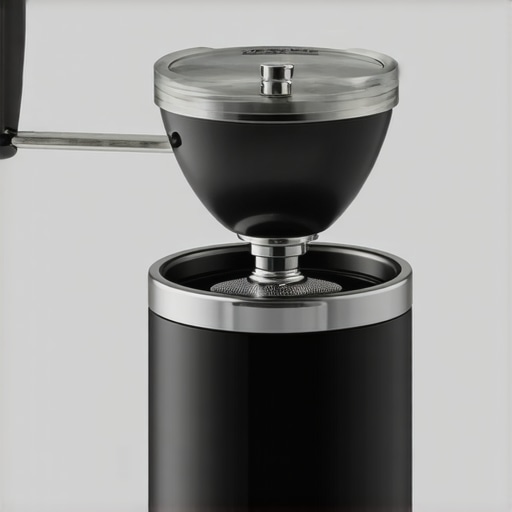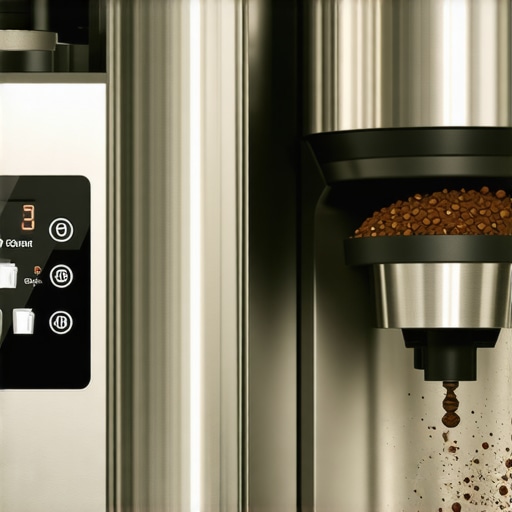
Why relying on your grinder factory zero point ruins your shots
I vividly remember the first time I pulled an espresso shot that tasted flat and lifeless—it was a wake-up call that my setup was missing something crucial. I had followed all the beginner guides, adjusted my tamping pressure, and even upgraded to a fancy portafilter, but still, my shots lacked that sweet spot of balance and clarity. The culprit? I was trusting the factory zero point on my grinder, thinking it was the golden standard for consistent dosing and grind size. But it turned out, relying solely on that factory setting was a silent killer of my espresso quality.
Discovering the Pitfall of Factory Settings and Why It Matters
That realization was a game-changer. It’s surprisingly common among home baristas—those small but impactful adjustments can make all the difference. Your grinder’s factory zero point is often set based on generic testing conditions that might not match your unique machine or beans. Over time, this can lead to inconsistent grind size, uneven extraction, and, ultimately, lackluster espresso. If you’ve ever wondered why your shots are bursting with channeling or taste off even after following all the proper steps, it might be time to reconsider relying solely on that initial factory point.
Is Your Grinder’s Zero Point Actually Worth the Hype?
Early in my journey, I made the mistake of assuming that factory calibration was the best I could get. I thought if it was good enough for the manufacturer, it would be perfect for me. Spoiler alert: it isn’t. In fact, research shows that even minor misalignments in grinder calibration can severely affect extraction consistency and flavor profile, leading to wasted beans and frustration (source). What I learned is that setting my grinder’s zero point precisely for my specific setup—taking into account my espresso machine, beans, and personal taste—delivers noticeably better results.
But here’s the tricky part: how do you find and adjust this zero point confidently, without turning your kitchen into a tech lab? That’s exactly what I will walk you through next. We’ll demystify the process, share practical tips, and reveal why this tweak could elevate your home espresso from good to downright excellent. If you’ve ever faced the frustration of uneven shots, bitter or sour flavors, or just a simple lack of consistency, then keep reading. The journey to perfect espresso starts with a simple calibration trick, and I’m here to guide you every step of the way.
Identify Your Current Zero Point
Before making adjustments, observe your grinder’s current setting. Turn the grind adjustment dial to its factory zero point, which is typically marked or calibrated by your manufacturer. When I first checked mine, I simply aligned the dial to the factory notch and prepared to fine-tune from there.
Gather Your Tools and Ingredients
You’ll need a clean espresso machine, fresh coffee beans, a scale that is accurate to at least 0.1 grams, and a timer. I used a small measuring cup and a *dosing funnel* to prevent coffee grounds from flying everywhere (check out this guide for details).
Adjust the Grinder for Your Setup
Dial your grinder to the factory zero point. Start by pulling a sample shot—use about 18 grams of coffee grounds—and record your grind size and extraction time. My first attempt resulted in an over-extracted, bitter shot that took too long to pour, indicating the grind was too fine.
Make Incremental Changes and Test
Reduce or increase the grind setting in small, precise steps—just one or two clicks at a time—and repeat the process. For example, after my initial shot, I turned the dial slightly coarser and pulled another. Each adjustment should be minor; giant jumps can obscure the real impact of your tweak. Cleaning your grinder chute beforehand ensures consistent results.
Record and Analyze Results
Keep track of each change: note the grind size, extraction time, and taste. A good shot typically pours within 25-30 seconds and has a balanced flavor—neither overly bitter nor sour. When I adjusted my grinder to slightly coarser settings, I noticed the shot flowed better, and the flavor improved noticeably.
Repeat Until Optimal
Iterate this process—adjust, test, record—until you find that sweet spot where the shot extracts perfectly. Once achieved, consider locking the adjustment if your grinder allows, preventing accidental shifts. For more insights on calibration, visit this article.
Refine Your Technique Over Time
Remember, your beans and machine may change over time, so revisit your zero point every few months. A quick recalibration can save you from brewing dull, underwhelming espresso. When I finally committed to this routine, my espresso quality became consistent and, frankly, more enjoyable to make.
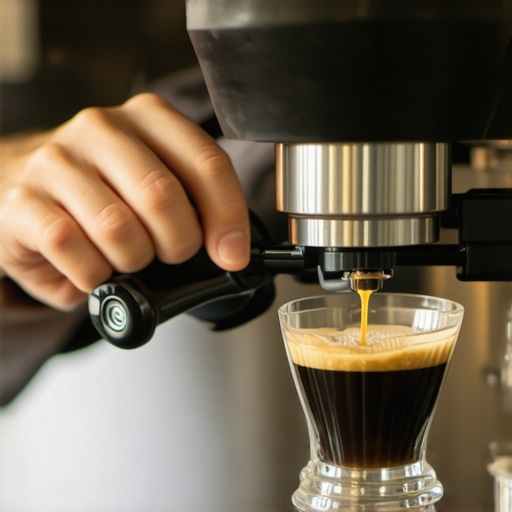 Many enthusiasts believe that investing in high-end equipment guarantees perfect espresso at home — but the truth is, even top-tier gear can lead you astray if used improperly. A frequent misconception is that expensive machines automatically produce better shots; in reality, user technique and understanding of nuanced adjustments significantly influence results. For example, novice baristas often overlook the importance of consistent tamping pressure or accurate dose measurement, which are crucial for extraction quality. This oversight can cause channeling, under-extraction, or bitter flavors, regardless of machine cost. Additionally, many assume that a higher brewing pressure always yields richer espresso, but studies show that optimal pressure varies based on bean type and machine design, making trial and error essential (source). An advanced mistake many make is neglecting grinder calibration; a misaligned burr set or inconsistent grind size can ruin even the best espresso machine’s potential. Proper calibration and routine cleaning are often overlooked, yet they are vital for particle uniformity and flavor clarity. Regarding milk frothers, many believe that steam wand temperature alone dictates foam quality, but proper microfoam texture depends more on the technique, such as the position of the steam tip and pitcher angle. A common myth is that automatic milk frothers guarantee perfect microfoam every time, but they can produce larger bubbles or uneven textures if not used carefully. To truly master espresso at home, attention to detail in every step and an understanding of the subtle variables involved are essential. For instance, maintaining a consistent water mineral content can prevent calcification and ensure machine longevity. So, do not fall prey to the belief that equipment alone makes the barista. Instead, focus on developing your technique and understanding the intricacies that distinguish good espresso from great. Want to explore more advanced tips? Check out this comprehensive guide. Have you ever fallen into this trap? Let me know in the comments.
Keep Your Barista Arsenal in Peak Condition
Investing in quality equipment is just the start; maintaining your tools ensures they perform optimally over time. Personally, I swear by the Pezzetti Precision Tamping Station because its sturdy build compensates for inconsistent kitchen surfaces, leading to more uniform tamping every shot. When it comes to coffee grinders, I always opt for a conical burr grinder. Its design minimizes heat transfer, preserving bean flavor during grinding, and its easily adjustable settings help me dial in the perfect grind size efficiently.
Routine Maintenance Matters
Consistent cleaning extends the lifespan of your espresso machine and other barista gear. I perform a deep clean of my grinder chutes weekly, which prevents buildup that can cause uneven grounds or clogs. For my espresso machine’s group head, I follow a strict schedule of backflushing with espresso machine cleaning tablets, like those recommended in the maintenance guide. This routine keeps components like gaskets and seals in top shape, avoiding costly repairs down the line.
Long-Term Results Ease the Process
Consistency is the backbone of great coffee. To ensure this, I use a digital scale for measuring doses precisely. Over time, monitoring parameters like extraction time and shot volume helps identify when a machine needs calibration or a part replacement. Predictive maintenance, supported by an occasional burr check, keeps my setup running smoothly and saves me from unexpected downtime.
Scaling Up or Refining Your System
If you’re considering expanding your setup, prioritizing equipment that scales with your needs—like modular grinders or adjustable steam wands—can make the transition smoother. Trends point toward smart espresso machines that integrate sensors to self-diagnose issues, making maintenance more proactive. For now, mastering regular upkeep and understanding your gear’s quirks remain the best strategy to keep everything working seamlessly. Ready to step up your game? Try calibrating your grinder’s zero point using the simple 30-second hack, and experience noticeable improvements in shot consistency.
How do I maintain my espresso setup over time?
Develop a maintenance routine that includes regular cleaning, calibration checks, and component inspections. Document your adjustments and results to track trends and anticipate repairs before issues escalate. Consistency in your routine ensures longevity, saves money, and guarantees great coffee every time. For more advanced techniques, check out this guide.
< >
>
Lessons the Guides Don’t Tell You About Home Espresso
One of the most surprising realizations I had was that even the most expensive espresso gear can fall short without proper calibration and technique. I used to believe that fancy machines or premium beans alone could elevate my shots, but I soon learned that small, targeted tweaks—like dialing in my grinder’s zero point—made all the difference.
Another lesson was that consistency in routine maintenance, from cleaning to recalibration, is key to sustained quality. Neglecting these subtle details, I found, often led to inconsistency and wasted beans. It’s easy to overlook these aspects, but mastering them transforms your coffee into a true craft.
Lastly, I discovered that truly optimizing your setup requires patience and meticulous record-keeping. Tracking every adjustment—soil, grind size, extraction time—helped me fine-tune my process. This data-driven approach might seem tedious at first, but it’s the foundation of elevating your home espresso from good to exceptional.