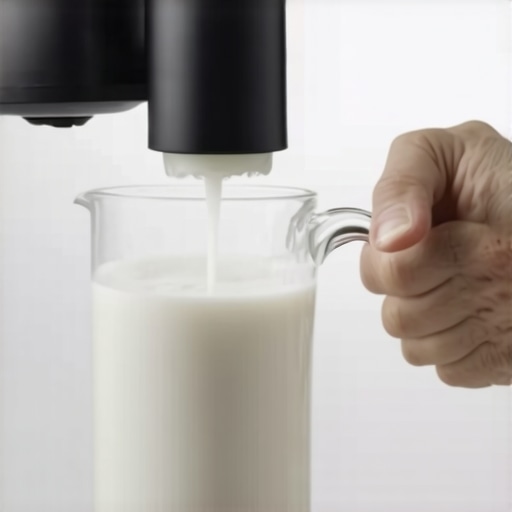
Why Your Milk Foam Looks Great But Tastes Like Water
Ever taken a sip of your perfectly frothed milk, admiring the fluffy microfoam, only to be hit with that disappointing watery taste? I know that struggle all too well. One morning, I spent ages steaming what I thought was the ideal foam—airy, glossy, inviting—only to find that the flavor was flat and uninspiring. It’s a frustrating paradox: your milk looks picture-perfect, but it tastes like it’s been watered down. If that sounds familiar, you’re not alone. This mismatch between appearance and taste is more common than many realize, and it can kill your coffee experience before it even begins.
The Hidden Culprit Behind Great-Looking But Bland Milk Foam
When I first faced this issue, I thought my milk was bad, my machine was broken, or maybe I just didn’t know how to froth correctly. Turns out, the problem was something much more subtle—temperature and milk quality, not technique alone. That realization turned my mornings around. The secret isn’t just in the frothing process but in selecting the right milk, maintaining proper temperature, and understanding the chemistry happening inside your pitcher. According to a study by coffee scientists, milk’s flavor compounds are highly sensitive to temperature; overheating or underheating can flatten flavors and destroy subtle sweetness (source: Espresso Tech Guide). This insight was a game-changer for me, and I want to share what I’ve learned to help you avoid the same pitfalls.
Is Investing in Top-Rated Equipment Worth It for Better Milk?
Many beginners fall into the trap of pouring money into fancy machines, expecting that will solve their foam issues. While a high-end espresso machine or milk frother can make a difference, the root cause often lies elsewhere—like improper technique or subpar ingredients. I made this mistake early on, thinking that expensive gear alone would elevate my coffee to barista standards. But I discovered that understanding your equipment and ingredients is just as crucial. Curious about the best tools for your setup? Check out top-rated espresso machines to make an informed purchase, and visit milk frothers that truly transform your experience for quality options.
Start with Fresh, Cold Milk
Use fresh, cold milk straight from the fridge; it emulsifies better and produces richer foam. I once tried steaming room-temperature milk, and it resulted in uneven microbubbles, ruining my latte art attempt. Keep your milk chilled for optimal results.
Choose the Right Milk
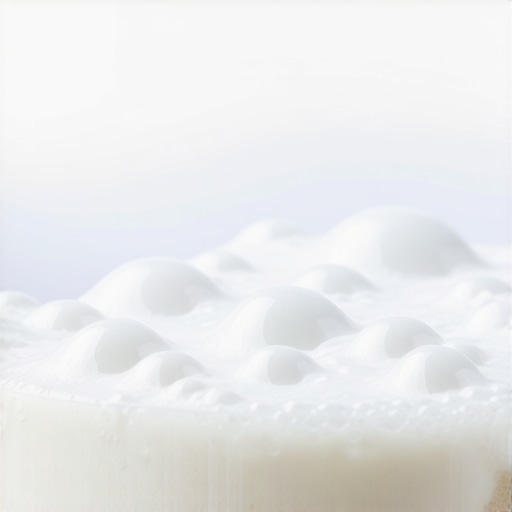
Whole milk creates creamier, more stable microfoam, while skim milk produces larger bubbles. For a barista-quality experience, opt for full-fat milk unless you have dietary restrictions.
Set the Correct Temperature
Ideal steaming temperature hovers around 140°F to 150°F (60°C-65°C). Overheating beyond 160°F (70°C) will flatten flavors and cause the milk to taste cooked. I once overheated milk to 170°F, and it developed a burnt taste. Use a thermometer for precision.
Use the Right Technique for Texturing
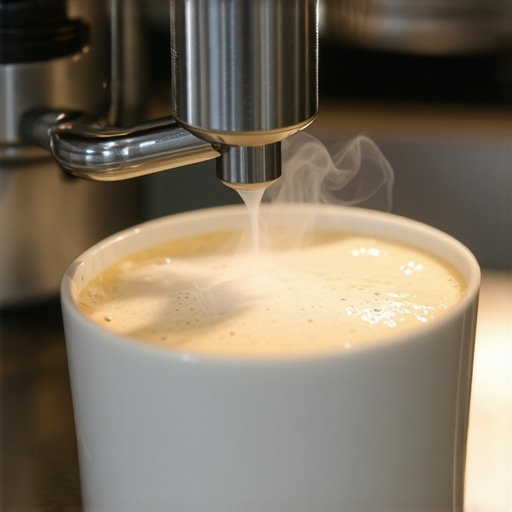
Insert the steam wand just below the surface of the milk, allowing air to be drawn in for froth. Then, submerge the wand deeper to heat the milk evenly, creating a silky texture. I struggled initially, causing large bubbles, but mastering this transition improved my microfoam dramatically.
Master the Microphone Motion
Maintain a consistent swirling motion with the pitcher while steaming. Imagine you’re gently stirring a pot; this creates a whirlpool effect, promoting uniform bubbles. During my last session, I kept a steady hand, and my foam settled perfectly without large bubbles.
Practice Proper Pitcher Positioning
Keep the pitcher at a slight angle, about 45°, which facilitates smooth circulation of the milk as it heats. Adjust the height of the wand to control milk velocity and foam density. I found that small adjustments made a significant difference in foam quality.
Evaluate and Adjust In Real-Time
Listen for the hissing sound; it indicates proper air intake. Once the milk reaches the desired temperature and texture, turn off the steam immediately. During one session, I kept a close eye on the thermometer, preventing overheating and ensuring optimal flavor and microfoam.
Clean and Maintain Your Equipment
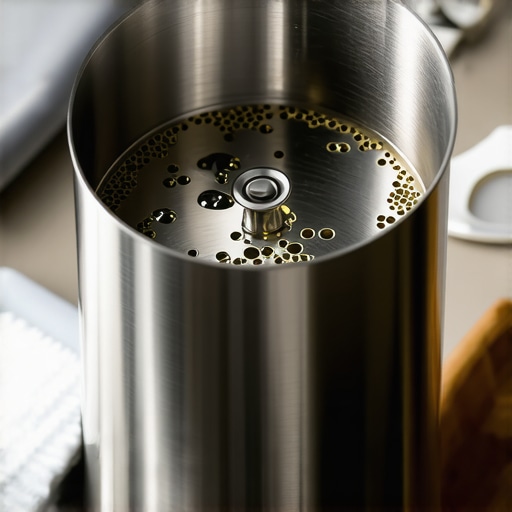
Rinse the steam wand immediately after use to prevent milk residue buildup that impacts performance. Regular descaling also preserves temperature consistency. I set a weekly cleaning routine that kept my frother functioning flawlessly.
Applying these steps consistently will transform your milk steaming from a guesswork process into a precise craft. Remember, practice makes perfect, and patience is key to achieving that velvety microfoam every time.
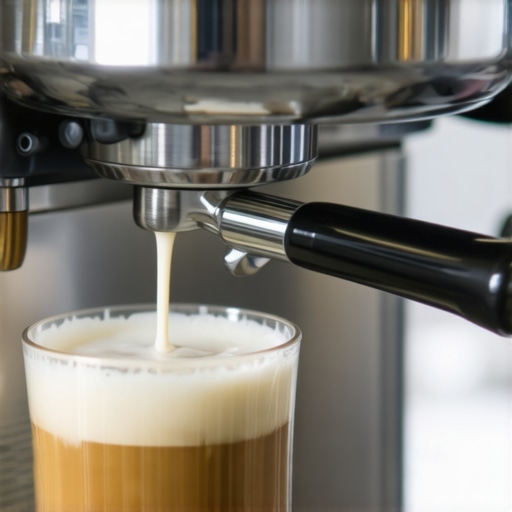 Many coffee enthusiasts believe that purchasing high-end equipment automatically guarantees perfect espresso and microfoam. However, experience shows that focusing solely on gear quality can be a trap. For instance, some assume that a top-rated espresso machine will fix poor technique, but without proper calibration and maintenance, even the best machines underperform. In fact, many baristas struggle not because of their equipment but due to overlooked nuances like grinder calibration or water quality. Diving into the intricacies of common myths, such as the idea that expensive grinders produce better espresso regardless of user skill, reveals that understanding how to set up and maintain your gear is more crucial than price tags. A study by coffee scientists highlights that burr alignment and correct dosing significantly impact extraction consistency (source: Espresso Tech Guide). Overlooking these factors leads many to believe that their equipment is at fault, when in reality, technique and setup make all the difference. Moreover, a common pitfall is misusing milk frothers—believing that all frothers produce velvety microfoam. In truth, selecting the right frother and understanding its mechanics ensures quality foam, especially for latte art. Missteps like overfilling pitchers or incorrect steaming temperatures are often more damaging than equipment shortcomings. As you refine your skills, remember that even the most sophisticated gear won’t compensate for improper cleaning routines. Residual milk or coffee oils can clog steam wands or affect taste, making routine maintenance indispensable. For those eager to elevate their setup, exploring expert-curated recommendations for top-rated espresso machines and quality milk frothers can be valuable. But ultimately, mastering the art of calibration, cleaning, and technique is what transforms good gear into excellent results. Don’t fall into the trap of equating equipment with skill; instead, see it as an enabler. Have you ever fallen into this trap? Let me know in the comments.
Keep Your Equipment Running Smoothly
Investing in quality equipment is just the beginning. To ensure your coffee gear performs optimally over time, regular maintenance and using the right tools are crucial. I personally swear by a good descaling solution like descaling products designed specifically for espresso machines. They help prevent mineral buildup, which can cause pressure inconsistencies and reduce flavor fidelity. Additionally, a high-quality cleaning brush set, including a narrow brush for steam wands and group heads, keeps residues at bay and prolongs your machine’s life.
How do I maintain my espresso machine over time?
Routine cleaning is non-negotiable. Every week, I remove and soak the portafilter and baskets in a cleaning solution to prevent rancid oils from contaminating future shots. Monthly descaling using a recommended solution ensures the internal boilers and pipes remain free of mineral deposits. For every component, I follow thorough guidelines from trusted cleaning routines. Remember, neglecting maintenance doesn’t just damage your gear — it impacts flavor integrity and consistency.
Upgrade Your Tools Smartly
When it comes to long-term results, choosing the right tools can make all the difference. For grinders, I prefer models with stepless micro-adjustments because they allow for precise grind size control, which is essential for dialing in shots from different beans or roasts. A good example is the doserless grinder with consistent burrs and minimal retention. For milk frothing, I recommend a dedicated automatic milk frother that heats and steams simultaneously, saving time and effort—especially if you’re serious about latte art.
What equipment trends are shaping the future of home espresso?
Advancements in PID temperature controllers, smart tampers, and app-connected espresso machines are on the rise. These innovations aim to give enthusiasts more control and consistency at home. According to future-ready models, embedding sensors and IoT capabilities will become standard, allowing you to monitor and optimize every brew remotely. Staying updated on these trends ensures your setup remains competitive and delivers café-quality results consistently.
Remember, masterful maintenance combined with the right tools is the secret to enjoying a long-lasting, delightful coffee experience. Try integrating a monthly descaling routine and experiment with stepless burr grinders; you’ll notice an immediate improvement in shot clarity and flavor complexity.
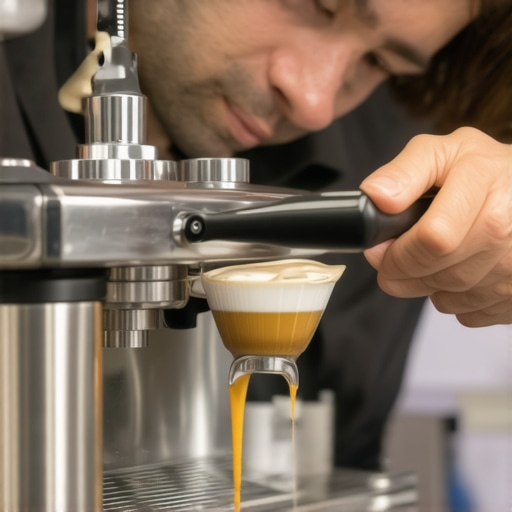
Pro tip: Track your equipment’s performance over time using a dedicated espresso scale that measures flow rate and shot weight precisely. This small investment can significantly enhance your ability to reproduce perfect shots consistently, making maintenance much easier and more effective.
Reflecting on all I’ve learned about perfecting home espresso and milk frothing, one thing stands out: the most profound lessons often come from the mistakes and surprises along the way. For instance, I once believed that upgrading my espresso machine would instantly solve all my brewing issues. But the real breakthrough came when I realized that routine maintenance and a nuanced understanding of my grinder’s burrs made a bigger difference than any new piece of equipment. Tiny adjustments—like recalibrating my grinder or perfecting the tamping angle—turned average shots into consistently great ones. This journey taught me that mastering the subtle art of gear calibration and learning to listen for the machine’s cues can unlock flavors I never imagined possible. Remember, it’s not just about the gear but how deeply you engage with it; each tweak brings your home coffee experience closer to café quality and makes every sip more rewarding.