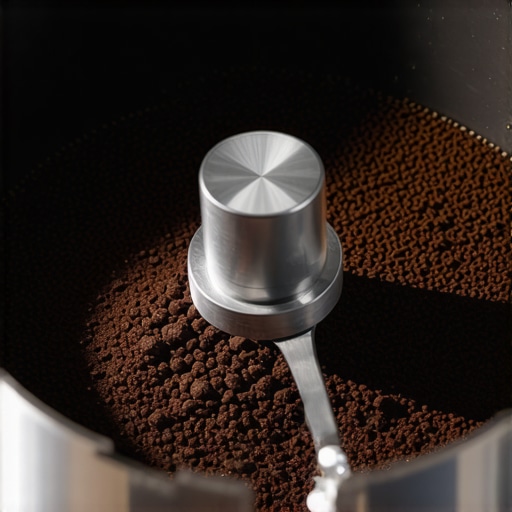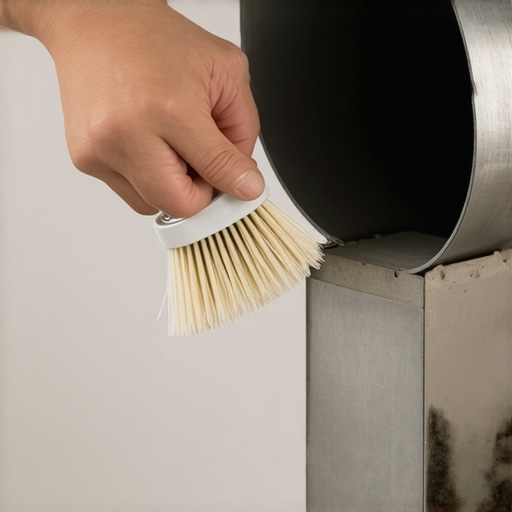
How to Clean Your Grinder Chute Without Taking the Whole Thing Apart
Ever had that sinking feeling when your espresso starts tasting off, but the thought of taking apart your grinder feels overwhelming? I vividly remember the time I almost gave up on my morning routine because cleaning my grinder chute seemed like a daunting project. I’d stare at the disassembled parts, wondering if I needed a toolkit or a degree in mechanical engineering. Finally, after a frustrating hour of attempting to clean everything out, I realized there had to be an easier way—something less messy, less time-consuming, and more practical for everyday maintenance.
The Lightbulb Moment: Clean Your Grinder Without Full Disassembly
If you’ve ever experienced clogs, uneven grinding, or a buildup of coffee oils affecting flavor, you know how crucial regular cleaning is. But tearing apart your grinder each time is disruptive and risky—you might accidentally misalign burrs or damage delicate parts. So, what if I told you there’s a way to clear out your chute effectively without disassembling the entire machine? That’s exactly what I’ll share today: practical tips to keep your grinder in top shape without the hassle.
Is It Really Worth the Hassle-Free Approach?
At first, I was skeptical. I thought, “Surely, I need to get into the guts of my grinder for a proper cleaning.” Turns out, I made a common mistake early on—believing that only full teardown cleans out stubborn buildup. Many enthusiasts overlook the simplicity of targeted cleaning methods that utilize common tools and some clever techniques. Research shows that coffee oils and particles can linger in the chute, causing flavor degradation and clogging if not cleaned regularly. Without a proper cleaning routine, you risk diminishing your espresso’s quality over time, which no amount of fresh beans can fix.
If you’ve faced similar issues—clogged chutes, inconsistent grind size, or bad-tasting coffee—I invite you to explore these straightforward strategies. By mastering this simple maintenance, you’ll save time and keep your espresso tasting consistently delicious. Ready to discover how to tidy up your grinder chute efficiently? Let’s dive into the practical steps that make cleaning your grinder a breeze, all without taking it apart.
,
Prepare Your Workspace and Gather Tools
Before diving in, clear your countertop and gather a soft brush, a pin or compressed air can, a damp cloth, and a small container of grinding cleaner or rice. Think of this step as preparing your toolbox before fixing a bike; everything should be within arm’s reach to streamline the process.
Identify Common Blockages and Clear Them
Locate the Chute and Burrs
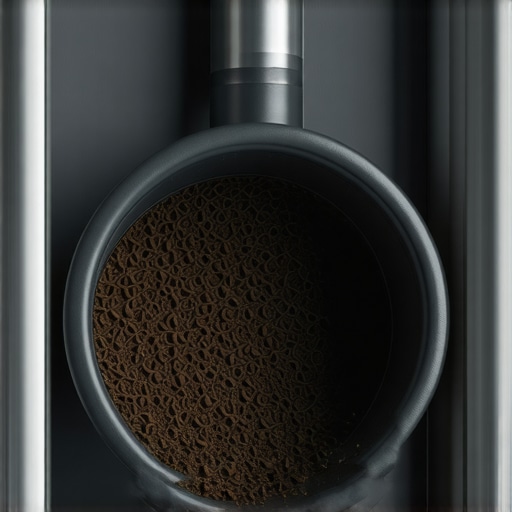
Open your grinder’s portafilter or hopper to access the chute. It’s the narrow passage where coffee grounds trickle down. If your grinder has a transparent bean container, remove it to see inside. Think of this as peeling back the layers of an onion to get to the core problem.
Use a Pin or Compressed Air
Gently insert a pin or use compressed air to dislodge any coffee grounds or oils clogging the chute. Imagine clearing dust from a camera lens; a gentle touch prevents damage while effectively removing debris. Be cautious not to force anything, as burrs and delicate parts can be sensitive.
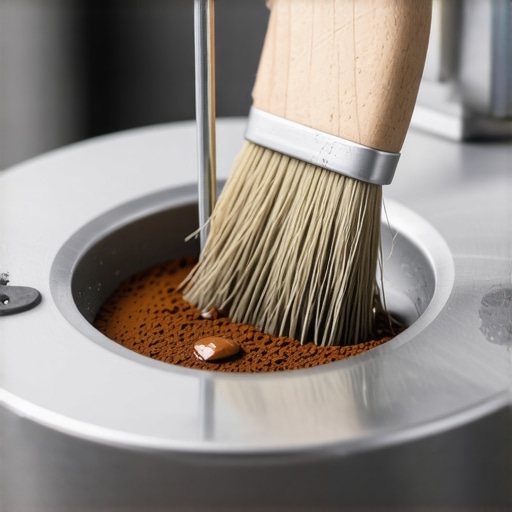
Visualize using a pin to nudge out stubborn particles lodged in a tight corner, much like clearing lint from a trap. This method is especially effective for dislodging buildup without disassembling the entire unit.
Brush and Wipe for Deep Cleaning
Use a soft brush to sweep along the chute and around the burrs. Dip the brush in grinding cleaner or rice to absorb excess oils. Think of this as sweeping dust from your shelves—regular sweeping prevents stubborn grime from accumulating. Wipe remaining surfaces with a damp cloth to remove residual oils and debris, ensuring your grinder remains pristine.
Test and Maintain Regularly
After cleaning, run a small amount of coffee beans through the grinder to check for smooth operation. If the flow is steady and no unusual sounds occur, you’ve successfully cleaned without full disassembly. Incorporate this quick clean into your routine to prevent buildup, keeping your espresso tasting fresh and your machine performing optimally.
For more insights on maintaining barista gear or choosing the best grinder, visit this guide or reach out via contact page.
Many coffee enthusiasts operate under assumptions that might hinder their brewing success. One widespread misconception is that investing in the most expensive equipment guarantees superior coffee. While top-tier gear can improve consistency, mastering the nuanced techniques—such as proper grind size, tamping pressure, and water temperature—is often overlooked, leading to underwhelming results despite high-end equipment. For example, even the best espresso machine won’t produce great shots if the user doesn’t understand pressure profiling or pre-infusion effects, as explained in expert guides like [this](https://espressotechguide.com/why-your-espresso-machine-pressure-gauge-might-be-lying-to-you). Additionally, many assume that milk foaming quality solely depends on the frothed milk’s temperature, but factors like pitcher angle, microfoam technique, and milk type play vital roles. An often-ignored detail is that adjustable milk frothers aren’t always the silver bullet; skill and understanding of flow patterns matter more. Beware of the myth that once you’ve set your grinder, you don’t need to revisit it regularly. In reality, grind size should be fine-tuned constantly based on bean origin, roast level, and even humidity—regular calibration is essential, as discussed in [this](https://espressotechguide.com/the-difference-between-low-and-high-retention-grinders-in-practice). Advanced users recognize that what feels like a minor mistake—like tamping with uneven pressure or forgetting to purge steam wands—can subtly alter shot quality. These details compound into noticeable flavor differences over time. Remember, even small mistakes can be costly in terms of flavor and equipment longevity. Don’t fall into the trap of equating more expensive gear with automatic excellence; mastering technique is often more impactful. Mastering your barista tools involves understanding their limitations and nuances, not just their specifications. Have you ever fallen into this trap? Let me know in the comments. For a deeper dive into optimizing your setup, explore [my guide on choosing the best barista gear](https://espressotechguide.com/choosing-the-best-barista-gear-for-coffee-enthusiasts). Staying aware of these subtle factors will elevate your coffee from good to exceptional.
Investing in Reliable Equipment and Smart Maintenance
To truly elevate your home coffee experience, having the right tools and a solid maintenance routine is indispensable. Personally, I swear by the Breville BES920XL espresso machine for its durability and intuitive interface, which makes regular upkeep manageable. A high-quality burr grinder like the Niche Zero ensures consistency and minimizes static, while the Barista Milk Frother Pro enables perfect microfoam easily. Remember: investing in quality gear reduces long-term maintenance headaches and boosts your brewing consistency.
How do I maintain my equipment over time?
Consistent cleaning is key. For espresso machines, I recommend the 10-second daily purge—a quick flush that prevents buildup and preserves performance. Use specialized tools like a group head brush and descaling tablets for periodic deep cleaning. For grinders, regularly check burrs for wear using the method described in this tip and replace them when you notice dullness. Maintaining your milk frother involves immediate rinsing after each use and occasional disassembly for thorough cleaning, especially if you notice build-up or a decline in foam quality.
Why proper tools matter for long-term success
Using the right maintenance tools—like a sealed container for beans, a calibrated dose set, or precision tampers—keeps your workflow efficient and minimizes breakdowns. Plus, regular calibration of grinder settings, as detailed in this guide, ensures your shots stay consistent regardless of bean variations or humidity shifts. As trends point toward smarter, IoT-enabled equipment, investing in tech-enabled tools now can future-proof your setup, allowing remote diagnostics and automated alerts for maintenance needs.
Enhance your routine with an advanced tip
One game-changing method is performing a monthly burr shake—a technique where you loosen the burrs slightly and tap them gently to dislodge any stuck particles or oil buildup, extending burr life and ensuring uniform grinding. This simple step, based on insights from this article, can noticeably improve grind consistency. Make it a habit to incorporate this quick tune-up to keep your grinder performing at its peak. I recommend trying this today, especially if you’ve noticed inconsistency or static during grinding.
The Hardest Lesson I Learned About coffee grinders,home espresso,milk frothers,espresso machines,barista gear
One of the most impactful realizations came when I neglected regular maintenance, assuming my expensive equipment would somehow take care of itself. It became clear that even the finest gear requires consistent attention, or else flavor nuances are lost and parts wear prematurely. The lesson? Invest time in routine checks, even if it feels like a chore at first. It’s often the small, consistent efforts that lead to the most significant improvements in your brewing journey.
3 Myths About coffee grinders,home espresso,milk frothers,espresso machines,barista gear That Held Me Back
- More expensive equals better: I once believed that premium gear would eradicate all mistakes, but mastery of technique trumps price tag every time.
- Full disassembly is necessary for deep cleaning: With some clever targeted cleaning approaches, you can maintain your gear without taking everything apart, saving time and reducing the risk of damage.
- Once dialed in, settings never need adjustment: Beans change, humidity shifts, and routines evolve—regular calibration is vital to keep quality consistent.
What Experts Won’t Tell You About coffee grinders,home espresso,milk frothers,espresso machines,barista gear
- Perfecting your shot involves more than just equipment—technique, patience, and understanding ingredient nuances matter more than you realize.
- Simple maintenance tricks, like a monthly burr shake or quick chute cleans, can extend your gear’s lifespan and elevate your coffee quality significantly.
- Automated tools and proper tools aren’t just luxuries—they are essential companions for achieving barista-level results at home.
Fuel Your Passion: Take Action Today
Embrace these lessons and let your curiosity drive improvements. With a little effort, you can transform your routine into a fulfilling ritual that delivers exceptional coffee every single day. Remember, mastery isn’t about expensive gear alone; it’s about understanding, consistency, and enjoying the process. So, why not start today? Explore [my guide on choosing the best barista gear](https://espressotechguide.com/choosing-the-best-barista-gear-for-coffee-enthusiasts) or experiment with those simple cleaning tips we discussed. Your perfect espresso awaits—are you ready to take the next step?