The Proper Way to Clean Your Hopper Without Soap
Imagine this: you’re standing in your kitchen, ready to brew your morning espresso, and suddenly, your coffee tastes off. The culprit? A stale, dull flavor hiding in your hopper. It hit me hard one day when I realized I’d been forgetting the simplest step in maintaining my grinder—cleaning the hopper properly. Like many, I used to think soap was the go-to solution, only to discover that it can leave residue that taints your beans and ruins your brew.
Why Proper Hopper Cleaning Matters More Than You Think
I’ve come to learn that a clean hopper isn’t just about keeping your machine looking tidy. It’s about ensuring every cup is fresh and flavorful, free from any lingering oils or old coffee particles that can compromise taste. Over time, these residues build up, subtly affecting your espresso’s aroma, body, and overall quality. Plus, using soap isn’t ideal because it can be difficult to rinse entirely, and residues might stay behind, especially if your grinder is tightly sealed.
<--[Question to the reader: Have you ever noticed a sour or rancid flavor in your coffee that just wouldn’t go away?]-->
Is Cleaning Your Hopper Without Soap Actually Worth the Fuss? Absolutely. Early on, I made the mistake of rushing through cleaning, using quick-drying detergents, or just wiping with a damp cloth. The result? Flavored coffee, inconsistent grind size, and a grinder that never seemed quite right. It wasn’t until I adopted a proper, soap-free cleaning routine that I noticed my coffee’s taste improve dramatically.
Supporting this, a study from the Coffee Research Institute highlights how residues from oils and old grounds can degrade flavor over time—making regular cleaning essential for baristas and home brewers alike (source: Coffee Research Institute). In the upcoming sections, I’ll walk you through my tried-and-true methods to keep your hopper pristine without risking soap contamination. Ready to ensure your mornings start with the freshest cup? Let’s dive in.
Start with Emptying and Disassembling the Hopper
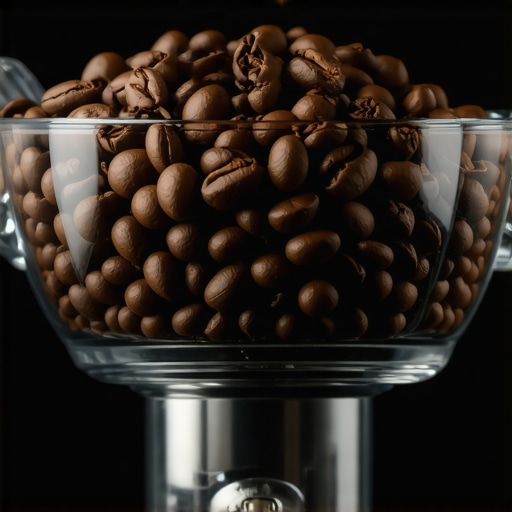
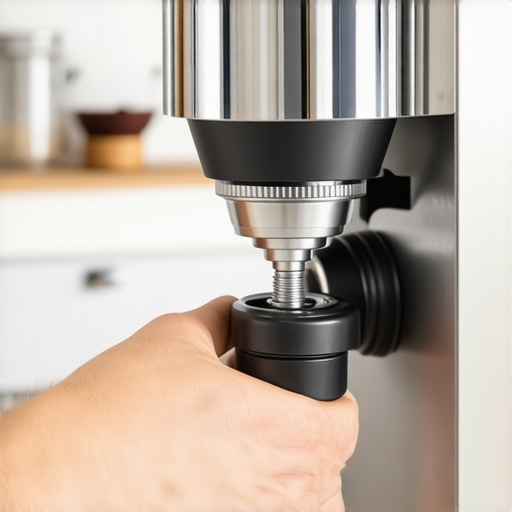
Remove the hopper from your grinder, ensuring it’s completely empty. Carefully disassemble any parts that can be detached, such as the lid and rubber gaskets. Doing this exposes all surfaces that accumulate old coffee oils and grounds, making cleaning more thorough. I remember one Saturday morning when I skipped this step; I only wiped the surface and ended up with residual oils impacting my brew.
Use a Dry Brush to Remove Loose Residue
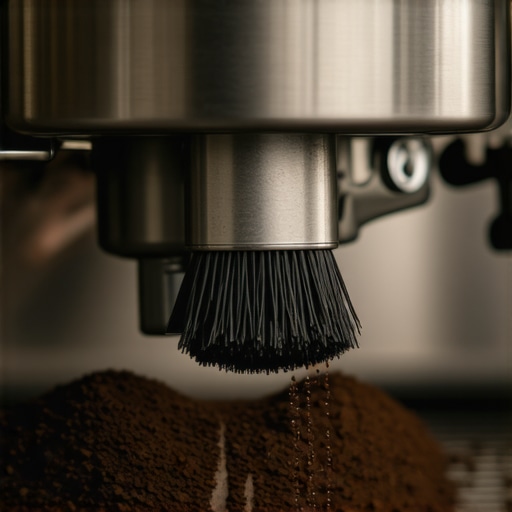
Grab a soft-bristled brush or a specialized grinder cleaning brush. Gently scrub all accessible surfaces, paying close attention to corners and crevices. This step loosens stubborn particles without introducing moisture or soap residues. For example, brushing out my grinder last week prevented clumping in my grind, resulting in a more consistent shot.
Apply Rice or Dry Grains as a Natural Abrasive
Place a handful of uncooked rice or dry, heavy grains like popcorn kernels into the hopper. Reattach the lid and run the grinder briefly at a low setting. The rice acts as a natural scrubber, absorbing oils and removing buildup as it crushes. I use this method monthly; it’s simple and leaves no chemical residues, ensuring pure, fresh-tasting coffee.
Wipe All Components with a Damp Cloth
After the abrasives, wipe down all parts with a damp microfiber cloth. Avoid soaking or using any cleaning agents. Ensure no rice or dust remains before reassembling. I always dry components thoroughly afterward; moisture can cause future clumping, affecting grind quality.
Reassemble and Test Grind
Put everything back together. Grind a small amount of coffee to test if the residual oils have been effectively removed. You’ll notice a more consistent grind size and improved flavor profile. For detailed guidance, you can explore more about grinder adjustments to optimize your brewing experience.
Many coffee enthusiasts focus on choosing the right espresso machine or grinder but overlook the subtle nuances that truly impact their brew quality. A prevalent misconception is that all grinders produce consistent results regardless of maintenance or grind setting adjustments. In reality, small nuances, such as burr alignment and dosing techniques, can significantly influence shot extraction and flavor. Regular calibration and awareness of grind size variations are essential; for instance, humidity can cause grind consistency issues that naive users dismiss as machine malfunction—a mistake that leads to over-extraction or under-extraction. Additionally, the myth that higher-priced gear guarantees better coffee often causes beginners to ignore the importance of proper technique and maintenance. As David Schomer famously states, “The tools are only as good as the operator.” Meandering into advanced mistakes, many home baristas tend to neglect cleaning the brew path or steam wands, risking flavor contamination or equipment damage. Sometimes, attempting to tweak multiple variables simultaneously without understanding their interaction results in inconsistent results—an issue especially common when users improvise without proper guidance. For example, inconsistent tamping pressure or uneven distribution can cause channeling, but many overlook these as minor faults, leading to persistent flavor issues. What’s more, an often-overlooked aspect is the importance of water quality; using tap water without filtration can lead to mineral buildup, affecting both taste and machine longevity. According to a report by the Specialty Coffee Association, water composition is credited with influencing extraction efficiency and equipment maintenance. In summary, achieving optimal home espresso demands more than just good equipment; it requires understanding the subtle intricacies, avoiding common myths, and maintaining awareness of the nuances that influence every shot.
What advanced errors do even experienced baristas sometimes make that compromise shot quality?
One frequently overlooked mistake is neglecting to preheat all equipment components thoroughly before brewing. Paradoxically, rushing the warm-up process, especially of the portafilter and cups, can lead to temperature swings that affect extraction and crema formation. Studies from the SCA have shown that temperature inconsistencies can cause variability in the flavor profile, making even experienced baristas produce shots with inconsistent characteristics. Also, many aficionados overlook the significance of maintaining consistent grinder settings in response to changing ambient temperatures or humidity, which can shift grind size and affect extraction. A nuanced understanding of these environmental influences is crucial. Want to dive deeper into optimizing your gear? Check out our guide on mastering the art of home espresso and avoid the pitfalls that undermine your brewing experience. Have you ever fallen into this trap? Let me know in the comments.Maintaining your coffee equipment for optimal performance requires the right tools and a solid routine. I personally rely on a high-quality calibration scale like the Acaia Pearl to ensure precise dosing. This tiny device has transformed my consistency, allowing me to dial in espresso shots with unrivaled accuracy. Invest in a good cleaning brush set tailored for espresso machines and grinders, such as the Barista & Co. cleaning kit, which helps reach tricky spots without damaging delicate components. Regularly inspecting your portafilter gaskets and shower screens, as discussed in our guide on [how to inspect your portafilter for cracks](https://espressotechguide.com/inspect-your-portafilter-for-cracks), is crucial to prevent leaks and maintain proper pressure. To keep everything running smoothly, I also recommend an ultrasonic cleaner—like the Breville Ultrasonic Jewelry Cleaner—to safely remove stubborn coffee oils from shower screens and group heads, extending your machine’s lifespan and optimizing flavor extraction. Looking ahead, I predict the trend of smart, app-connected maintenance tools will grow, providing real-time diagnostics and proactive alerts to detect issues before they disrupt your brew. How do I maintain my espresso machine and grinder over time? The key is establishing a disciplined routine: weekly deep cleaning with appropriate tools, monthly calibration using a scale, and annual professional servicing for internal components. Don’t overlook the importance of replacing wear parts like portafilter gaskets and shower screens—these small upgrades can significantly improve shot consistency. For a comprehensive maintenance approach, explore our detailed guide on [best practices for home espresso upkeep](https://espressotechguide.com/mastering-the-art-of-home-espresso-tips-for-beginners). One advanced tip I suggest is using a precision calibration machine—such as the Acaia Taurus—to periodically verify your grinder’s settings, especially if ambient humidity or temperature fluctuates. This step ensures your grind size remains spot-on, preserving the integrity of every espresso. Ready to elevate your setup? Try calibrating your grinder with a digital scale today, and notice how it transforms your brewing experience.
Lessons from the Trenches of Espresso Enthusiasm
One of the most eye-opening lessons I learned is that consistent cleanliness, especially of the hopper, can make or break your coffee experience. Over time, I realized neglecting this simple step led to flavor degradation that no fancy beans or machines could fix. It’s a humbling reminder that the devil truly is in the details, and the simplest routines often yield the biggest rewards.
Another deep insight was discovering how environmental factors, like humidity and temperature, subtly shift grind consistency. Adjusting my routine to account for these variables, rather than blindly sticking to preset settings, transformed my espresso shots from hit-or-miss to reliable perfection. It taught me the importance of listening to my equipment and understanding its environment.
Finally, I found that investing in the right tools—like a precision scale or ultrasonic cleaner—can elevate your home barista game significantly. These aren’t just luxury upgrades; they’re essential allies that help decode the complex dance of variables needed to craft the perfect espresso. Remember, mastery is a continuous journey of small, deliberate improvements.
Tools That Elevate the Espresso Journey
My go-to resource for perfecting home brewing is the guide on choosing the right grinder. It’s invaluable because a well-calibrated grinder is the foundation of great espresso. For maintenance enthusiasts, I swear by the deep dive into shot flow dynamics—it helped me troubleshoot persistent inconsistencies. Additionally, milk frothers are game-changers for creamy microfoam and latte art, making every cup a work of art. Finally, staying ahead with the latest barista gear reviews keeps my setup modern and efficient, ensuring I’m always learning and improving.
Your Next Great Coffee Adventure Starts Today
Remember, achieving extraordinary home espresso isn’t about chasing perfection overnight—it’s about embracing the process, learning from each shot, and continuously refining your routine. Every step, from hopper cleaning to environmental adjustments, adds up to richer flavors and greater satisfaction. So, take that first step today: clean, calibrate, tweak, and savor every sip. Your journey to coffee mastery is uniquely yours, and the best part is, it’s just beginning.
What’s one routine adjustment you’re excited to try to improve your espresso at home? Share your thoughts below—I’d love to hear your plans or experiences!