How to Clean Coffee Oil Off Your Plastic Hopper
Ever stared at your plastic coffee hopper after a brisk morning brew, only to notice a shadowy film of oily residue lurking inside? I know that sinking feeling all too well—bogged down by stubborn coffee oils that just won’t budge, leaving my espresso tasting off and my machine looking less than inviting. One morning, I finally realized that the flavor I cherished was slipping away because I ignored this sneaky buildup.
Today, I’m here to share my journey from frustration to confidence, guiding you through effective methods to clean coffee oil off your plastic hopper with ease. Trust me, a clean hopper isn’t just about looks; it’s about *quality* in every shot. By tackling this common issue, you’ll not only extend the lifespan of your equipment but also elevate your home barista game. So, if those dark patches or sticky residues sound familiar, stick around—helping you achieve pristine coffee experiences is my mission.
Why Coffee Oil Accumulation on Your Plastic Hopper Matters More Than You Think
Disassemble the Hopper Carefully
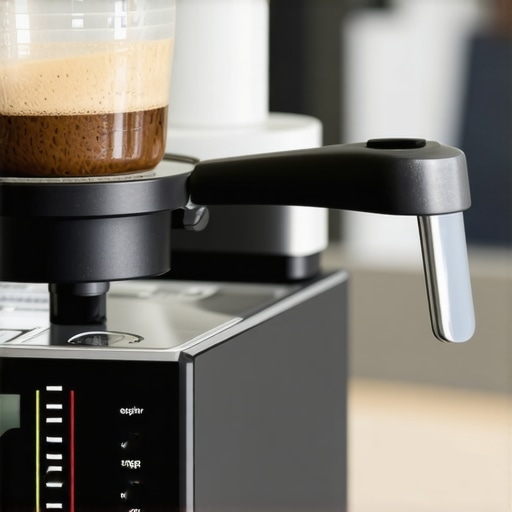
Begin by removing the plastic hopper from your espresso machine, ensuring you turn off and unplug the machine first. Gently twist or lift the hopper according to your machine’s model, being cautious not to break any fragile parts. Once separated, inspect the interior and note any thick oily residues clinging to the walls. I once decided to clean my hopper without proper disassembly, which resulted in spilled coffee grounds and a messy cleanup—learning from that, I now always disassemble thoroughly for effective cleaning.
Apply a Degreasing Solution Effectively
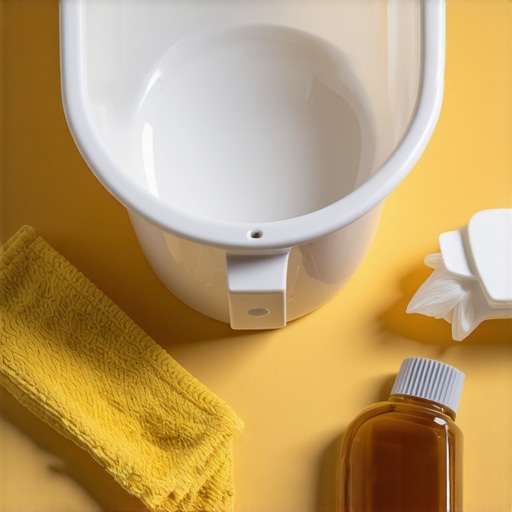
Fill a basin with warm water and add a few drops of food-safe dish soap or specialized coffee machine cleaner. Avoid harsh chemical cleaners that might degrade plastic. Submerge the hopper parts and let them soak for at least 15 minutes. During my first attempt, I used only hot water, which barely loosened the oils, but soaking with detergent loosened the greasy layer entirely, making scrubbing much easier. Using proper cleaning agents helps dissolve coffee oils effectively.
Scrub Using the Right Tools
Use a soft-bristled brush or a non-abrasive sponge to scrub away the oily film gently. Concentrate on corners and crevices where oils tend to accumulate. For stubborn spots, apply a small amount of baking soda paste—mix baking soda with a little water—to act as a gentle abrasive. I remember scrubbing my hopper with a toothbrush, which reached tight spots better than a sponge, and the oils wiped away with less effort. Always avoid metal brushes that can scratch plastic surfaces.
Rinse Thoroughly to Remove Residue
After scrubbing, rinse the hopper parts under warm running water until all soap and residues are gone. Ensure no suds remain, as leftover soap can alter coffee flavor. I once skipped this step and noticed a soapy taste in my espresso—lesson learned. Turn the parts upside-down to drain excess water and dry with a clean cloth or air dry completely before reassembling.
Reassemble and Test Your Machine
Once dry, reassemble your hopper securely onto the machine. Before brewing your next shot, run a blank cycle with hot water to flush out any remaining debris or soap traces. This step ensures your coffee maintains its fresh flavor profile. If persistent oils keep returning, consider replacing the hopper or using a different cleaning routine regularly to prevent buildup. For more tips on home espresso maintenance, check out mastering the art of home espresso.
Many coffee enthusiasts believe that choosing popular brands or latest models automatically guarantees perfect brews, but in my experience, there are nuanced issues often overlooked that can undermine even the most expensive equipment. For example, a common myth is that high-end espresso machines are foolproof; however, subtle misalignments or overlooked calibration steps can cause inconsistent shots, despite the machine’s premium status. An advanced mistake many make is neglecting regular maintenance schedules—failing to clean and descale can lead to pressure issues and flavor degradation over time.
Why does grinder burr alignment matter for shot consistency?
Even slight deviations in grinder burr alignment can cause uneven grind size, which directly impacts extraction quality, resulting in bitter or sour tastes. According to a study by the Specialty Coffee Association, inconsistent grind size is the leading cause of poor espresso quality, emphasizing the importance of precise burr maintenance and calibration. Being aware of these nuances helps you troubleshoot more effectively and ensures your gear performs at its best. Many users also assume that all coffee grinders are created equal—a misconception that leads them to settle for subpar results. Investing time in learning how to properly adjust your grinder’s settings or choosing a machine with excellent grind retention can dramatically improve flavor clarity. Additionally, some overlook the impact of milk frother design; cheap or poorly sealed frothers can introduce air leaks, preventing proper steam pressure buildup and leading to airy microfoam. For serious enthusiasts, understanding these details elevates your brewing game from basic to expert. Want to dive deeper? Check out how to select the perfect coffee grinder to optimize your setup. Remember, the devil’s in the details—small overlooked flaws in your gear can be silent flavor killers. Have you ever fallen into this trap? Let me know in the comments.
Keep It Running Smoothly with the Right Tools
Maintaining your espresso gear isn’t just about routine cleaning; investing in the correct tools ensures consistent performance and prolongs the lifespan of your equipment. One indispensable item I rely on is a burr grinder cleaning brush. Its precise bristles effortlessly remove stubborn coffee residues from burrs without damaging delicate components, preventing uneven grind sizes that can sabotage shot quality. For calibration, I highly recommend a digital precision grinder gauge. It allows me to dial in grind settings with pinpoint accuracy, ensuring repeatable extraction times and flavor profiles. Plus, a quality barista organization kit keeps all my accessories — tamper, dosing funnel, cleaning cloths — perfectly arranged, saving me time during busy mornings.
As equipment evolves, so do the tools needed for optimal care. For example, a spice jar lid or silicone ring can be slipped over the grinder chute to contain any stray grounds, maintaining a tidy workspace. I also swear by a microfoam thermometer when steaming milk—it helps me nail that perfect texture consistently, especially for delicate oat milk. Staying on top of equipment care with these targeted tools not only preserves performance but empowers you to perfect every shot, every time.
How do I maintain my gear over time? Regular checks are key, like inspecting the group head gaskets for leaks or ensuring your pressure gauge remains steady. Be proactive: schedule monthly deep cleans for your grinder and machine, replacing worn parts before they fail. In the future, as smart technology advances, we might see connected sensors that monitor wear levels and notify us when to service. Stay ahead by integrating these tools, and your home setup will stay in top shape for years to come. For personalized advice, don’t hesitate to reach out. Ready to give one of these tools a try? Begin with the burr cleaning brush — your espresso will thank you.What I Wish I Knew About Coffee Gear Before I Started
- I used to think that owning top-tier equipment alone guaranteed perfect espresso, but I quickly realized that neglecting routine cleaning and calibration was the real culprit behind inconsistent shots. Regular upkeep is the secret ingredient no one talks about enough.
- My biggest breakthrough was understanding that even minor misalignments in grinder burrs could drastically change flavor clarity. Investing in a quality calibration tool transformed my brewing and prevented bitter or sour coffees from slipping through.
- I discovered that paying attention to details like sealing my milk frother properly and using the right tools for cleaning—not just generic household brushes—made all the difference in achieving silky microfoam and prolonging equipment lifespan.
Tools and Resources That Elevated My Coffee Game
- The Best Burr Grinder Cleaning Brush: I trust this because it combines gentle yet thorough cleaning, preventing burrs from jamming and ensuring consistent grind size. A clean grinder is the backbone of great espresso.
- Precision Grinder Gauge: Using this has helped me dial in perfect grind settings effortlessly, which is crucial for balancing extraction times and flavor. It’s a game-changer for anyone serious about their home setup.
- Barista Organization Kit: Keeping my accessories organized has saved time and kept my workspace tidy, making morning routines smoother and less stressful.
- Microfoam Thermometer: This tool consistently guides me to steaming milk at the perfect temperature, improving microfoam quality and overall beverage presentation.
Take Your Coffee Journey to New Heights
Remember, the path to exceptional coffee isn’t just about owning fancy gear—it’s about understanding and caring for your equipment with passion and precision. Every tweak, every clean, and every calibration adds up to a richer, more satisfying brew. Don’t shy away from mastering these finer points; in doing so, you’re elevating not just your coffee but your entire daily experience. Keep exploring, keep experimenting, and most importantly, enjoy every sip. What unexpected maintenance hack has transformed your coffee routine? Share your insights below—I’d love to hear your stories!