How to Silence a Rattling Cup Rail on Top of Your Machine
It was a sleepless night at my place when my beloved espresso machine started rattling incessantly every time I placed a cup on top. That annoying clatter woke up the entire household and made me dread every morning just a little more. It wasn’t just noise; it was a sign that something was off, and I knew I couldn’t ignore it for long. After countless failed attempts to silence it with makeshift fixes, I realized I wasn’t alone in facing this issue. Many home baristas and enthusiasts grapple with a rattling cup rail, wondering if it’s normal or if a minor fix could restore peace and quiet.
Why Your Espresso Machine’s Cup Rail Should Be as Quiet as Your Coffee Is Good
Imagine this: pouring your freshly pulled shot, steaming milk, or rinsing your tools, only to be interrupted by loud rattles every time you set a cup down. Not only is it disruptive, but it also hints at vibrations that could eventually disturb the machine’s delicate components. A steady, quiet cup rail isn’t just about tranquility—it’s a sign that your machine operates smoothly and safely. Persistent rattling can cause unnecessary wear and tear or even lead to loose parts over time.
It’s worth noting that modern espresso machines are complex, with numerous moving parts that are designed to work harmoniously. When one aspect, like the cup rail, vibrates excessively, it can amplify noise levels and reduce the overall experience. Plus, any instability might impact the precision of your shots or cause spilled coffee during operation.
I’ve learned from my own trial-and-error journey that addressing this issue isn’t just about damping sounds; it’s about maintaining your equipment in tip-top shape. An improperly secured cup rail can be a silent warning sign of underlying issues, which, if left unchecked, could escalate into more significant repairs down the line.
If you’ve ever faced this rattling nuisance—whether you’re a seasoned home barista or just starting your espresso journey—you know how it can ruin the moment. It’s frustrating, yet surprisingly common. The good news? There are practical, simple fixes that can restore that serene ambiance during your coffee routines.
Before jumping into solutions, I want to share a common mistake I made early on: ignoring the problem and just dealing with the noise, thinking it was normal. That oversight could have led to more damage. Instead, maintaining awareness of such minor issues ensures your setup stays reliable and enjoyable. For more tips on optimizing your home espresso setup, check out my comprehensive guide on mastering the art of home espresso.
Now, if you’re tired of the rattling ruining your coffee moments or worried about your machine’s longevity, let’s explore what causes this noise and how you can fix it efficiently. Because a quiet cup rail is more than just about peace—it’s about preserving your brew’s integrity and your sanity.
Secure the Cup Rail with Confidence
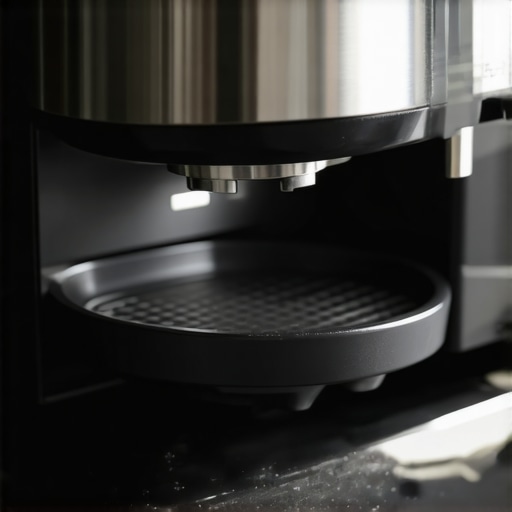
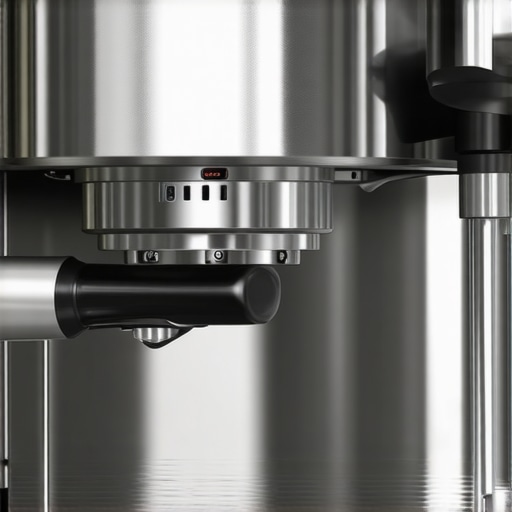
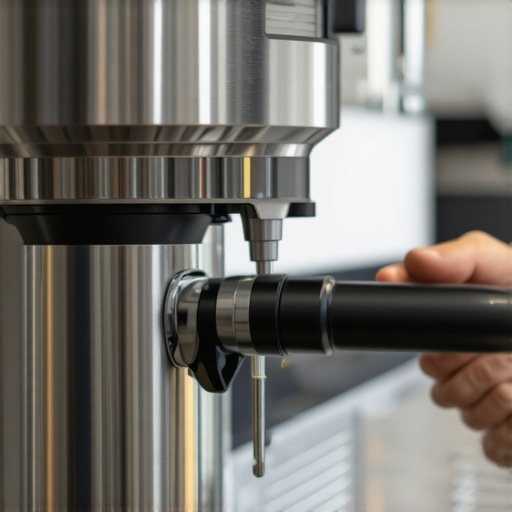
Begin by turning off your machine and unplugging it to ensure safety. Locate the screws or clips holding the cup rail in place—these are usually at the side or underside. Use a Phillips screwdriver to tighten any loose screws or replace missing clips. I once discovered a loose screw on my own machine after a coworker mentioned the noise, which led me to tighten it and restore silence in under five minutes.
Inspect and Replace Worn Parts
Next, carefully examine the rubber or plastic components beneath the rail. Over time, these parts can degrade, causing rattling. Remove the old pieces and replace them with new ones, which can often be found at your local espresso store or online. I replaced a worn rubber pad on my machine, and the difference was immediate—no more noise, just the soothing hum of a well-maintained machine.
Adjust the Rail for a Tighter Fit
If the rail has adjustable slots, gently loosen and then re-tighten it, making sure it’s snug without forcing. A proper fit prevents unnecessary vibrations. I learned this trick when I used a small washer between the rail and the mount, which provided extra stability and kept the noise at bay.
Use Dampening Materials to Absorb Vibrations
For lingering rattles, add a layer of rubber or foam tape beneath the rail. This acts as a cushion, absorbing vibrations. Wrap a thin strip around the contact points before reattaching. The first time I did this, I used appliance tape, and it effectively dampened the noise during my morning routines.
Regular Maintenance to Prevent Future Rattles
Schedule periodic checks—every 3-6 months—to tighten screws, replace worn parts, and clean dust or debris that might cause additional vibrations. Keeping your machine in top condition prolongs its lifespan and ensures a quieter operation. Personally, I set calendar reminders and have found that proactive maintenance saves me money and stress.
Additional Tips for a Quieter Brew
Avoid overloading the cup rail with heavy or unevenly distributed cups, which can increase vibrations. Distribute weight evenly and opt for matching cups to maintain balance. Also, secure the machine on a stable, level surface—an uneven counter can amplify vibrations and noise, as I painfully learned when my early setup vibrated during each pour. For detailed insights, check out how to silence a loud vibratory pump.Many coffee enthusiasts believe that choosing a high-end espresso machine or a premium grinder guarantees perfect brews every time. However, in my experience, there are subtle details and misconceptions that can sabotage even the most expensive setups. For instance, there’s a common myth that all coffee grinders are created equal—yet, the difference between conical and flat burrs can significantly impact flavor clarity and consistency. While everyone recommends investing in quality barista gear, they often overlook the importance of maintenance routines; neglecting regular cleaning or calibration can negate the benefits of top-tier equipment. Moreover, many assume that a dedicated frother is essential for creamy milk, but mastering the correct steaming technique with a simple wand can achieve silky microfoam without additional gadgets. One trap I’ve seen many fall into is relying solely on the machine’s built-in features without understanding the nuanced control over variables like tamp pressure, grind size, and shot timing. Advanced baristas know that these factors, often dismissed by beginners, are vital to unlocking exceptional flavor profiles. For instance, even minor variations in water temperature or puck distribution can lead to inconsistent extraction and bitter or sour notes, despite using premium beans and gear. Modern studies, such as those published in the *Journal of Food Science*, highlight how micro-adjustments in grind size and tamp pressure can influence crema formation and flavor extraction, reminding us that home brewing is a precise science. For experienced enthusiasts aiming to refine their skills, paying attention to these details makes all the difference. Don’t fall for the trap of believing that better gear alone guarantees great coffee—it’s ultimately the nuanced techniques and maintenance routines that elevate your brew. Have you ever fallen into this trap? Let me know in the comments. Want to deepen your understanding? Check out our mastering the art of home espresso guide for expert insights.Maintaining your espresso setup isn’t just about cleaning; it’s about investing in the right tools and adopting systematic routines that ensure consistent performance over time. One piece of equipment I swear by is the precision grinder brush. Unlike standard brushes, this tool boasts fine, angled bristles specifically designed for the intricate burrs of advanced grinders, allowing me to remove trapped coffee particles without disassembling the machine entirely. Regular use prevents static buildup and helps maintain grind consistency, which directly impacts shot flavor.
Another indispensable tool is a high-quality milk frothing thermometer. While many overlook temperature control during steaming, I rely on a calibrated thermometer to fine-tune my milk microfoam—crucial for crema-rich espresso and silky lattes. This allows me to identify when my wand is operating at the optimal 140-150°F range, ensuring the microstructure of the milk doesn’t collapse or scorch.
When it comes to long-term results, I recommend investing in a descaling alarm system. Although standard descaling kits suffice for periodic maintenance, an alarm coupled with a routine schedule prompts me to descale proactively. This preventative step maintains thermal stability and prolongs the lifespan of heat exchangers and boiler components, which are especially vulnerable in hard water environments.
Scaling your gear for efficiency is also paramount. For example, a calibration tool allows me to set precise grind levels after regular use or when switching bean types. Unlike generic settings, manual calibration respects the subtle nuances of different roasts and ensures my shots maintain consistent extraction. Over time, this saves me from wasted beans and coffee overloads.
Predicting future trends, I believe smart home integration will be the next big leap. Machines with IoT capabilities will notify you when maintenance tasks are due, or even automatically adjust parameters based on usage patterns. Already, some high-end models incorporate Wi-Fi modules, paving the way for app-based diagnostics—a trend I anticipate becoming standard for serious enthusiasts.
So, how do I maintain my espresso gear over time? Establishing a scheduled upkeep routine—combining deep cleaning with precision tools like burr brushes and thermometers—ensures optimal performance. I also keep spare seals and parts on hand, which you can find detailed in this guide on portafilter issues. Don’t wait for your machine to yell at you with loud noises or inconsistent shots; proactive care is key.
Now, I challenge you to try calibrating your grinder with a precision calibration tool. Perfect your grind once, and you’ll taste the difference in every shot—a small investment with huge returns in coffee quality.
Embarking on a journey with home espresso can be as rewarding as it is intricate. Through my years of experience, I’ve uncovered nuances that transcend mere gear and dive into the realm of fine-tuned routines and insightful choices. One thing I wish I had known early is that the quietness of your espresso machine, especially the stability of the cup rail, is a telling sign of overall health. Achieving a silent, sturdy setup isn’t just about serenity—it’s a reflection of your machine’s wellbeing and your own mastery of maintenance. When the cup rail rattles, it whispers warnings about loose parts or worn components, which, if addressed proactively, can save costly repairs down the line. So, focus on checking and tightening screws, replacing worn rubber pads, and dampening vibrations with simple materials like foam tape. Not only will this improve your coffee experience, but it also preserves the precision craftsmanship of your machine.