How to Align Your Burrs for Better Flavor Clarity
It was early morning, the sun barely peeking through the blinds, and I was eagerly ready for my daily espresso ritual. But as I pulled the shot, I was met with a sour, dull taste that just didn’t sit right. Frustrated, I realized that my coffee’s flavor clarity was slipping away, and I had no idea why. That lightbulb moment made me dive deep into the art of burr alignment — a step I had overlooked early on, thinking it wasn’t that important. Turns out, aligning your grinder’s burrs properly can make the difference between a muddled brew and a bright, flavorful espresso that sings in your cup.
Why Burr Alignment Is the Secret to Flavor Clarity
When your burrs aren’t aligned correctly, inconsistent grinding occurs, which in turn affects extraction and overall flavor. Imagine trying to carve a perfect sculpture with a dull chisel — it’s frustrating and often ineffective. Likewise, misaligned burrs create uneven grounds, leading to over-extraction or under-extraction, both of which muddle the taste. I’ve learned through personal trial — and some costly mistakes — that taking a few moments to ensure your burrs are precisely aligned can elevate your home espresso game significantly. According to coffee expert Scott Rao, proper grinder maintenance, including burr alignment, is essential for consistent quality and flavor clarity (source).
Have You Ever Faced Flavor Issues You Couldn’t Resolve?
If you’re like me, you might have initially dismissed burr alignment as a technical detail. But after numerous tastings with inconsistent shots, I realized I was overlooking the root cause. Early in my journey, I made the mistake of assuming my grinder just wasn’t good enough or that my beans were subpar. The real culprit? Slight misalignments that threw off grind uniformity. Recognizing this was a turning point in my espresso pursuits and a reminder that small adjustments often yield big results. If you’ve ever experienced a shot that’s off, whether too sour, bitter, or just flat, burr alignment could be the game-changer you need.
Now, let’s get into how you can troubleshoot and perfect your burr alignment, so you’ll never have to wonder why your coffee isn’t as vibrant as it should be. Ready to bring clarity back to your espresso? Keep reading, because we’re about to unlock a simple yet powerful routine that turns your grinder into a precision instrument — with a few easy steps and some expert tips along the way.
Prepare Your Workspace for Precision
Start by clearing your workspace and assembling essential tools: a clean cloth, a screwdriver if needed, and a flashlight. Think of your grinder as a race car; you want it spotless and finely tuned. Before adjusting anything, turn off and unplug your grinder to ensure safety. Removing the hopper and burrs requires a gentle touch, much like unscrewing a camera lens—twist carefully to avoid damage.
Disassemble and Clean
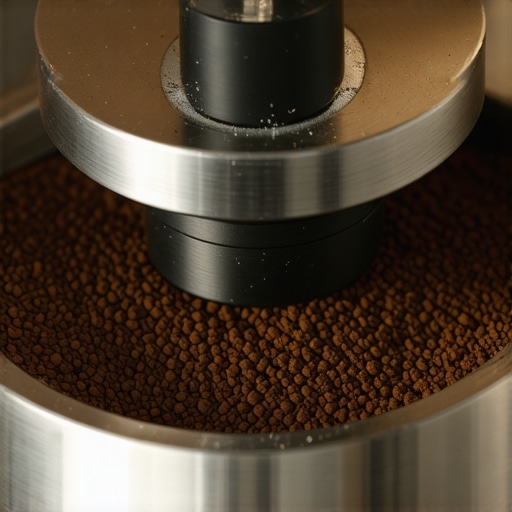
Carefully remove the burrs according to your grinder’s manual. Use the brush to sweep away loose coffee grounds and residue—this step is crucial; a dirty grinder can mimic misalignment issues. For stubborn buildup, a damp cloth with a touch of vinegar works well, but dry thoroughly afterward. This routine ensures that dust or old grounds won’t interfere with your adjustments.
Inspect and Identify Misalignments
Place the burrs side by side and look for uneven edges or gaps—these signs indicate misalignment. Use a flashlight to check the burrs’ spin path and make sure they sit flush without wobbling. Think of this as aligning the wheels on a bicycle—precision is key to smooth, consistent grounds. If your burrs are visibly uneven, it’s time for adjustments.
Adjust Burrs for Perfect Alignment
Most grinders have screws or adjustment rings—turn them incrementally, like tuning a guitar string. For example, tightening the top burr slightly can bring it into perfect alignment with the lower burr. Use a small level or ruler to measure the distance at different points around the burrs, aiming for uniformity. Remember, small tweaks create big results; don’t overcorrect in one go.
Test and Fine-Tune
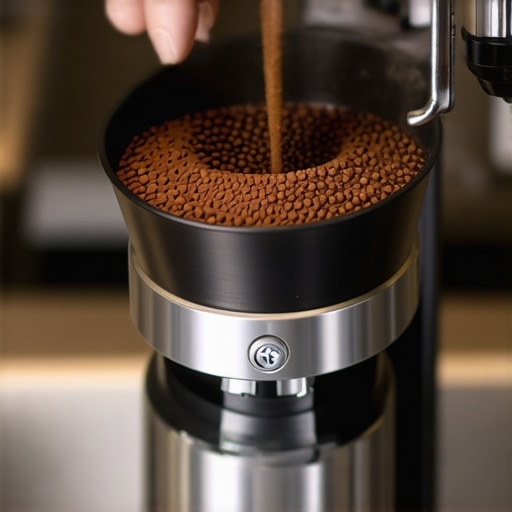
Reassemble the grinder carefully, then run a small batch of coffee grounds. Check the grounds for consistency—uniform size indicates proper alignment. If you notice uneven particles or clogging, repeat the adjustment process. It’s a little like tuning a musical instrument by ear—you might need a couple of tries, but the harmony of your brew will reward your effort.
Document Your Process for Future Reference
Once aligned, take note of the settings or note the position of adjustment screws. This record helps you quickly realign if the grinder shifts over time, similar to marking your seat adjustments in a car. Regular maintenance prevents drift and keeps your coffee tasting vibrant and clear.
When I did this for the first time, I spent a messy hour crawling on the kitchen floor, parts and coffee grounds everywhere. But after reassembling and adjusting, I finally tasted that crisp, bright espresso I had been missing. Keep at it—the payoff is well worth the effort. Need more tips for mastering your barista setup? Check out this guide for further insights on home brewing essentials.
Many home baristas and coffee enthusiasts believe that choosing the most expensive gear guarantees perfect results, but in my experience, this is a myth worth questioning. The real nuance lies in understanding how your equipment interacts with your brewing process. For instance, many assume that an advanced grinder automatically produces the best espresso, yet neglecting proper calibration and maintenance can negate those benefits. To truly unlock your gear’s potential, you must delve into the specifics, such as burr alignment and grind consistency — details that often get overlooked by beginners. Have you ever fallen into this trap? Let me know in the comments.
Another common misconception involves milk frothers. Some think that high-end frothers are essential for creamy microfoam, but in reality, technique and milk temperature play more critical roles than the device’s price tag. Furthermore, many enthusiasts underestimate the importance of temperature control in espresso machines, believing all machines are equally capable of maintaining optimal brew temperatures. This oversight can lead to flat or sour shots, regardless of the brand’s reputation. According to research by coffee scientists, precise temperature stability is crucial for maximizing extraction quality (source), so investing in a machine with reliable thermal control features can make a noticeable difference.
A notable advanced mistake is treating your equipment as a set-and-forget solution. Even with top-tier gear, failure to regularly clean, calibrate, and troubleshoot can result in degraded performance over time. For example, hardened oils in the group head or blocked steam wands can cause inconsistent pressure and temperature, spoiling your brewing cycle. Implementing routine maintenance routines — like descaling and burr cleaning — ensures consistent quality and prolongs your equipment’s lifespan.
For seasoned enthusiasts seeking to perfect their setup, understanding the nuances of barista gear selection is key. Instead of focusing solely on features, consider how each component complements your workflow and bean profiles. For example, choosing a machine with a high-pressure profile that can be tuned offers more control than a generic model promising broad appeal. Visiting resources like this guide can help decipher these finer points.
Lastly, don’t forget that even the most sophisticated gear requires skilled operation. Mastering tamping pressure, shot timing, and milk texturing transforms equipment from mere tools into an extension of your barista skills. Remember, the goal isn’t just to buy the best gear but to develop an intimate understanding of its quirks and potentials. By appreciating these advanced nuances, you’ll elevate your home espresso beyond common pitfalls and truly enjoy the craft. Want tips on optimizing your setup? Check out this comprehensive guide to get started.
Keeping Your Equipment Running Smoothly Over Time
Mastering home espresso doesn’t end after the initial setup. Regular maintenance and using the right tools are essential to keep your gear performing at its best. For instance, I swear by a high-quality burr cleaning brush like the Micron Extended Burr Brush; it efficiently removes coffee oils and residue that can cause inconsistent grind size and flavor deterioration. Investing in precise tools ensures that tiny particles don’t compromise your shot quality, saving you from costly repairs or replacements down the line.
How do I maintain my espresso machine and grinder over time?
Consistency begins with routine care. Descaling your espresso machine every few months, depending on water hardness, prevents mineral buildup that hampers performance. I use a descaler recommended by industry experts—like the Urnex Dezcal—to keep internal parts clean. Regularly calibrating your grinder, especially after extensive use or changes in coffee beans, maintains grind uniformity. The calibration process ensures your coffee grounds are consistent, leading to balanced extractions.
If you notice a decline in pressure stability or inconsistent shot times, those are signs it’s time for maintenance. Addressing these issues early prevents long-term damage. For example, I routinely check and replace worn-out group gaskets, which are critical to sealing during extraction. Resources like this article helpful for troubleshooting pressure issues.
Tools That Make Maintenance Easier and More Effective
Proper tools not only streamline your routine but also extend the lifespan of your equipment. A portafilter alignment tool ensures your coffee is evenly distributed, reducing channeling and shots that taste off. For grinder maintenance, a brush set can reach deep into the burr chamber, removing trapped grounds. Additionally, using a sharpeness test can help determine when your burrs need replacing, preventing dull grinding that hits flavor quality.
Future-Proof Your Coffee Setup with Strategic Upgrades
Looking ahead, integrating smart tools like Bluetooth-enabled temperature sensors or pressure monitors can revolutionize your routine. Technologies are evolving rapidly; soon, you’ll be able to receive real-time notifications on your phone about your machine’s health. In fact, some high-end machines now incorporate diagnostics that alert you to potential issues before they become severe. Staying abreast of these trends ensures your setup remains competitive and reliable for years to come. For example, exploring top-rated espresso machines in 2025 can inform your upgrade decisions.
To get immediate results, I recommend trying a detailed burr calibration routine I’ve perfected. It’s a straightforward process that greatly improves grind consistency and shot quality. Dive into that article and give it a shot—your future self will thank you!
,
The Hardest Lesson I Learned About coffee grinders,milk frothers,home espresso,barista gear,espresso machines
One of the most impactful lessons was realizing that even top-tier equipment can underperform if not properly maintained and calibrated. I once invested in a high-end grinder, expecting perfection straight away. However, neglecting regular burr alignment led to inconsistent shots and wasted beans. The personal epiphany was understanding that equipment shares a learning curve—attention to detail like burr alignment can drastically improve flavor clarity and shot consistency.
3 Myths About coffee grinders,milk frothers,home espresso,barista gear,espresso machines That Held Me Back
- More expensive gear guarantees better results: The truth is, without understanding how to calibrate and maintain your gear, even the priciest machines won’t save you from flat or off-tasting espresso.
- Setting it and forgetting it works for gear: Equipment needs regular care; otherwise, performance declines. I learned the hard way that routine cleaning and calibration are essential for consistent flavor.
- High-tech gadgets are the only way: Sometimes, simple adjustments—like burr alignment and grind size tuning—outperform lavish tech if applied thoughtfully.
What Experts Won’t Tell You About coffee grinders,milk frothers,home espresso,barista gear,espresso machines
Many professionals emphasize maintenance routines that aren’t always obvious to beginners. For example, I discovered that regular burr cleaning with proper tools—not just wiping—preserves grind uniformity. Additionally, understanding the specific quirks of your espresso machine, like temperature stability, can transform your brewing experience far beyond gear specs. Expert insights highlight that mastery often hinges on knowledge of these nuances rather than gear alone.
Stay Curious, Keep Practicing
Embarking on your espresso journey is about more than just ownership; it’s about cultivating an observant, curious mindset. Regularly questioning your process, experimenting with burr alignment routines, and exploring new tools keep the craft alive. Remember, even small improvements—like precise burr calibration—have an outsized impact on flavor clarity. Dive into resources like this guide and embrace the learning curve with enthusiasm. Your next perfect shot is within reach, and the journey makes every cup more delightful.