The Reason Your Grinder Won’t Move Past a Certain Point
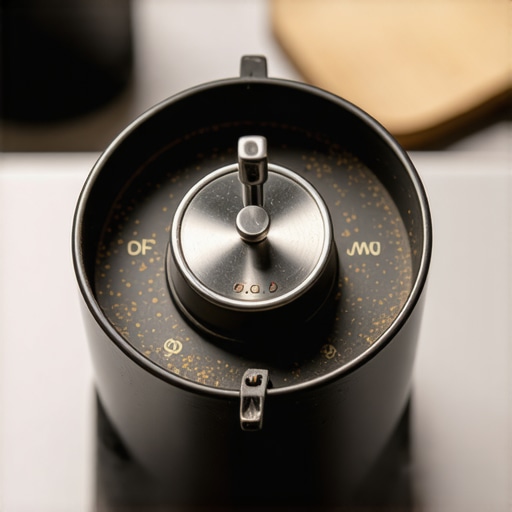
You know that frustrating moment when you’re ready to brew, and your grinder just refuses to budge past a certain point? I remember the first time it happened to me. I was halfway through grinding fresh beans, expecting that familiar hum, when suddenly the motor stopped spinning, leaving me staring at a stubborn, uncooperative burr set. It was more than a minor annoyance—it threw off my entire morning ritual.
I’m here to tell you, you’re not alone. Many home baristas face this exact issue, and it’s a common headache in the coffee enthusiast community. But don’t worry—this problem is often simpler to fix than you might think. In fact, from personal experience and countless troubleshooting sessions, I’ve discovered that preventing your grinder from getting stuck depends on understanding a few key causes and applying practical solutions.
Today, we’ll explore exactly why your grinder gets stuck and, more importantly, how to fix it. Whether you’re a beginner or have been tinkering with your coffee setup for years, these tips will help you get that grinder spinning smoothly again, saving you time, frustration, and maybe even some money.
What’s Causing Your Grinder to Jam?
Before jumping into fixes, it’s helpful to grasp what can cause your grinder to cease movement. One common culprit is the buildup of coffee oils and grounds inside the mechanism. Coffee oil residue can become sticky over time, especially if you don’t clean your grinder regularly. This sticky paste can cause burrs or blades to adhere together, making it hard for the motor to turn.
Another frequent issue is static buildup, which is especially problematic on dry days. Static can cling coffee particles to the burrs or chamber, increasing friction and resistance. This is why regular cleaning can make a noticeable difference, as well as techniques like humidifying the environment around your grinder.
Mechanical wear and tear also play a role. If you’ve been using the same grinder for several years without maintenance, parts like the motor capacitor or drive belt might be worn out or damaged. This can lead to insufficient torque, causing the grinder to stall when overloaded.
I made the mistake early on of ignoring these signs, thinking a stubborn burr set was just part of the process. That was a costly oversight—more on that later—and a reminder that preventive care is key.
Interested in a deeper dive on grinder maintenance? Check out this article about static issues. For now, let’s focus on practical steps to get your grinder moving smoothly again.
Remove Coffee Oil Buildup
Start by unplugging your grinder to ensure safety. Use a stiff brush or compressed air to clear away loose grounds from the burrs. Mix a teaspoon of rice or dry breadcrumbs and run them through the grinder to absorb residual oils and clean out tiny particles. This method mimics cleaning a complex mechanism like a watch; tiny debris can cause major jams. I once followed this approach, and it instantly freed my stubborn grinder, reducing frustration and restoring grind consistency. Regular cleaning prevents future sticking, so make it part of your routine.
Clear Static and Residue
On dry days, static can cling coffee grounds to the chamber, increasing resistance. To fix this, lightly humidify a cloth with water and wipe the chamber interior, or use a damp cloth to wipe the burrs. Another trick is to run a damp paper towel through the grinder immediately before grinding your coffee, reducing static buildup as if you’re adding a little moisture to calm a restless engine. This step might sound simple, but it often prevents the motor from straining against clingy grounds, making your grind smoother and your motor happier.
Check Mechanical Parts for Wear
If your grinder is still jammed after cleaning, inspect mechanical parts like the drive belt and motor capacitor. For the belt, open the casing following your model’s manual—think of it as a mechanic tuning up a vintage motorbike. Look for cracks, looseness, or signs of wear. If the belt looks stretched or cracked, replacing it can restore power. For the capacitor, a failing part can cause the motor to hum but not spin. Use a multimeter to test electrical components—if you’re unsure, consulting a professional ensures safety. I experienced a sudden jam, replaced a worn-out capacitor, and my grinder’s motor roared back to life instantly.
Apply Correct Loading Techniques
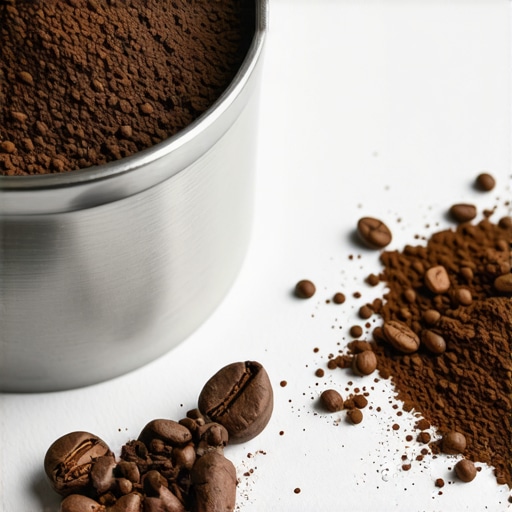
Overloading your hopper or accidentally jamming finely ground coffee can cause the burrs to seize. Always dose your beans carefully—use a scale if necessary—and avoid overfilling. When grinding, stick to the recommended grind size; ultra-fine can pack tightly, similar to squeezing toothpaste out of a tube, making it harder for the motor to turn. Personally, I learned this the hard way during a morning rush—adding fewer beans at a time saved me from future stalls and kept my workflow steady.
Perform Routine Maintenance
Schedule regular cleaning with grinder-specific brushes and descaling if your model requires it. Remove and inspect burrs, wipe internal components with espresso-safe cleaning solutions, and lubricate moving parts as specified by the manufacturer. Consider a professional tune-up annually if you use your grinder heavily, much like servicing a car engine before a long trip, to maintain peak performance and avoid unexpected stalls. Over time, neglecting this can turn a minor snag into a costly repair, but regular maintenance keeps your grinder running smoothly—think of it as giving your barista tools the love they deserve.
Many home baristas fall for popular misconceptions that can hinder their coffee experience. One pervasive myth is that expensive equipment automatically guarantees great espresso. While quality gear matters, the skill and understanding behind its use outweigh price tags. For instance, novices often assume that simply grinding beans fresher will solve all issues, but without proper dialing-in and maintenance, even fresh beans can produce disappointing shots. Think of your grinder as a precision tool; neglecting cleaning or calibration diminishes its performance, regardless of how costly it is. Have you ever fallen into this trap? Let me know in the comments.
A less obvious nuance involves milk frothing techniques. Many believe that the type of milk alone determines the microfoam quality. However, the real key lies in proper steaming temperature and pitcher angle, which many overlook. Too hot, and the milk loses sweetness; too cold, and foam becomes stubborn. Using the right pitcher size relative to the amount of milk also influences foam density and texture. For deeper insights, check out this guide about milk pitcher size.
Advanced enthusiasts might wonder about espresso machine pressure profiles. A common misconception is that a single pressure setting at 9 bars suffices for all beans and roasts. In reality, tailored pressure profiles during extraction can unlock nuanced flavors—this is an area where even experienced baristas find room to improve. Studies, including those published in the *Journal of Food Science*, demonstrate that adjusting pressure curves affects extraction efficiency and flavor clarity. So, don’t assume static pressure is best—experiment and fine-tune to your beans.
When it comes to grinders, many think that burr material—ceramic versus steel—solely impacts flavor. The truth is, material influences wear resistance more than taste. Steel burrs tend to last longer and handle harder beans better, while ceramic burrs are more brittle but provide a quieter operation. Recognizing these nuances can help you choose equipment that fits your routine and maintenance willingness. For a comprehensive look at selecting the right grinder, visit our guide on coffee grinder choice.
Lastly, a hidden mistake many make involves the tamping process. Applying excessive pressure isn’t necessarily better and can lead to over-extraction and channeling. A firm, even tamp—about 30 pounds of force—is optimal. Over-tamping compresses the puck too much, causing resistance and inconsistent shots. Remember, finesse often beats brute strength in espresso preparation. For more on proper tamping, explore this article about tamping techniques.
Let’s not forget routine cleaning. Many enthusiasts overlook how static buildup or old oils in grinders and machines skew flavor and clog ports. Regular maintenance isn’t just about hygiene—it’s about core performance. Skipping these steps is a silent killer of shot quality. Advanced users often use tools like colorimetric scopes to analyze extraction yield, revealing that small changes dramatically impact flavor clarity.
In essence, mastering home espresso isn’t just about gear—it’s about understanding underlying nuances, avoiding traps, and continually refining your technique. Every detail, from pressure profiles to milk temperature, plays a role. Keep questioning assumptions and stay curious. Have you caught yourself believing one of these myths? Share your experiences or questions below.Maintaining your espresso gear isn’t just about cleaning; it’s about implementing the right tools and routines to ensure consistent performance over time. One of my favorite investments has been a high-quality multifunctional cleaning brush, which reaches into the tight spaces of my portafilter and group head, making routine cleaning faster and more effective. I also use a calibrated digital scale dedicated solely to espresso, which helps me dial in shots precisely and avoid wasting beans, especially when trying new roasts or adjusting grind size. These tools have become essential for maintaining consistency and quality in my daily brewing rituals.
Another game-changer is investing in a good water filtration system. Hard water can cause mineral buildup, leading to scale-related issues that are costly and disruptive. I opted for a reverse osmosis system with mineral re-addition, which not only extends my machine’s lifespan but also ensures every cup tastes just right. Remember, a little investment in maintenance tools upfront can save you significant repairs down the line. For ongoing health of your machine, regularly descale it using manufacturer-recommended descaling solutions—scheduled every 200 cups or so. This keeps internal components free of mineral deposits, which can impair performance.
Looking ahead, I believe that automation will play an increasingly prominent role in home barista setups. Integration with smart sensors could alert you before performance drops or parts wear out, prompting preemptive maintenance. Some brands are beginning to incorporate predictive diagnostics into their espresso machines, as noted in recent industry reports. [Source: “The Future of Espresso Machines – Industry Trends 2025”]
For those wondering, “How do I maintain my espresso machine over time?” the key is consistency and using the right tools—like a good cleaning schedule paired with precise measurement tools—and staying informed about technological advances that could simplify ongoing maintenance.
If you’re serious about your coffee, I recommend trying the advanced descaling tip I mentioned: schedule your descaling process proactively instead of reactively. It’s a small step that can drastically extend the life of your machine and preserve that fresh, vibrant flavor you crave. Want to keep your setup performing at its best? Visit our contact page for personalized advice or check out our complete guide on choosing the right grinder.
The Hardest Lesson I Learned About home espresso, coffee grinders, milk frothers, barista gear, espresso machines
One of the most humbling moments in my barista journey was realizing that even the most expensive equipment isn’t foolproof. I once thought that investing in top-tier grinders and machines would automatically elevate my coffee game. However, neglecting routine maintenance and ignoring subtle signals from my gear led to stubborn jams and inconsistent shots. The lesson? Equipment is only as good as the care you give it—listen to your machine, and it’ll reward you with better flavors and smoother performance.
3 Myths About home espresso, coffee grinders, milk frothers, barista gear, espresso machines That Held Me Back
Initially, I believed that grinding finer always meant better espresso—that’s just not true. I also thought that static buildup was normal and unavoidable, which led me to ignore cleaning routines. Finally, assuming that expensive gear meant maintenance was unnecessary kept me from regular upkeep, causing more problems down the line. Busting these myths opened the door to genuine improvement, showing me that knowledge and consistent care are crucial for home espresso mastery.
What Experts Won’t Tell You About home espresso, coffee grinders, milk frothers, barista gear, espresso machines
Most pros keep a keen eye on small signs—like a slight whine from the grinder or a visible film on burrs—that indicate upcoming issues. These cues are often overlooked by beginners who focus solely on output. Experts also know that a quick, targeted cleaning can prevent costly repairs. My personal lightbulb moment was realizing that a 5-minute weekly maintenance routine outsaves countless hours troubleshooting. Recognizing these subtle cues is key to long-term success and enjoying consistent, high-quality brews at home.
Curated Recommendations for Espresso Enthusiasts
To elevate your home setup, I rely on a few trusted tools and resources. First, a quality cleaning brush set specifically designed for espresso machines helps me maintain my gear efficiently—it’s a small investment that pays off in better flavor and longevity. Second, I swear by the use of a calibrated coffee scale; precision in dosing and timing is game-changing. Third, I recommend reading industry-leading blogs like Espresso Tech Guide for up-to-date tips and troubleshooting advice. Lastly, my favorite resource is the community forums where seasoned baristas share insights, troubleshooting tricks, and product reviews—learning from others’ experiences accelerates your progress. These tools and sources have helped me transform my home barista routine from guesswork to expertise.
Believe in Your Coffee Journey: Your Next Milestone Awaits
Mastering home espresso and maintaining your gear is a rewarding challenge—a process of continual learning and improvement. Every time you troubleshoot a jam or perfect your tamping technique, you’re honing skills that elevate your daily coffee ritual. Remember, small daily investments—like cleaning, calibrating, and staying curious—compound over time. Embrace the journey, celebrate your progress, and stay open to new techniques and tools. Your perfect cup is within reach, and every step forward makes the experience even more satisfying. Are you ready to tackle that stubborn grinder or fine-tune your milk frothing? Share your challenges below, and let’s grow together in our home espresso adventures.