How to Calibrate Your Grinder After Replacing Your Burrs
Ever had that dreaded moment when you replace your burrs, only to find your shots tasting off? I remember the first time I swapped out my grinder burrs, thinking I’d be faster and more consistent. But within a week, I was fighting inconsistent grind sizes, wasted beans, and frustration creeping into my mornings. It was a lightbulb moment—my grinder needed a proper calibration to pair perfectly with the new burrs, or else all my efforts were for nothing.
Why Proper Calibration After Replacing Burrs Is a Game-Changer
Here’s the truth I wish I knew sooner: replacing burrs isn’t just about swapping parts. It’s about recalibrating the grinder to ensure those new burrs produce a consistent, evenly ground coffee. Without calibration, you risk getting under or over-extraction, which can turn your luscious espresso into a sour or bitter nightmare. And let me tell you, nothing kills the joy of that perfect shot faster than inconsistent grind size.
What I learned from my early mistake is that calibration affects flavor clarity, shot consistency, and even the lifespan of your grinder. According to professional baristas, a properly calibrated grinder can improve your brew’s flavor profile significantly. Now, I make calibration part of my routine whenever I replace burrs, saving myself time, beans, and disappointment.
Is the Calibration Process Really Worth All This Fuss?
Honestly, I used to think calibration was a tedious chore, reserved for the super-tech-savvy. But after falling into the trap of inconsistent coffees, I realized it’s just a matter of understanding your machine and doing a simple, repeatable process. My previous mistake was assuming that burrs fit perfectly the first time—that’s not always true, especially with different brands or models. Taking the extra step to recalibrate makes a noticeable difference in taste, and it’s well worth the effort.
If you’ve recently replaced your burrs and are facing uneven grinds or inconsistent shots, then you’re not alone. This guide will walk you through exactly how to calibrate your grinder effectively, with tips and tricks from my own journey—and I’ll make it as friendly and straightforward as chatting with a neighbor over a good cup of coffee. Ready to dial in your grind and elevate your home espresso game? Let’s get started!
Prepare Your Workspace and Gather Tools
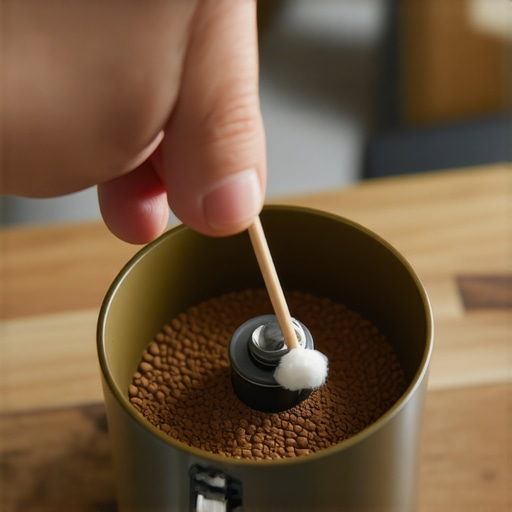
Before diving into calibration, clear your workspace to keep small parts organized. Gather a flat, stable surface, your grinder, new burrs, an alignment tool if available, a precision scale capable of measuring grams to at least 0.1g, and your brewing tools. Remember, a clean machine yields better results—so consider cleaning your grinder burrs and chute beforehand to prevent old coffee oils or dust from skewing your calibration.
Remove and Replace Burrs Carefully
Power off your grinder and unplug it to ensure safety. Disassemble the hopper and access the burr chamber. Gently remove the old burrs, noting their orientation. Install the new burrs, aligning them precisely according to manufacturer instructions. For many models, this step is akin to fitting a puzzle piece—the burrs should click or slide into place smoothly. Double-check that the burrs are seated firmly without wobble, as misalignment here hampers calibration.
Initial Adjustment and Setting the Coarse Fineness
Set your grind size to a standard coarse setting—roughly the size of sea salt. This provides a baseline that’s easier to fine-tune. Turn on your grinder and run a small amount of beans through to observe the grind. Expect some variation initially; this is normal as the new burrs settle. Use your precision scale to measure the amount of ground coffee—aim for about 14-18 grams for typical espresso shot consistency.
Calibrate Your Grinder Step-by-Step
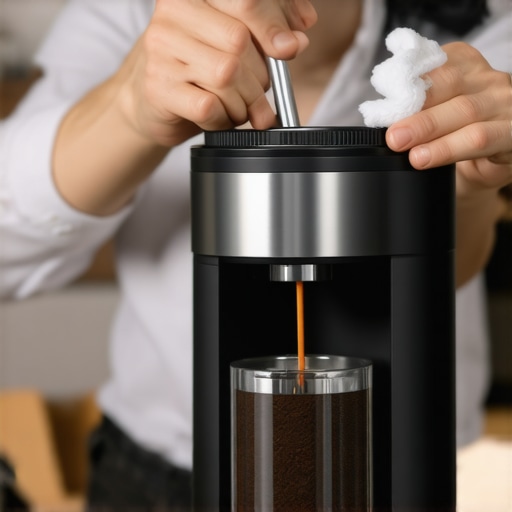
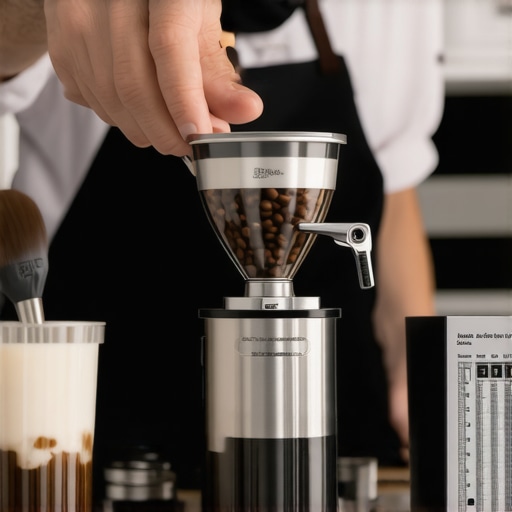
Start with the grind setting at a middle point on your adjustment dial. Run beans and measure the ground weight and particle size. If your grinder allows, adjust the grind fineness by turning the adjustment collar—think of it like tuning a musical instrument to get the perfect pitch. In practice, this is like fine-tuning the volume knob to match the desired output. I vividly remember adjusting mine while watching the grind fall into a clear container—each click brought me closer to the ideal size for my espresso shots.
Fine-Tune for Consistency and Flavor
After initial adjustments, dial in the grind size to produce a consistent particle distribution. Aim for a grind that yields about 0.2 grams of coffee per shot, which your scale can verify. Then, brew test shots, and observe the extraction time—aim for 25-30 seconds. If the shot pours too fast, your grind is too coarse; correct by adjusting to a finer setting. If it’s too slow or tastes sour, go coarser. This iterative process resembles tuning a radio dial until the signal is crystal clear—small increments matter.
Monitor and Adjust Over Time
Every few weeks, revisit your calibration, especially if you notice flavor shifts or inconsistency. Environmental factors like humidity can affect grind size, akin to how dew affects your morning walk. Keep your grinder clean, especially around the burrs and chute, to prevent clogging or static build-up that can throw off your calibration. For detailed techniques on keeping your grinder in top shape, consult this calibration guide.
Leverage Visual and Tactile Feedback
Use your senses as guides. Observe the consistency of the grounds—uniform, fine particles indicate proper calibration. Feel the grind with your fingers—should be consistent without clumps or uneven fragments. Also, listen to the grinder—an even, steady noise suggests smooth operation, akin to a well-oiled machine. Remember, calibration isn’t a one-time fix; it’s an ongoing dialogue with your machine to produce the best possible espresso. For more on maintaining your gear, visit our gear selection tips.
Myth of the Perfect Machine: More Expensive Means Better
Contrary to popular belief, spending more on an espresso machine doesn’t guarantee perfect shots. Many enthusiasts assume that pricier models automatically deliver superior results, but in reality, top-rated machines are about matching features to your skill level and needs. Over-investing in high-end gear without understanding its operation often leads to frustration rather than improvement.
The Hidden Trap of Over-Tuning Grinder Settings
Many baristas and home aficionados obsess over dialling in their grinders to achieve that elusive perfect grind size. However, obsessively fine-tuning without considering the grinder’s preservation of burr alignment can cause more harm than good. Over-adjusting can lead to inconsistent particle sizes, static buildup, and unnecessary wear. Instead, focus on understanding the nuances of your grinder’s design for sustainable precision.
Quick Fixes That Sabotage Flavor
Another common misconception is that cleaning or descaling your equipment is a task that can be postponed. Skimping on regular maintenance, like ignoring cleaning coffee oils from plastic hoppers, eventually leads to flavor contamination and machine malfunction. The real secret is maintenance routines that preserve not just the machine’s health but also the integrity of your brew.
Advanced Technique: The Real Power of Milk Frothers
Many novice users think that any handheld whisk or cheap frother will do, but skilled baristas understand the significance of properly calibrated milk frothers. Achieving silky microfoam isn’t just about heating and frothing; it involves controlling temperature, jug angles, and even milk type. Mastering these nuances can turn your home drinks from ordinary to extraordinary.
Understanding that many ‘best practices’ are actually oversimplified myths helps elevate your espresso routine from basic to artful. Are you falling for any of these traps? Let me know in the comments!
The Right Tools Make All the Difference
Maintaining your espresso equipment isn’t just about cleaning; it’s about having the right tools to keep everything in top shape. I personally swear by a few specialized items that save me time and ensure precision. A high-quality digital caliper helps me measure burr alignment down to the millimeter, ensuring consistency after each maintenance session. Additionally, I rely on a calibration kit designed specifically for grinders, which simplifies the process of fine-tuning that crucial particle size.
Using the proper cleaning brushes and microfibers also plays a vital role in preventing static buildup and removing stubborn coffee oils. I’ve found that regularly cleaning with quality tools prolongs the lifespan of my gear and keeps flavors pure.
Tools I Recommend for Long-Term Success
Investing in a precision scale capable of measuring grams to 0.1g is a game-changer. It allows me to replicate shot doses precisely, which is crucial as my skills develop. I also keep a small magnet toolkit handy for removing and checking for scale deposits or stuck parts, as detailed in technical guides like this resource.
As technology advances, I predict smart sensors integrated into machines will be the future, offering real-time maintenance alerts. But until then, a set of good manual tools remains essential to keep your gear functioning flawlessly.
Why Regular Maintenance Is Critical for Longevity
Think of your espresso machine as a precision instrument—it requires routine attention to perform at its best. Over time, mineral deposits, oil buildup, and misaligned parts can degrade flavor and cause mechanical failures. Following a regular schedule, such as cleaning the brew head weekly and calibrating burrs monthly, ensures consistent results. For a detailed routine, check out this comprehensive guide.
How do I keep my equipment running smoothly over time?
Adopt a maintenance routine that includes scheduled descaleings, meticulous cleaning, and periodic calibration. Keep spare parts like gaskets and seals on hand, so replacing worn components doesn’t cause downtime. Using high-quality filtered water reduces mineral buildup, which can be a silent killer, as explained in this article. Lastly, document your maintenance efforts—tracking what you’ve done helps identify patterns and ensures nothing gets overlooked.
Tools for Scaling Success
As you master your current setup, consider scalable tools that grow with your skill. Automated water filtration systems, advanced grinder calibration software, and even custom-fitted tampers tailored to your hand ergonomics enhance consistent quality. The key is to choose tools that offer precision and ease of use, making routine maintenance less of a chore and more of a habit. For insights into selecting top-notch gear, revisit our gear selection tips.
Remember, the best way to ensure your beloved espresso machine continues to serve up perfect shots is by integrating these expert-recommended tools into your routine. Regular checkups, precise measurements, and thoughtful updates are the core of long-term success. If you’re ready, try calibrating your grinder with a digital caliper today—it’s a small step that unlocks big improvements in flavor consistency.
The Hardest Lesson I Learned About Espresso Gear
One of the most eye-opening moments in my home barista journey was realizing that replacing burrs without recalibrating my grinder was futile. I learned the importance of fine-tuning my machine to the new components—skipping this step turned my perfect beans into inconsistent disappointments.
Why Embracing the Tuning Process Transformed My Coffee
Adjusting my grinder became a ritual that unlocked flavors I didn’t know existed. It taught me patience and precision, making each shot truly tailored to my taste, rather than a random guess. This process revealed that calibration isn’t just maintenance—it’s an art form that elevates your entire brewing experience.
My Favorite Tools that Accelerate Calibration Success
Investing in a digital caliper helped me measure burr alignment down to the millimeter, ensuring consistency after each tune-up. A high-quality precision scale made dosing more accurate, reducing waste and variability. These tools, combined with a reliable calibration guide, turned what once felt complex into a straightforward routine that I genuinely look forward to.
How Regular Checkups Keep My Espresso Top-Notch
Just like any skill, calibration is an ongoing process. Every few weeks, I revisit my grind settings, especially during seasonal shifts or after deep cleaning. Staying attentive prevents flavor drift and keeps my machine performing at its best—proving that consistency is about habit as much as the equipment itself.
Keep the Coffee Dreams Alive
Remember, the secret to exceptional espresso lies in the details—calibration, tools, and routine. By making these small practices part of your routine, you’ll surprise yourself with how much control you can have over your brew’s quality. Ready to start tuning your grinder for the perfect shot? Dive into your setup today, and watch your coffee transform from good to unforgettable.
What’s Your Next Step in Coffee Mastery?
Have you ever struggled with maintaining grinder calibration or wondered how to fine-tune your setup? Share your experiences or questions below—let’s perfect our coffee craft together!
.