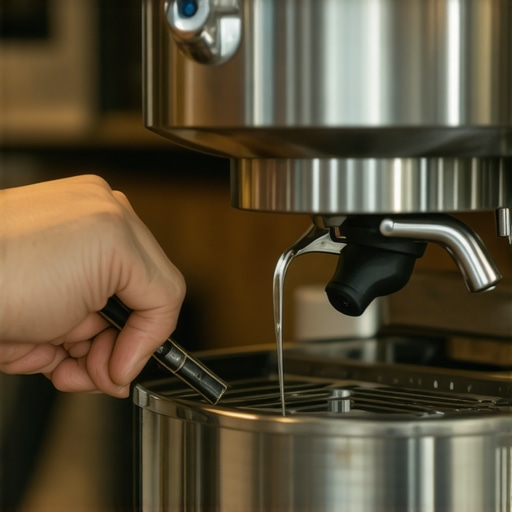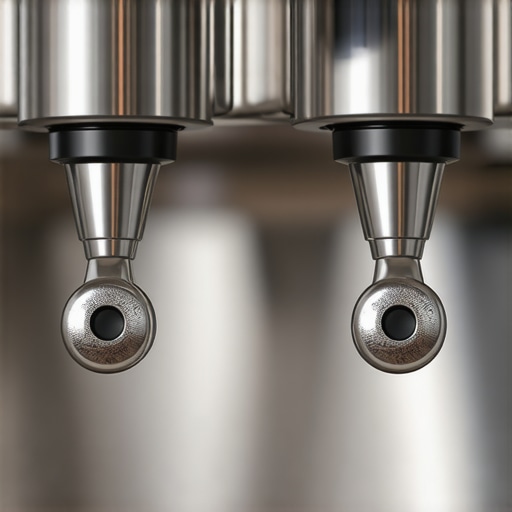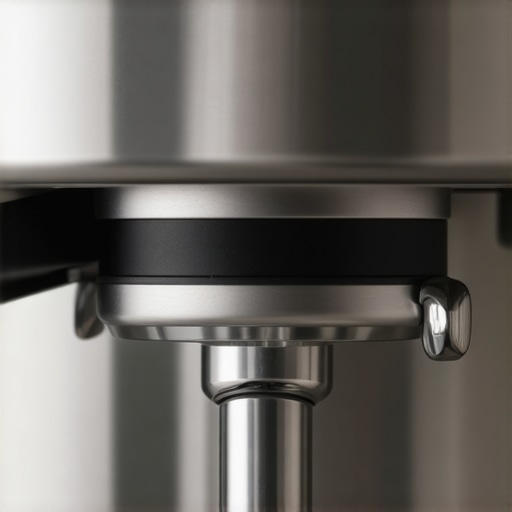
How to Fix a Wobbly Portafilter Gasket in 30 Seconds
Ever been mid-shot, watching your espresso cascade into the cup, only to notice the portafilter wobbling uncontrollably? I remember the exact moment I realized my gasket had turned into a wobbly mess—just when I was craving that perfect shot. It’s frustrating, right? That unstable seal can mess with your espresso quality, cause leaks, and make the entire process feel more like a chore than a pleasure.
But here’s the good news: fixing a wobbly portafilter gasket is simpler than you might think. In fact, with just a quick 30-second fix, you can restore that snug fit and get back to brewing on your schedule. Today, I’ll walk you through a straightforward method I’ve personally tested, which saves the day more times than I can count. No more expensive repairs or hours of disassembly—just a quick adjustment you can do between shots.
Why Your Portafilter Gasket Wobbles and Why It Matters
A wobbly portafilter gasket isn’t just a minor annoyance; it directly impacts your espresso’s flavor, crema, and the efficiency of your machine. When the gasket doesn’t seal properly, water can leak, pressure drops, and you might notice uneven extraction or bitter tastes. Plus, a loose gasket often means you’re risking damage to your machine over time.
Many folks overlook this tiny component, thinking it’s not a big deal. But in truth, a worn or misaligned gasket can undermine your entire coffee experience. The good news? It’s rarely a sign you need a full replacement—more often, it’s a quick realignment or tightening problem.
Have you faced this wobbling issue often enough that it’s ruined your brew or caused frustration? If so, you’re not alone. I’ve been there, too. But with a little know-how, you can fix it almost instantly.
**Think fixing it takes a pro mechanic? Think again.** I made that mistake early on—assuming I needed to replace my gasket every time it wobbled. Turns out, with just a few simple tricks, this problem can be solved quickly, saving you both time and money. For a deeper dive into maintenance tips, check out our guide on [how to replace a group gasket without a full teardown](https://espressotechguide.com/how-to-replace-a-group-gasket-without-a-full-teardown).
Now, ready to learn how to tighten up that gasket and restore your espresso magic in just half a minute? Let’s get into the practical steps that will make your coffee taste as good as it should—fast and fuss-free.
Secure the Gasket While Maintaining Your Routine
First, turn off your espresso machine and unplug it from the power source to ensure safety. Remove the portafilter from the group head and place it on a clean, stable surface. Use a soft cloth to wipe away any residual coffee grounds or debris around the gasket area, similar to cleaning the rim of a wine glass before pouring—clear and free of obstructions is key.
Identify and Remove the Wobbling Gasket
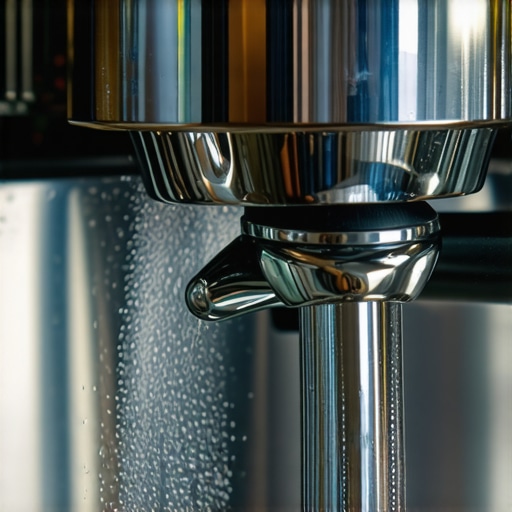
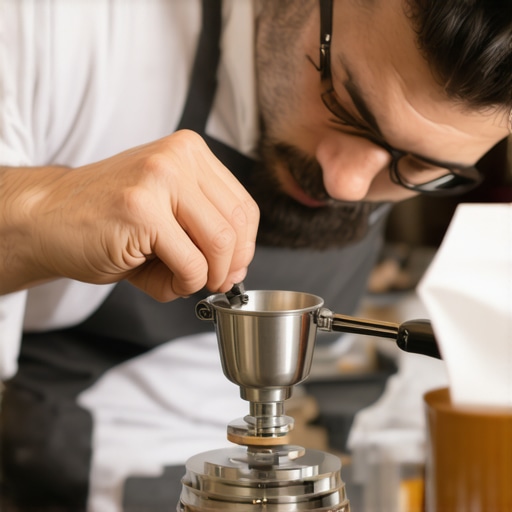
Locate the gasket inside the portafilter, which is the rubber or silicone ring that seals against the group head. If it appears loose or deformed, you’ll need to replace or realign it. To remove a worn gasket, gently pull it out using your fingers or a plastic spatula—think of it like peeling a sticker carefully to avoid tearing the adhesive surface.
Clean and Prepare for Reinstallation
Thoroughly clean the gasket seat and the groove inside the portafilter with a soft brush or cloth. Remove any mineral buildup or old gasket remnants, much like clearing debris from a clogged drain—smoothness ensures a proper seal. If the gasket is reusable and just misaligned, inspect for cracks or deformities; if damaged, then it’s time for a replacement. For a visual aid on gasket sizes and compatibility, check out our guide on replacing a group gasket.
Insert and Align the New or Repaired Gasket
Place the gasket into the groove, pressing evenly around the circumference. Imagine fitting a tire onto a rim—start at one point and work your way around to ensure it’s seated evenly. If you notice a small tab or indentation, align it so it faces the same direction as the tab on the portafilter for proper fit and easy future maintenance. For a perfect alignment, use a tiny amount of food-safe lubricant like vegetable oil to help seat the gasket smoothly—think of it as lubricating a door hinge for silent operation.
Tighten and Test the Seal
Once the gasket is in place, reattach the portafilter to the group head, hand-tightening it securely. Use the hand-tightening method to avoid over-tightening, which can deform the gasket or damage threads. Afterward, run a test shot or two—watch for leaks or wobbles. If it still wobbles, double-check gasket positioning, and ensure the surface of the group head is clean and free of any deposits that could prevent a snug fit.
Adjust and Fine-tune for Long-Term Reliability
If wobbling persists, consider replacing the entire gasket or inspecting the portafilter’s threaded parts for damage. Regular maintenance, such as cleaning the gasket interface monthly, helps prevent future issues. Remember: a snug, even seal helps maintain optimal pressure, ensuring your espresso shot is rich, crema-rich, and free of leaks—transforming a messy fix into a brewing triumph.
Many enthusiasts invest in fancy espresso machines or high-end coffee grinders thinking they will automatically produce barista-quality drinks. However, a common misconception is that gear alone guarantees perfect results. In my experience, mastering the nuances of your equipment and understanding its limitations is key to consistent brewing excellence.
One prevalent myth is that more expensive gear always equals better coffee. While premium machines and grinders offer precise controls, they also require skilled operation and regular maintenance. For example, a top-tier espresso machine can underperform if the water temperature isn’t dialed in correctly or if the grinder isn’t set to the optimal grind size. Don’t fall into the trap of assuming gear is the sole determinant of quality—often, technique and understanding your equipment matter more.
Another overlooked aspect is the role of proper calibration. Many home baristas skip frequent recalibration of their grinders, leading to inconsistent extraction and flavor. Over time, burr alignment shifts or clogged grind paths can cause uneven grounds, affecting shot clarity and crema. Regularly check and maintain your grinder for peak performance. For detailed guidance, see how to select the best grinder.
Why do inconsistent milk frothing techniques ruin even the best gear?
Milk frothing is often misunderstood as a simple skill, but advanced baristas know that temperature control, steam wand positioning, and pitcher technique are crucial. A common mistake is using overly cold milk or inconsistent steaming angles, which hinder proper microfoam formation. Invest time in learning to control your steam pressure and pitcher angles—this extends beyond equipment quality. For mastering microfoam, check out our guide on milk frothers.
Finally, don’t neglect the importance of routine cleaning and maintenance. Residual coffee oils or mineral deposits from hard water can clog or corrode your machine’s parts, drastically reducing lifespan and affecting flavor. A quick weekly descaling and cleaning routine can prevent costly repairs and keep your gear performing at its best. Explore tips for proper cleaning to avoid common pitfalls.
Enhance your knowledge by staying curious and diligent with equipment care. Remember, gear is a tool—your technique, maintenance, and understanding of your setup define your success. Have you ever fallen into this trap? Let me know in the comments.Maintaining your coffee equipment is essential for consistent quality and longevity. Personally, I swear by a few specialized tools that simplify regular upkeep and help me catch issues early before they become costly repairs. One such tool is the leveling jig. I use it weekly to ensure my espresso machine sits perfectly flat, which prevents uneven heating and improves shot consistency. Another indispensable item is a group head gasket gauge. It helps me check gasket wear accurately, so I replace or realign gaskets proactively, avoiding leaks and pressure issues. For cleaning stubborn coffee oils, I favor a microfiber duster with a cork handle. It’s gentle yet effective, ensuring my brew tastes pure and my machine’s parts stay pristine. Looking ahead, I believe automation and smart sensors will revolutionize maintenance routines, prompting machines to alert us when parts need attention. To stay ahead, it’s worth investing in tools that facilitate regular checks — it saves money and time while maintaining that barista-quality shot.
How do I maintain my espresso gear over time?
Regular cleaning is key, including backflushing your espresso machine at least once a week with a dedicated cleaner like Espresso Machine Cleaner. Also, replacing worn gaskets promptly prevents pressure leaks; the step-by-step guide offers a detailed walkthrough. Keep your grinder burrs sharp by checking with a specialized burr grinder gauge and replace them if they are dull. Consistently calibrating your grinder and steaming parameters ensures your drinks are as good as your equipment allows. Remember, smart maintenance practices extend your gear’s life and make every shot worth the effort. Dive into the details of effective cleaning and calibration to master long-term results—it’s well worth it.](https://espressotechguide.com/mastering-the-art-of-home-espresso-tips-for-beginners)
The Hardest Lesson I Learned About Barista Gear
One insight that truly transformed my approach was realizing that even the most expensive espresso machine isn’t a magic bullet. I spent countless hours troubleshooting leaks or uneven shots, only to find that simple maintenance routines and understanding my machine’s quirks yielded better results. Investing in equipment without proper knowledge can lead to frustration—learning the nuances of each component, like gaskets and ports, is essential. Don’t neglect regular checkups, and trust me, that investment in knowledge pays off in consistently better espresso.
Common Myths That Delay Your Progress
I used to believe that buying the latest coffee grinder or high-end milk frother would instantly elevate my drinks. Reality check—accuracy in grinding and milk frothing techniques matter more than brand names. I found that calibrating my grinder and practicing microfoam skills with my existing gear made a notable difference. Plus, routine cleaning was a game-changer—skipping this step invited flavor issues and mechanical hiccups. Remember, mastering your current tools is often more impactful than acquiring new ones prematurely.
The Power of Routine and Curiosity
One lightbulb moment was realizing that consistent maintenance isn’t just a chore but an act of care that enhances flavor and machine longevity. For example, weekly backflushing and quarterly gasket checks kept my setup humming smoothly. This curiosity-driven approach—investigating the ‘why’ behind each issue—accelerates mastery. Whether it’s experimenting with tamping pressure or exploring different beans, staying curious ensures continuous improvement and keeps your espresso journey engaging.
Where My Knowledge Takes Me Next
Having uncovered these truths, I’m eager to deepen my understanding of advanced calibration techniques and explore automation tools for maintenance. I highly recommend checking out resources like guides on selecting the best barista gear and tips for mastering home espresso. These sources have helped me make smarter decisions and save time and money. Remember, no setup is perfect overnight, but with patience and proactive learning, your barista skills will flourish.
Your Turn to Elevate Your Coffee Game
Now that I’ve shared what’s worked for me, I’d love to hear your experiences. Have you ever had a small tweak that drastically improved your espresso quality? Or perhaps a common mistake you’ve recently corrected? Share your stories below—I believe that exchanging insights is the best way to grow together as coffee enthusiasts. And if you ever need personalized guidance or want to explore more tools that can help refine your technique, don’t hesitate to reach out. Keep brewing and keep sharing—the perfect shot is within your reach!**