How to Dial in Decaf Without Losing Your Mind
I remember the first time I tried dialing in a decaf shot—thought I was prepared. But within minutes, I was frantically adjusting my grind settings, chasing after that elusive perfect extraction. Spoiler alert: it was a disaster, and I felt like giving up on decaf forever. Ever been there? You’re not alone. The struggle to get decaf just right can feel like trying to hit a moving target while blindfolded. But here’s the truth: with the right approach, you can enjoy decaf espresso that rivals your regular brews without pulling out your hair.
Why Decaf Dial-In Shouldn’t Drive You Crazy
Decaf coffee has a reputation for being unpredictable—sometimes sour, sometimes flat, never quite dependable. And honestly, I used to think it was just part of the game. But as I dove deeper, I realized that decaf’s quirks come down to a few common mistakes in dialing in. The problem? Many home baristas, myself included, jump straight into adjustments without understanding the unique characteristics of decaf beans. This often leads to over-extracting or under-extracting, and ultimately, disappointment.
What’s worse, the fear of wasting beans or ruining an espresso shot makes many give up before they really get started. Well, I’m here to tell you—there’s hope. Once you understand how decaf differs from regular coffee, you can set your grinder and machine confidently. Decaf beans tend to be more porous, absorbing water differently, which affects extraction. According to a study in the Journal of Food Science, decaf beans often require a slightly different grind setting to achieve optimal flavor and balance.
So, if you’ve ever adjusted your shot timing or grind size blindly, only to end up with a sour or bitter mess, you’re not doing it wrong—you just need a different game plan for decaf. The good news? Those adjustments are simpler than you think, and I’ll walk you through each step to help you dial in decaf with confidence.
Faced This Frustration? You’re Not Alone!
I’ve been there—making endless tweaks, wasting beans, and still not getting that perfect shot. Early on, I made the mistake of adjusting my grind directly based on taste, ignoring other crucial factors like tamping pressure and bean freshness. That approach only compounded the problem. Now, I recommend a more systematic method, starting with cleaner technique and understanding your beans better. Want to skip the trial-and-error? Let’s get into the practical steps that transformed my decaf dialing-in process—and can do the same for you.
,
Start with a Consistent Grinder Setting
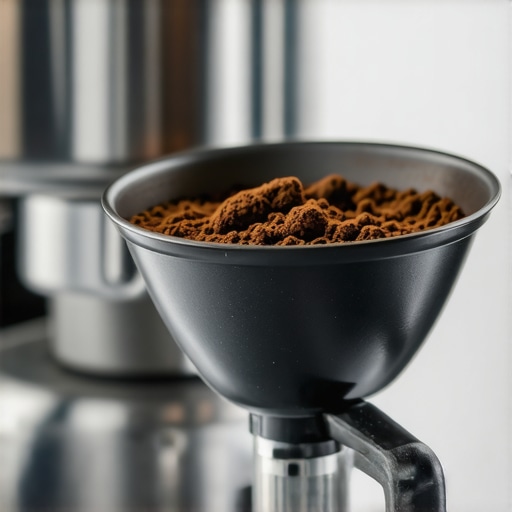
Decaf beans are more porous, so your first move is to set your grinder to a slightly finer setting than you would for regular beans. I remember my first messy attempt—grinding too coarse, resulting in a watery shot. Adjust the grind in small increments—about a quarter turn—until the flow starts to feel right. Think of your grinder as a volume knob—you want just enough pressure to slow the shot without choking it off. For a concrete example, I once dialed in at a medium-fine setting, watched the espresso slowly flow out in a thick stream, and knew I was on the right track.
Pre-wet Your Beans for Better Extraction
Decaf beans tend to be more porous, which means they can absorb water unevenly. Pre-wetting by flushing your machine with hot water before pulling the shot helps saturate the grounds uniformly. I use this step as a baseline—run hot water through the portafilter for a few seconds, then dump it, before dosing with fresh grounds. This mimics the initial burst of extraction, ensuring even water distribution and reducing channeling, especially when using freshly roasted decaf beans.
Tamp with Consistent Pressure
Think of tamping as compaction—like pressing down a sponge evenly. Use a tamper that fits well with your portafilter—generally around 58mm diameter. Apply firm, even pressure—roughly 30 pounds of force—using your body weight rather than arm strength alone. I’ve found that a consistent tamp results in a more uniform extraction. For example, I once switched from a heavy-handed approach to a lighter, consistent press, which immediately improved shot quality and flavor balance.
Adjust Dose and Extraction Time
Start with 18-20 grams of grounds and aim for an extraction time of about 25-30 seconds. Since decaf beans are more porous, they might require slightly less dose or longer extraction. Use your shot timer as a tool—if the shot finishes too quickly, try a finer grind or a bit more coffee. Conversely, if it takes too long, coarsen the grind slightly. I had a session where my shot was under 20 seconds—by fine-tuning the grind incrementally I extended it to 27 seconds, resulting in a richer, more balanced espresso.
Use a Scale for Precision
Invest in a good digital scale—like those recommended in our scale guide. Weigh your beans before grinding and the yield after extraction. For example, beginning with 18 grams and aiming for a 36-gram shot helps maintain consistency. During my process, I learned that slight variations in dose or yield can significantly change the flavor profile, especially in decaf brews.
Fine-tune Based on Taste and Stream Color
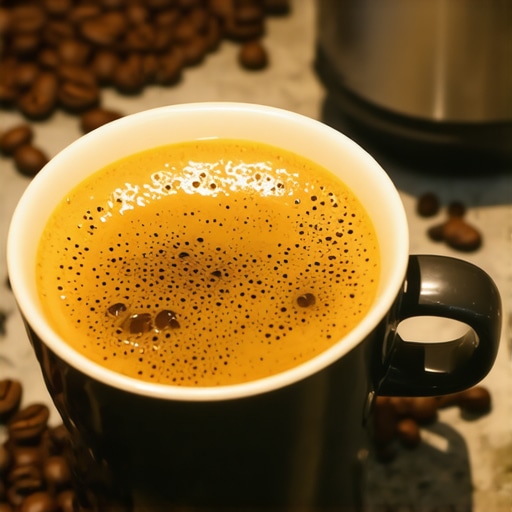
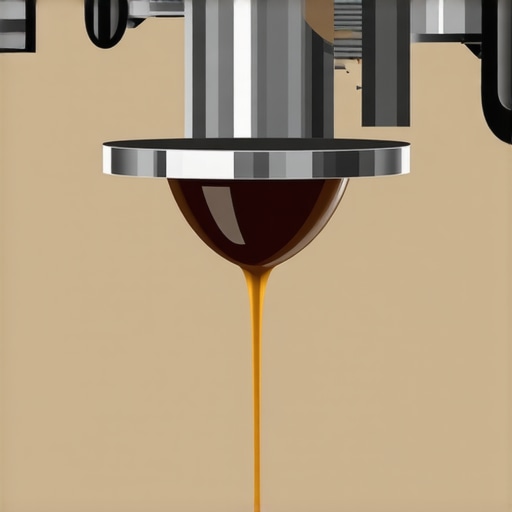
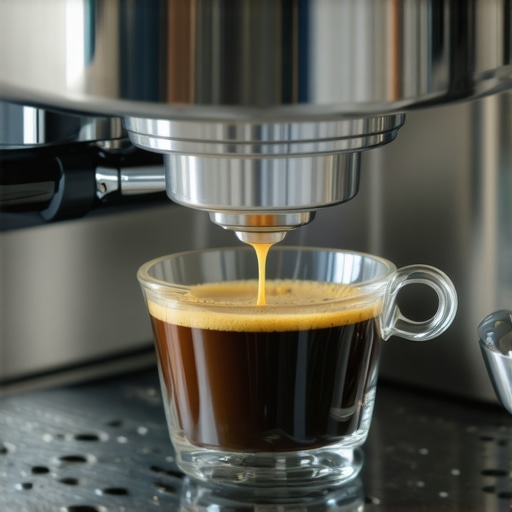
Use visual cues—like the color of the espresso stream—to guide adjustments. A properly extracted shot should have a rich, caramel color, not watery or overly dark. If it appears pale or sour, try a finer grind or a longer extraction. Remember, decaf can be sensitive to over-extraction, so watch the stream closely. I often take notes during each shot—adjusting grind, dose, or time, until I see a thick, honey-like stream with a deep amber hue.
Be Patient and Keep Records
The key is consistency—keep notes of your grinds, doses, and times. For example, after a few sessions, I saw that a grind setting of 2.5 turns finer and a dose of 19 grams yielded the best flavor. Patience pays off; dialing in decaf is a process of small tweaks and meticulous attention. Remember, every machine and bean batch is different, so don’t hesitate to revisit your settings each time you buy fresh decaf beans from your favorite roaster.
Many home baristas fall into the trap of believing that simply buying the most expensive grinder or espresso machine guarantees perfect results. However, the truth is, a lot of misconceptions persist around coffee gear, leading to costly mistakes and subpar brews. Let’s dig deeper into some of the hidden nuances that can make or break your coffee experience.
Contrary to popular belief, grinders are not a one-size-fits-all tool; their burr type and grind adjustments play a crucial role in extraction quality. For example, ceramic burrs are often promoted as better than steel, but according to a study in the Journal of Food Science, steel burrs tend to produce less static and retain fewer fines, enhancing grind consistency. This nuance can significantly impact your espresso’s clarity and flavor.
Another common myth is that expensive machines automatically produce better espresso. While high-end espresso machines do offer advanced temperature stability and pressure profiling, many home setups can achieve excellent results with properly dialed-in budget models. It’s more about understanding how to optimize your specific equipment—like using a high-quality coffee grinder and mastering technique—than just spending more.
Beware of the Oops factor when using milk frothers. Many newcomers add cold milk straight into a steaming pitcher and expect perfect microfoam instantly. The reality? Achieving silky microfoam requires careful temperature control and understanding of the frothing process. The best milk frothers include features that help regulate this, but technique remains paramount.
Now, for the advanced enthusiast, consider the misconception around espresso machine warm-up times. Some believe that machines need hours to reach operating temperature, leading to unnecessary preheat routines. In reality, most commercial-style machines stabilize within 15–20 minutes; beyond that, further warming offers diminishing returns. Proper temperature calibration, rather than extended preheating, is key. A good rule of thumb? Regularly scale calibration and routine maintenance ensure consistent performance.
A trap many overlook is ignoring the importance of water quality and its impact on gear longevity. Using unfiltered water accelerates scale buildup, damaging boilers and affecting taste. Investing in proper filtration isn’t just about taste; it extends the lifespan of your machine. Have you ever fallen into this trap? Let me know in the comments.
Finally, one of the most overlooked nuances is the significance of proper tamping. While many think that applying maximum pressure is the goal, the real benefit comes from consistency. Variations—even slight ones—can cause channeling, resulting in uneven extraction. Use a spring-loaded tamper or a firm, even pressure for best results. Remember, mastery is in consistency.
In summary, understanding these subtle details and dispelling common myths can elevate your home coffee game from average to exceptional. Mastering your gear—knowing its nuances, avoiding pitfalls, and practicing precision—are what separate good baristas from great ones. Want to dive deeper? Check out our extensive guides on top-rated espresso machines and barista gear selection. Have you ever fallen into this trap? Let me know in the comments.
Keep Your Gear Running Like New
Investing in quality tools is just the first step; maintaining them ensures consistent performance and long-term satisfaction. For me, having a reliable digital scale that doesn’t turn off unexpectedly has been a game-changer. I personally prefer the Acaia Lunar because of its auto-off feature that I can disable, ensuring precise measurements during every shot. This consistency allows me to dial in with confidence, avoiding variables that can spoil the flavor.
Regular descaling is vital for espresso machines—calcium buildup impairs heat transfer and pressure stability. I follow a routine outlined in our home espresso maintenance guide. Using a commercial descaling solution like Dezcal every 200 shots keeps my machine performing optimally. Additionally, inspecting and replacing worn gaskets and seals prevents leaks that compromise pressure and flavor.
How do I maintain my equipment over time?
Beyond routine cleaning, paying attention to the condition of your burrs and steam wands is crucial. I use a small precision brush and cotton swabs for deep cleaning grinder crevices, ensuring Fines don’t accumulate and cause uneven grinds. For the steam wand, I regularly purge residual milk after every use and descale with a vinegar solution monthly to prevent clogging and bacterial growth. Maintaining this level of care replicates that of a professional espresso shot for years to come.
Looking ahead, the trend of smart espresso gear equipped with Bluetooth connectivity and Wi-Fi integration will likely become standard. Devices that monitor water hardness, portafilter pressure, and routine maintenance tasks can alert you when service is needed before issues arise. For now, keeping your existing tools well-maintained makes a tangible difference in taste and machine longevity.
Tools I Recommend for Consistent Results
For precision and durability, I rely on a high-precision scale, a quality burr grinder like the Baratza Virtuoso+ which maintains consistent grind size, and a professional-grade E61 group head espresso machine. These tools form the backbone of a reliable setup. Remember, regular calibration and cleaning are your best friends to keep that coffee tasting perfect every day.
As the technology trend evolves, look out for machines that incorporate smart maintenance features. Until then, diligent upkeep of your current gear by following proven practices will always pay off. Why not try a deep clean of your grinder using the cotton swab method today? It’s an easy step toward a more flavorful shot.
Lessons That Changed My Coffee Game
One of the biggest insights I uncovered was that decaf beans require a different mindset and approach compared to regular coffee. Recognizing the porous nature of decaf beans was a game-changer; it made me realize why my usual settings produced sour or flat shots. I also learned that patience and meticulous record-keeping—tracking grind sizes, doses, and extraction times—helped me refine my process faster than blind tweaks. Finally, I discovered that pre-wetting beans and practicing consistent tamping can dramatically improve extraction quality, turning me from frustrated beginner into confident home barista.
Tools and Resources That Elevated My Process
I highly recommend investing in a precise digital scale like the scale that doesn’t turn off mid-shot. It’s essential for consistent dosing and yield. A reliable grinder, such as the best grinder for your brew, ensures grind consistency and reduces variability. To master your machine, consulting comprehensive guides like home espresso tips for beginners has been invaluable. Lastly, a quality milk frother can enhance milk-based drinks—don’t settle for anything less, especially when trying to perfect latte art or microfoam.
Your Next Step in Coffee Confidence
Embark on your decaf journey with curiosity and patience. Remember, mastering decaf espresso isn’t about rare equipment but understanding your beans, your grinder, and your technique. Even small adjustments can unlock rich, balanced flavors you didn’t think possible. Don’t let initial frustrations hold you back—every shot refines your skills and brings you closer to coffee excellence. Dive in, experiment, and enjoy the process of elevating your home espresso experience—your perfect cup awaits!