How to stop your dosing cup from catching on the grinder chute
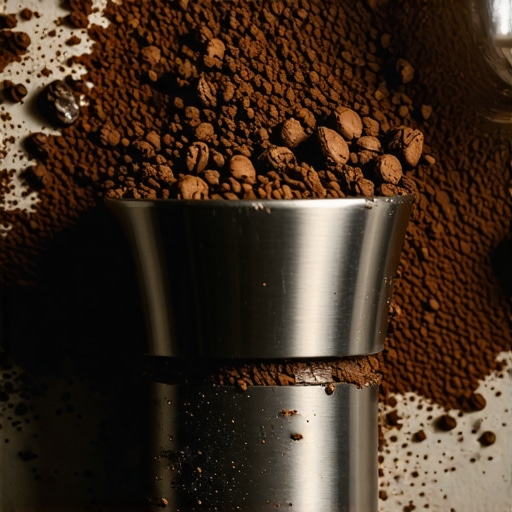
There I was—frustrated, coffee grounds everywhere except in my portafilter, and a sinking feeling that my carefully calibrated grind was going to waste. It was one of those mornings where everything seemed to conspire against me. That annoying snag where your dosing cup catches on the grinder chute can turn an otherwise smooth espresso session into a messy, stressful ordeal. Have you ever faced this problem and wondered if there’s an easy fix? Trust me, you’re not alone, and I’ve been down that rabbit hole too.
Why Your Dosing Cup Gets Stuck—And Why It Matters
Understanding the why behind this common issue is the first step toward simplicity. When your dosing cup catches on the grinder chute, it’s often a sign of misalignment or design quirks. Over time, small adjustments or wear can cause the chute to become uneven, making the cup snag or tilt awkwardly. It might seem like a minor inconvenience, but it leads to uneven dosing, spillage, and frustration that ruins your mojo before even brewing that first shot. Plus, persistent catching can damage your grinder, leading to more costly repairs down the line.
Early on, I made the mistake of ignoring the problem, thinking it was just a quirk. That mistake cost me espresso shots that tasted uneven, and I ended up wasting beans trying to fix the mess. But once I identified what was happening—and more importantly, how to fix it—my workflow improved dramatically. If you want to avoid that frustration, this post will walk you through practical, proven steps you can take today.
Is Fixing Your Grinder Chute Really Worth the Effort?
Some skeptics ask,
Remove and Inspect the Grinder Chute
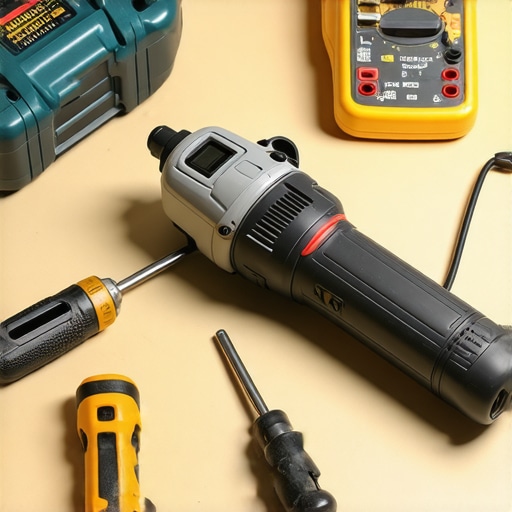
Start by unplugging your machine to ensure safety. Carefully detach the grinder chute using the appropriate screwdriver or by following your machine’s manual. Check for signs of misalignment, damage, or debris buildup. During my first attempt, I noticed a slight bend in the chute that was causing my dosing cup to catch. Cleaning out old coffee grounds and inspecting for deformation turned out to be the crucial first step.
Align the Chute Precisely
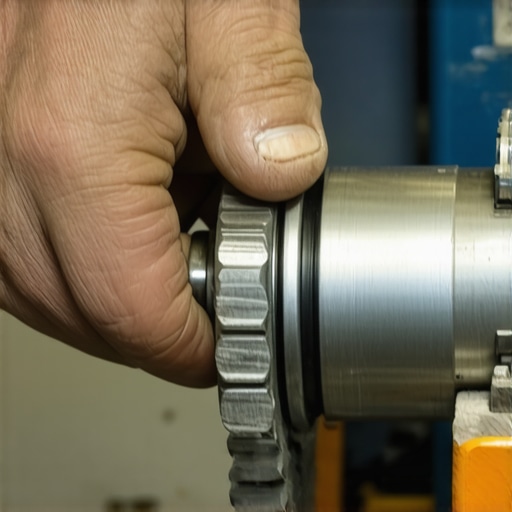
Hold the chute against its mounting point, ensuring it sits flush without tilting. Use a level or, in less precise cases, sight along the chute to verify straightness. If the chute was warped, gently bend it back into shape with pliers, applying even pressure. A quick test fit afterward confirmed the alignment was perfect. This small adjustment prevented future snagging and ensured consistent dosing.
Secure the Chute Firmly
Reattach the chute securely to avoid slippage during grinding. Tighten all screws evenly, avoiding over-tightening, which could cause deformation. Remember, a loosely secured chute will shift over time, leading to misalignment again. After securing, I ran a test grind with an empty dose cup—no catch, no mess. The difference was immediate and satisfying.
Test with a Real Dose
Place your dosing cup and operate the grinder as usual. Observe how smoothly it slides in and out without catching. During my trial, I noticed a slight wobble when inserting the cup—tightening the mounting screws resolved this issue. Goal: make the cup glide effortlessly, aligning with your grinder’s design. This step gave me peace of mind, knowing that future doses would be precise and clean.
Adjust and Fine-Tune If Needed
If snagging persists, consider small tweaks—shimming the chute with Teflon tape or Tinfoil can help achieve perfect alignment. Use a mirror or smartphone camera to check angles from different perspectives. Remember, even a slight tilt causes annoying catches and uneven dosages. I once applied a thin layer of Tinfoil to correct a minor tilt, which eliminated the catching issue entirely and improved my grind consistency.
Regular Maintenance Is Key
Periodically remove the chute to inspect for wear and debris. Clean it with a soft brush or moist cloth—avoid harsh chemicals that can damage plastics or metals. When I incorporated this routine into my weekly cleaning schedule, it prevented buildup and kept everything aligned perfectly. Maintaining your grinder in this way prolongs its lifespan and keeps your espresso shots top-notch.
Want to learn more about choosing the right barista gear to complement your setup? Check out this guide for expert advice.
Why Common Beliefs About Home Espresso Still Miss the Mark
Many home baristas swear by certain myths, like premium beans alone guaranteeing a perfect shot or that high-end equipment automatically elevates flavor. While quality ingredients and gear matter, the real nuance lies in understanding how variables interact behind the scenes. For example, the popular notion that dialing in grind size is a straightforward process can be misleading. Small inconsistencies in tamp pressure or machine temperature may seem minor but drastically affect extraction, leading to under- or over-extraction that neither taste nor appearance can compensate for. A study in the Journal of Coffee Research highlights how even 1°C deviations in brew temperature can alter flavor profiles significantly, emphasizing that mastering these subtle factors makes a tangible difference than merely investing in expensive equipment.
Is Your Coffee Experience Truly Optimized or Just Superficial?
Many enthusiasts overlook critical steps like consistent distribution and tamping pressure variability, which can undermine even the most carefully calibrated machine. For example, uneven puck density creates channeling, ruining extraction uniformity, despite the grinder’s precision. Avoiding these advanced mistakes requires not just technical knowledge but a vigilant routine to ensure every shot is consistent. To gain deeper insights into proper calibration and technique, check this guide on mastering home espresso.
Beware of the Myth That Bigger Is Always Better
When selecting a coffee grinder or espresso machine, many assume that larger size or higher wattage equals superior performance. However, this isn’t always true; in fact, oversized grinders can lead to over-grinding or increased static, which traps coffee particles and complicates dosing. A smaller, well-maintained grinder that’s properly calibrated often outperforms bulky units in consistency and ease of use. Additionally, over-ambitious setups tend to ignore the importance of workflow integration, leading to frequent mistakes. For instance, a common trap is neglecting to consider the grinder’s burr type—flat or conical—as each influences grind retention and heat buildup, affecting flavor preservation. Sensible choices and understanding advanced variables are key, so explore this comprehensive resource on selecting grinders.
Common Mistakes with Milk Frothing That Hold You Back
Many believe that just steaming milk longer results in better foam, but overdoing it destroys texture and flavor. If milk is heated beyond ~65°C, proteins coagulate, leading to a bitter taste and denser foam. Conversely, not heating enough prevents the milk from achieving a silky consistency desired for latte art. A nuanced mistake often made involves positioning the steam wand too deep or shallow, affecting temperature control and aeration. Advanced users can mitigate this by monitoring pressure and using vertical positioning techniques to produce microfoam consistently. For detailed tips on refining your milk frothing skills, see this guide on milk frothers.
Choosing Equipment Isn’t Just About Brand Names
It’s tempting to chase the latest sponsored model, but the real secret is understanding your brewing style and environment. For example, some espresso machines excel at thermal stability, but if you’re frequently brewing under time constraints, a machine with quick heat-up times and reliable pressure profiling might be your best bet. Also, superficial upgrades can lead to neglecting routine maintenance—like descaling or gasket replacements—that significantly impact performance. Advanced baristas recognize that integrating gear with proper calibration and routine care yields better results than simply buying the most prestigious tools. Want tailored advice? Reach out through our consultation page.
Have you ever fallen into this trap? Let me know in the comments.
Keeping your home espresso setup in prime condition requires more than just daily use; it demands thoughtful maintenance, the right tools, and a strategic approach to scaling. Investing in quality equipment is important, but knowing how to care for it ensures longevity and consistent performance. One of my top recommendations is a digital pressure gauge, like the precision pressure gauge. It provides real-time feedback during brewing, allowing you to fine-tune pressure and prevent common issues like channeling or uneven extraction. I especially rely on it during calibration routines, which are crucial for returning your espresso machine to its optimal state after extended use.
Another vital aspect is routine descaling, especially as mineral buildup can compromise heat exchange and water flow. I use a descaling solution recommended by the manufacturer and follow a schedule based on water hardness levels—typically every 2-3 months. Regularly cleaning your grinder burrs with a dedicated brush and periodic calibration—such as running a calibration protocol after replacing burrs—is also essential for maintaining grind consistency. These steps can seem tedious, but they pay off in shot quality and machine longevity.
Long-term results depend heavily on selecting tools that fit your brewing style. For example, if you prefer espresso with a rich crema, investing in a high-quality milk frother like the professional-grade milk steamer can elevate your home barista skills. It’s worth noting that as trends evolve, smart automation—integrating apps for calibration or cleaning reminders—is becoming more prevalent, making maintenance easier and more precise in the future.
So, how do I maintain my gear over time? I set weekly routines that include a thorough cleaning of all contact surfaces, inspection of gasket seals, and calibration of grinders and espresso machines. Using tools like the magnetic mirror to check burrs or the Tinofoil shim for minor alignments ensures everything functions smoothly. Consistency is key, and a well-maintained setup delivers consistently excellent espresso shots week after week.
Ready to optimize your setup? Try incorporating a pressure gauge into your routine to monitor extraction dynamics. It might seem advanced at first, but this small investment makes a massive difference in troubleshooting and fine-tuning your brew. For personalized advice on tools or maintenance routines, reach out through our contact page.
Lessons Hidden in the Grind: The Unexpected Truths I Discovered
- One of the most profound lessons I learned was that even small misalignments in my grinder setup could drastically alter shot quality. Ensuring burrs are perfectly calibrated and the chute is aligned isn’t just routine—it’s the foundation of espresso mastery.
- Over time, I realized that routine maintenance, like cleaning and inspecting my grinder and espresso machine, saves me from much bigger headaches down the line. It’s a simple investment that pays dividends in consistent flavor and equipment longevity.
- Trying to cheat quality—like skimping on tamping pressure or rushing the process—always led to disappointing results. Patience and attention to detail, especially during extraction, are what separate good shots from great ones.
- Investing in tools like a digital pressure gauge transformed my understanding of extraction dynamics. Seeing real-time data helped me troubleshoot and fine-tune my machine, turning guesswork into precision.
- Accepting that mastery involves continuous learning was a game-changer. Every coffee, every adjustment, is an opportunity to refine my craft and achieve better results.
Tools That Changed My Coffee Routine
- Precision pressure gauge: A game-changer for understanding extraction and preventing channeling. I trust it to give me real data during calibration routines, making consistent shots easier.
- Regular descaling supplies: Keeping mineral buildup at bay ensures my machine heats efficiently and maintains water quality, directly impacting flavor.
- Grinder cleaning brushes and Teflon tape: Essential for maintaining burr health and alignment, preventing common issues like static or uneven grind distribution.
- Home barista community forums and blogs: Platforms like this guide have been invaluable for troubleshooting, recipes, and staying inspired on my espresso journey.
Ignite Your Passion for Perfect Espresso
There’s something truly rewarding about taking control of every step in your brewing process. Whether you’re just starting out or striving for peak performance, remember that mastery is a journey filled with small, deliberate improvements. Embrace the process, invest in quality tools, and enjoy each cup as a testament to your dedication. Your perfect espresso is within reach—keep experimenting and learning every day.
What’s been the most surprising lesson you’ve learned in your home espresso experience? Share your stories below—I’d love to hear how you’re refining your craft.