How to Stop Your Milk Foam from Turning into a Big Bubble
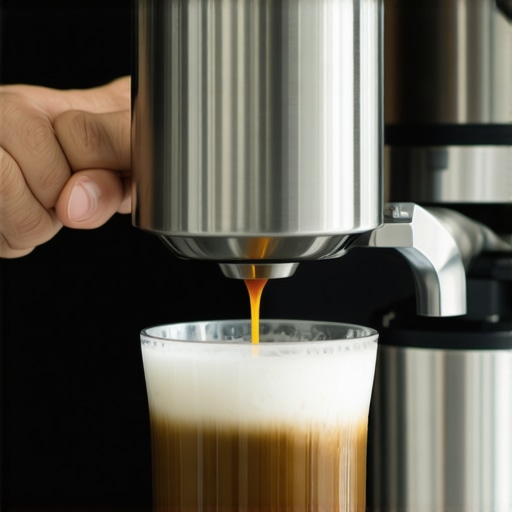
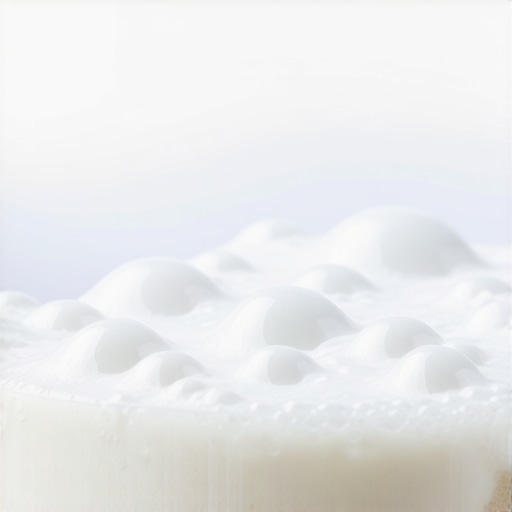
I remember standing in my kitchen at 6:00 AM, staring in absolute defeat at what was supposed to be a flat white. Instead of that glossy, wet-paint texture I’d seen at my local cafe, my cup was topped with a stiff, dry mountain of bubbles that looked more like dish soap than delicious dairy. It was embarrassing. I had the fancy machine, the shiny pitcher, and the fresh milk, yet I was consistently producing ‘stiff peaks’ that wouldn’t pour to save my life. If you’ve ever felt the frustration of watching a giant bubble grow and pop right as you finish steaming, I’ve been exactly where you are. Today, we’re going to fix that. I’m going to show you how to move past the ‘bath foam’ phase and finally achieve the microfoam of your dreams.
Your Latte Art Is Dying in a Sea of Suds
In those early days, I made the classic rookie mistake: I thought more noise meant more foam. I would hold the steam wand tip right at the surface, letting it ‘shriek’ and gulp air until the pitcher was overflowing with giant, unstable bubbles. I didn’t realize that [why your milk pitcher position is ruining your texture](https://espressotechguide.com/why-your-milk-pitcher-position-is-ruining-your-texture) is the difference between a professional pour and a chunky mess. The truth is, the ‘stretching’ phase—where you actually add air—should only last a few seconds. According to research from the Journal of Dairy Science, milk foam stability is a delicate balance of proteins and fats that begins to break down if the temperature rises too quickly or if the air bubbles are too large to be incorporated into the liquid. By the time I realized this, I had wasted gallons of milk.
Is Professional Microfoam Actually Possible at Home?
You might be thinking that your entry-level machine simply doesn’t have the boiler power to create real texture. I used to blame my gear too, but after testing dozens of [milk frothers that transform your coffee experience](https://espressotechguide.com/milk-frothers-that-transform-your-coffee-experience), I realized that technique almost always beats hardware. Whether you are using a high-end dual boiler or a handheld wand, the physics of a vortex remain the same. If you are struggling with non-dairy options, don’t lose heart; [the secret to steaming alternative milks without the bubbles](https://espressotechguide.com/the-secret-to-steaming-alternative-milks-without-the-bubbles) just requires a slightly shorter stretching window. Have you ever managed to get the foam perfect only to have it turn into a solid block before you could even start your pour? It’s a common hurdle, and it’s usually because we aren’t creating a strong enough whirlpool to ‘polish’ those bubbles into submission. Let’s look at how to get that vortex spinning properly.To get that wet paint texture, you need to treat the steaming process like a two-act play. Act one is stretching, where you introduce air. Act two is texturing, where you incorporate those bubbles into the liquid. If you spend too long in act one, you’ll end up with a dry cap; too long in act two without enough air, and you’re just making hot milk.
Listen for the Sound of Ripping Paper
The moment you open the steam valve, you should hear a series of short, sharp ‘tsst-tsst’ sounds. Think of it like someone delicately ripping a piece of paper. This is the only time you should see the milk’s volume actually rising. If you’re mastering the art of home espresso tips for beginners, remember that the wand tip should only be about half a centimeter deep. I once tried to steam milk for a tiny cortado using a massive 20oz pitcher, and because I couldn’t get the wand deep enough without losing the surface tension, I ended up wearing half the milk. Learning the best way to handle large milk pitchers for small drinks saved my kitchen counter from a daily dairy bath and finally gave me the control I needed for smaller volumes.
Stop Adding Air Before the Pitcher Gets Warm
You only want to stretch the milk until the pitcher reaches body temperature—roughly 100°F. After that point, the proteins begin to denature, and any air you add will create those stubborn, coarse bubbles that ruin your art. If you find your wand suddenly stops being effective or the flow feels uneven, you might need to investigate how to fix a steam wand that only blows out weak air to ensure your boiler is actually providing the force necessary for a good stretch.
Spin the Milk Like a Miniature Tornado
Once you’ve reached that ‘body heat’ stage, bury the wand tip slightly deeper—maybe another centimeter—and tilt the pitcher. You’re looking for a violent vortex. This whirlpool is what shears the large bubbles into microscopic ones. It’s the difference between a chunky foam and a glossy microfoam. 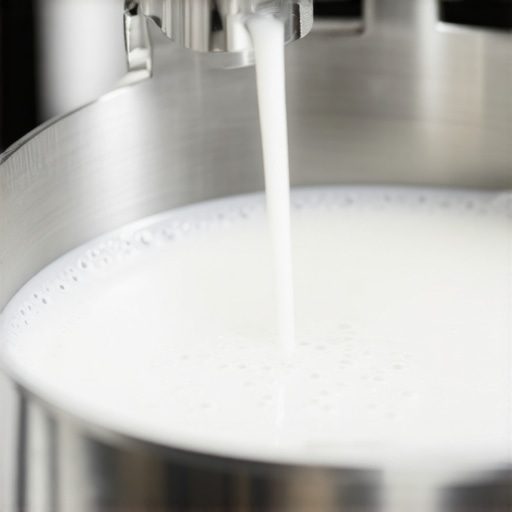
Angle the Wand Like a Professional Rudder
Don’t put the wand in the dead center of the pitcher. Instead, move it slightly to the left or right, and lean the pitcher toward you. This creates a circular path for the milk to travel. If you keep the wand centered, the milk just bounces around chaotically. When I finally mastered this ‘spinning’ motion, the milk looked like melted marshmallows instead of dish soap. If you are using an automatic device instead of a wand, knowing how to fix a milk frother that won’t spin is the first step, as without that centrifugal force, you’ll never achieve the necessary homogenization. If your machine is older, you might notice why your steam wand pressure cuts out after 10 seconds, which can cut your texturing phase short and leave you with watery milk. Keep that vortex going until the pitcher is almost too hot to touch, around 140°F, which is the sweet spot for sweetness and stability.You might think that upgrading to a four-figure dual boiler is the only way to get that silky, cafe-quality texture, but that’s actually one of the biggest myths in the home barista community. Everyone says you need massive steam power to get results, but in my experience, even a modest machine can produce world-class foam if your technique is sound and your maintenance is consistent. In fact, many enthusiasts forget that the espresso base itself—the canvas for your milk—is where most drinks fail. If you’re wondering how to select the perfect coffee grinder for your brew, you’re already looking at the right variables. A poor grinder creates uneven extraction, and no amount of perfect microfoam can hide the thin, watery texture of a badly pulled shot. Speaking of extraction, the reason your espresso tastes like vinegar often comes down to thermal instability rather than the beans themselves.
Why Does Your First Shot Always Taste Different?
Advanced brewers often overlook the ‘first shot’ phenomenon, which usually stems from temperature surfing or old grounds retained in the machine’s internal chute. According to a study by the Specialty Coffee Association, even a two-degree variance in water temperature can significantly alter the solubility of coffee compounds, affecting the ‘body’ of your espresso. This body is what supports your milk; if the crema is too thin or the oils are under-extracted, your microfoam will simply slide off the surface instead of integrating. When you are choosing the best barista gear for coffee enthusiasts, prioritize thermal mass and PID controllers over flashy digital screens.
Don’t Let the Rice Myth Ruin Your Burrs
One massive ‘oops’ factor I see constantly in hobbyist forums is the recommendation of the ‘rice trick.’ You’ve probably heard that running raw rice through your grinder is an easy way to clean the burrs. This is a dangerous trap that can lead to permanent damage. Rice is significantly harder than roasted coffee beans and can dull your burrs or even stall the motor. This is why you should never use rice to clean your high-end grinder—it’s an expensive mistake that requires a professional teardown to fix. 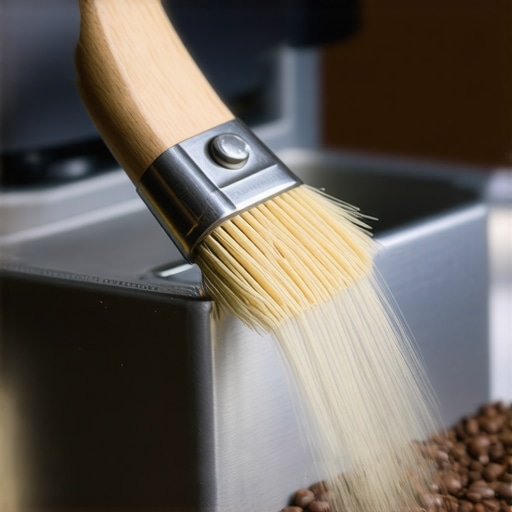
Fix the Flow Before Replacing the Parts
If you find your milk texture is suddenly declining, don’t immediately blame your machine’s pump or boiler. If you notice a drop in performance, you need to know how to fix a steam wand that only blows out weak air before you go shopping for a replacement. Often, it’s just a microscopic blockage of dried milk proteins inside the wand tip that disrupts the steam flow. Similarly, if your machine feels sluggish, investigate the hidden reason your machine is taking forever to heat up, which is frequently a sign of early-stage scale buildup in the heat exchanger. Have you ever fallen into this trap where you blamed your machine for a problem that was actually just a five-minute cleaning fix? Let me know in the comments below!I used to think that backflushing was an optional deep clean for the ultra-paranoid. That changed the day I finally popped off my shower screen and found a layer of blackened, rancid coffee oils that had been seasoning my lattes for months. It is no wonder my shots were consistently bitter despite my best efforts. This is exactly why your group head shower screen is getting clogged so fast and why a daily thirty-second backflush is non-negotiable for anyone serious about flavor. If you are really looking for longevity, you also need to master the best way to descale a boiler without using harsh vinegar, as the acetic acid in household vinegar can eventually pit copper components and leave a lingering scent that ruins your beans. According to technical white papers from the Coffee Technicians Guild, over 70% of professional espresso machine repairs are directly attributed to poor water quality and mineral accumulation that could have been prevented with simple filtration and descaling.
Stop the buildup before it kills your shots
When I finally committed to a rigid maintenance schedule, my machine’s recovery time improved significantly and the steam pressure became much more predictable during those critical texturing moments. It is not just about the boiler, though; your grinder needs the same level of granular care. I have found that using the best way to clean a grinder without losing your settings keeps my espresso flavor crisp without the weekend-long headache of re-dialing in. If you find that your grinder settings feel like they changed overnight, it is usually not a ghost in the machine but rather a shift in ambient humidity or a buildup of oily fines in the burr chamber. 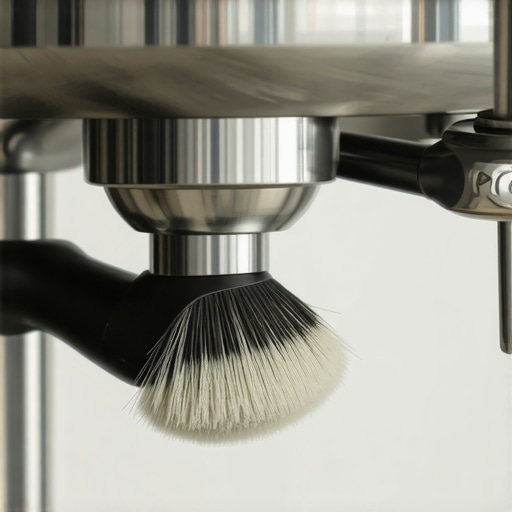
How do I maintain my espresso machine without a degree in engineering?
The secret is consistency over intensity. I spend about five minutes a day on preventative care: a quick purge of the steam wand, a firm brush of the group head gasket, and a water-only backflush. Every month, I perform a chemical backflush and scan the latest top-rated espresso machines for coffee lovers in 2025 to see if there are better silicone gaskets or precision screen upgrades that might improve my water dispersion.
The future of the home cafe
We are entering an era where home gear is becoming incredibly intelligent. I predict that within the next few years, integrated puck sensors will become a standard feature, notifying you via an app if your basket is under-dosed or if you have a micro-channel forming mid-pull. Until that tech becomes affordable, we have to rely on mechanical consistency, such as the truth about using spring-loaded tampers for even shots, which removes one of the biggest variables in extraction. If you really want to elevate your barista skills this week, I highly recommend trying the flashlight move for finding hidden channeling paths during your next bottomless extraction. It is a total game-changer for seeing the physics of water flow in real-time.
What Years of Ruined Lattes Taught Me About Steam Control
I spent months chasing gear upgrades before I realized that the most important tool is my own sensory feedback. One thing I learned early on is that cold hardware is your best friend. I now store my pitchers in the freezer; those extra few degrees of chill give you vital seconds to perfect your stretch before the milk gets too hot. Also, pay attention to the tactile vibration in your palm. When you achieve that perfect vortex, the pitcher goes from a chaotic rumble to a smooth, high-frequency hum. If you are still mastering the art of home espresso tips for beginners, remember that consistency is born from these small, physical observations rather than just watching a timer.
Another hard-won lesson: don’t let a bad grinder ruin your milk’s ‘canvas.’ Even if your foam is silky, a watery shot will cause the art to collapse. It’s why knowing how to select the perfect coffee grinder for your brew is just as important as the steam wand itself. I’ve seen many enthusiasts blame their frothing technique when the real culprit was a grinder that couldn’t produce enough oils to hold the foam in place.
The Toolkit That Actually Lives on My Counter
I don’t believe in cluttering the kitchen with every gadget under the sun. My daily workflow relies on a few core pieces that have proven their worth over thousands of shots. I highly recommend picking up a copy of The Professional Barista’s Handbook by Scott Rao; it’s the closest thing we have to a holy text for coffee science. When it comes to hardware, choosing the best barista gear for coffee enthusiasts means focusing on build quality and thermal stability. I personally swear by silicone group head gaskets—they last longer and provide a much better seal than traditional rubber ones. If you aren’t using a steam wand, there are specific milk frothers that transform your coffee experience by using induction heating to prevent that dreaded burnt milk smell at the bottom of the jug.
Your Path to the Perfect Pour Begins Tomorrow
Don’t be discouraged if your next few lattes still look like dish soap. Every professional you see on social media once stood in their kitchen at 6:00 AM wondering why their foam wouldn’t pour. Home espresso is a journey of cumulative gains—a better stretch today, a cleaner shower screen tomorrow, and a more consistent grind the day after. By treating each step with care, from your barista gear maintenance to your vortex angle, you are building the muscle memory required for greatness. Your kitchen is no longer just a room; it’s a laboratory where you’re mastering one of the most delicious crafts in the world. Have you ever managed to get the foam perfect but then completely choked on the pour? Let me know about your most ‘memorable’ latte art fails in the comments below!