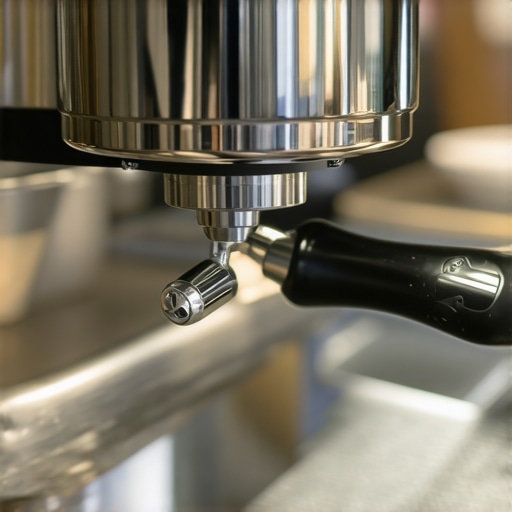
Why Your Latte Art Foam Always Slumps to One Side
I remember the steam. It was far too loud for 6:15 AM. My wife was still asleep, and I was trying to be a home barista hero. I had the pitcher angled, the milk hissing just right—that specific ‘paper tearing’ sound we all chase. But when I went for the final pour, the heart just… slid. It didn’t stay in the middle. It hugged the side of the ceramic like it was afraid of the dark. I dumped it. I tried again. Same result. Three lattes later, I was over-caffeinated, frustrated, and staring at a sink full of failed experiments. If you have ever felt that sharp spike of annoyance when a perfect tulip drifts into a shapeless blob against the rim, you aren’t alone. Today, we are going to fix that gravity-defying drift once and for all. We’re moving past the guesswork and looking at the physics of why your foam refuses to center itself.
The Hidden Physics Ruining Your Pour
I spent months blaming my equipment. I was convinced that I needed more [top-rated espresso machines for coffee lovers in 2025](https://espressotechguide.com/top-rated-espresso-machines-for-coffee-lovers-in-2025) or perhaps a specialized wand. I even thought about [choosing the best barista gear for coffee enthusiasts](https://espressotechguide.com/choosing-the-best-barista-gear-for-coffee-enthusiasts) just to find a pitcher with a ‘straighter’ spout. The truth was much more humbling. The real culprit was my wrist. I was pouring with a ‘dead hand’—completely static and stiff—which meant every time I moved the pitcher, I wasn’t compensating for the natural arc of my arm. According to studies on fluid dynamics in the *Journal of Food Engineering*, the velocity and angle of a liquid stream dictate its displacement upon hitting a surface. Essentially, if you aren’t perfectly perpendicular, physics will push your art to the side every single time.
Is obsessive symmetry actually worth the hype?
You might wonder if obsessing over a centered rosetta is just for vanity. Honestly? It is about the sip. When foam slumps to one side, you get a mouthful of dry bubbles first and bitter espresso last. One of the biggest mistakes I made early on was trying to ‘fix’ the art while I was still pouring. I would see the foam drifting and I’d jerk the pitcher back, which just created a wave that pushed the art even further. I didn’t realize that [why your milk pitcher position is ruining your texture](https://espressotechguide.com/why-your-milk-pitcher-position-is-ruining-your-texture) was the primary reason my foam was acting like a rebellious teenager. By the time I figured out [how to stop your milk foam from turning into a big bubble](https://espressotechguide.com/how-to-stop-your-milk-foam-from-turning-into-a-big-bubble), I realized the slump was actually a symptom of how I held my cup. Have you ever stared at a lopsided latte and wondered if your kitchen counter was actually a secret ramp? Tell me, do you find your art always drifts to the same side every morning?
Master the Tilt Before You Pour the Heart
Most of us are so focused on the pitcher that we forget about the other hand. The cup is 50% of the equation. If your cup isn’t tilted deep enough at the start, the milk dives under the crema and resurfaces wherever the current takes it. I struggled for weeks because I was holding the cup too flat, much like [how to fix a portafilter that wont stay level](https://espressotechguide.com/how-to-fix-a-portafilter-that-wont-stay-level) when tamping. If the canvas isn’t right, the paint won’t stay put. We need to create a landing strip for that foam by starting with a dramatic tilt and slowly leveling the cup as it fills. This creates a stable base that anchors the foam in the center rather than letting it slide into the ‘gutter’ of the rim.
Drop the Spout Until It Almost Touches
When you are mastering the art of home espresso tips for beginners, the most common mistake is staying too high. Think of your milk like a paratrooper. If you drop it from 10,000 feet, it’s going to drift wherever the wind (or the crema current) takes it. I remember a Tuesday morning when I was so tired I practically rested the pitcher spout on the rim of the cup. Instead of the foam sinking and sliding to the left as usual, it sat right on top. It stayed exactly where I put it. That was my ‘aha’ moment: definition comes from proximity. If your spout is too far away, it is like why your espresso shot is spraying the back of your cup—the energy is too chaotic and lacks focus. To get that heart to stay dead center, you need to bring the spout of your pitcher within half an inch of the liquid surface before you start the ‘art’ phase of the pour. 
The Secret is in the Descent
You have to transition from the high-pour (which mixes the milk and espresso) to the low-pour (which creates the art) with a smooth, diving motion. If you hesitate, the crema will set, and your foam will just skid across the top like a puck on ice. This is specifically why the best way to handle large milk pitchers for small drinks involves a ‘pencil grip’ or a thumb-on-top hold; it gives you the fine motor control to dive the spout deep into the cup without hitting the sides.
Level Your Cup to Anchor the Art
Most baristas focus 90% of their brainpower on the pitcher hand, but the cup hand is the anchor. If your cup stays tilted for too long, gravity will pull your design toward the lower rim. I used to hold my cup at a steep angle and keep it there, wondering why every tulip looked like it was melting off the side. You have to ‘un-tilt’ the cup in perfect synchronization with the volume of milk entering it. Think of it like a seesaw. As the pitcher goes up, the cup must level out. If you don’t, you end up with a lopsided mess, even if you used top-tier milk frothers that transform your coffee experience. The milk needs a flat landing pad to stay symmetrical.
How to Balance Two Moving Hands
Imagine there is a rod connecting your pitcher spout to the center of the espresso. As you pour, your hands should move in an arc that keeps that rod perfectly vertical. This takes practice because your brain wants to move one hand at a time. Before you even pull your shot—perhaps while you how to select the perfect coffee grinder for your brew and wait for the beans to grind—practice the motion with an empty cup and pitcher. Tilting the cup toward the pitcher, then slowly leveling it as you ‘push’ the pitcher forward into the center. This specific coordination is often the missing link in why your milk pitcher position is ruining your texture and symmetry. When the cup reaches level, your art should be exactly in the middle, held in place by the surrounding liquid pressure rather than sliding toward a tilted edge.
The $5,000 Dual Boiler Lie
We are often led to believe that [top-rated espresso machines for coffee lovers in 2025](https://espressotechguide.com/top-rated-espresso-machines-for-coffee-lovers-in-2025) will automatically solve our technical flaws. I see it in every forum: ‘My hearts are lopsided, should I upgrade to a Decent or a La Marzocco?’ Here is the contrarian truth: commercial-grade steam power is actually the enemy of the learning barista. High-pressure steam wands can texturize milk in under eight seconds, which is far too fast for a human to adjust the vortex. If you are struggling with [choosing the best barista gear for coffee enthusiasts](https://espressotechguide.com/choosing-the-best-barista-gear-for-coffee-enthusiasts), remember that a slower, more deliberate steam flow often yields more symmetrical results. When I finally downgraded my steam tip to a two-hole version, my art centered itself almost overnight because I finally had time to see the bubbles before they became a ‘big bubble’ mess.
The Invisible Trap of Wet Steam
One nuance that advanced baristas rarely talk about is the quality of the steam itself. If your machine is struggling, you might notice [why your espresso machine steam is wet and spluttery](https://espressotechguide.com/why-your-espresso-machine-steam-is-wet-and-spluttery). This ‘wet steam’ introduces actual water droplets into your milk, thinning the texture and making the foam unstable. You can have the most expensive [milk frothers that transform your coffee experience](https://espressotechguide.com/milk-frothers-that-transform-your-coffee-experience), but if your boiler is overfilling or [how to tell if your machine boiler is accumulating lime scale](https://espressotechguide.com/how-to-tell-if-your-machine-boiler-is-accumulating-lime-scale) is becoming an issue, the moisture content of your steam will ruin the surface tension of your latte art canvas. This is why that drift happens; the foam simply isn’t ‘sticky’ enough to stay put against the crema. 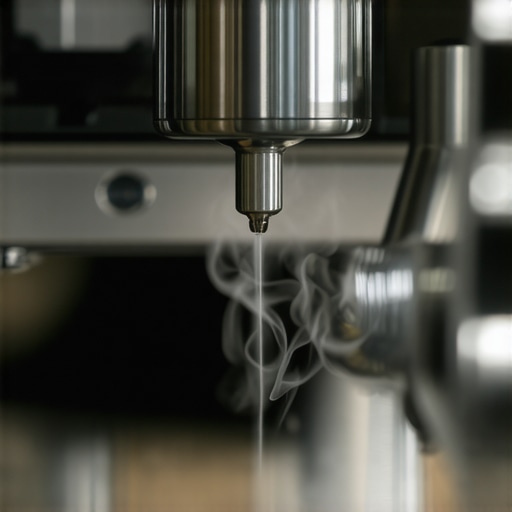
Does More Steam Pressure Always Mean Better Art?
In my experience, the answer is a resounding no. A study published in the *International Journal of Gastronomy and Food Science* suggests that the stability of milk foam is heavily dependent on the denaturation of proteins at specific temperature increments. If your steam is too aggressive, you hit those peak temperatures too quickly, which can lead to [why your steam wand pressure cuts out after 10 seconds](https://espressotechguide.com/why-your-steam-wand-pressure-cuts-out-after-10-seconds) or, worse, scorched milk that won’t hold a shape. The ‘oops’ factor here is usually a dirty wand; if you don’t know [how to clean the inside of your steam wand pipe](https://espressotechguide.com/how-to-clean-the-inside-of-your-steam-wand-pipe), the restricted airflow creates turbulent, uneven pressure that pushes your pour to the side.
Your Grinder is Quietly Sabotaging Your Canvas
We talk about milk, but we rarely talk about the canvas itself. If your espresso is channeling, your crema will be thin and ‘slippery.’ I found that [how to select the perfect coffee grinder for your brew](https://espressotechguide.com/how-to-select-the-perfect-coffee-grinder-for-your-brew) matters more for latte art than the pitcher does. A poor grind leads to a weak crema that lacks the viscosity to ‘catch’ the milk. If you’ve ever noticed [why your coffee grounds are clumping together](https://espressotechguide.com/why-your-coffee-grounds-are-clumping-together), that lack of uniformity creates a lopsided crema bed. When you pour onto an uneven surface, the milk follows the path of least resistance. Have you ever fallen into the trap of buying a more expensive pitcher to fix a problem that was actually caused by your grinder or your steam tip? Let me know in the comments.
Clean Your Wand or Prepare for Lopsided Foam
I learned the hard way that a neglected machine is a barista’s worst enemy. Even the most [top-rated espresso machines for coffee lovers in 2025](https://espressotechguide.com/top-rated-espresso-machines-for-coffee-lovers-in-2025) will fail you if the steam path is obstructed. I personally use a dedicated Puly Milk cleaner every Sunday evening because milk proteins are incredibly stubborn. If you ignore this, you’ll quickly find [why your steam wand tips keep getting blocked by milk residue](https://espressotechguide.com/why-your-steam-wand-tips-keep-getting-blocked-by-milk-residue). This buildup doesn’t just block flow; it creates turbulent, uneven air injection that makes your foam ‘stiff’ on one side and ‘watery’ on the other. This is exactly why your hearts won’t center—the milk density is inconsistent before it even hits the cup. When [choosing the best barista gear for coffee enthusiasts](https://espressotechguide.com/choosing-the-best-barista-gear-for-coffee-enthusiasts), I always recommend a high-quality microfiber cloth and a dedicated steam tip needle tool.
How do I maintain my espresso setup for professional results?
The secret to long-term consistency is managing the invisible variables. According to the Specialty Coffee Association (SCA) Water Quality Standard, water that is too hard will cause calcium deposits that act like tiny speed bumps inside your boiler, fluctuating the steam pressure. If you are noticing [how to tell if your machine boiler is accumulating lime scale](https://espressotechguide.com/how-to-tell-if-your-machine-boiler-is-accumulating-lime-scale), your steam pressure will drop right when you need it most. I also make it a point to use [the best way to clean a grinder without losing your settings](https://espressotechguide.com/the-best-way-to-clean-a-grinder-without-losing-your-settings) every time I switch bean bags. If you don’t, the old oils will make the [reason your grinder adjustment ring feels gritty or stuck](https://espressotechguide.com/the-reason-your-grinder-adjustment-ring-feels-gritty-or-stuck) a daily headache, leading to a crema that is too thin to support any art. 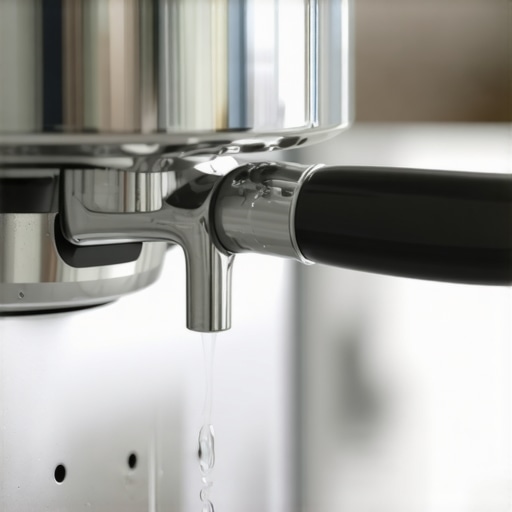
The Future of Smart Steam Technology
I predict that in the next few years, the ‘feel’ of steaming will be largely replaced by laser-guided temperature and texture sensors. We are already seeing the beginning of this in high-end commercial gear, but it will eventually trickle down to [mastering the art of home espresso tips for beginners](https://espressotechguide.com/mastering-the-art-of-home-espresso-tips-for-beginners). Until then, we rely on our senses. If you want to scale your skills, stop treating your [milk frothers that transform your coffee experience](https://espressotechguide.com/milk-frothers-that-transform-your-coffee-experience) like a set-and-forget appliance. Treat them like a musical instrument that needs tuning. I highly recommend trying the ‘double-purge’ technique tomorrow morning: purge your wand for three full seconds before you touch the milk to clear out every drop of condensation. This one simple move ensures that the first burst of energy is dry steam, not hot water, giving you that ‘paint-like’ texture that stays exactly where you pour it.
The Breakthroughs That Finally Fixed My Symmetry
After a year of lopsided lattes, I realized that the secret wasn’t in my eyes, but in my ‘ghost’ movements. I started doing three dry runs of the pour with an empty pitcher before I even turned on the machine. This built the muscle memory needed to level the cup in sync with the flow. I also stopped over-complicating things; sometimes the move for better espresso without buying a new machine is simply adjusting your stance. I also learned that if I didn’t how to prevent channelling in a bottomless portafilter shot, my crema was too thin to anchor the foam, causing that annoying slide toward the rim. Finally, I realized that the best way to handle large milk pitchers for small drinks is to transfer the milk to a smaller vessel for better tip control.
My Personal Toolkit for Consistent Hearts
Consistency is built on the back of reliable tools and maintenance. I trust a WDT tool to ensure my grounds are uniform, because why your coffee grounds are clumping together is the fastest way to get a ‘slippery’ crema. I also swear by Puly Milk cleaner; neglecting your gear leads to why your steam wand tips keep getting blocked by milk residue, which ruins your foam density. For the most accurate pours, I recommend a 12oz precision pitcher with a slightly rounded spout, which is much more forgiving than the professional pointed versions when you are first mastering the art of home espresso tips for beginners. Lastly, always keep a microfiber cloth handy—a clean wand is a predictable wand. #IMAGE_PLACEHOLDER_E#
Go Grab Your Pitcher and Try Again
Becoming a home barista hero doesn’t happen overnight, and those perfectly centered hearts are a badge of patience, not just talent. Whether you are using one of the top-rated espresso machines for coffee lovers in 2025 or a humble manual setup, the physics of the pour remain the same. Don’t let a few lopsided blobs discourage you; every failed pour is just data telling you how to adjust your wrist for the next one. You have the tools, you have the technique—now go pull a shot and center that art. Which side does your art usually drift toward, and did the ‘un-tilt’ trick help you fix it? Let me know in the comments below!