The Easy Way to Test Your Machine’s Water Hardness at Home
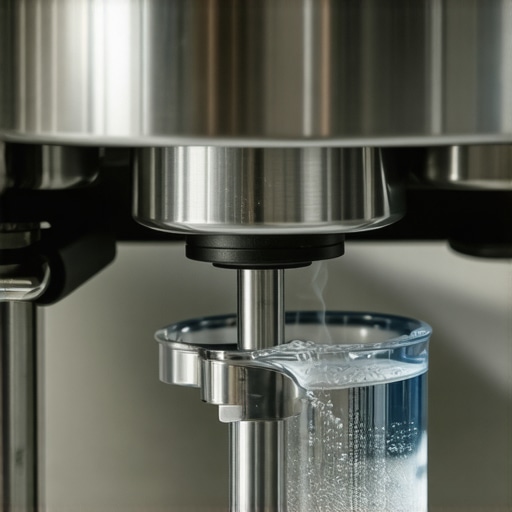
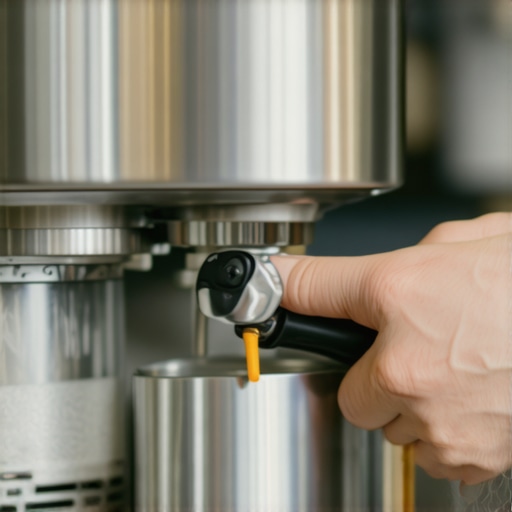
I was standing in my kitchen, staring at a beautiful dual-boiler machine that was suddenly stone-cold dead. It wasn’t the pump. It wasn’t the sensor. It was six months of “pretty good” tap water that had finally choked the life out of my boiler. I felt like an idiot. I spend hundreds on beans, but I couldn’t be bothered to check what was actually coming out of my faucet. Every morning, I’d grind my coffee, obsessing over the finest details of my top-rated espresso machines settings, while the very foundation of the drink—the water—was slowly turning the internal copper piping into a chalky mess. I remember the smell. It was a faint, metallic scent that started appearing in my morning lattes. I ignored it. Then came the “spitting.” My steam wand, which usually produced a silky vortex, started coughing like a heavy smoker. Today, I want to save you from that same gut-punch. We are going to look at the simplest ways to figure out exactly what’s swimming in your water. No expensive lab kits or chemistry degrees required. Just real, home-friendly methods to ensure your gear stays in peak condition for years.
Why Your Tap Water is a Stealthy Machine Killer
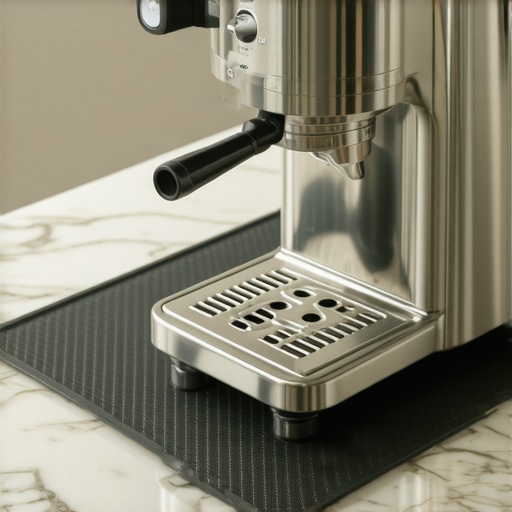
It’s easy to ignore. You fill the reservoir, pull a shot, and everything seems fine. But inside, every time you heat that water, minerals like calcium and magnesium drop out of the liquid and latch onto your heating elements. It’s a slow-motion disaster. If you wait until you see white flakes in your cup, you’re already in trouble. I learned this the hard way when I realized how to tell if your machine boiler is accumulating lime scale—by which point, my steam wand was barely puffing. Hard water doesn’t just block flow; it acts as an insulator, making your machine work twice as hard to reach temperature. Eventually, the heating element just gives up because it can no longer dissipate heat through the thick crust of stone.
Is testing really worth the extra five minutes?
Some people tell me, “I use a standard pitcher filter, I’m fine.” Honestly? Probably not. A standard pitcher filter mostly deals with taste, like removing chlorine, but it rarely touches the hardness levels that destroy espresso machines. According to the Specialty Coffee Association (SCA), water for coffee should ideally fall between 50 and 175 ppm (parts per million) of total hardness. If you’re way above that, you’re building a reef inside your machine. If you’re way below, your coffee will taste flat and your water might even become corrosive. Have you ever noticed a weird white crust around your kitchen sink faucets? If so, your machine is likely begging for mercy right now. My biggest mistake early on was assuming bottled spring water was a safe bet. Wrong. Some bottled waters are harder than tap! I ended up with a machine so clogged I had to learn the best way to descale a boiler without using harsh vinegar just to get water flowing again. Worse, if you try to fix it without knowing your numbers, you might find why your coffee tastes like vinegar after descaling becomes your next big headache. [image-placeholder] Understanding your water profile is the single most important maintenance step you can take. Have you ever checked your local water report, or are you flying blind like I was? Let’s get into the practical tools you need to stop the guesswork.
Grab These Two Tools Before Your Boiler Dies
Buying choosing the best barista gear for coffee enthusiasts often starts with the shiny stuff—the machines and the grinders. But the most important tool I ever bought was a $15 TDS (Total Dissolved Solids) meter. Think of a TDS meter like a speedometer for your water; it tells you how much “stuff” is in there, but not exactly what that stuff is. To get the full picture, you also need a liquid titration drop kit specifically for GH (General Hardness) and KH (Carbonate Hardness). These aren’t just for chemists; they are the only way to know if your local water is about to turn your machine into a paperweight.
The Simple Drop Test That Saved My New Setup
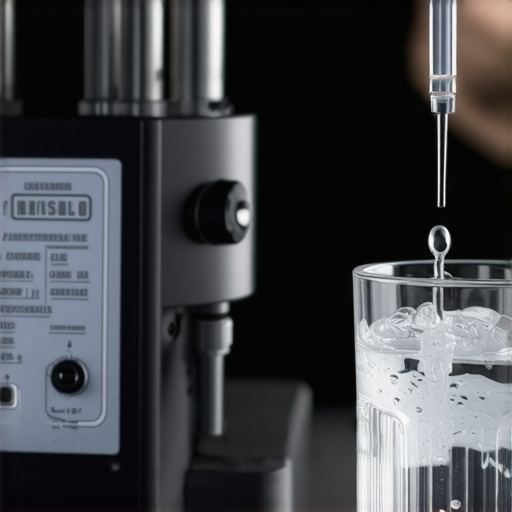
I remember the first time I used a drop kit. I had just upgraded to one of those top-rated espresso machines and was convinced my fridge filter was enough. I squeezed the first drop of reagent into my test tube. The water turned bright green. I kept adding drops, waiting for it to turn orange as the instructions said. Five drops. Ten drops. Fourteen. At fourteen drops, I realized my “filtered” water was essentially liquid rock. My GH was over 250 ppm. If I hadn’t checked, I’d be hunting for the best way to descale a boiler without using harsh vinegar within three months. This small realization completely changed how I approached my morning routine.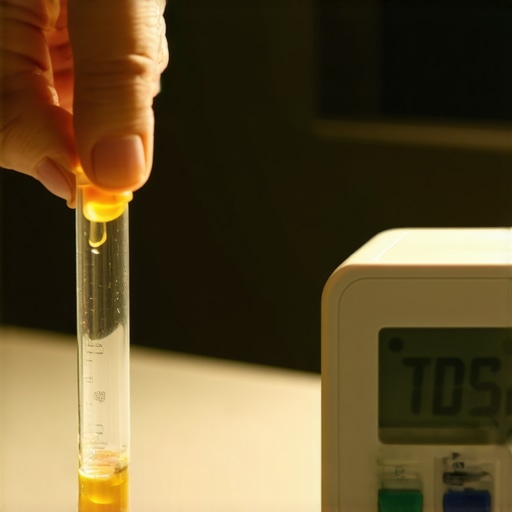
How to Map Your Water Profile in Minutes
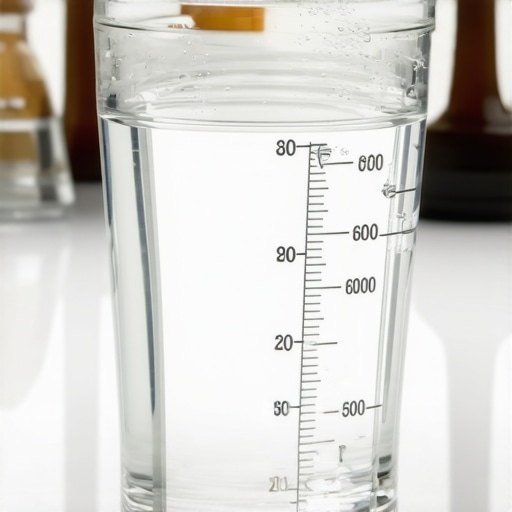
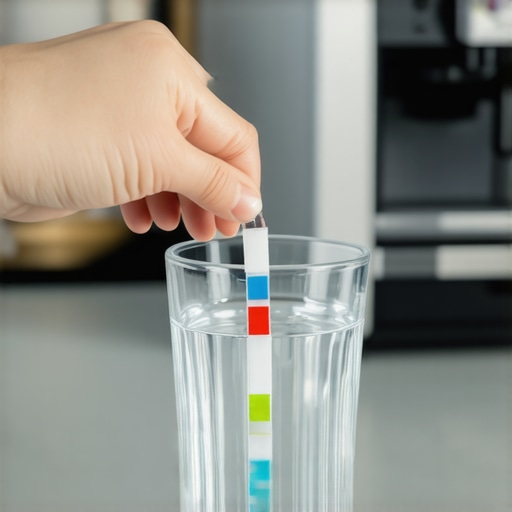
Start by testing your straight tap water. Fill a clean glass and dip your TDS meter. If it reads over 200, you are in the danger zone for scale. If it’s under 50, you might face corrosion or “flat” tasting shots. This is a crucial part of mastering the art of home espresso tips-for-beginners because it sets your baseline. Once you have your tap number, test your filtered water. If the numbers are nearly identical, your filter isn’t doing anything for hardness. You might even find the fix for a clogged water filter in your reservoir is simply realizing it’s the wrong type of filter for your local chemistry. Regular carbon filters remove chlorine taste but don’t touch the calcium ions that calcify your heating element.
Fix the Water Before it Hits the Reservoir
If your water is too hard, you have three real paths. First, specialized softening pouches that sit in your tank. Second, an in-line filtration system. Third—and my favorite for total control—is using distilled water and adding minerals back in. When I switched to a “Barista Recipe” of magnesium and bicarbonate, the difference was night and day. My steam wand stopped spitting, and I didn’t have to worry about how to tell if your machine boiler is accumulating lime scale every other week. Plus, your milk frothers that transform your coffee experience will stay much cleaner without those mineral deposits building up on the heating elements.
Keep an Eye on the Flow Rate
Every Sunday, I do a quick check. I run the group head for ten seconds and measure the output. Learning how to check your espresso machines group head flow rate is a fantastic early warning system. If that flow starts to dwindle, your water treatment is failing you. Even if you use a super-auto, don’t forget to how to clean the screen on your automatic milk frother regularly, as scale loves to hide in those tiny mesh gaps. Consistency is everything, especially when you are trying to find the secret to getting consistent shots on a dual-boiler. If the water chemistry changes, your extraction time will change too, even if your grind stays the same.
The Hidden Danger of Ultra-Pure Water
Let’s dispel a major myth right now: ‘pure’ water is actually the enemy of your coffee gear. I see so many enthusiasts switch to distilled or zero-TDS water because they are terrified of scale. But water is a universal solvent; if it doesn’t have minerals in it, it will literally try to ‘eat’ them from your machine’s copper boilers and brass fittings. This leads to pinhole leaks and a metallic tang that no amount of cleaning can fix. In fact, if you’ve noticed the reason your espresso tastes metallic after descaling, it might be because your water is too aggressive. According to a landmark 2014 study by chemist Christopher Hendon and Maxwell Colonna-Dashwood, specific minerals like magnesium are far better at extracting flavor compounds than others. If you strip everything out, you’re not just protecting your machine; you’re killing the flavor profile of your expensive beans.
Does Your Filtration System Actually Create Corrosive Acid?
This is the advanced question most people skip. Some ion-exchange filters swap calcium for hydrogen ions, which can plummet your water’s pH. If your pH drops below 6.5, your water becomes acidic. This is why some people find how to fix a broken boiler temperature sensor becomes a recurring task—the acid is slowly corroding the sensor’s housing. Always check your pH after filtering, not just your hardness. 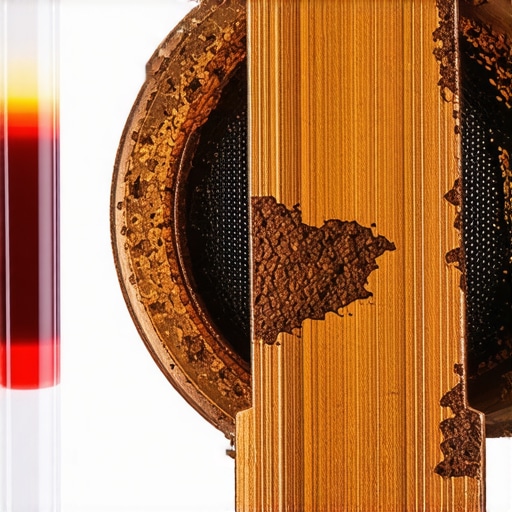
Don’t Let Your Burrs Overheat Your Beans
When choosing the best barista gear for coffee enthusiasts, we often focus on the motor power of the grinder. But the real ‘oops’ factor is thermal stability. If you are pulling back-to-back shots, why your grinder burrs are getting hot during a single dose becomes a major issue. Heat expands the metal burrs, narrowing the gap and making your grind finer without you touching the dial. This is why your first shot is perfect and your third one is a choked, bitter mess. It’s also why why your coffee grinder retains more grounds than it should is such a headache; those hot, stale grounds from the previous grind session get stuck in the chute and end up in your next basket. To combat this, I always purge a few grams if the grinder has been sitting or if I’ve just finished a heavy session. It feels wasteful, but it’s the only way to maintain consistency in your mastering the art of home espresso tips for beginners journey. Have you ever noticed your shots ‘drifting’ as the morning goes on? Have you ever fallen into this trap? Let me know in the comments.Once you’ve mastered the water chemistry, the next silent performance killer is physical wear and friction within the machine’s mechanical heart. I learned this when my lever started to feel gritty and resistant; it was a clear sign that the food-grade lubricant had washed away. I personally use Molykote 111 for my E61 group head because it is incredibly water-resistant and keeps the internal cams moving like silk. Knowing how to properly lubricate your e61 group head cam isn’t just about the feel; it prevents the brass-on-brass grinding that leads to expensive replacements. If you ignore this, you might eventually notice why your espresso machine is making a rattling noise during heat up as loose parts begin to vibrate against the chassis.
How do I maintain the internal health of my setup over time?
Regular maintenance isn’t a single event; it is a rhythm. Every 500 shots, I pull my shower screen to inspect the seal. If you don’t, you’ll find why your group head shower screen is getting clogged so fast—it’s usually a buildup of rancid oils that backwashing alone can’t reach. While the screen is off, it is the perfect time to how to check if your portafilter gasket is actually sealed properly. A hardened gasket will eventually cause high-pressure leaks, spraying hot water exactly where you don’t want it. For those using top-rated espresso machines, these small checkups are what separate a machine that lasts five years from one that lasts twenty. 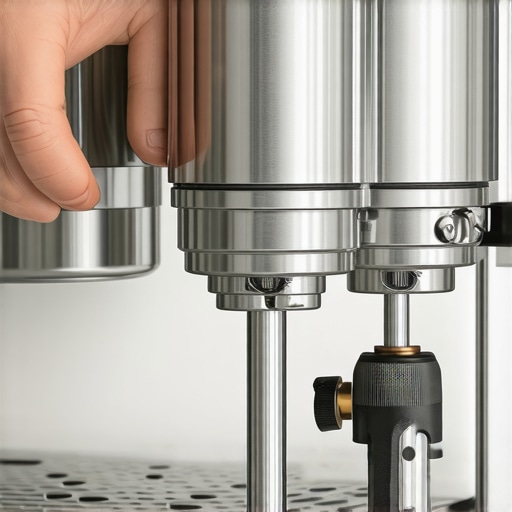
Your Grinder Chute Needs More Than Just a Brush
Most people brush the burrs but forget the ‘exit ramp’ where coffee enters the portafilter. I keep a dedicated pack of stiff pipe cleaners in my drawer specifically for this. It is the only way to truly understand how to clean your grinders discharge chute with a pipe cleaner and remove the compressed ‘cakes’ of old coffee that cause retention. If you leave these behind, why your coffee grinder retains more grounds than it should becomes an obvious problem that ruins your dose consistency. According to the La Marzocco Home Maintenance Guide, failure to clear these pathways can lead to motor strain and uneven particle distribution. Looking ahead, I predict we will see smart machines with integrated sensors that monitor the friction levels of the group head lever and the flow-resistance of the chute in real-time. Until then, we have to be the sensors. Don’t wait for a leak; take ten minutes this weekend to lubricate your group head and clear your grinder’s path. Your future self—and your morning latte—will thank you.
Hard Truths About Water That Most Baristas Ignore
One thing I learned too late is that your water’s “buffer” or alkalinity matters just as much as its total hardness. If you have zero buffer, your pH will swing wildly, often leading to a metallic taste that ruins the experience. I also realized that descaling is a preventative measure, not a repair strategy for a dead boiler. If your machine is already fully blocked, standard descaling can actually make things worse by dislodging a chunk of calcium that then gets stuck in a tiny solenoid valve. This is often why your espresso tastes bitter even with a fast pull—the water isn’t flowing evenly through the group head because of internal obstructions or scale buildup. [image-placeholder]
The Toolkit That Keeps My Counter Top-Tier
If you want to move beyond the basics, there are a few items I never brew without. First, a high-quality TDS meter is non-negotiable for monitoring your filtration’s lifespan. I also swear by a pack of dedicated pipe cleaners; knowing how to clean your grinders discharge chute with a pipe cleaner has saved me more than a few wasted shots due to old coffee retention clogging the exit path. Finally, when you are how to select the perfect coffee grinder for your brew, always look for models with easy-access burrs. Maintenance is only easy if the machine allows you to get inside without a toolkit the size of a car mechanic’s chest. I trust these tools because they focus on the small, high-impact areas that most people overlook until something breaks.
Your Journey to the Perfect Cup Never Ends
Taking care of your gear is just as much a part of the ritual as the tamping or the steaming. When you respect the chemistry and the mechanics of your setup, you aren’t just protecting an investment; you are ensuring that every morning begins with a perfect, consistent extraction. By mastering the art of home espresso tips for beginners, you are setting yourself up for years of cafe-quality drinks without the frustration of equipment failure. Don’t let the technical details intimidate you—the reward of a sweet, syrupy shot is well worth the effort. Have you ever had a machine issue that turned out to be a simple water chemistry fix? Let me know in the comments below!