Why Your Grinder Adjustment Moves While You’re Grinding
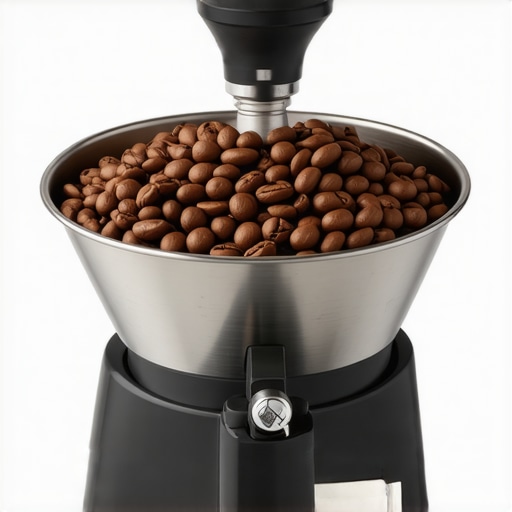
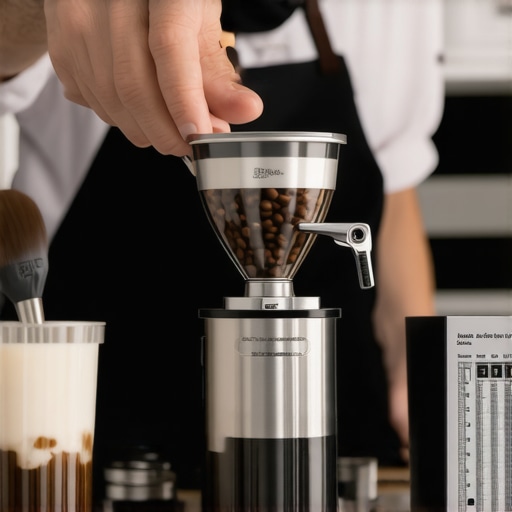
I was standing in my kitchen last Tuesday, bleary-eyed and desperate for a caffeine hit, when I noticed something that made my heart sink. As the motor of my burr grinder whirred into life, the adjustment collar—the very thing I had meticulously dialed in the day before—started to rotate. Slowly. Methodically. It was “walking” away from my perfect espresso setting right before my eyes. By the time the dose was done, the grind size was so far off that the resulting shot tasted like sour battery acid. It’s one of those silent frustrations of the home barista life that can make you want to throw your whole setup out the window. If you’ve been wondering how to select the perfect coffee grinder for your brew without these mechanical headaches, you aren’t alone. Today, I’m going to show you exactly why this happens and how to pin that dial down for good.
The Physics of the Walking Dial
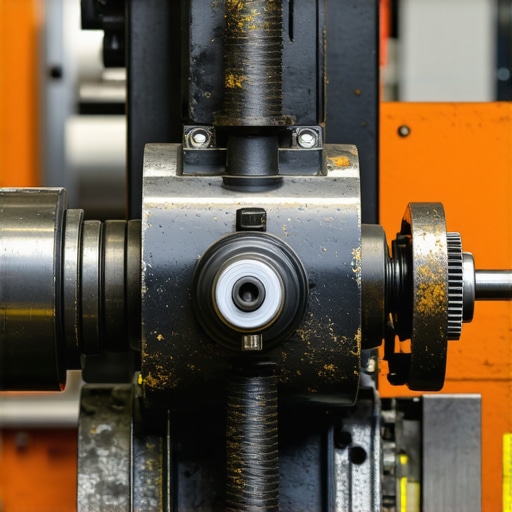
It’s not magic, and your house isn’t haunted. This phenomenon is usually a combination of high-frequency vibration and worn-out tension components. When you engage the motor, especially on powerful grinders, the entire chassis vibrates. If the friction holding your adjustment ring in place isn’t stronger than that vibrational force, the ring will take the path of least resistance. Usually, this means it drifts toward the “coarse” direction because the burrs are pushing against each other under the pressure of the beans. I made the mistake early on of thinking my beans were just aging rapidly, but the reality was much more mechanical. It’s a common reason why your grinder settings feel like they changed overnight. [image-placeholder]
Is my grinder just a cheap piece of junk?
I get it. You spent a few hundred dollars on barista gear and it feels like it’s falling apart. But even prosumer machines can suffer from this. Interestingly, the phenomenon of “vibratory loosening” is a well-documented engineering challenge; a study published in the Journal of Sound and Vibration highlights how cyclic loading can cause threaded fasteners to rotate and loosen over time. It’s a matter of maintenance, not necessarily build quality. Have you ever felt like you were fighting your machine just to keep the settings consistent? If your grinder adjustment ring feels gritty or stuck at times, or conversely, too loose, the culprit is almost always the internal tensioning system or the springs.
Stop the Drift Before You Waste More Beans
The good news is that you don’t need a degree in mechanical engineering to fix this. Whether it’s a worn-out O-ring, a loose set screw, or just some old coffee oils acting as a lubricant where they shouldn’t be, we can get that ring tightened up. If you’ve ever dealt with a grinder adjustment ring that wont budge, you know that the sweet spot is a delicate balance of friction. Let’s look at the specific steps to regain control of your grind and save your morning sanity.
Reclaim Your Grind by Restoring Internal Friction
The first step in stopping the drift is realizing that your grinder adjustment collar is essentially a giant screw. When the motor vibrates, it creates a ‘shaking’ effect that allows the collar to rotate if there isn’t enough resistance. Often, the culprit is actually coffee oil. While we usually worry about oils going rancid, they also act as a high-grade lubricant. If these oils seep into the threads of your adjustment ring, they reduce the friction needed to hold the setting under the load of the motor. This is why the best way to clean a grinder without taking it apart often involves focusing on these external contact points as much as the burrs themselves. Use a dry microfiber cloth to wipe down the threads of the collar. If you see a yellowish residue, that’s your enemy—it’s providing the slick surface that’s letting your setting ‘walk’ away.
Inspect Your Tension O-Rings and Springs
Most modern grinders rely on a thick rubber O-ring or a set of tension springs to keep the collar from spinning freely. Over time, heat and friction cause these rubber components to compress or dry out. I remember the first time I faced this with a prosumer grinder during a hectic Saturday brunch. Every time I hit the ‘grind’ button, the dial would jump three notches toward coarse. I didn’t have a spare O-ring, so I actually used a thick, food-safe rubber band tucked under the collar as a temporary gasket. It looked ridiculous, but the added friction saved the morning. If your grinder adjustment ring wont budge or feels too loose, you likely need to replace that O-ring. A fresh one will provide the ‘squish’ necessary to lock the threads in place even when the machine is vibrating at 1,400 RPM.
Clean the Discharge Chute to Reduce Backpressure
It sounds counterintuitive, but a clogged chute can actually force the adjustment ring to move. When grounds back up, they create upward pressure against the top burr carrier. This pressure pushes against the threads of the adjustment ring, making it easier for vibrations to rotate it. Learning how to clean your grinders discharge chute with a pipe cleaner ensures that coffee flows freely and doesn’t exert unnecessary force on the mechanical assembly. This is especially vital when you are mastering the art of home espresso, where even a microscopic shift in the burr gap can ruin the flow rate of your shot.
Tighten the Hidden Set Screws
Many grinders have a small, hidden set screw located near the back of the adjustment collar. This screw is designed to apply a specific amount of drag to the ring. If your machine is older, this screw may have backed out due to the same vibrations we’re trying to stop. Using a precision screwdriver to give it a quarter-turn can instantly firm up the dial. Be careful, though; if you over-tighten it, you’ll find that the grinder adjustment ring feels gritty or stuck, which can lead to stripped threads. The goal is ‘firm resistance,’ not ‘immovable lock.’ This maintenance also helps prevent heat buildup, as a stable burr set is less likely to cause friction that leads to why your grinder burrs are getting hot during a single dose. If you can stop the physical movement of the collar, you’ll finally see the consistency your beans deserve.But let’s talk about the nuance that many ‘pro’ guides overlook. When you are choosing the best barista gear, there is a pervasive myth that ‘stepless’ adjustment is always the superior choice.
Why Stepless Systems Might Be Your Biggest Headache
In the world of high-end espresso, we are taught that stepless grinders are the gold standard because they allow for infinite precision. However, from a mechanical standpoint, a stepless collar is much more prone to ‘walking’ than a stepped one. Without physical detents to lock the ring in place, you are entirely dependent on the static friction between the threads. If your machine isn’t perfectly calibrated, that ‘infinite precision’ quickly turns into an infinite struggle to keep your setting from drifting. I’ve seen enthusiasts spend thousands on top-rated espresso machines only to have their shots ruined because they didn’t realize their ‘premium’ stepless grinder was slowly unscrewing itself during every dose.
The Lubricant Trap That Destroys Friction
Here is the ‘oops’ factor that catches even experienced baristas: the temptation to lubricate. It feels intuitive—if the ring is hard to turn, add some food-grade grease. But this is exactly why your grinder settings feel like they changed overnight. Lubricating the threads of an adjustment collar is a recipe for disaster. According to the research of Gerhard Junker, whose work on vibration-induced loosening is the industry standard in mechanical engineering, transverse vibration is the primary cause of self-loosening in threaded fasteners. By adding grease, you are drastically lowering the ‘breakaway torque’ required for the vibrations to move that ring. #IMAGE_PLACE_HOLDER_C# If you’ve already made this mistake, you need to perform a deep clean. Using the best way to clean a grinder without taking it apart won’t be enough here; you’ll likely need to remove the collar and use a degreaser to restore the natural friction of the metal-on-metal or metal-on-plastic threads.
Why does my espresso shot slow down midway through the pull?
Sometimes, the walking dial isn’t moving toward coarse, but toward fine. If you notice why your espresso shot slows down midway through the pull, it might not just be a tamping issue or ‘fines’ migration. If the collar is moving toward the ‘fine’ setting, it’s usually because the vibration is causing the collar to tighten further onto the burrs. This is rarer but signifies that your tension springs have completely lost their ‘rebound’ and are no longer pushing back against the collar’s threads.
Stop the Vibration at the Source
Before you buy a new grinder, look at what it’s sitting on. High-frequency vibration travels through the counter. If your machine is on a hard, resonant surface like granite or thin stainless steel, the vibration is amplified. Learning how to stop your espresso machines feet from vibration walking can actually help your grinder, too. A thick silicone mat can absorb the micro-vibrations that cause the adjustment ring to dance. Also, keep in mind that newer burrs vibrate more. If you haven’t learned how to properly season new steel burrs for better consistency, the extra resistance of ‘sharp’ un-seasoned metal can increase the mechanical load on the collar. Have you ever fallen into this trap and greased your threads only to regret it? Let me know in the comments.
It’s one thing to fix a drifting dial once, but it’s quite another to ensure your setup remains a precision instrument for the next decade. If you are serious about mastering the art of home espresso, you have to transition from a user to a caretaker. I’ve realized that the most important addition to my barista gear wasn’t a fancy new tamper; it was a simple set of precision Wiha screwdrivers. These allow me to reach those tiny, recessed set screws that manufacturers love to hide. If you find your settings won’t stay put, don’t just force the collar. Instead, check the manufacturer’s technical schematics. For example, the official Baratza service documentation for the Sette series specifically highlights the importance of the felt friction ring; if that ring gets saturated with oil, your grind will drift regardless of how hard you twist the dial. Reclaiming that friction is the secret to consistency.
How do I maintain my grinder and machine for the long haul?
Long-term maintenance is about preventing the ‘death by a thousand vibrations.’ Every six months, I perform a ‘torque audit.’ I check the stability of the motor mounts and ensures the grinder adjustment ring feels gritty or stuck only when it’s actually dirty, not because of mechanical failure. Beyond the grinder, your machine needs similar attention. If you don’t keep an eye on your internals, you’ll eventually be searching for how to spot a failing solenoid valve before it floods your kitchen. I personally keep a small bottle of food-grade Molykote 111 on hand for O-rings, but as I mentioned earlier, keep it far away from your adjustment threads! For the external parts, learning how to quiet a loud grinder using only a rubber mat can save the mechanical integrity of your machine by dampening the very frequencies that shake screws loose in the first place.
The High-Tech Future of Burr Stability
I’ve been watching the industry trends closely, and I predict that within the next five years, the ‘walking dial’ will be a relic of the past. We are already seeing the rise of magnetic detents and haptic locking mechanisms in grinders like the Zerno Z1. The future likely holds piezoelectric locks that engage the moment the motor starts, frozen-in-place settings that only move when a digital sensor detects your hand on the collar. This move toward ‘active locking’ will eventually filter down from $3,000 titan grinders to our everyday home setups. Until then, we rely on the humble pipe cleaner. Seriously, knowing how to clean your grinders discharge chute with a pipe cleaner is still more effective for consistency than any software update. It prevents the backpressure that physically nudges your burrs apart during a dose.
Your Gear Deserves an Upgrade in Care
We often get distracted by the shiny new milk frothers that transform your coffee experience, but the foundation of every great latte is a stable, consistent shot. If you’ve noticed your yields are fluctuating, it’s time to stop blaming the beans and start looking at the hardware. Don’t let your top-rated espresso machines for coffee lovers in 2025 go to waste because of a $2 loose screw or a dusty O-ring. If you haven’t done it yet, I highly recommend you spend ten minutes today learning how to properly season new steel burrs for better consistency; it reduces the erratic vibrations that cause dial drift in the first place. My challenge to you: pull your grinder apart this weekend, degrease those threads, and feel the difference a ‘locked-in’ setting makes to your morning routine.
The Hardest Truth About Dial Drift
After years of tinkering, I’ve realized that a walking dial is rarely a sign of a broken machine; it’s usually just a cry for a bit of mechanical attention. Here’s what I’ve learned the hard way:
- Precision requires resistance: If your adjustment ring feels too smooth, it’s actually a liability. You want that tactile ‘grab’ that says the setting is staying put. If you ever find your grinder adjustment ring is stuck, it is often the opposite problem—lack of maintenance leading to debris lock.
- Vibration is cumulative: Even a tiny wobble in how you balance a grinder that is wobbling on the counter can eventually loosen the tightest threads over hundreds of cycles.
- Cleanliness affects physics: Coffee oils don’t just affect taste; they act as a high-grade lubricant that allows the ring to slip under the pressure of the burrs.
[image-placeholder]
My Essential Maintenance Kit
To keep everything locked in, I rely on a few specific tools. I always keep a set of precision screwdrivers for those tiny recessed set-screws and a clean microfiber cloth for degreasing threads. When you are choosing the best barista gear, look for build quality that prioritizes stability. I also suggest keeping an eye on the latest reviews for top-rated espresso machines for coffee lovers in 2025 to see which manufacturers are innovating in vibration dampening. If you’re just starting, mastering the art of home espresso means learning to listen to your machine’s vibration as much as you watch the flow rate of the shot.
You Are the Master of the Machine
It’s easy to feel defeated when a mechanical quirk ruins a great bag of beans. But every time you solve a problem like a walking dial, you’re becoming a better barista. You’re not just making coffee; you’re managing a complex system of physics and chemistry. Take control of your setup today, and your future self—the one drinking a perfectly extracted shot tomorrow morning—will thank you. Your gear is an investment in your daily joy, so give it the attention it needs to perform at its best.
Have you ever caught your grinder dial moving while you weren’t looking? Let me know how you fixed it in the comments below!