How to Swap Out a Broken Power Switch on an Older Machine
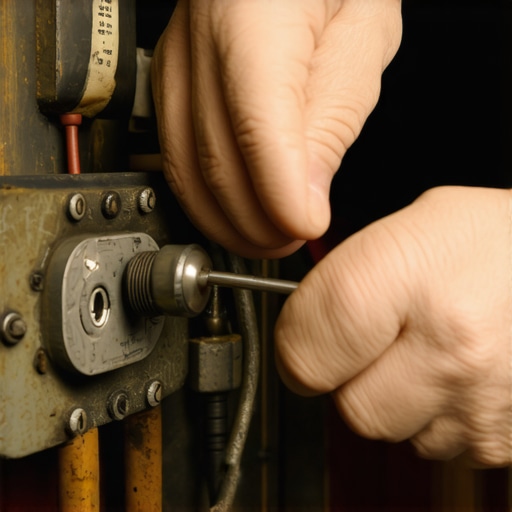
There is a specific, hollow sound that a broken power switch makes. It is not the satisfying thwack of a heavy-duty toggle or the crisp click of a rocker switch; it is a soft, mushy, I am done for wiggle that sends a cold shiver right down a coffee lover’s spine. This happened to me last Tuesday with my old reliable espresso machine. I had just dialed in the perfect grind, my best barista gear was laid out like a surgeon’s tools, and then… nothing. Silence. No heater hum, no pilot light. My first thought was the worst-case scenario: a blown heating element. But often, the culprit is much humbler and easier to manage.
Don’t Trash Your Machine Just for a Broken Toggle
It is tempting to start browsing for top-rated espresso machines for 2025 the moment something goes wrong, but older machines are built like tanks for a reason. They are meant to be repaired, not replaced. That broken switch is just a mechanical failure of a wear-and-tear part. Today, I am going to show you exactly how to diagnose that dead switch and swap it out for a new one so you can get back to mastering home espresso. We are going to save your machine from the landfill and save your wallet from an unnecessary upgrade. I will be honest; I have made some dumb mistakes. Years ago, I tried to force a sticky power switch on my grinder back into place with a screwdriver while the unit was still live. A loud pop and a scorched fingertip later, I learned the golden rule: always, always unplug first. When you are caffeine-deprived, the obvious safety steps are the first things you forget.
Is poking around inside an espresso machine actually safe?
I get it. Electricity and water do not mix, and the inside of a boiler machine can look like a snake pit of wires. However, most older machines use standard spade connectors that require zero soldering. According to the National Electrical Code (NFPA 70), basic repair is well within the reach of a homeowner as long as the device is completely de-energized. Have you ever opened up your machine and felt immediately overwhelmed by the wiring? Don’t let the wires intimidate you.
Why These Switches Fail in the First Place
These components live in a brutal environment. They are constantly exposed to heat cycles and, occasionally, a bit of stray steam or moisture. Over a decade, the internal springs lose their tension, or the copper contacts inside become pitted from the arcing that happens every time you flip the power on. It is a common reason why your espresso machine trips the breaker unexpectedly. Before we start tearing things apart, we need to make sure we have the right replacement part. Not all switches are created equal, even if they look identical on the outside, so let us look at what you need to have on your workbench.
Make Sure Your Replacement Actually Fits
Before you buy anything, look at the side of your existing switch. Most espresso machines use standard 16-amp or 20-amp rocker switches. If you put a low-amperage switch in a machine with a heavy boiler, you are basically building a tiny furnace that will melt in a week. It is a similar logic to how to select the perfect coffee grinder for your brew; the specs must match the workload or the whole system fails. Check if yours is a ‘DPST’ (Double Pole Single Throw) or a simpler version. Most machines use the four-pin DPST because it cuts both the hot and neutral lines for safety. Finding the right part is half the battle, and using an under-rated component is a common reason the reason your espresso machine is tripping the breaker shortly after a repair.
Open the Case Without Stripping the Screws
Grab a high-quality magnetized screwdriver. Most machines have screws hidden under the drip tray or behind the water reservoir. I once spent twenty minutes prying at a panel only to realize there was a final screw tucked inside the bean hopper area. It felt as frustrating as the trick to removing a stuck shower screen without stripping the screw when you do not have the right angle. Once the shell is loose, lift it slowly. Internal wires for the cup warmer or the milk frothers indicator lights are often short and can snap if you yank the lid off with too much enthusiasm.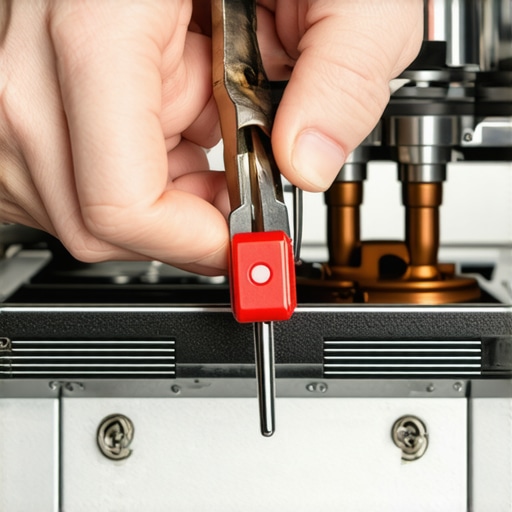
Swap Wires One by One to Avoid a Mess
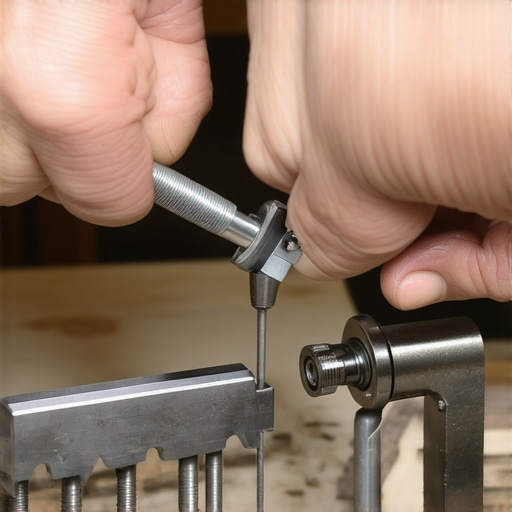
This is where my biggest fail happened. In my early DIY days, I thought I would remember which red wire went where. I pulled all four wires off the old switch, got distracted by a phone call, and came back to a jigsaw puzzle I could not solve. I ended up needing a multimeter and a wiring diagram I found on an archived forum. Now, I use the ‘One-for-One’ method. I pull one spade connector off the old switch and immediately slide it onto the corresponding pin of the new switch. It is foolproof. If the connectors feel loose, give them a tiny squeeze with needle-nose pliers so they bite onto the terminal. A loose connection causes resistance and heat, which can lead to similar failures as how to fix a broken boiler temperature sensor if the heat migrates through the chassis.
Test the Connection Before Bolting Everything Back
Before you slide the machine back into its tight corner, do a dry run. Ensure the wires are not touching the boiler—which gets hot enough to melt insulation—and that everything is tucked away. While you have the hood open, it is a great time to check for other issues, like how to spot a failing solenoid valve before it floods your kitchen. Plug it in, flip the switch, and look for that beautiful glow. If it lights up and you hear the pump kick in, you have just saved yourself a hefty repair bill. Finally, as you reassemble, check the base; it is a good moment to learn how to stop your espresso machines feet from vibration walking by tightening the bottom bolts while you have the tools out.There is a specific, hollow sound that a broken power switch makes. It is not the satisfying thwack of a heavy-duty toggle or the crisp click of a rocker switch; it is a soft, mushy, I am done for wiggle that sends a cold shiver right down a coffee lover’s spine. This happened to me last Tuesday with my old reliable espresso machine. I had just dialed in the perfect grind, my best barista gear was laid out like a surgeon’s tools, and then… nothing. Silence. No heater hum, no pilot light. My first thought was the worst-case scenario: a blown heating element. But often, the culprit is much humbler and easier to manage.
Don’t Trash Your Machine Just for a Broken Toggle
It is tempting to start browsing for top-rated espresso machines for 2025 the moment something goes wrong, but older machines are built like tanks for a reason. They are meant to be repaired, not replaced. That broken switch is just a mechanical failure of a wear-and-tear part. Today, I am going to show you exactly how to diagnose that dead switch and swap it out for a new one so you can get back to mastering home espresso. We are going to save your machine from the landfill and save your wallet from an unnecessary upgrade. I will be honest; I have made some dumb mistakes. Years ago, I tried to force a sticky power switch on my grinder back into place with a screwdriver while the unit was still live. A loud pop and a scorched fingertip later, I learned the golden rule: always, always unplug first. When you are caffeine-deprived, the obvious safety steps are the first things you forget.
Is poking around inside an espresso machine actually safe?
I get it. Electricity and water do not mix, and the inside of a boiler machine can look like a snake pit of wires. However, most older machines use standard spade connectors that require zero soldering. According to the National Electrical Code (NFPA 70), basic repair is well within the reach of a homeowner as long as the device is completely de-energized. Have you ever opened up your machine and felt immediately overwhelmed by the wiring? Don’t let the wires intimidate you.
Why These Switches Fail in the First Place
These components live in a brutal environment. They are constantly exposed to heat cycles and, occasionally, a bit of stray steam or moisture. Over a decade, the internal springs lose their tension, or the copper contacts inside become pitted from the arcing that happens every time you flip the power on. It is a common reason why your espresso machine trips the breaker unexpectedly. Before we start tearing things apart, we need to make sure we have the right replacement part. Not all switches are created equal, even if they look identical on the outside, so let us look at what you need to have on your workbench.
Make Sure Your Replacement Actually Fits
Before you buy anything, look at the side of your existing switch. Most espresso machines use standard 16-amp or 20-amp rocker switches. If you put a low-amperage switch in a machine with a heavy boiler, you are basically building a tiny furnace that will melt in a week. It is a similar logic to how to select the perfect coffee grinder for your brew; the specs must match the workload or the whole system fails. Check if yours is a ‘DPST’ (Double Pole Single Throw) or a simpler version. Most machines use the four-pin DPST because it cuts both the hot and neutral lines for safety. Finding the right part is half the battle, and using an under-rated component is a common reason the reason your espresso machine is tripping the breaker shortly after a repair.
Open the Case Without Stripping the Screws
Grab a high-quality magnetized screwdriver. Most machines have screws hidden under the drip tray or behind the water reservoir. I once spent twenty minutes prying at a panel only to realize there was a final screw tucked inside the bean hopper area. It felt as frustrating as the trick to removing a stuck shower screen without stripping the screw when you do not have the right angle. Once the shell is loose, lift it slowly. Internal wires for the cup warmer or the milk frothers indicator lights are often short and can snap if you yank the lid off with too much enthusiasm.
Swap Wires One by One to Avoid a Mess
This is where my biggest fail happened. In my early DIY days, I thought I would remember which red wire went where. I pulled all four wires off the old switch, got distracted by a phone call, and came back to a jigsaw puzzle I could not solve. I ended up needing a multimeter and a wiring diagram I found on an archived forum. Now, I use the ‘One-for-One’ method. I pull one spade connector off the old switch and immediately slide it onto the corresponding pin of the new switch. It is foolproof. If the connectors feel loose, give them a tiny squeeze with needle-nose pliers so they bite onto the terminal. A loose connection causes resistance and heat, which can lead to similar failures as how to fix a broken boiler temperature sensor if the heat migrates through the chassis.
Test the Connection Before Bolting Everything Back
Before you slide the machine back into its tight corner, do a dry run. Ensure the wires are not touching the boiler—which gets hot enough to melt insulation—and that everything is tucked away. While you have the hood open, it is a great time to check for other issues, like how to spot a failing solenoid valve before it floods your kitchen. Plug it in, flip the switch, and look for that beautiful glow. If it lights up and you hear the pump kick in, you have just saved yourself a hefty repair bill. Finally, as you reassemble, check the base; it is a good moment to learn how to stop your espresso machines feet from vibration walking by tightening the bottom bolts while you have the tools out.
Most People Ignore the Group Head Chemistry
While fixing a switch is a mechanical victory, many enthusiasts overlook the chemical invisible war happening inside their machine. Everyone tells you to descale, but blindly dumping acid into a boiler can be a recipe for disaster. If your water hardness isn’t balanced, you aren’t just removing scale; you might be etching the copper. According to the Specialty Coffee Association (SCA) Water Quality Handbook, the ideal mineral balance for espresso equipment is far more precise than most people realize. Using water that is too soft can actually be as corrosive as hard water is obstructive. It’s not just about the machine; choosing the best barista gear includes selecting the right filtration system to prevent these issues from the start.
Don’t Fall for the Vinegar Myth
One of the biggest ‘traps’ I see beginners fall into is using white vinegar as a descaling agent. It’s cheap and accessible, but it is a terrible choice for modern espresso machines. Vinegar has a pungent odor that lingers for weeks, and more importantly, it can be too aggressive on certain gaskets. You’ll end up with a machine that works but why your coffee tastes like vinegar after descaling becomes a mystery you can’t solve. Always use a dedicated citric-acid-based descaler. Furthermore, don’t ignore the organic buildup. Even if your machine looks pristine, the danger of leaving old coffee oils in your portafilter spouts is real; these oils go rancid and will ruin even the most expensive single-origin beans.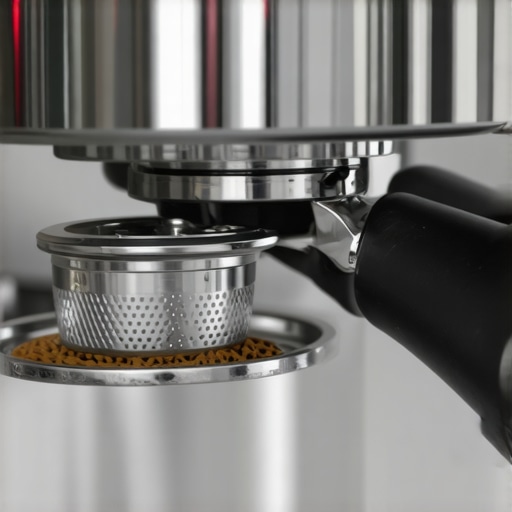
Why is my shot timing different every single morning?
If you have fixed your switch and cleaned your machine, but you find that why your shot extraction time changes every single day is still a problem, you aren’t alone. This is the ‘hidden nuance’ of home espresso. Changes in ambient humidity and bean freshness require micro-adjustments to your grinder. If you aren’t checking how to tell if your espresso grinder burrs are dull, you might be fighting a losing battle against physics. Espresso is a living process, not a static one. Have you ever fallen into this trap of over-cleaning or mis-diagnosing a simple fix? Let me know in the comments below!
Upgrade Your Bench Beyond the Basics
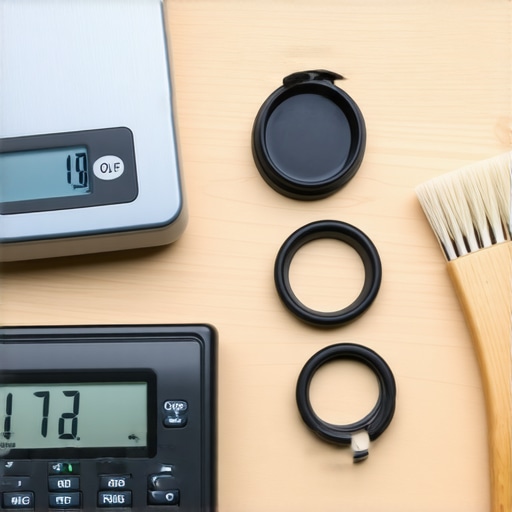
You’ve fixed the switch, cleaned the group head, and dialed in the grind, but the real work starts now: staying consistent. I used to think a high-end machine meant less maintenance, but it’s actually the opposite. The more precision your gear offers, the more sensitive it is to tiny deviations. For instance, if you’re mastering home espresso, you’ll soon realize that a dirty shower screen isn’t just gross—it ruins your flow rate. I keep a dedicated kit under my sink: a set of O-ring picks, Molykote 111 lubricant, and a high-precision 0.1g scale. I learned the hard way that using a kitchen scale for beans is like using a yardstick to measure a hair’s width. Having the right tools on hand stops a minor annoyance from turning into a weekend-long project.
Why Precision Tools Prevent Frustrating Failures
When you start choosing the best barista gear, focus on the items that offer feedback. A pressure gauge is great, but a dedicated water hardness kit is better. If you don’t know the exact mineral content of your water, you’re just guessing when to descale. This is particularly vital for those with milk frothers that transform your coffee experience, as steam wands are notorious for scale buildup in their narrowest orifices. Precision also applies to your grind; knowing how to select the perfect coffee grinder for your brew involves understanding the tolerances of the burrs themselves. Cheap grinders often have plastic internal parts that warp under heat, causing your settings to drift.
How do I keep my espresso setup in peak condition?
The secret is a schedule, not a reaction. You shouldn’t wait for a leak to check your seals. According to the technical specifications from VST Labs regarding manufacturing tolerances, even a 1% deviation in filter basket hole size can lead to significant channeling. This is why I replace my gaskets every six months regardless of how they look. If you have an E61 machine, you need to learn how to properly lubricate your e61 group head cam because the detergents used in backflushing strip away the essential grease, leading to a stiff lever and eventual mechanical wear. A little bit of food-safe grease every few months keeps the movement buttery smooth and prevents the cam from grinding itself down.
The Future of Smart Espresso Maintenance
One of the best habits I’ve formed is the move that saves your grinder from unnecessary wear: purging a few grams of beans before the first shot of the day. This clears out any stale, oxidized grounds hiding in the chute. If you’re still seeing inconsistencies, it’s worth investigating how to tell if your espresso grinder burrs are dull. I’ve seen people blame their pump when their burrs were simply rounded off after five years of service. For those looking ahead, top-rated espresso machines for 2025 are increasingly integrating IoT sensors that alert you to scale buildup before it’s visible. I predict that within five years, machines will even automate the easy way to test your machines water hardness at home, adjusting their own descaling cycles based on live sensor data. My challenge to you this week? Take five minutes to pull your shower screen and scrub the backside; the difference in clarity might just change your morning ritual.
Fixing your own equipment is more than just a cost-saving measure; it is about taking ownership of your morning ritual. When you understand the mechanics of your machine, you stop being a passive user and start becoming a true steward of your craft. Repairing a simple toggle or rocker switch is often the first step into a larger world of technical confidence.
Lessons From My Most Expensive Coffee Catastrophes
Over the years, I have learned that the most expensive repairs usually start with a simple ‘I can just force this’ moment. If a component does not slide into place with a gentle click, something is wrong. I once ignored a slight resistance while reassembling a machine and ended up needing to learn the trick to removing a stuck shower screen without stripping the screw because I had cross-threaded the entire assembly in my haste. Another vital lesson: the ‘smell test’ is your best diagnostic tool. If you smell ozone or burnt plastic, do not just flip the switch again; you likely have a loose spade connector that is arcing. Finally, always take a photo of the wiring before you touch anything. Your memory is a liar when you are under-caffeinated, and a single misplaced wire can lead to you needing to know how to fix a broken boiler temperature sensor if you short the wrong circuit.
Gear That Makes Maintenance Less Of A Headache
You do not need a full workshop, but a few specific items make these repairs significantly safer and faster. I never open a machine without a magnetic parts tray; those tiny stainless steel screws have a magical ability to vanish into the darkest corners of your kitchen. I also highly recommend investing in a set of Wera Kraftform screwdrivers; the laser-tipped drive prevents the rounded heads that make maintenance a nightmare. For internal lubrication, always keep a tube of Molykote 111 handy. It is food-safe and essential if you are learning how to properly lubricate your e61 group head cam during your teardown. Lastly, a basic digital multimeter is the only way to be 100% sure your new switch is receiving power before you bolt the heavy casing back on.
#IMAGE_PLACEHOLDER_E#
Keep Your Machine Alive And Your Coffee Flowing
There is a profound sense of satisfaction when you flip that brand-new switch and hear the boiler hiss back to life. You have not just saved a few hundred dollars; you have extended the life of a tool that brings joy to your daily life. The more you tinker, the more you realize that mastering the art of home espresso is just as much about maintaining the machine as it is about pulling the perfect shot. Do not let a little bit of wiring or a stuck panel stop you from enjoying the best coffee possible. Every repair is a lesson that makes you a better barista. Have you ever tried a DIY repair on your machine that went hilariously wrong before you finally got it right? Let me know in the comments below!