The Best Way to Pour Milk for a Small Macchiato
I remember the first time I tried to show off my home barista skills to a visiting friend. I pulled a gorgeous, syrupy shot of espresso, reached for my steaming pitcher, and—*splat*. Instead of a delicate, stained mark of foam, I’d created a miniature, lukewarm latte that looked more like a puddle than a craft beverage. It was embarrassing. If you’ve ever felt like your espresso machine is a high-performance sports car but your milk pouring is more like a tricycle with a flat tire, you aren’t alone. Today, we’re going to fix that. I’m going to show you exactly how to control that pour so your macchiato actually looks like it came from a Milanese cafe.
The Heartbreak of the One-Second Blob
The macchiato is a cruel teacher. Unlike a large latte where you have time to settle into a rhythm, the macchiato is decided in about 1.5 seconds. Early on, I made the classic rookie mistake of using my massive 20-ounce pitcher for a tiny splash of milk. I couldn’t get the angle right, and I didn’t have the barista gear suited for small-scale precision. The result was always the same: too much liquid, no texture, and a ruined crema. To get this right, you need to understand that the ‘stain’ isn’t just a drop of milk; it’s a deliberate marriage of microfoam and espresso. According to the Specialty Coffee Association, a traditional macchiato is simply espresso ‘marked’ with a small amount of foamed milk, but achieving that ‘mark’ without drowning the coffee is an art. If you’ve been struggling with milk texture on a single boiler, it’s usually because you’re fighting the physics of your equipment.
Does This Tiny Splash Really Change the Taste?
You might be thinking that for such a small amount of milk, it shouldn’t matter how it lands in the cup. But here’s the truth: if you dump the milk in too fast, you break the crema and lose that intense, chocolatey first sip that defines a great macchiato. My biggest breakthrough came when I started focusing on the height of my pour rather than just the speed. Have you ever found yourself staring at a ruined cup and wondering why it’s so hard to just pour an ounce of milk correctly? I would love to hear if you have faced this same frustration!
Stop Overfilling Your Pitcher and Start Small
One of the best moves for your workflow is using a smaller pitcher specifically for these drinks. When I was using a larger jug, I was essentially trying to perform surgery with a sledgehammer. You need a narrow spout to guide the foam precisely where you want it. This isn’t just about aesthetics; it’s about maintaining the temperature and the integrity of the espresso. If you use too much milk, you’re just drinking a weak cappuccino. To avoid this, you must learn how to texture milk for specific volumes. We want that silky, marshmallow-like dollop that sits right in the center of the cup without overwhelming the coffee base.
Ditch the Dry Foam for Liquid Silk
The biggest myth in home espresso is that a macchiato needs a mountain of stiff, dry foam. If your foam looks like the suds in a kitchen sink, you’ve already lost the battle. To get that iconic ‘stain,’ you need microfoam that flows like heavy cream. I once spent an entire Saturday morning trying to get this right on my old machine, only to realize that milk texture on a single boiler requires a delicate touch with the steam wand. You want to hear tiny ‘psst’ sounds for only about three seconds before burying the wand to create a whirlpool. If you over-aerate, the milk becomes a solid plug that won’t pour; it just falls out in a clump. When I finally nailed the ‘wet’ paint consistency, the milk didn’t fight the espresso; it integrated with it. This is why why your milk frother creates bubbles instead of foam is usually a result of too much air and not enough rolling.
How High Should You Really Hold That Pitcher?
The physics of the pour are non-negotiable. Start with your pitcher about three to four inches above the cup. This high-altitude start allows the thin stream of milk to pierce the crema and dive under the surface. If you start too low, you’ll immediately create a white streak on top of the espresso, which ruins the visual contrast. Think of it like a professional diver: you want a clean entry with zero splash. I remember one specific morning where I was rushing and started the pour too close to the rim. The milk just skated across the top, turning my beautiful shot into a muddy, grey mess. By maintaining that initial height, you preserve the ‘canvas’ of the crema for the final mark.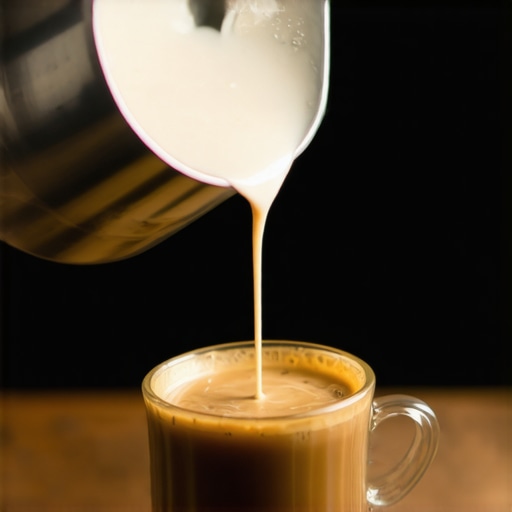
The Two-Step Approach to a Perfect Mark
Once the cup is about three-quarters full, it’s time for the ‘drop.’ This is where the magic happens. You must quickly bring the spout of your pitcher as close to the surface of the coffee as possible without touching it. This change in proximity is the ‘move.’ When you are close, the buoyancy of the foam takes over, and it finally rests on top of the crema. If you’ve mastered the trick to swirling milk without splashing, your milk will be homogeneous enough to glide out smoothly. A slight, intentional flick of the wrist at the very end creates that perfect white circle in the center of the mahogany crema.
Small Tools for Big Precision
If you are still struggling, look at your barista gear. A standard 12-ounce pitcher is often too bulky for a 2-ounce macchiato glass. I switched to a 150ml ‘latte art’ pitcher specifically for macchiatos, and the level of control was night and day. It’s like trying to draw a fine line with a thick crayon versus a mechanical pencil. This precision is especially important if you are trying to learn how to texture milk for different volumes. When the spout is smaller, you can dictate exactly where that ‘stain’ lands, ensuring your drink looks as professional as it tastes.Most people think that if they just buy one of those expensive top-rated espresso machines, the coffee will magically taste like it came from a boutique roastery. I used to believe that too until I realized I was pouring money into a shiny box while neglecting the physics of my workflow. One of the most common myths is that a fancy distribution tool is the ‘magic wand’ for perfect extraction. In my experience, these tools often compress only the top layer of the puck while leaving the bottom loose, causing hidden channeling. It’s one of the main reasons why your distribution tool might be ruining your extraction without you even noticing. Have you ever spent a fortune on accessories only to find your shots still taste sour? Let me know in the comments if you’ve fallen into this trap!
Why Does My Shot Time Change Even When I Don’t Touch the Grinder?
This is the question that keeps home baristas up at night. You dial in perfectly on Saturday, but Sunday morning the shot runs five seconds faster. It isn’t a ghost in the machine; it’s usually thermal drift and grind retention. When you grind, the burrs heat up, and the ‘fines’ behave differently. More importantly, the coffee sitting in the chute from yesterday has oxidized and lost its moisture. This is exactly why the first shot of the day is always a throwaway. If you aren’t purging a few grams of coffee, you’re building your morning on a foundation of stale grounds. Expert testing from the Barista Hustle team has shown that burr temperature can shift the particle size distribution enough to radically change flow rate, even on high-end coffee grinders.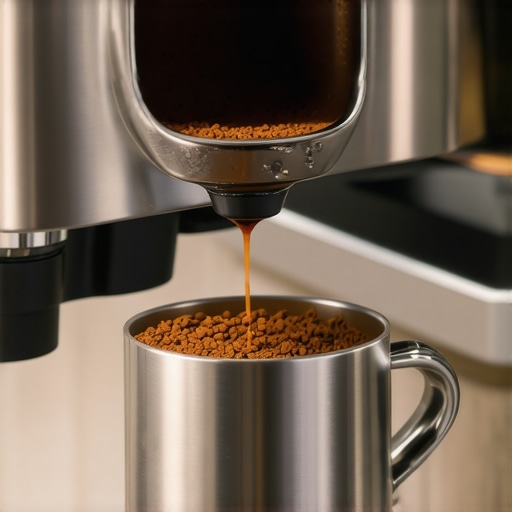
The Trap of Over-Tightening Your Gear
There is a physical ‘oops’ factor that almost every new owner falls into: the ‘gorilla grip.’ I see so many people reefing on their portafilter until it’s physically impossible to move any further. While you want a good seal, why your portafilter handle should never be tightened too far comes down to the lifespan of your group gasket. If you compress it to the max every time, you’ll be replacing that rubber ring every three months instead of once a year. The same goes for your steam wand; if you feel a ‘gritty’ resistance when turning the knob, the reason your steam wand valve feels gritty is often dried milk or lack of food-safe lubrication, not a need for more force. If you treat your barista gear with a lighter touch, you’ll find the shots become more consistent because the machine isn’t fighting mechanical stress. Another hidden trap involves your water source. If you’re using pure distilled water because you’re afraid of scale, you are actually risking your equipment. The truth about using distilled water is that it can leach minerals directly from your boiler metal and even cause your water level sensors to fail. You need a specific mineral balance for the coffee to taste good and for the machine to function safely over the long term.
Stop Waiting for Your Group Head to Leak
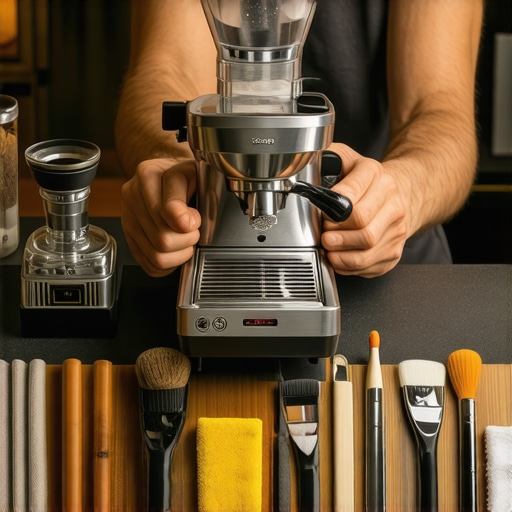
I used to think that as long as coffee came out of the spout, everything was fine. I was wrong. The reality is that your machine is slowly dying from the inside if you aren’t proactive. I learned this the hard way when my steam pressure started lagging and my shots tasted like burnt rubber. I realized I was ignoring the most basic rule of ownership: preventative care is cheaper than a repair bill. This starts with understanding why your machine needs a backflush every single week. When you backflush with a dedicated cleaner, you’re removing the rancid coffee oils that accumulate behind the shower screen—oils that no amount of ‘fresh beans’ can mask. Eventually, those oils harden and can even cause your 3-way solenoid valve to fail entirely. If you’ve noticed a decrease in flow, don’t just turn up the pump; clean the path first.
How do I keep my setup running like new for years?
Consistency isn’t just about your tamping technique; it’s about the state of your consumables. You need to keep a close eye on your rubber seals. I now make it a habit to feel the resistance of the portafilter handle every morning. If it starts to feel ‘mushy’ or rotates further than usual, it’s a sign the seal is drying out. Learning how to replace a group gasket without scratching the chrome is a rite of passage for any serious home barista. It takes ten minutes and costs less than a bag of beans, yet it prevents the messy spray that ruins your morning workflow. On the grinder side, I’ve stopped waiting for my shots to taste ‘off’ before I look inside. I regularly perform how to clean the grinder chute without taking it apart using a vacuum and a stiff brush. This prevents the old, oxidized grounds from contaminating your fresh dose. According to technical specs from Mazzer, flat burrs are often rated for 600kg, but in a home environment, the buildup of oils can affect particle distribution long before the steel actually wears down. To keep things smooth, I always practice the move that saves your grinder from unnecessary wear by ensuring the motor is spinning before I adjust the grind setting finer.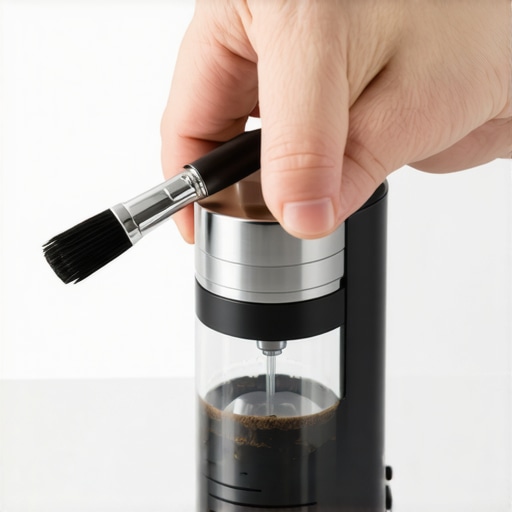
Why your 18-gram dose suddenly weighs 17.5
We need to talk about the ‘ghost in the machine’—static and scale drift. I spent weeks chasing a sour shot only to realize my expensive digital scale was lying to me. If you’ve ever wondered why your coffee scale is giving you inconsistent readings, check for moisture under the platform or interference from the vibration of your machine. Precision is everything in espresso. If your dose is off by even 0.3 grams, your extraction time will swing wildly. This is why I recommend calibrating your scale once a month. It’s the only way to ensure that your ‘perfect’ recipe from Tuesday is actually being replicated on Friday.
The future of your kitchen counter is smarter than you think
Looking ahead, I see a massive shift toward data-driven extraction. We are moving away from ‘guessing’ based on sight and toward real-time flow profiling and AI-integrated grinders that automatically adjust their distance based on ambient humidity. The hobby is becoming more scientific, which is exciting, but it also means our basic maintenance skills must keep up with the tech. Try this tomorrow: Before you pull your first shot, weigh your empty portafilter, then weigh it again after your ‘usual’ grind. If the numbers don’t match your target, don’t touch the dial yet—purge the chute and try one more time. You might find that your ‘grinder problem’ is actually just a ‘retention problem.’
Lessons I Had to Learn the Hard Way
After years of tinkering at my own coffee station, I’ve realized that even the most expensive equipment can’t save a shot if you ignore the fundamentals. First, stop treating your portafilter like a gym weight; understanding why your portafilter handle should never be tightened too far is a lesson your gaskets will thank you for in the long run. Second, the ‘purge’ is non-negotiable. If you don’t clear the old grounds from the chute, you’re just tainting your fresh beans with yesterday’s oxidized leftovers. Lastly, remember that mastering the art of home espresso isn’t about hitting perfection every single morning, but about developing the intuition to know exactly why things went wrong when they do.
Gear That Fixed My Frustrations
If you’re tired of guessing why your shots taste inconsistent, start with a reliable scale that can handle the heat. I spent months chasing ghosts before realizing why your coffee scale is giving you inconsistent readings—usually it’s just hidden moisture or the vibration of the pump. For the milk side of the equation, investing in specialized milk frothers or smaller 150ml pitchers for those delicate macchiatos makes a world of difference in your control. And never underestimate the power of hygiene; following the best routine for a weekend deep clean ensures your internal valves don’t become a graveyard for rancid coffee oils. Before you pour, always check your ingredients, as knowing how to tell if your milk is too old for latte art can save you from a morning of frustrating, bubbly foam.
Your Next Great Shot Is Only a Practice Session Away
The journey from a ‘one-second blob’ to a cafe-quality macchiato is paved with spilled milk, sour extractions, and a few lukewarm lattes. Don’t be discouraged if your first few attempts don’t look like they belong on a menu. Every time you steam a pitcher or dial in a new bag of beans, you’re calibrating your senses and building the muscle memory that defines a true home barista. Stick with the process, keep your gear maintained with a gentle touch, and soon your home espresso will be the envy of the neighborhood. Have you ever struggled with getting that perfect white ‘stain’ to sit on top of your macchiato? Let me know in the comments below!