The E61 Maintenance Schedule You Are Probably Ignoring
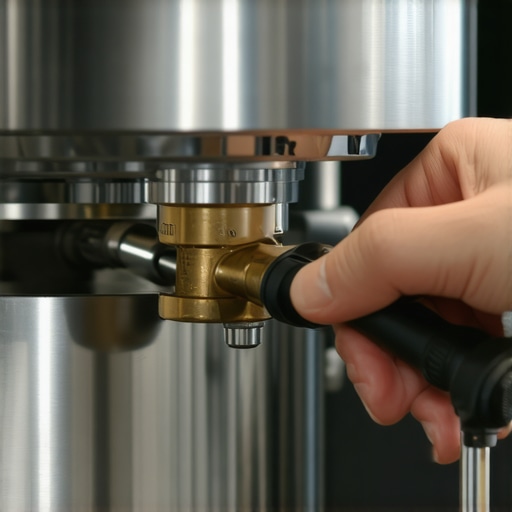
It was a quiet Tuesday morning when my beloved Italian espresso machine decided to strike. I flipped the heavy chrome lever of the E61 group head, expecting that familiar, reassuring hum and a rich, syrupy stream of espresso. Instead? A horrible screech, a sputter, and then… nothing. Just a sad, dry squeak. I had spent thousands on my setup, paired it with top-tier barista gear, and religiously backflushed it with chemical powder every week. I thought I was a model home barista. But behind that gleaming, solid-brass facade, the internal cams were bone dry and slowly grinding themselves to dust. I was making a massive mistake, and if you own an E61 machine, there is a very high chance you are making it too.
Why Your Gleaming E61 Group Head is Screaming for Help
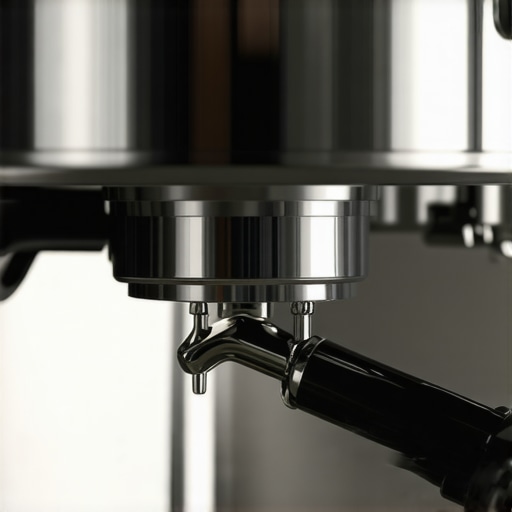
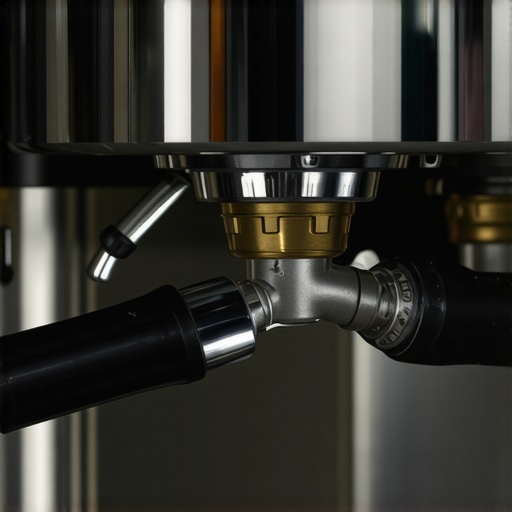
The E61 is an absolute masterpiece of mechanical engineering, beloved by coffee purists worldwide for its incredible thermal stability. However, that heavy brass lever mechanism relies on internal moving parts that require physical lubrication. Every single time you perform a chemical backflush to clean out old coffee oils, you also strip away the food-safe Dow 111 silicone grease inside the lever assembly. Over time, this leads to a stiff lever, worn-out brass cams, and eventually, internal leaks. I learned this the hard way when I had to completely rebuild my group head after just a year of ownership because I ignored the mechanical side of the maintenance equation. If you have noticed that your lever is getting harder to lift, or if you hear a squeaking noise when you pull a shot, your machine is begging for grease.
Are you secretly destroying your machine with too much cleaning?
It sounds like a paradox. We are told to keep our espresso gear spotlessly clean to prevent off-flavors and scale buildup. But over-backflushing with harsh detergents without replacing the internal lubrication is a fast track to mechanical wear. In fact, many professional espresso machine technicians recommend lubricating the E61 lever pins and cams every 3 to 6 months, depending on how often you backflush. According to engineering standards for food-safe mechanical components, silicone lubricants like Dow Corning 111 degrade under the high temperatures (around 200°F) and pressures (9 bar) required for brewing espresso. Today, we are going to demystify this process and walk through the exact, step-by-step schedule required to keep your lever operating as smooth as butter without causing costly damage. If you have ever wondered the reason your portafilter gasket is getting brittle or why your lever feels rough, you are in the right place.
Have you ever noticed your E61 lever feeling stiff or squeaky after a backflush? Drop a comment below and let me know—I want to hear if your machine is suffering from the same dry-lever syndrome that caught me off guard!
Demystifying the E61 Group Head Disassembly
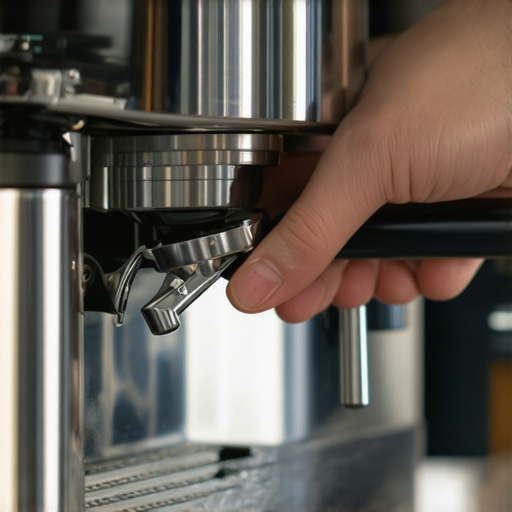
To fix a dry lever, you have to open up the mechanical heart of your machine. Think of your E61 group head like the manual transmission of a vintage sports car. It relies on physical contact, spring tension, and tight tolerances. If you operate it without grease, metal grinds against metal. Before you start, turn off your machine, unplug it, and let it cool completely. Working on a hot boiler is a recipe for severe burns.
You will need an adjustable wrench (or a 26mm spanner), some electrical tape to protect the chrome finish of your bolts, and a tube of high-quality, food-safe silicone lubricant like Molykote 111. Wrap the jaws of your wrench in electrical tape. This simple step prevents scratching the gorgeous mirror-finish chrome. Unscrew the large top nut of the group head to access the internal mushroom assembly, then remove the lever retaining screw on the side to slide the cam lever out. If you are also dealing with other system issues, like why your machine boiler is constantly refreshing, tackling them during a deep clean is highly efficient.
Applying the Grease Without Making a Mess
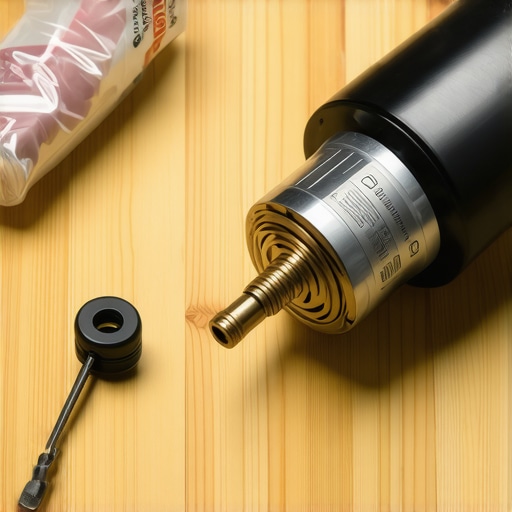
I will never forget the first time I attempted this. I was so eager to fix my squeaky machine that I slathered half a tube of silicone grease all over the internal cam. The next morning, my espresso tasted like industrial wax, and the lever was so gummy it would not even return to the closed position. The secret is moderation. You only need a thin, translucent film of grease on the high-friction points: the two brass cam lobes and the tip of the internal valve pins that physically ride along the cam as you raise and lower the lever.
Use a clean Q-tip or your fingertip to apply the silicone grease. Avoid getting any lubricant inside the water pathways or on the sealing teflon gaskets themselves. Once greased, slide the cam back into the chamber. It should glide in effortlessly. Carefully tighten the retaining nut, ensuring you do not cross-thread the delicate brass threads. If you have been experiencing other mechanical headaches, such as how to fix a stuck steam valve on a prosumer machine, keeping your tools handy will save you time for a full-scale rebuild.
Developing a Sustainable Backflushing Schedule
Now that your lever is operating with a silky-smooth glide, you must adjust your cleaning habits to prevent stripping the grease away instantly. Backflushing with water alone after your daily brewing session is perfectly safe and highly recommended. It clears out loose coffee grinds without degrading the silicone grease. However, limit your chemical backflushes with detergent powders to once every two to three weeks, or roughly every 50 shots.
If you use chemical cleaner every single day, you will strip the grease within a week, landing you right back at square one with a squeaking, stiff lever. Maintaining your machine is a delicate balance of chemical cleanliness and mechanical preservation. Just as you would carefully maintain your barista gear, treating the internal mechanics of your group head with the same respect guarantees your espresso setup will deliver delicious shots for decades to come.
While establishing a rigorous maintenance routine feels like the ultimate mark of a dedicated home barista, there is a hidden nuance that many seasoned enthusiasts miss. In our quest for pristine espresso machines and sparkling barista gear, we often succumb to over-cleaning habits that do more mechanical harm than good. In my years of troubleshooting setups, I have realized that the industry-wide obsession with absolute sterility often blinds us to how these machines actually function under the hood.
Is your chemical cleaner secretly eating away your machine’s internals?
Everyone in the coffee community insists that backflushing with detergent is the only way to keep your shots tasting sweet. In my experience, however, daily chemical backflushing is a destructive practice. When you use aggressive descaling agents or heavy-duty backflush powders, you are not just stripping away rancid coffee oils—you are also chemically stripping the protective oxide layers from copper boilers and brass components. A comprehensive study on food-safe alloy degradation highlights that frequent exposure to sulfamic or citric acid-based cleaners accelerates galvanic corrosion in multi-metal espresso machines. This chemical degradation often leads to microscopic pitting along your group head walls, which actually gives old coffee oils more surface area to cling to in the future.
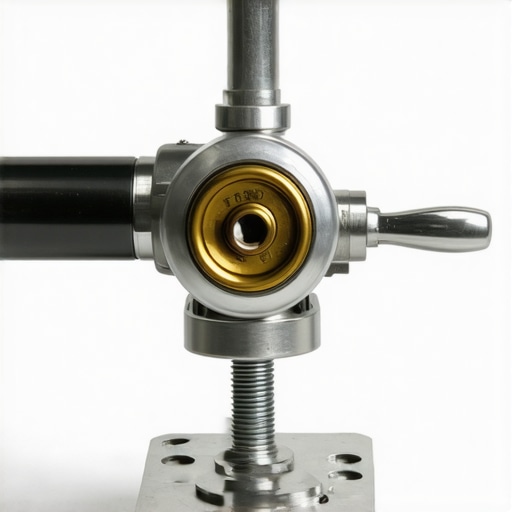
The real trap to avoid—what I call the “oops” factor of home espresso maintenance—is neglecting the chemistry of your water after a deep clean. Many home baristas rinse their machines thoroughly but fail to realize that why your espresso tastes like vinegar after cleaning is often due to residual acid trapped in the siphon channels of the group head. If you do not completely neutralize this acidity with a sacrificial shot or a flush of highly buffered water, that lingering low pH level will slowly corrode your internal seals. This chemical imbalance is also a primary reason why you might find your portafilter gasket is getting brittle far quicker than expected, as the acid dries out and cracks the synthetic rubber.
This oversight extends beyond the group head. For example, in our attempt to keep our grinders pristine, we often use generic cleaning tablets that absorb moisture from the air, swelling inside the grind chamber and causing the adjustment collar to seize. If you have ever wondered why your grinder screeches only when grinding fine, it is highly likely that a buildup of moisture-locked cleaning residue is binding the burr carrier threads rather than actual physical wear on the steel. Achieving a balanced maintenance routine means understanding when to put down the chemicals and let natural coffee oils protect your components. Have you ever fallen into this trap of over-cleaning and accidentally caused a mechanical squeak or leak? Let me know in the comments below!
When you transition from a casual coffee drinker to a dedicated enthusiast, your relationship with your setup changes. It ceases to be a simple appliance and becomes a precision instrument. To keep this instrument operating at peak performance, you need to look beyond the standard manufacturer manuals. Over my years of brewing, I have realized that the absolute best way to ensure consistency is to treat maintenance not as a chore, but as a weekly ritual of calibration and care.
How do I maintain my espresso setup over time?
The key to longevity is establishing a clear division between daily hygiene and deep quarterly servicing. On a daily basis, a quick flush of the group head and a thorough wipe-down of your steam wand are non-negotiable. For those utilizing modern setups, taking care of your accessories is just as critical. Many home baristas overlook the physical state of their distribution tools, yet understanding why your WDT tool is actually causing more channeling often comes down to bent needles accumulating micro-clumps of old oil. Once a week, commit to a water-only backflush and a thorough brush of the group gasket. Every three months, perform the deep mechanical lubrication we discussed earlier, and check your water quality with a dedicated titration kit rather than cheap paper test strips.
My absolute favorite tool for maintaining a pristine workstation is a dedicated bench brush and a set of specialized micro-screwdrivers. I use these tools to regularly drop the shower screen and clean the dispersion block. If you let coffee oils bake onto the brass plate behind your screen, it will unevenly restrict water flow, rendering even the most expensive espresso machines useless. According to the official technical service manual from La Marzocco, a partially clogged dispersion screw can cause local channeling that ruins extraction yields by up to 3%—a massive variance for anyone chasing the perfect shot.
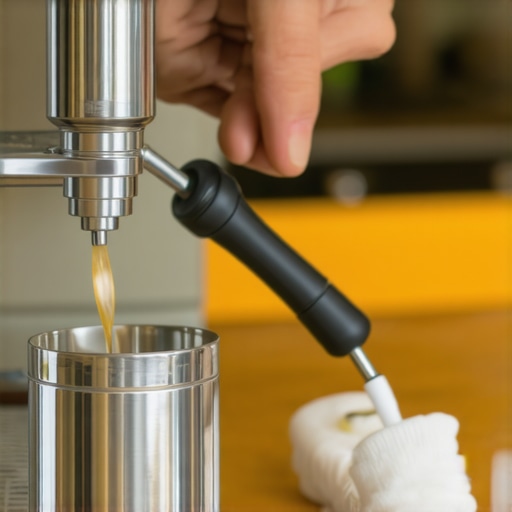
Looking ahead, I predict we are going to see a massive shift toward smart diagnostic sensors embedded within prosumer gear. Future espresso machines and coffee grinders will likely alert us to exact seal degradation or burr wear through internal flow-rate telemetry. Until then, we must rely on manual inspection and high-quality maintenance habits. If you want to elevate your coffee game today, my challenge to you is this: do not wait for a leak to happen. Pull your shower screen this weekend, inspect the gasket, and ensure your lever mechanism is gliding smoothly. You will be amazed at how much cleaner and sweeter your morning shots will taste.
When you transition from a casual coffee drinker to a dedicated enthusiast, your relationship with your setup changes. It ceases to be a simple appliance and becomes a precision instrument. To keep this instrument operating at peak performance, you need to look beyond the standard manufacturer manuals. Over my years of brewing, I have realized that the absolute best way to ensure consistency is to treat maintenance not as a chore, but as a weekly ritual of calibration and care.
How do I maintain my espresso setup over time?
The key to longevity is establishing a clear division between daily hygiene and deep quarterly servicing. On a daily basis, a quick flush of the group head and a thorough wipe-down of your steam wand are non-negotiable. For those utilizing modern setups, taking care of your accessories is just as critical. Many home baristas overlook the physical state of their distribution tools, yet understanding why your WDT tool is actually causing more channeling often comes down to bent needles accumulating micro-clumps of old oil. Once a week, commit to a water-only backflush and a thorough brush of the group gasket. Every three months, perform the deep mechanical lubrication we discussed earlier, and check your water quality with a dedicated titration kit rather than cheap paper test strips.
My absolute favorite tool for maintaining a pristine workstation is a dedicated bench brush and a set of specialized micro-screwdrivers. I use these tools to regularly drop the shower screen and clean the dispersion block. If you let coffee oils bake onto the brass plate behind your screen, it will unevenly restrict water flow, rendering even the most expensive espresso machines useless. According to the official technical service manual from La Marzocco, a partially clogged dispersion screw can cause local channeling that ruins extraction yields by up to 3%—a massive variance for anyone chasing the perfect shot.
Looking ahead, I predict we are going to see a massive shift toward smart diagnostic sensors embedded within prosumer gear. Future espresso machines and coffee grinders will likely alert us to exact seal degradation or burr wear through internal flow-rate telemetry. Until then, we must rely on manual inspection and high-quality maintenance habits. If you want to elevate your coffee game today, my challenge to you is this: do not wait for a leak to happen. Pull your shower screen this weekend, inspect the gasket, and ensure your lever mechanism is gliding smoothly. You will be amazed at how much cleaner and sweeter your morning shots will taste.
The Hardest Lessons I Learned Servicing My Own Espresso Setup
Over the years of maintaining high-end gear, I have collected my share of battle scars and hard-earned wisdom. Here are the three most critical realizations that changed how I approach my morning brew:
- Metal-on-metal wear is unforgiving: Brass is a relatively soft metal. When you ignore a squeaking lever, you are actively grinding down the internal cams. It takes only a few months of dry operation to permanently deform these parts, leading to a sloppy lever feel that can only be fixed by purchasing a full rebuild kit.
- Chemicals are not a substitute for elbow grease: Relying solely on aggressive chemical backflushes to keep your group head clean is a lazy habit that ruins internal lubrication. A physical scrub of the shower screen and dispersion plate will always yield better tasting espresso without endangering your mechanical seals.
- Water hardness is the silent machine killer: You can lubricate your lever perfectly, but if you do not know how to tell if your water hardness is damaging your boiler, scale will eventually choke your water paths and cause your heating elements to fail prematurely.
The Dedicated Barista Maintenance Kit
You do not need a massive garage full of industrial tools to keep your setup pristine. Over my years of tinkering, I have whittled my maintenance kit down to these absolute essentials:
- Molykote 111 Silicone Compound: This is the gold standard for lubricating food-safe brass components. It is incredibly thick, water-resistant, and will not wash away during normal brewing cycles.
- A Premium Stubby Flathead Screwdriver: Ideal for removing your shower screen screw without stripping the soft brass head. It also fits perfectly inside tight countertops where a standard screwdriver cannot reach.
- A Brass Bristle Cleaning Brush: Unlike steel brushes which scratch and destroy group head chrome, soft brass bristles easily scrub away baked-on coffee oils from your screen and gasket track without leaving a scratch.
- The Ultimate Beginner Guide: If you are new to DIY servicing, I highly recommend reading up on mastering the art of home espresso to build your confidence before dismantling your daily brewer.
Keep Your Lever Gliding and Your Coffee Sweet
At the end of the day, maintaining your top-rated espresso machines is about preserving the joy of your morning ritual. When your machine runs smoothly, without screams, squeaks, or leaks, you can truly focus on the nuance of the bean and the beauty of the pour. Treat your equipment with the respect it deserves, and it will reward you with perfect extractions for decades to come.
Have you ever struggled with a squeaky lever or an espresso machine that felt a bit stiff? Let me know in the comments below!