How to Dial in Espresso Without Breaking the Bank on Beans
I still remember the crushing disappointment of my first Saturday morning with a real espresso setup. I had bought a beautiful bag of single-origin Ethiopian beans from my local roaster, eager to pull that legendary, blueberry-forward shot. Instead, I poured eight consecutive, sour, throat-burning extractions down the kitchen sink. By the time I managed something remotely drinkable, the bag was practically empty, my nerves were fried, and I had effectively thrown fifteen dollars directly into the garbage. We have all been there. Trying to master the art of home espresso can feel like a incredibly expensive trial-by-fire where your wallet takes the biggest beating.
The Real Cost of Dialing in Your Daily Shots
When you are learning how to adjust your grind size, dose, and yield, you are essentially sacrificing precious coffee to the espresso gods. If you are using premium, specialty beans for this setup process, you are burning through cash. But it does not have to be a financial nightmare. Today, I want to show you how to systematically dial in your machine using smart, budget-conscious techniques that preserve both your sanity and your coffee budget. By understanding how your equipment behaves, like how to tell if your grinder is retaining too much coffee between adjustments, you can stop guessing and start sipping.
Are you actually wasting half of every bag you buy?
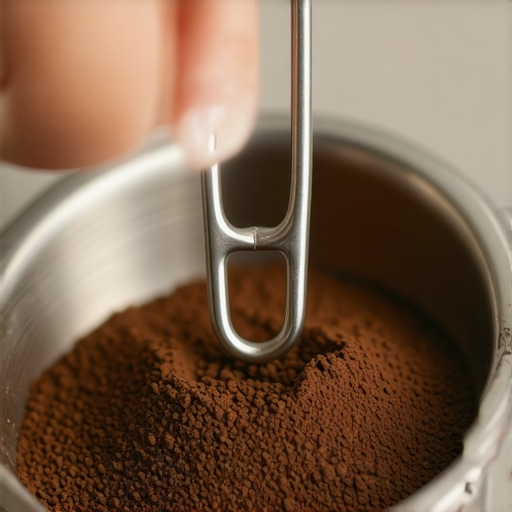
Let’s address the elephant in the kitchen. Many home baristas secretly worry that they lack the refined palate or the high-end gear needed to get great results quickly. Early on, I made the classic mistake of changing three variables at once—adjusting my tamping pressure, changing the grind size, and altering the shot time all in one go. It was pure chaos. According to coffee science experts at the Specialty Coffee Association (SCA), maintaining a strict control over your variables is the only scientific way to prevent extraction errors. When you change only one thing at a time, you radically cut down on the number of wasted test shots. Have you ever found yourself staring at a nearly empty bag of expensive beans, frustrated because your shots are still running way too fast? Let me know in the comments below, because you are definitely not alone. Once you get your routine down, you can even start experimenting with advanced tools, though you should always watch out for pitfalls like why your WDT tool is actually causing more channeling if used incorrectly. Let’s look at how we can get your shots tasting like liquid gold without emptying your bank account.
A Foolproof Step-by-Step Blueprint for Cost-Effective Dialing
The secret to saving money while finding your sweet spot is utilizing a cheap, dark-roast blend for your initial rough adjustments, rather than burning through twenty-dollar bags of artisanal beans. Think of your first phase like setting the boundaries on a sports field; you just need to get the ball in play. I remember a chaotic Saturday morning when I opened a brand new bag of expensive single-origin Kenyan coffee. Within thirty minutes, I had clogged my basket three times, sprayed coffee all over my kitchen counter, and wasted nearly half the bag. That was the day I realized I needed a smarter system. By using a cheap ‘burner’ bag of beans to find the transition point where my grinder goes from choking the machine to gushing, I saved my premium beans for the micro-adjustments that actually matter. Once you establish this baseline, you can safely switch to your specialty coffee to fine-tune the flavor profile.
Lock in Your Dose and Forget About It
When you are trying to find the perfect extraction, changing your dose weight is like shifting the goalposts mid-game. Choose a single weight—whether it is 18 grams or 20 grams—and stick to it religiously. To make sure you do not experience channeling at the edges of your filter basket, pay close attention to your preparation tools. Many home baristas struggle with uneven extraction because of their tamping style, which is why your tamper size actually matters for perimeter extractions. Keep your basket bone dry before grinding into it, as prep mistakes can ruin the shot before the water even hits the coffee. In fact, the problem with using a wet tamper on dry grounds is that it creates channels where water will bypass the coffee puck entirely, leading to a sour, under-extracted mess.
The Crucial 1:2 Brew Ratio Rule
For budget-friendly success, aim for a classic 1:2 brew ratio. If you put 18 grams of dry coffee in, aim for 36 grams of liquid espresso out in about 25 to 30 seconds. If your shot finishes in 15 seconds, your grind is too coarse and the water is racing through like a river through gravel. If it takes 50 seconds, your grind is too fine, acting like a brick wall. Adjusting your grind size is the only lever you should pull at this stage. Keep in mind that as you change these settings, you need to use high-quality barista gear to maintain accuracy. If you notice your extraction flowing unevenly or dripping only from one side, it is highly likely you are dealing with a leveling issue, or you may need to learn why your espresso shot is extracting faster on the left side to correct your technique. Keep your focus entirely on the relationship between time and yield before worrying about subtle tasting notes.
Purge Your Grinder to Prevent Ghost Adjustments
One of the biggest hidden budget killers is stale coffee trapped inside your machine. When you adjust your grinder to be finer, there is still a gram or two of the old, coarser grind sitting inside the chamber. If you pull a shot immediately, that leftover coffee will mix into your basket, giving you a false reading and tempting you to adjust the dial yet again. This is why learning how to stop your grinder from retaining coffee without a bellows can save you ounces of coffee every week. Always purge a tiny amount of beans through the system after making an adjustment so that your next test shot is actually representing your new grind setting.
The Hidden Trap of the Expensive Equipment Upgrade Cycle
Many home coffee lovers fall into the trap of thinking that a shinier, more expensive machine will instantly fix a bad espresso shot. We are constantly told that spending thousands on commercial-grade top-rated espresso machines for coffee lovers in 2025 is the only path to café-quality crema. In my experience, this is a complete myth. Your machine is simply a water pump and a heater; the real magic—and the real frustration—happens inside the basket and the grinder chamber. If your puck preparation is flawed, a high-end pressure profiling machine will only highlight those flaws rather than hide them. Upgrading your machine before mastering your workflow is the fastest way to feel disappointed with an even larger price tag.
Why does your perfect espresso shot suddenly taste like vinegar?
When you start diving into advanced espresso extraction, you will likely encounter the dreaded sour, chemical-like taste after doing what you thought was a thorough maintenance routine. A study by the Association for Coffee Science and Technology highlights that chemical descaling residues easily cling to the copper heating elements and silicone gaskets of home boilers. This explains why your espresso tastes like vinegar after cleaning if you do not run enough fresh water flushes through the system. If you rush this step, the lingering acid alters the pH level of your brewing water, stripping away the sweet, chocolatey notes of your expensive beans and leaving you with a harsh cup. Have you ever fallen into this trap? Let me know in the comments below.
Another nuance that seasoned baristas understand is how atmospheric changes affect your daily grind. If you dial in your grind perfectly on a dry Tuesday morning, those same settings might fail you by Friday afternoon when the humidity rises. Instead of constantly buying new accessories, investing your time in learning how to select the perfect coffee grinder for your brew and understanding its physical limits will save you hundreds of dollars in wasted coffee bag purchases over the course of a year.
Once you navigate the initial learning curve, your focus naturally shifts from surviving the dialing-in process to protecting your investment. If you are not careful, daily wear and tear will quietly degrade your cup quality. The secret to cafe-quality espresso at home isn’t just about owning the best gear; it is about maintaining it like a professional barista. This means integrating small, highly specific habits into your morning workflow that prevent mechanical failures before they even begin.
How do I maintain my home espresso setup over time?
To keep your setup performing at its peak, you must establish a strict maintenance hierarchy. The most common point of failure for domestic machines is calcification inside the boiler. According to water treatment studies from the Specialty Coffee Association, using water with an ideal mineral balance prevents scale buildup while ensuring optimal flavor extraction. If you neglect your water quality, you will eventually face expensive repair bills. I highly recommend learning how to tell if your water hardness is damaging your boiler before your heating elements burn out entirely. Additionally, daily cleaning should never be skipped. A quick backflush with water after your last shot of the day keeps coffee oils from baking onto your shower screen, ensuring your next extraction is fresh and sweet.
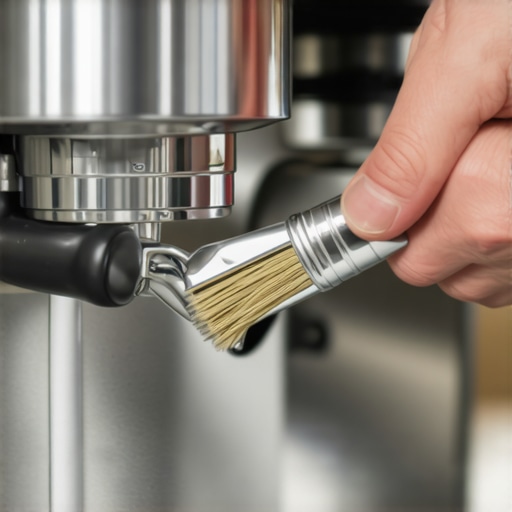
Beyond the internal plumbing of your machine, your grinding hardware also requires regular attention. Over time, coffee oils build up on the steel burrs, turning rancid and adding a stale, bitter flavor to your freshly ground beans. When I first started, I didn’t realize that my burrs were slowly wearing down. If you notice your grind consistency shifting or your motor struggling, you should understand how to swap your grinder burrs without losing your settings. For daily maintenance, a simple, dry stiff-bristled brush is your best friend to clear out the chute and grind chamber without introducing moisture.
The Future of Home Espresso Calibration
As we look to the future of home espresso, we are seeing a massive shift toward data-driven extraction. In the coming years, expect to see consumer grinders equipped with real-time laser particle analyzers that automatically adjust the burrs based on humidity, and smart portafilters that measure flow rate directly inside the basket. To stay ahead of this trend, you need to master your current manual tools first. I highly encourage you to try one advanced calibration tip tomorrow morning: purge exactly two grams of coffee through your grinder after making your first adjustment, and note the immediate improvement in shot consistency. Your palate, and your coffee budget, will thank you.
What Experts Won’t Tell You About Mastering Home Espresso
The biggest secret in the specialty coffee world is that expensive gear is often used to mask poor technique. When I first started, I assumed that buying a commercial-grade machine was the only way to avoid sour extractions. In reality, the most critical factor is consistency in your daily workflow. First, your grinder is far more important than your espresso machine; investing in a high-quality set of burrs will yield better results than a multi-thousand-dollar boiler upgrade. Second, temperature stability and puck prep are the silent partners of great flavor. If you ignore the physical dynamics of your coffee bed, even the most advanced pressure-profiling machine will channel. Lastly, stop chasing the ‘perfect’ recipe you saw online. Every coffee bean behaves differently based on its roast date and your local humidity, meaning your sense of taste is always the ultimate calibration tool.
My Essential Toolkit for Perfect Extractions
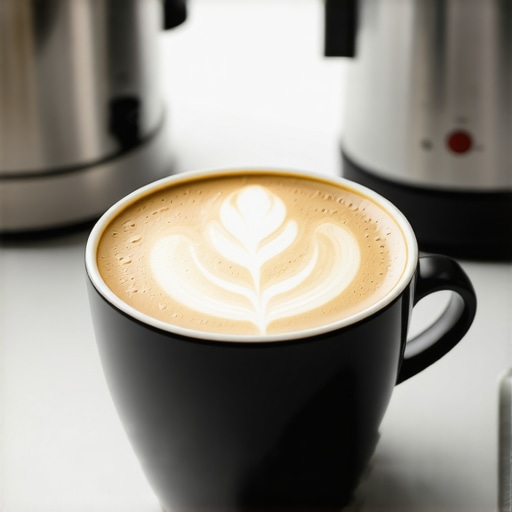
To stop wasting expensive beans and start pulling cafe-quality shots, you need a few highly reliable tools in your arsenal. I personally recommend starting with a proper grinder selection process; learning how to select the perfect coffee grinder for your brew is the single best decision you can make for your setup. Pair this with reliable, durable accessories rather than cheap plastic alternatives. Understanding choosing the best barista gear for coffee enthusiasts will help you select a heavy, correctly sized steel tamper and a responsive digital scale. If you are also a fan of milk-based drinks, do not settle for subpar froth; finding milk frothers that transform your coffee experience will elevate your lattes and cappuccinos to professional standards without cluttering your countertop.
Your Turn to Rule the Morning Routine
Now that you have the blueprint to dial in your setup without burning through your savings, it is time to put these techniques into practice. Home espresso does not have to be an intimidating, money-losing hobby. With a systematic approach, a focus on single-variable adjustments, and the right baseline equipment, you will soon be pulling sweet, balanced shots every single morning. Go ahead and purge those grinder burrs, lock in your dry dose, and enjoy the process of crafting the perfect cup.
Have you ever struggled with a shot that suddenly started running way too fast after just a few seconds? Let me know your experiences in the comments below!