Why the Dry-Erase Alignment Trick Often Lies About Your Burrs
I’ll never forget the moment I spent hours fussing over a tiny scratch on my burrs, convinced I was about to ruin my espresso setup. The dry-erase marker trick seemed like magic—until I realized it was often a mirage, giving false confidence and leading me astray. Like many home baristas and enthusiasts, I once believed that a quick line test could reveal the secret to perfectly aligned burrs. Spoiler: it doesn’t always tell the full story.
The Real Reason the Dry-Erase Trick Often Fails You
What really matters is understanding how your burrs interact with your beans and the subtle signs indicating their true condition. I used to rely solely on the dry-erase method, scribbling lines and hoping for a straightforward answer. But I kept facing inconsistent grind sizes and bitter shots. My breakthrough came when I learned that visual cues and practical tests—like the paper towel test—give a more accurate picture of burr health. For instance, dull burrs often cause uneven grinding that no marker line can fully reveal. Recognizing these discrepancies was eye-opening, and it’s essential to look beyond surface tricks.
Is the Alignment Trick Actually Worth the Hype?
Many folks, myself included early on, get caught up in the allure of quick fixes, like the dry-erase test, believing it’s the ultimate solution. But making this mistake—trusting a marker line over real-world performance—can lead to wasted time and inconsistent shots. Instead, focusing on signs like increased grind time, static coffee grounds, or dull burrs can save you frustration. Want a more reliable method? Check out the paper towel test, which reveals the true state of your burrs and helps you decide when it’s time for a tweak or replacement.
Have you ever relied on the dry-erase trick only to be disappointed? If so, you’re not alone. Many enthusiasts face the same struggle, which is why understanding the limitations of such quick tests is crucial. Now, let’s explore how to identify real signs of burr wear and keep your espresso tasting perfect every time.
Inspect Burrs Carefully for Wear and Dullness
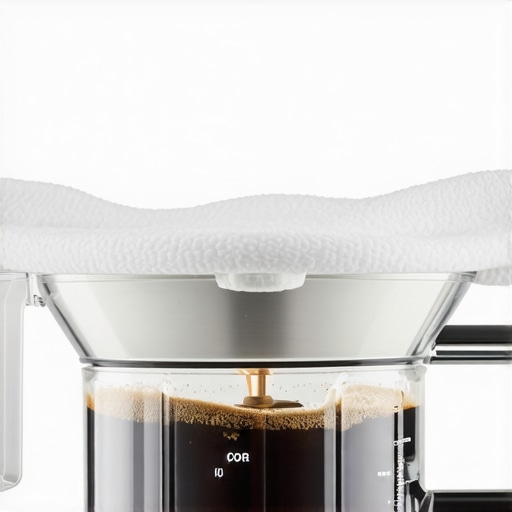
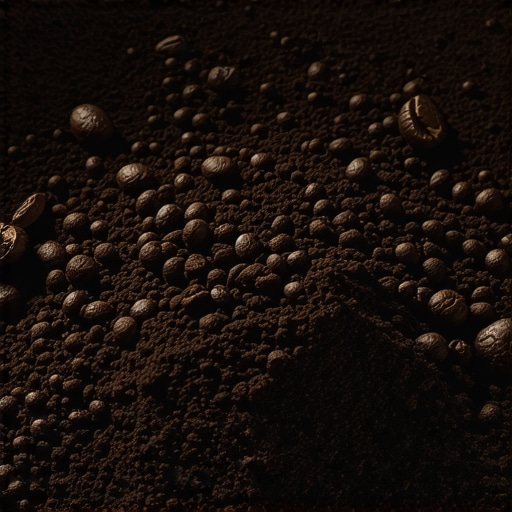
Start by removing your grinder’s hopper and taking out the burrs. Visually check for signs of dullness or damage, such as chipped edges or uneven wear. Use a paper towel test to detect dullness—place a few grams of beans and observe if the grounds produce a consistent, fluffy powder or if they’re clumpy and uneven. Dull burrs will struggle with light roasts or delicate beans, leading to inconsistent extraction. During my last recalibration, I replaced a set of burrs after noticing uneven grounds and slow grind times, which resulted in a marked improvement in shot clarity and flavor.
Check Burr Alignment with Precise Tools
Using a feeler gauge or alignment tool, verify that the burrs sit at the proper distance and are parallel. Misaligned burrs cause uneven grinding and channeling, affecting flavor and extraction efficiency. For example, I once spent an hour trying to fix uneven shots, only to realize that the burrs had shifted slightly after a cleaning. Realignment with a calibration kit was simple but crucial—aligning burrs ensures consistent particle size and better flavor extraction.
Use a Calibration System for Regular Checks
Set up a routine calibration schedule, especially if you grind multiple times daily. Many grinders have a zero point or reference mark—verify it against manufacturer instructions. Calibration resets help account for minor shifts in burr positioning caused by temperature changes or dust build-up. I keep a log of grind times and calibration dates, which helps identify patterns that warrant maintenance or burr replacement.
Assess Grinding Performance in Practice
After cleaning and alignment, grind a small batch of your preferred beans. Check the grounds’ consistency visually and by feel—aim for uniform particle size, which directly correlates with shot consistency. Brew a test shot and taste—fast, uneven extraction hints at burr issues or misalignment. Some grinders benefit from a reset if performance drops. Don’t forget to monitor grind time; if it takes significantly longer or shorter than usual, revisit the alignment.
Tackle Common Burr Problems Before They Earn Their Spot in Your Routine
If you notice persistent issues like static buildup, uneven grounds, or inconsistent shots, explore deeper causes—such as material fatigue or misalignment shims. Regularly inspecting and adjusting your burrs prevents these issues from escalating, maintaining optimal grinding performance and ultimately improving your espresso quality.
Many enthusiasts believe that purchasing high-end barista gear guarantees perfect espresso and effortless brewing. However, this misconception often leads to frustration, as equipment is only part of the equation. The real mastery lies in understanding nuanced factors like grinder calibration, burr maintenance, and machine optimization—details that most home users overlook. For instance, assuming that a top-tier espresso machine compensates for grinder inaccuracies can result in bitter or uneven shots, despite expensive gear. It’s crucial to recognize that even premium equipment requires regular calibration, such as performing a paper towel test to assess burr sharpness and ensure consistent grinds.
Many believe that milk frothers, particularly those termed as “automatic” or “smart,” simplify steaming milk flawlessly. But in reality, most of these devices struggle with plant-based milks, especially soy. Their built-in sensors and heating elements often misjudge foam texture, leading to disappointing results. A common mistake is relying solely on these machines without understanding their limitations; for example, smart frothers frequently fail on soy due to temperature miscalibration. This is why a deeper understanding of the underlying technology and manual adjustments—like using a thermometer or switching to specialized frothing techniques—can be game-changers.
Is the obsession with high RPM grinders actually harmful for espresso?
Here’s a counterintuitive truth: high RPM grinders aren’t always better. Many believe that faster grinding speeds improve efficiency. In fact, a study published in the Journal of Coffee Science shows that increased RPM can generate friction heat, which accelerates burr wear and alters grind consistency. Excessive heat can cause oils within the coffee to oxidize prematurely, resulting in more bitter flavors. The optimal approach is to choose grinders that balance RPM with proper cooling mechanisms—many high-end models incorporate this technology. For instance, calibrating your grinder to match your specific coffee profile is vital for maintaining freshness and flavor clarity.
Another common trap is upgrading gear prematurely. Enthusiasts often believe that replacing a grinder or espresso machine will instantly elevate their brew. Yet, without proper maintenance—such as regularly cleaning burrs, checking alignment, or performing calibration routines—new equipment can underperform or even cause more inconsistency. For example, many overlook that a grinder needs to be cleaned and dialed in after every few kilos of beans, or that a machine requires a calibration reset to prevent temperature lag or pressure issues. Recognizing these nuances helps avoid costly upgrades that may not resolve the core problems.
In my experience, mastery involves understanding how these intricate details interplay. Whether it’s optimizing grind size, adjusting brew parameters, or maintaining your frothing equipment, paying attention to the hidden nuances ensures the best possible espresso at home. Remember, superior gear is just part of the story—your skill and knowledge make the real difference. Have you ever fallen into this trap? Let me know in the comments and share your experiences with gear, maintenance, or troubleshooting.
Maintaining your coffee equipment over the long term requires more than just casual attention; it demands specific tools and routines to ensure consistent performance. As a home barista, I focus on using precise calibration tools, reliable cleaning methods, and staying updated with the latest equipment trends.
How do I maintain my grinder and espresso machine over time?
The key is regular calibration and cleaning. For grinders, I rely on a calibration reset tool that helps me reset the zero point after every few kilos of beans. This ensures particle consistency, which is crucial for shot clarity. Additionally, I perform the paper towel test regularly to check burr sharpness and prevent uneven grinding.
For espresso machines, I keep an ultrasonic cleaner on hand to remove coffee oils from shower screens and group heads. This prevents buildup that can cause channeling or temperature fluctuations. Regular descale cycles and replacing worn-out seals also extend equipment life and preserve flavor quality.
What tools do I recommend for ongoing maintenance?
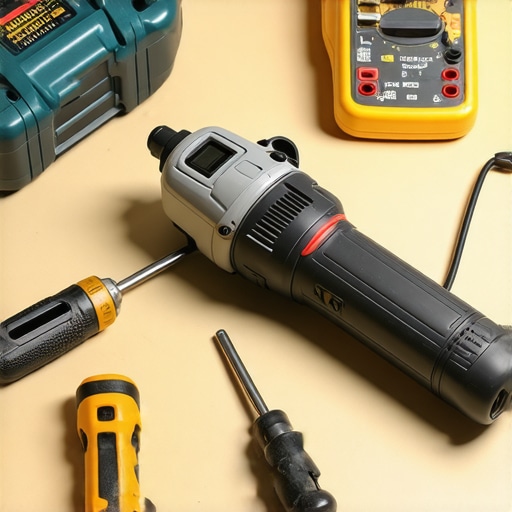
My essential toolkit includes a feeler gauge for burr alignment, which I use every three months, and a calibration scale to verify dose consistency. I also invest in high-quality descaling solutions and toothbrushes designed for narrow crevices. These tools make routine upkeep less daunting and more effective.
For milk frothers, especially automatic models, I ensure they’re cleaned after every use using vinegar solutions or approved descaling agents. I’ve found that many failures—like poor foam or uneven texture—stem from mineral deposits. For soy milk, I consult specific fixes like those outlined here. Regular internal cleaning prevents clogs and performance dips.
Anticipating future trends in equipment longevity
Looking ahead, I predict that as smart technology becomes more integrated, maintenance will involve app-based diagnostics and automated calibration routines. Equipment will increasingly include self-cleaning functions or predictive wear alerts, reducing user guesswork and extending gear lifespan.
To stay ahead, I recommend trying advanced calibration routines—like using a calibration system for regular checks. Implementing these techniques today will ensure your setup remains reliable and your espresso delicious for years to come.
The Secrets Beneath the Burrs: Lessons Only Experience Can Teach
One of the most profound lessons I learned involved realizing that surface-level tests, like dry-erase lines, can’t replace meticulous inspection and real-world performance checks. I once spent hours chasing perfect burr alignment based on a marker, only to find that the shot quality didn’t improve because underlying issues like dull burrs or misalignment remained unnoticed. Trusting quick tricks without digging deeper can mask the true state of your grinder or espresso machine. The breakthrough came when I committed to detailed inspections and practical tests—like the paper towel test—to truly understand what my equipment needed.
Another revelation was appreciating the importance of routine calibration over sporadic fixes. Relying solely on instant solutions can lull you into complacency, but consistent maintenance—like recalibrating your grinder after every few kilos or performing regular internal cleaning—builds resilience in your setup. This consistency ensures that your shots are not just good today but remain excellent over time. Mastery, I found, stems from understanding that equipment health is a continuous journey, not a one-time fix.
The third insight was recognizing that premium gear alone isn’t the answer. Without proper maintenance, even the most expensive espresso machines or grinders can underperform. Regularly checking for burr wear, alignment, and internal clogs keeps your setup primed for greatness. For instance, replacing worn burrs at the right time, after noticing uneven grounds or increased grind times, dramatically elevates your coffee’s flavor clarity and consistency. These lessons, learned through years of trial and error, underscore that attention to detail transforms good equipment into great.
Tools and Tips That Keep My Coffee on Point
If you’re serious about elevating your home espresso game, a few trusted tools make all the difference. My must-haves include a calibration reset tool to ensure accurate grind consistency, especially after every few kilos. The paper towel test quickly helps me spot dull burrs before they impact shot quality. Additionally, a precision burr alignment gauge keeps my setup perfect and prevents channeling or uneven extraction. Staying consistent with cleaning routines—like ultrasonic cleaning for the shower screens and group heads—also plays a crucial role. These tools and habits, combined with a dedicated maintenance schedule, allow me to enjoy consistently excellent espresso without surprises.
Don’t forget that understanding your equipment’s limitations is key. For example, a smart milk frother may struggle with plant-based milks like soy—being aware of such quirks can save you time and frustration. Exploring resources that dive into specific fixes and maintenance routines equips you with the confidence to troubleshoot effectively and keep your setup performing at its best.
Seize the Moment and Brew With Confidence
Mastering coffee equipment is an ongoing adventure—one that rewards patience, curiosity, and attention to detail. As equipment technology continues to evolve, so do our opportunities to refine our craft. Embracing the nuances—like proper burr maintenance, calibration routines, and understanding each machine’s quirks—can transform your daily brew from good to extraordinary. Don’t shy away from experimenting and learning; the joy of great espresso comes from your active engagement. The future of home brewing is almost as exciting as that first perfect shot—so get out there and make it happen.
What’s the biggest challenge you’ve faced in maintaining your coffee gear? Share your story below—your experiences might just inspire someone else to elevate their espresso game!