Why Your Espresso Machine Is Leaking From the Bottom and How to Fix It
Ever had that sinking feeling when you turn on your espresso machine and notice a puddle forming underneath? It’s more common than you’d think, and honestly, it’s enough to make even the most seasoned home barista want to toss the whole thing out the window. I remember the first time I faced this issue—there I was, eagerly brewing my morning shot, only to be greeted by a small lake on my countertop. Frustrating? Absolutely. But what I didn’t realize then was that this leak was a sign of something fixable, not a sign to replace my beloved machine.
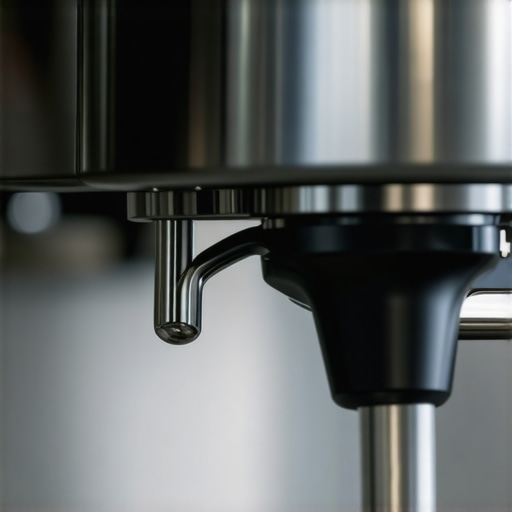
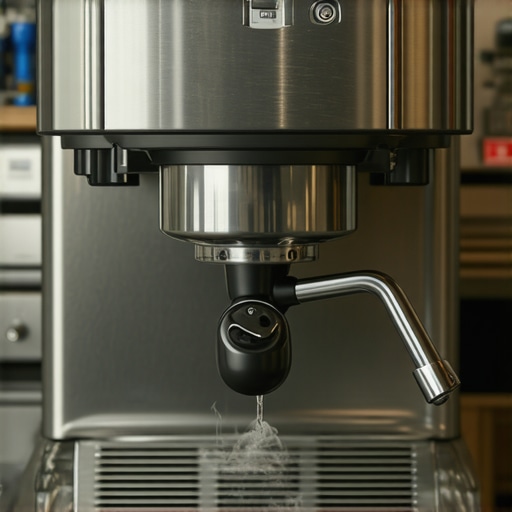
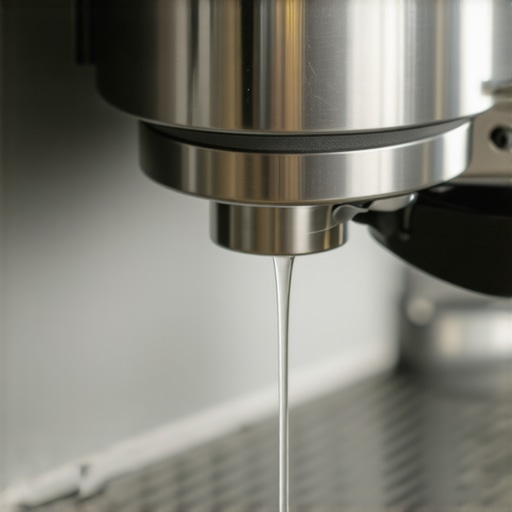
Dealing with the telltale drip: Your first step towards a happy, leak-free espresso experience
In this post, I’m going to walk you through why your espresso machine might be leaking from the bottom and, more importantly, how you can fix it yourself. This isn’t just about patches and temporary fixes—it’s about understanding what’s really going on inside your machine, so you can enjoy your espresso without worry.
Is a leak really worth fixing or should I just replace my machine?
Trust me, I was skeptical at first too. I thought, “Is this leak serious enough to bother with?” Well, early on, I ignored a small drip—thinking it was just a minor seal or a loose screw. That mistake turned into a bigger problem when the leak worsened, and I ended up with water damage and costly repairs. According to coffee appliance experts, many leaks are caused by simple component failures that are easy to fix, saving you hundreds in replacement costs.
If you’re tired of watching your kitchen turn into a mini lakeside, you’re in the right place. We’ll cover the common causes of bottom leaks and arm you with the know-how to fix them fast. Ready to regain control over your espresso setup? Let’s dive in.
Identify the Leak Source to Stop the Drip
First, carefully inspect your machine to locate where the water or coffee is escaping. Turn off the machine and allow it to cool. Check the water reservoir, boiler seams, portafilter, and drain valves. For instance, I once found a tiny crack in the boiler seal after noticing water pooling near the drip tray. Replacing seals is often straightforward and can be done with minimal tools. For a comprehensive guide on sealing issues, see this DIY leak fix.
Disassemble the Machine Carefully to Access Components
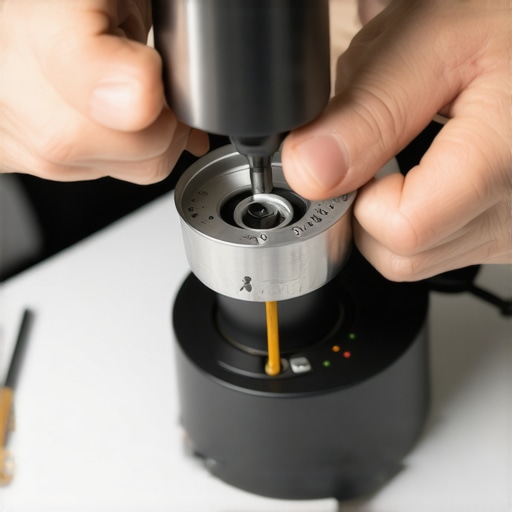
Disconnect the machine from power to prevent electrical hazards. Remove the drip tray, water reservoir, and any removable panels. Use a screwdriver to carefully unscrew panels, paying attention not to strip screws. I remember a time I disassembled my machine, much like opening a complex coffee grinder, to replace a worn gasket. Patience is key—work slowly and keep track of screws and small parts. If your machine has a stubborn screw or tight-fitting parts, a special tool or technique may be necessary.
Replace Bad Seals, Gaskets, or O-rings
Leaks often happen at seals or gaskets that have worn out over time. Remove the faulty seal using pliers or a flat-head screwdriver, then install a new one. Make sure the replacement is compatible with your model; ordering from the manufacturer ensures fit and durability. I once replaced an O-ring in my espresso machine’s brew group, which stopped a persistent leak. Consider lubricating new gasket surfaces with food-grade silicone if recommended. For detailed guidance, check this oil-free gasket replacement.
Clean and Reassemble the Machine Precisely
Before reassembling, clean mating surfaces to ensure a tight seal. Remove any residual debris or old gasket material. Reassemble components in reverse order, tightening screws evenly to avoid warping or misalignment. During my own repair, I took meticulous notes and pictures to ensure I reassembled everything correctly—which saved me from leaks caused by uneven gasket seating. Proper reassembly prevents future leaks and extends your machine’s life. For tips on cleaning the interior channels, see this cleaning process.
Run a Test to Confirm the Fix
After reassembly, refill the water reservoir, power on the machine, and run a short brew cycle. Observe carefully for any leaks. If water seeps from the same spot, double-check your gasket placement or seal integrity. Remember, sometimes a small misalignment causes persistent leaks; reseating the gasket may be necessary. My first attempt to fix a leak involved reseating the portafilter gasket multiple times—that finally solved the problem. Don’t rush this step; patience ensures a leak-free brew. For troubleshooting persistent leaks, consult the detailed repair here.
Maintain Your Machine to Prevent Future Leaks
Regular cleaning and inspections help prevent leaks. Descale your machine periodically, especially if you notice mineral buildup. Check seals and gaskets every few months, replacing worn ones proactively. For stubborn mineral deposits, consider a thorough descaling routine as explained in this descaling guide. Keeping components dry and free of debris preserves seal integrity, reducing leak risks. Remember, well-maintained equipment means fewer surprises in your morning routine—and fewer lakes sprouting under your espresso machine.
Many coffee enthusiasts believe that upgrading to the latest espresso machine or grinder automatically guarantees perfect shots. However, this misconception overlooks the nuanced factors that truly influence extraction quality. For instance, people often assume that high-end gear will compensate for poor technique or inconsistent maintenance, but in reality, even the most advanced equipment needs proper calibration and care to perform optimally. Overlooking these details can lead to persistent issues like under-extraction or channeling, which can’t be solved by gear alone.
Is the Myth That More Expensive Equipment Means Better Coffee Accurate?
In my experience, price tags don’t always reflect practical performance. Many novice baristas get seduced by flashy features or brands without understanding the importance of grinder burr alignment or thermal stability. For example, a common mistake is neglecting to properly calibrate grinders—assuming factory settings are sufficient. This can cause inconsistent grind sizes and static buildup that affects dose accuracy. Advanced users know that regular calibration and maintenance—such as checking burrs or cleaning static-prone components—are critical for consistent espresso quality. You can find practical tips on these topics in guides like leak fixes for group heads.
Another misconception is that milk frothers are all created equal. Many believe any wand can produce velvety microfoam, but the reality is that different frothers require specific techniques and maintenance routines. For instance, cheaper steam wands often struggle with scalding milk or spitting water if not cleaned regularly. A common mistake is ignoring the importance of descaling and inspecting the steam tip, which can cause uneven steaming. Advanced enthusiasts understand that pre-heating milk containers properly and using technique adjustments make a significant difference, as discussed in steam wand maintenance.
What Do Beginners Usually Miss About Grinder Static and Consistency?
One overlooked nuance is static electricity in grinders, which seems minor but significantly impacts shot consistency. Static causes coffee grounds to cling to the chamber, leading to uneven doses and disruption during tamping. It might appear trivial, but the effect on extraction is real. Many home baristas don’t realize that static can be controlled through proper humidity management or RDT (Ross Droplet Technique). A common trap is assuming that static is just a feature of lower-quality grinders, but even premium models can exhibit static issues if not maintained properly—something detailed in static control techniques. Regularly cleaning grinder parts and considering ambient humidity can help mitigate this problem effectively.
Furthermore, the misconception that home espresso machines are simple to operate often leads beginners to overlook the critical step of grinder calibration. Small adjustments to grind size and dose can mean the difference between an underwhelming shot and a crema-rich espresso. Advanced users know that calibration isn’t a one-time setup but an ongoing process—tied to the freshness of beans, humidity, and even ambient temperature. For experts, consistent calibration routines are part of the secret to brewing like a pro at home.
In summary, piercing through these myths and understanding the subtle nuances can elevate your coffee game significantly. Remember, even the best gear needs proper attention, calibration, and technique to shine. So, the next time you upgrade a component, consider whether it’s the root cause of your issues or if hidden details might be the real solution. Have you ever fallen into this trap? Let me know in the comments and share your experiences!
,
How do I keep my coffee equipment in top shape over time?
Maintaining your barista gear is crucial for consistent quality and longevity. I rely on a set of specific tools and methods that have proven effective in my own setup. For grinders, I swear by a moisture-sensing grinder like the 2026 model, which proactively adjusts for static buildup and static-related clogs—topics I explore in detail here. Regularly running a dedicated grinder burr cleaning routine with a 5kg beans bump helps settle burrs, reducing uneven grind sizes that can affect extraction. I also use a calibrated smart scale (like the 2026 version) to fine-tune shot flow rates; details on fixing flow inconsistencies are available here.
For espresso machines, daily inspection and weekly descale sessions prevent mineral buildup. I habitually check seals and gaskets, replacing them if I notice any signs of wear—it’s simpler than most think, and effective maintenance saves countless headaches. To ensure optimal boiler performance, I follow troubleshooting guides like this one here. When it comes to milk frothing, keeping your wand clean and descaled can prevent scalding or spitting. I personally use a steam wand cleaner kit after every few uses, which significantly improves microfoam quality and reduces buildup.
Taking care of your equipment also means applying the right techniques during use. For example, pre-heating parts with a smart home hack (check out these tips) lessens thermal stress and prolongs component life. As I see the trend moving, I believe integrating smart sensors to monitor wear and predictive maintenance software will revolutionize how we upkeep our gear, making it as simple as checking an app alert.
Why does continuous maintenance matter for brewing excellence?
Consistent maintenance ensures your equipment operates at peak performance and prevents costly repairs or replacements. For example, neglecting a tiny leak caused by worn seals can escalate into water damage. To avoid this, I recommend scheduling monthly inspections and using specific tools like a gasket replacement kit, which simplifies repairs. Like a finely tuned motorcycle, your coffee gear needs regular tuning to deliver the best shots. If you want to streamline your workflow, consider implementing a quick basket scrub routine—learn more about this here.
Future trends seem promising — I predict emerging AI-driven sensors that can detect internal component wear, alerting you before a failure occurs. This proactive approach will minimize downtime and maximize your brewing uptime. Meanwhile, developing a solid maintenance routine with specialized tools remains essential now. So, why not try incorporating a calibrated smart scale into your system this week? It’s an immediate upgrade that pays off in precisely dialed-in shots and long-term savings.
The Hidden Lessons Behind Leaks and More
Over time, I realized that dealing with leaks or inconsistent shots isn’t just about quick fixes; it’s about embracing a deeper understanding of my equipment’s quirks and behaviors. The hardest lesson I learned was that many issues stem from overlooked details—like static in grinders or improper gasket installations—that seem minor but have a significant impact on quality. Recognizing these nuances has transformed my approach from reactive troubleshooting to proactive mastery, and it’s made every espresso experience more satisfying.
Another insight was the importance of continuous learning. Each repair or tweak revealed a new layer of complexity, pushing me to explore beyond surface-level solutions. For instance, mastering static control with humidity management or knowing how to precisely reseat a gasket prevented recurring leaks and downtime. No upgrade or expensive tool can replace this intimate familiarity with the machine’s subtle signals—it’s a skill that elevates your craft and ensures longevity of your gear.
The most valuable lesson? Patience and attention to detail outperform shortcuts every time. Taking the time to clean thoroughly, check alignment, and verify parameters fosters a sort of internal dialogue with your machine. This mindfulness not only prevents problems but also deepens your appreciation for the craftsmanship involved in home espresso. Remember, true expertise is built on small, deliberate steps—champion those habits, and you’ll keep your system running smoothly far longer than just fixing symptoms as they appear.
My Toolbox for Coffee Confidence
For anyone serious about their coffee equipment, I highly recommend turning to certain tools and guides I trust. The 2026 Smart Scale isn’t just for measuring—it helps you develop a tactile sense of shot flow, making calibration more intuitive. For cleaning stubborn residuals, the 30-second static fixer is a game-changer, simplifying a process that used to take me minutes. When troubleshooting leaks, I turn to the DIY guide for group head leaks—it’s comprehensive without being overwhelming.
Furthermore, I value resources like the pro tips for dialing in ultra-light roasts. They remind me that even with top-tier gear, mastery comes from understanding how to adapt to different beans, roast levels, and environmental conditions. This holistic approach turns routine maintenance into opportunities for improvement, ensuring your equipment delivers consistent, high-quality shots every time.
Embrace Your Craft with Confidence — The Future Is Bright
There’s something truly rewarding about seeing your equipment perform flawlessly, and with consistent care and curiosity, that sense of mastery only grows. The journey from troubleshooting to tuning is ongoing, and each lesson learned reinforces that you’re more than just a home barista—you’re a skilled craftsman honing your skills day by day. The future of home espresso is full of exciting innovations—smart sensors, AI-guided calibrations, and smarter maintenance routines—but nothing replaces the satisfaction of knowing your gear intimately and caring for it diligently. Keep experimenting, stay curious, and trust that each small improvement builds toward extraordinary coffee experiences.
What’s one subtle detail you’ve discovered that made a big difference in your setup? Share your insights below—I’d love to hear your story!