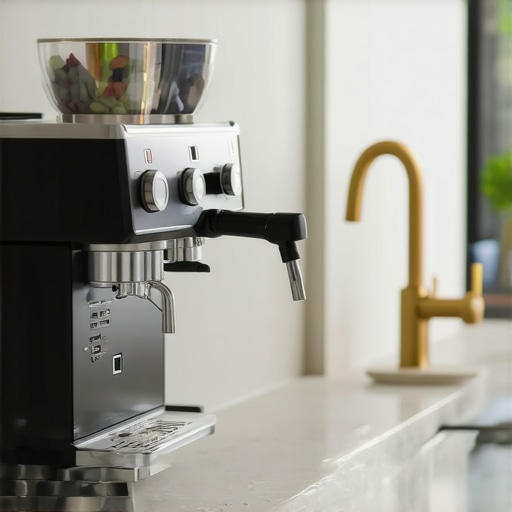
How to fit a plumbed-in machine in a rental apartment
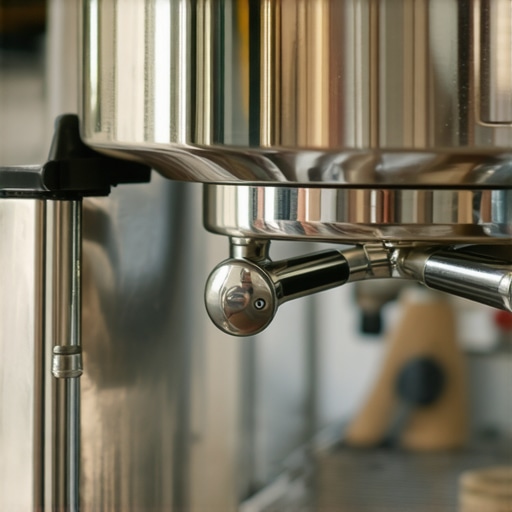
I spent three hours staring at the underside of my kitchen sink, clutching a T-valve and a sense of impending doom. I had just upgraded to one of those gorgeous, commercial-grade top-rated espresso machines, the kind that demands a direct water line to thrive. Then it hit me: my landlord considers a Command hook to be a structural violation. I’d spent my savings on a dream machine only to realize I was terrified of losing my security deposit. It was a classic beginner mistake—buying the engine before checking if the garage had a door. Have you ever looked at a pro-level machine and felt that same pang of ‘landlord anxiety’? If so, you aren’t alone, and I promise you don’t need to reach for a power drill to get that endless steam power. Today, we are going to walk through the exact setup I used to bypass permanent plumbing using a 100% reversible, non-invasive system that will keep your espresso flowing and your rental agreement intact.
The Stealthy Approach to Direct Water Lines
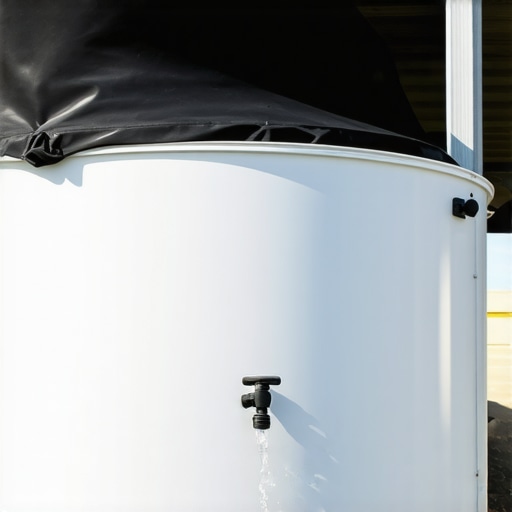
The biggest hurdle is usually the countertop. Most people think ‘plumbed-in’ means ‘hole in the granite,’ but that is a total myth. My early failure was trying to figure out how to hide a 1/4-inch hole with a strategically placed plant. Spoiler alert: it doesn’t work. Instead, I discovered that you can actually build a custom water reservoir for a plumbed-in machine using a 5-gallon jug and a Flojet pump. This setup mimics the pressure of a city water line without ever touching your pipes. It is the perfect solution for anyone trying to set up a dedicated coffee station in a narrow hallway or a cramped kitchen where the sink is too far away. According to a recent industry report by the National Coffee Association, the demand for professional-grade home brewing equipment has seen a double-digit increase since 2020, leading to a whole new world of ‘renter-friendly’ plumbing hacks that were once reserved for coffee carts.
Is a Plumbed Setup Actually Worth the Hassle?
You might be wondering if you should just stick to a pour-over reservoir and call it a day. I used to think the same until I realized how much the constant refilling was messing with my workflow and temperature stability. When you aren’t worried about the tank running dry mid-shot, you can focus on the fun stuff, like mastering the art of home espresso. Plus, using an external jug allows you to control your water chemistry perfectly. I highly recommend you learn the easy way to test your machines water hardness at home before you hook everything up, because once that line is live, you want the water to be as pure as your shots. We’re about to dive into the gear you’ll need to make this happen without calling a plumber or losing your deposit.
Gather the Gear Your Landlord Does Not Need to Know About
Gathering the right parts is like assembling a puzzle where the pieces actually fight back if you do not treat them right. You need three main components: a 5-gallon water jug, a demand pump, and a small accumulator tank. Think of the demand pump as the heart of the system; it only beats when the machine asks for water. I learned the hard way that without an accumulator, the pump behaves like a caffeinated jackhammer. One night, I forgot to secure a hose, and the pump kicked on at 3 AM to maintain pressure. The vibrating thump-thump-thump against the cabinet wall sounded like someone was trying to break in with a sledgehammer. My neighbors were not amused, and I spent the next morning figuring out how to quiet down a noisy rotary pump and its external cousins to keep the peace.
The Pump That Acts Like a Heartbeat
The most popular choice for this setup is a standard demand pump. These are designed to push water until a certain pressure is reached, then stop. When you are choosing the best barista gear for coffee enthusiasts, look for a pump that is food-grade and rated for at least 30 to 40 PSI. This mimics the line pressure of a standard city water connection. If you hear the pump cycling every few seconds even when the machine is idle, it is a massive red flag. This usually means there is a tiny leak or air trapped in the line, which is a primary reason why your espresso machine pump runs non-stop. Always use John Guest fittings; they are the Legos of the plumbing world and allow you to snap lines together without any permanent soldering or messy gluing. 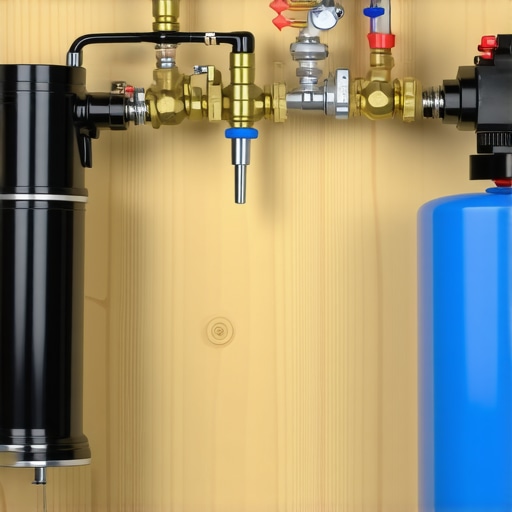
Smooth Out the Flow with an Accumulator Tank
An accumulator tank is a small pressurized vessel that holds a reserve of water and acts as a buffer. Without it, your espresso machine’s internal pump and the external demand pump will engage in a violent tug-of-war, causing pressure spikes that can ruin your pre-infusion. By adding an accumulator, the pump fills the tank, and then the tank provides a steady, silent stream to the machine. This is crucial if you have spent time learning how to select the perfect coffee grinder for your brew and want to ensure that every other variable in your shot is locked down. Steady pressure means steady extraction, period.
Connect the Dots Without a Flood
Once the pump and accumulator are in place, the final step is the connection to the machine itself. Most high-end machines come with a braided steel hose, but do not just screw this directly onto the pump. Use a pressure regulator in between to avoid blowing out internal valves. I once skipped this and watched my pressure gauge bounce around like a heart rate monitor during a sprint. Also, before you tuck everything behind your top-rated espresso machines, double-check every connection point. It is vital to understand how to check if your portafilter gasket is actually sealed and ensure your plumbing seals are bone dry. A slow drip inside a cabinet can rot the wood before you even smell the mildew. Wrap every threaded male fitting with three to four passes of blue Teflon tape to ensure a watertight seal that stays that way.Now that you have got the plumbing sorted, let us talk about the biggest lie in specialty coffee: the 24-hour freshness rule. Everyone tells you to buy beans that were roasted yesterday, but that is often the quickest way to end up with a cup that tastes like lawn clippings. In my experience, and backed by the Specialty Coffee Association (SCA), most beans actually need a degassing period of at least 5 to 14 days to allow carbon dioxide to escape. If you brew too early, those bubbles create turbulence in the puck, which is exactly why your freshly roasted beans are making your espresso taste like grass. You are not tasting the bean; you are tasting the chemistry of trapped gas. Another nuance that separates the pros from the hobbyists is the sink shot. I used to get so frustrated that my first pull of the morning was always a disaster, even when my settings had not changed. It took me months to realize that the stale grinds sitting in the grinder chute from the day before were the culprit. Understanding why the first shot of the day is always a throwaway will save your sanity and your milk. If you are using a grinder with high retention, you must purge a few grams to reach the fresh stuff.
Why Your Shot Extraction Time Changes Every Single Day
If you have ever dialed in the perfect 30-second shot on Monday only to have it run in 20 seconds on Tuesday, you are not crazy. Your kitchen humidity is a living variable. Coffee beans are hygroscopic, meaning they suck moisture right out of the air. On a rainy day, the beans swell, requiring a coarser grind. This is why your shot extraction time changes every single day, and why you cannot just set it and forget it. I have seen people blame their top-rated espresso machines for inconsistency when the real culprit was a window left open overnight. 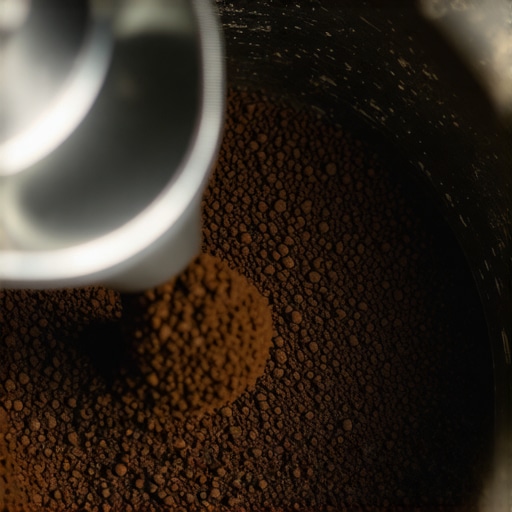 One final trap to avoid is the aggressive descaling nightmare. We are taught that scale is the enemy, but rushing a descale on an older machine can dislodge a large flake of calcium that ends up clogging your gicleur. This is the main reason why your coffee tastes like vinegar after descaling or why your flow stops entirely. It is often better to prevent scale with the plumbing system we discussed earlier than to try and nuke it later. Have you ever fallen into this trap and spent a whole weekend taking your machine apart? Let me know in the comments. To truly improve your workflow, you should also look into the move for better espresso distribution without fancy tools to keep your shots level and clean. If you are using new equipment, do not forget how to properly season new steel burrs for better consistency, as they need a few pounds of coffee through them before they truly settle. Keeping these variables in mind is what takes you from being a person with a machine to a home barista with a craft.Once you have the plumbing and the beans locked in, the real test of a home barista begins: the long-term maintenance of that beautiful machinery. I used to think that as long as it turned on and pushed water, everything was fine. I was wrong. I eventually realized that ignoring the internal cleanliness of the group head is like never changing the oil in a sports car. This is precisely why your machine needs a backflush every single week to prevent rancid oils from tainting your shots. I personally use a high-quality backflush detergent and a blind basket every Sunday night. It is a meditative ritual that ensures my Monday morning latte doesn’t taste like a burnt rubber tire. If you are using a machine with a classic lever setup, you must also learn how to properly lubricate your E61 group head cam because that satisfying mechanical ‘click’ will eventually turn into a grinding squeal if left dry.
The Maintenance Habit That Saves Your Wallet
Beyond the group head, your steam wand is a playground for bacteria if you aren’t careful. A quick wipe and purge are standard, but over time, milk solids can migrate up the pipe. I found the one way to fix a clogged steam wand without chemicals is a simple, deep soak in hot water mixed with a specialized organic milk cleaner. This is much better than poking it with a needle, which can scratch the internal finish. When you are choosing the best barista gear for coffee enthusiasts, always invest in a dedicated set of microfiber cloths specifically for the wand. It sounds overkill until you realize that how to stop using a wet cloth on your steam wand is actually a secret to keeping the chrome from pitting. According to the technical documentation from La Marzocco Home, a failure to replace your group head gasket every six to nine months is the leading cause of pressure loss and messy leaks. Don’t wait for a failure to act. 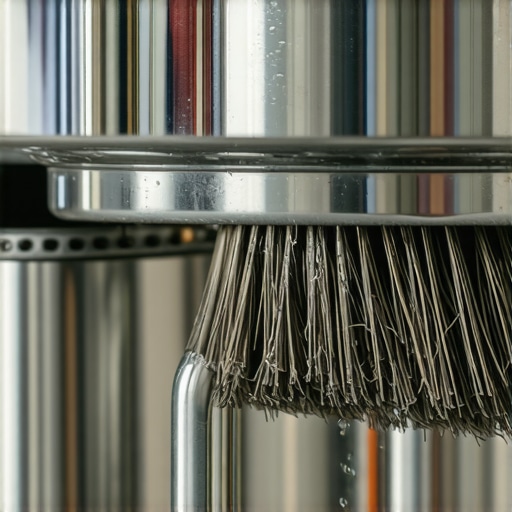
How do I keep my gear running for a decade?
The answer is a mix of prevention and precision. For your grinder, consistency is everything. I recommend taking the time to learn the trick to finding the true zero point on your grinder so you aren’t guessing when you swap between roast levels. If you notice your shots are suddenly sour and thin despite your settings, it is time to learn how to tell if your espresso grinder burrs are dull. I predict that in the next few years, we will see a massive shift toward ‘smart’ maintenance, where machines use internal sensors to detect scale buildup in real-time, effectively ending the guesswork of descaling. Until then, we have to stay diligent. If you haven’t done it yet, my challenge to you this week is to pull your shower screen off and give it a deep soak; you will be shocked at what is hiding up there. For more help with your setup, you can always visit our contact us page or review our privacy policy.
The Hardest Lesson I Learned About Espresso Consistency
After years of tinkering, I realized that the best gear in the world is useless if you do not respect the invisible variables. My lightbulb moment came when I stopped blaming my machine and started looking at my workflow. For instance, I used to ignore the move that saves your grinder from unnecessary wear by simply cleaning out the neck regularly. I also learned that if you smell something off, it is usually technical—like the reason your milk smells like its burning before the temp is right, which often points to a dirty steam tip rather than a broken boiler. The most important thing is to stay curious and not get discouraged when a shot goes sideways; every bad pull is just data for your next great one.
My Essential Toolkit for the Rental Coffee Bar
If I had to start over tomorrow in a tiny apartment, these are the items I would prioritize above all else. First, you must focus on how to select the perfect coffee grinder for your brew because your extraction lives and dies by the burrs. I also keep a few high-quality milk frothers that transform your coffee experience on hand for when I need a quick foam without firing up the big boiler. Lastly, never underestimate a stable scale. If you see why your espresso scale is jumping numbers while the shot is pulling, it is usually a sign of vibration or moisture—simple fixes that make a world of difference in your precision.
Don’t Let the Learning Curve Stop Your Flow
The journey of home espresso is a marathon, not a sprint. It is about those quiet mornings where the steam is just right and the crema is thick. You do not need a professional plumber to have a professional experience; you just need the patience to set your system up correctly. Take it one step at a time, starting with mastering the art of home espresso and building your confidence. Your future self, sipping a cafe-quality latte in your pajamas, will thank you for the effort you put in today. Have you ever struggled with the transition from a reservoir to a plumbed-in setup? Let me know in the comments below!