How to Stop Your Water Tank From Growing Algae
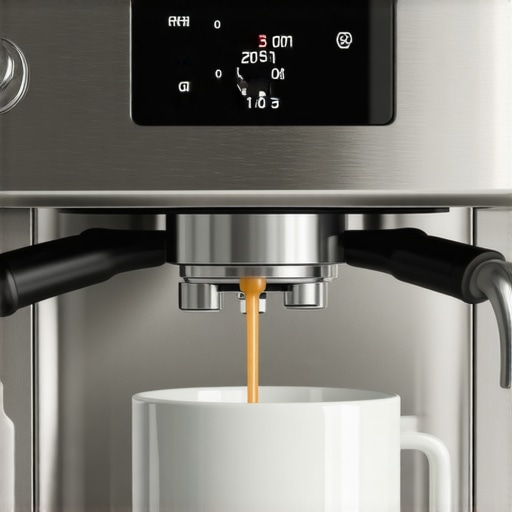
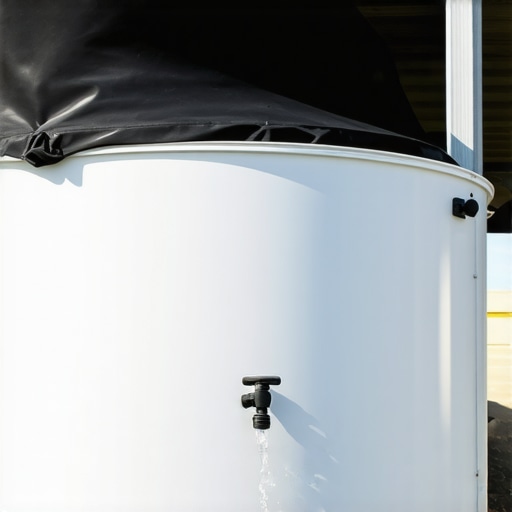
I’ll never forget the morning I caught a whiff of something earthy while my machine was warming up. It wasn’t that deep, chocolatey aroma of a fresh roast; it smelled like a stagnant pond. I pulled out the reservoir of my shiny gear, and there it was: a faint, slimy green film clinging to the plastic corners. I felt like a total amateur. Here I was, trying to perfect my craft with top-rated espresso machines, and I had basically turned my kitchen into a biology experiment. It was a wake-up call. If you have ever looked at your water tank and seen a suspicious tint, do not panic. You are not alone, and it does not mean your machine is trash. It just means we need to change how we treat our water. Today, I am going to show you exactly how to kill that bloom and keep it from ever coming back, so your shots stay as clean as they were on day one. Have you ever found a surprise science project growing in your reservoir, or am I the only one who let it get that far?
That Green Slime is Ruining Your Morning Routine
When I first started mastering the art of home espresso, I made the classic rookie mistake: I thought the tank was a set-it-and-forget-it zone. I would top it off every morning, rarely dumping the old water out. I even thought I was being clever by keeping it near a sunny window so I could see the water level easily. Big mistake. Sunlight is basically a buffet for algae. According to research on aquatic microbiology, algae only need three things to thrive: light, moisture, and a few nutrients, which can come from dust or even the minerals in your tap water. In fact, a study published in the journal Applied and Environmental Microbiology highlights how quickly biofilms—the precursor to that green gunk—can adhere to plastic surfaces in domestic settings. I have learned the hard way that why you should never leave water in your reservoir overnight is not just a suggestion; it is a rule for anyone who cares about flavor.
Is a little bit of green actually dangerous?
It is a fair question. While most common household algae will not necessarily make you sick instantly, they are a primary breeding ground for bacteria. Plus, they taste absolutely vile. No amount of expensive beans can hide the swampy aftertaste of a contaminated tank. You might be tempted to look into the truth about using distilled water in your machine to solve it, but even pure water is not immune if light and heat are present. We are going to dive into the easy habits that keep your tank pristine without requiring you to scrub it every single hour.
How to Kill the Biofilm Without Damaging Your Machine
Removing that green film isn’t just about a quick rinse; it is about breaking the physical bond the algae has formed with the plastic. When you are choosing the best barista gear for coffee enthusiasts, you have to realize that maintenance is part of the performance. First, pull the reservoir out completely. If your machine has an intake hose that sits in the water, check it for slime too. I use a soft-bristled bottle brush—the kind used for baby bottles—to reach into those tight bottom corners. Avoid abrasive scouring pads, as they create micro-scratches where bacteria love to hide. I once used a heavy-duty green scrubby on a budget machine and it left the plastic looking cloudy; months later, the algae returned faster in those exact scratches because I’d basically built them a series of tiny apartments to live in. 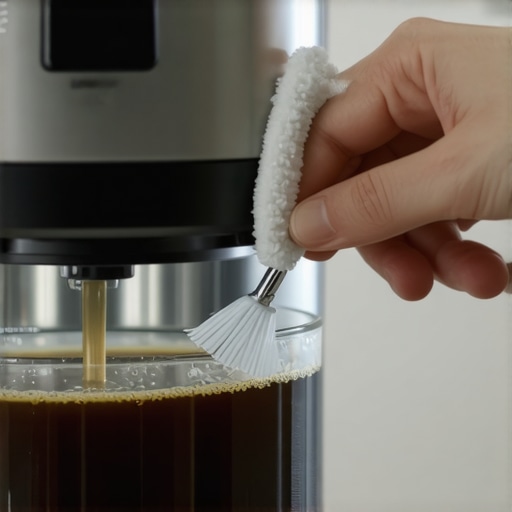
The Vinegar Mistake That Ruins Your Morning Shot
Many people jump straight to white vinegar because it is a natural disinfectant. I did this once and deeply regretted it. I thought I had rinsed it enough, but the porous nature of some plastics can hold onto that acidity. The result? A week of coffee that tasted like a salad dressing. If you find why your espresso tastes like vinegar after cleaning is your current reality, you likely missed a few rinse cycles. Instead, use a dedicated citric acid cleaner or a very mild, unscented dish soap. Citric acid is much easier to rinse away and won’t leave that lingering ghost of a pickle factory in your morning latte. If you use soap, ensure it is completely fragrance-free, as ‘lemon fresh’ bubbles do not pair well with a dark roast.
Why a Dry Tank is Your Best Defense
Prevention is where you actually save time. The best top-rated espresso machines for coffee lovers in 2025 often feature transparent tanks for convenience, but that transparency is an invitation for growth. If your machine sits in direct sunlight, move it. If you can’t move it, consider a small decorative shroud or even just a piece of cardstock to block the sun during the day. Most importantly, follow the golden rule of why you should never leave water in your reservoir overnight. Emptying the tank at the end of your session and letting it air dry is the most effective way to stop the biological clock. When I started doing this, the ‘pond smell’ vanished and never came back. It adds thirty seconds to my routine but saves me an hour of scrubbing every month.
Don’t Ignore Your Intake Hose and Filters
One area I neglected for a long time was the intake hose. On many mastering the art of home espresso setups, a silicone tube dangles into the reservoir. If you see bubbles or a slight haze on the outside of that tube, the algae has colonized the exterior. You need to wipe it down with a food-safe sanitizer or a very diluted citric acid solution. Also, if you use a clip-on water softener, check the mesh. If the mesh is green, throw the filter away immediately. You cannot effectively ‘clean’ a charcoal or resin filter that has been compromised by algae. It is also a good time to check how to tell if your water hardness is damaging your boiler, because mineral scale can actually give algae a rough surface to cling to. Keeping the tank smooth and dry is the ultimate hack for better tasting coffee.It is easy to think that once the reservoir is sparkling and free of algae, the battle for flavor is won. But let’s dig deeper into the gear itself. One of the biggest myths in mastering the art of home espresso is that spending more on hardware reduces the need for obsessive cleaning. In fact, the opposite is often true. High-precision gear usually has tighter tolerances, meaning a tiny bit of grit or old oil can throw off your entire extraction. I’ve seen enthusiasts drop thousands on top-rated espresso machines for coffee lovers in 2025, yet they ignore the ‘exchange’ in their grinder. Most people assume that if they put 18 grams of beans in, they get 18 grams of fresh coffee out. But what usually happens is that 2 grams of yesterday’s stale, oxidized grounds are pushed out first. This is why why the first shot of the day is always a throwaway. A study in the Journal of Agricultural and Food Chemistry confirms that the volatile aromatic compounds in ground coffee degrade significantly within just 15 minutes of exposure to air. If your grinder has high retention, you aren’t drinking fresh coffee; you’re drinking a stale blend from yesterday afternoon.
Why does your perfect recipe suddenly fail on a Tuesday morning?
It’s usually not the machine; it’s the environment and the ‘hidden’ coffee. If you don’t know how to clean the grinder chute without taking it apart, you are likely brewing with a mix of three-day-old dust and fresh beans. 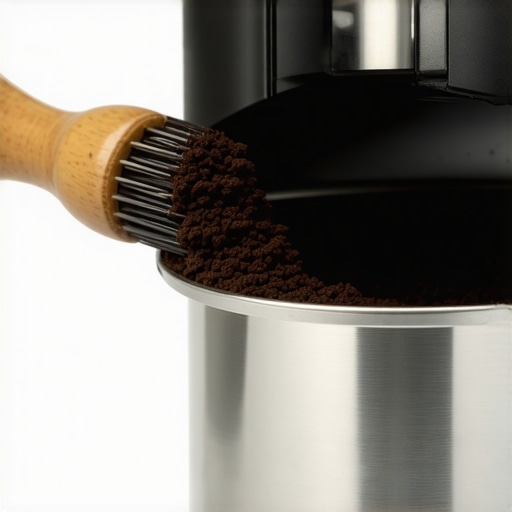 This is the ‘Oops’ factor that catches even the most seasoned home baristas. We focus so much on the water—as we should—but the grinder is where the flavor is actually born. Another nuance involves the burrs. Many believe burrs stay sharp forever if you only use them at home, but you need to know how to tell if your espresso grinder burrs are dull before your shots start tasting muddy. It isn’t just about the blade edges; it’s about the heat generated by friction which can ‘cook’ the oils before they even hit the portafilter. Static is another silent killer. People often blame their perfect coffee grinder for being ‘messy’ when it’s actually a humidity issue. In the winter, you’ll see more clumping, which leads to channeling. You might see why your bottomless portafilter is making a huge mess and assume your technique is failing, but it could just be the static electricity in the chute. If you don’t address the buildup, those clumps become little boulders that prevent even saturation. I spent months thinking my tamping was crooked before realizing my grinder was just spitting out ‘rocks’ of compressed dust. Don’t let the shiny chrome of choosing the best barista gear for coffee enthusiasts distract you from the gritty reality of maintenance. Finally, don’t sweat the small stuff that doesn’t affect taste. For example, why your espresso puck is always soupy at the end is a common worry, but it usually doesn’t mean your shot was bad—it’s often just a function of the 3-way solenoid valve. Have you ever fallen into this trap where you cleaned every visible surface but your coffee still tasted off? Let me know in the comments. If you ignore the micro-maintenance, even the most expensive gear won’t save your morning.
Moving beyond the ‘ponds’ in our reservoirs and the ‘rocks’ in our grinders, we have to talk about the internal health of our setup. I used to think that a quick wipe-down was enough, but as you dive deeper into mastering the art of home espresso, you realize that the most important parts are the ones you can’t see. For me, the turning point was realizing that coffee oils are basically like varnish; if you don’t remove them while they are fresh, they bake onto the metal surfaces and eventually go rancid. This is exactly why your machine needs a backflush every single week. I personally use a blind filter and a tiny scoop of Cafiza every Sunday morning. It is a ritual that ensures my Monday morning shot doesn’t taste like charred rubber.
Stop Waiting for a Breakdown to Clean Your Group Head
One of the most neglected components is the group gasket. I’ve seen people wait until water is literally spraying out the side of the portafilter before they even consider changing it. By then, the rubber has become hard as a rock and brittle. Learning how to replace a group gasket without scratching the chrome is a foundational skill. I recommend the silicone gaskets over the traditional black rubber ones; they stay soft much longer and provide a better seal with less torque. While you are in there, check your shower screen. If it’s clogged with old grounds, your water distribution is going to be uneven, leading to that dreaded channeling. I once found a layer of carbonized coffee so thick on a friend’s machine it looked like a charcoal puck. No amount of choosing the best barista gear can fix a blocked screen.
How do I maintain my espresso machine over the long haul?
Consistency is the secret ingredient that no one wants to talk about. Beyond the weekly backflush, you need a monthly ‘deep dive.’ This includes checking the steam wand. Even if you purge after every use, a tiny amount of milk can still get sucked back into the tip. If you have ever wondered how to fix a steam wand that has lost its power, it is often just a case of dried milk proteins narrowing the exit holes. I use a dedicated milk-system cleaner once a month to break down those stubborn proteins that water alone won’t touch. According to technical documentation from La Marzocco, even a 1mm layer of calcium buildup on a heating element can reduce thermal efficiency by up to 10%, which leads to the thermal instability many users complain about. 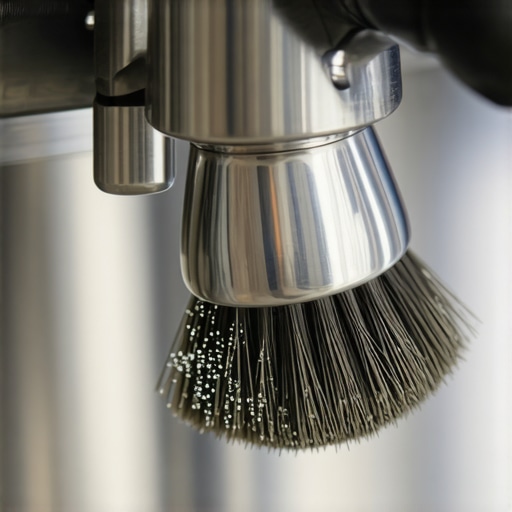
For the grinder, the best long-term move is to stop ‘hot-starting’ with beans already in the chamber if your motor isn’t built for it. This is the move that saves your grinder from unnecessary wear. I also keep a small vacuum near my coffee station. Using a vacuum to pull grounds out of the chute is far more effective than sticking a paperclip up there. As you scale up your hobby, you might even consider how to select the perfect coffee grinder for your brew based on how easy it is to disassemble for cleaning. I predict that in the very near future, the top-rated espresso machines for coffee lovers in 2025 will incorporate real-time TDS (Total Dissolved Solids) sensors that alert you to scaling issues before they become terminal. Until then, we rely on our routine. I challenge you to try a full chemical backflush this weekend—you will be shocked at the brown sludge that comes out of a machine you thought was ‘clean.’
The Hidden Saboteurs I Stopped Ignoring
After years of tinkering, I realized that the greatest enemy of a good shot isn’t a lack of expensive beans—it’s the build-up we can’t see. First, I stopped keeping a full hopper. It looks cool, but why your shots taste different on a full hopper usually comes down to beans oxidizing right in front of you. Second, I learned that water chemistry is the silent killer of heating elements. Third, I discovered that regular maintenance isn’t a chore; it’s a recalibration of your palate. Cleaning your setup is not just about hygiene; it is about respecting the chemistry of the coffee bean.
The Minimalist Toolkit for a Pristine Setup
You don’t need a drawer full of gadgets to keep your gear in top shape. I personally swear by a few focused tools: a dedicated microfiber cloth for the steam wand, a small handheld vacuum for the grinder chute, and a simple water testing kit. If you are mastering the art of home espresso, knowing your local water’s TDS is vital. This helps you understand how to tell if your water hardness is damaging your boiler before you see the white flakes of scale. I also recommend keeping a small digital log of your cleaning cycles; it is remarkably easy to forget when you last replaced that group gasket or performed a chemical backflush.
Your Best Cup is Still Ahead of You
Brewing at home is a journey of small wins. Every time you scrub that reservoir or perform a backflush, you are removing a barrier between you and the perfect cup. Don’t let the technical side overwhelm you. Even the most top-rated espresso machines for coffee lovers in 2025 are just tools; the real magic is in your attention to detail and your passion for the craft. Keep your gear clean, your beans fresh, and your water pure, and the results will speak for themselves. Have you ever discovered a hidden ‘science experiment’ in your machine, or do you have a secret cleaning hack that changed your routine? Let me know in the comments below!