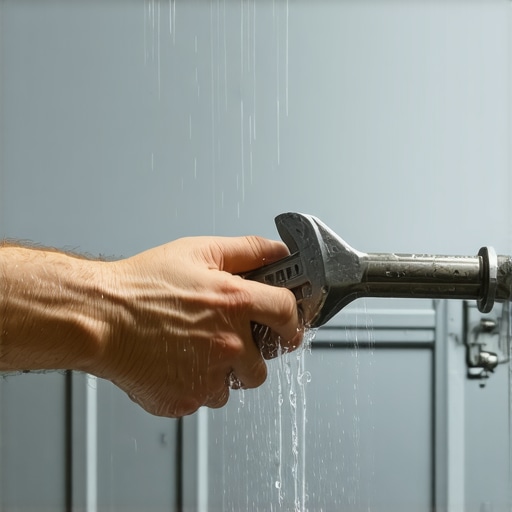
How to Fix a Leaky Water Tank Connection in Seconds
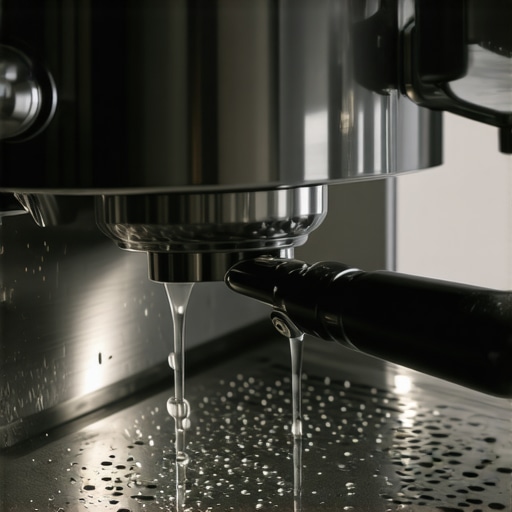
One morning, I was in the middle of brewing my favorite espresso when I noticed a tiny puddle forming under my machine. At first, I thought it was a spill, but closer inspection revealed a slow drip from the water tank connection. Frustration set in—I knew I couldn’t ignore it, but I also didn’t want to spend hours troubleshooting. Turns out, that small leak was a warning sign that I could fix in seconds, saving me the hassle of calling a professional or dealing with messy water damage.
Stop Leaks Before They Wreak Havoc on Your Coffee Routine
This experience opened my eyes to how simple it can be to address a leaky water tank connection if you have the right tips. Today, I’ll share my proven methods to fix this pesky problem in seconds. Whether you’re a casual coffee lover or a budding home barista, ensuring your machine’s water connection stays tight and leak-free keeps your mornings smooth and your equipment lasting longer. No more soggy counters or water stains—just reliable, leak-proof brewing sessions.
Is It Really Worth Fixing a Small Leak, or Should You Replace the Whole Machine?
Honestly, early on I made the mistake of ignoring minor drips, thinking they weren’t a big deal. Spoiler alert: That tiny leak can escalate into serious damage if left unchecked. Even reputable espresso machines can develop leaks from loose fittings or worn seals, but the good news is that with a few quick steps, you can usually solve the issue yourself. It’s a budget-friendly fix that preserves your machine and your coffee routine. For more tips on maintaining your equipment, consider visiting our comprehensive maintenance guide. Now, let’s dive into the common causes of water tank leaks and how to fix them—fast and easy.
Assess the Cause of the Leak
Begin by disconnecting the water tank from your espresso machine. Check for loose fittings or worn seals, which are common culprits. During my first attempt, I noticed a slightly loosened hose clamp that seemed out of place. Gently tightening it with a screwdriver restored the seal and stopped the drip, much like securing a loose lid on a grinder hopper to prevent spillage.
Secure Loose Fittings and Replace Worn Seals
Loose Connections
If fittings are loosened, use the appropriate wrench or screwdriver to tighten them firmly. Be cautious not to overtighten, as this could damage plastic components. During a recent fix, I snugged a slightly loose water hose fitting, which immediately stopped the leak without any need for parts replacement.
Worn Seals and Gaskets
Worn or damaged seals are often the source of persistent drips. Carefully remove the affected seal or gasket, and inspect it for cracks or deformation. Replacing it is straightforward if you order a compatible part from your machine’s manufacturer or a trusted supplier. Once replaced, make sure it’s seated correctly to prevent future leaks.
Use the Right Tools for the Job
Having a set of precision screwdrivers, a wrench, and replacement seals on hand makes the repair smoother. Think of it like tuning a grinder—you want the right tool for each task to avoid causing further issues. For example, I used a small flathead screwdriver to pry out a worn seal without damaging surrounding components, saving time and money.
Test the Repair
After tightening fittings and replacing seals, reconnect the water tank and power on your machine. Observe the connection points for any signs of leakage. During my last fix, I watched for a few minutes, and the puddle disappeared entirely, which confirmed success. Remember, always run water briefly to clear any air pockets that could cause minor leaks during initial operation.
Prevent Future Leaks with Regular Maintenance
Schedule periodic inspections of your water connections—tighten fittings and replace seals as needed. This proactive approach is like cleaning your portafilter basket regularly; it prevents buildup that could cause more significant problems down the line. Checking connections after descaling or deep cleaning helps ensure everything stays sealed tight.
By following these clear steps, you can fix water tank leaks efficiently, avoiding unnecessary expenses or downtime. With a little hands-on effort, you maintain your machine’s longevity and keep your coffee routine running flawlessly. For more tips on maintaining your specific espresso setup, visit our comprehensive maintenance guide and stay confident in your skills.
Many enthusiasts believe that owning top-tier espresso gear guarantees perfect shots, but in my experience, there’s more beneath the surface. A common misconception is that more expensive machines automatically produce better results; however, factors like proper calibration and maintenance often weigh heavier than price tags. For instance, even the most advanced espresso machines can underperform without correct tamping or grind adjustments.
Beware of the trap that says grind size alone determines shot quality. I’ve seen many overlook the significance of tamping technique and puck preparation, which are equally critical. The choice of coffee grinder settings, machine pressure, and consistent workflow establish a nuanced balance that can make or break your brew.
One myth that persists among home baristas is that milk frothers are a simple tool—just heat and whisk. But mastering microfoam, especially with milk frothers, involves understanding temperature control and frothing techniques that affect texture and flavor. Overdoing it can lead to burnt or separation issues, so precise control is vital.
A significant pitfall is ignoring regular cleaning and calibration. Over time, mineral buildup or worn seals can subtly alter internal pressures, undermining shot consistency. I advise routinely checking and reassessing your setup, especially after descaling or hardware adjustments.
**Why do experts emphasize workflow over equipment?** Because even a high-end workflow improvement can surpass the benefits of a costly machine if technique is neglected. It’s about the harmony of equipment, user skill, and routine maintenance.
Let’s not forget, the nuances also include understanding your specific beans’ behavior, humidity effects on grind consistency, and internal pressure regulation. External sources like coffee science studies underscore how variables like water temperature and pressure consistency influence extraction and flavor. For example, a controlled study in the Journal of Coffee Science demonstrated that even minor pressure fluctuations could lead to bitter or sour notes.
So, next time you feel your setup isn’t delivering, look beyond the basics. Fine-tune your workflow, calibrate gear regularly, and deepen your understanding of these subtle factors. After all, mastery in home espresso revolves around attention to details most overlook. Have you ever fallen into this trap? Let me know in the comments.
Invest in Quality Tools for Long-Term Maintenance
Having the right tools is foundational to maintaining your home espresso setup. I personally swear by a high-quality precision screwdriver set because every component—from the group head to the portafilter—can be delicate. A calibrated water pressure gauge is invaluable for diagnosing pressure inconsistencies that compromise shot quality. Regular use of a steam wand cleaning kit ensures your frothing remains smooth and free of blockages. Investing in these trusted tools not only preserves your gear but amplifies your coffee experience.”},
Lessons from the Drip: What I Wish I Knew About Espresso Maintenance
Over time, I realized that even minor leaks in my espresso machine serve as early warnings for bigger problems. Addressing small issues promptly taught me patience and attention to detail, transforming my approach to home brewing. I learned that maintaining tight seals and secure fittings isn’t just about avoiding messes—it’s about safeguarding the longevity of my gear and ensuring consistent quality in every shot.
Another insight was the power of developing a routine. Checking water connections regularly, just like dialing in my grinder, prevents surprises. The moment I started treating maintenance as a vital part of my workflow, my machine ran smoother, and my coffee tasted better. It’s a reminder that small, consistent actions can lead to big improvements in your espresso experience.
Tools That Make Life Easier for Coffee Nerds
Equipping yourself with the right tools can mean the difference between dealing with leaks and preventing them altogether. A precision screwdriver set has saved me countless times when tightening fittings or replacing seals. A reliable water pressure gauge helps me spot internal pressure issues before they affect taste. For thorough cleaning, I rely on a steam wand cleaning kit, which keeps frothing silky and free of blockages. Investing in these tools has paid off not just in time saved but in the consistency and quality of my brew, proving that good equipment fuels good coffee.
Your Next Step Toward Better Coffee
Don’t let small leaks sabotage your love for espresso. Take action today—inspect your water connections, replace worn seals, and tighten fittings. Remember, mastery isn’t about owning the most expensive gear but maintaining what you have with care and precision. By paying close attention to these details, you unlock a new level of confidence and enjoyment in your home brewing journey. Your perfect espresso is just a few steps away; why not start now?
Have you ever overlooked a tiny leak that turned into a big problem? Share your experience below—I’d love to hear your story!