How to Spot an Over-Stretched Milk Pitcher Before You Pour
I’ll never forget the sinking feeling I had during my first few months of experimenting with home espresso. I was so eager to craft those perfect microfoam textures, but more often than not, my latte art looked more like abstract scribbles than crafted roses. One day, I realized my issue wasn’t just technique—it was the milk pitcher itself. The first time I poured from a pitcher that was over-stretched or too thin, I got a sudden spurt of milk that splattered all over my cup, ruining what could have been a stunning design. That lightbulb moment taught me an essential lesson: *spotting the signs of an over-stretched milk pitcher early can save your whole coffee experience.*
Why Choosing the Right Milk Pitcher Changes Your Coffee Game
Have you ever poured into a pitcher and felt like it was fighting back? Maybe the milk splashed, or the flow was uneven, leaving your foam looking more like a lopsided cloud than silky velvet. These issues directly tie into the pitcher’s shape, material, and how well it’s suited for your steaming style. When a pitcher is over-stretched—meaning it’s too thin or floppy—it can’t hold pressure or flow consistently, leading to inconsistent microfoam and frustration.
Does your pitcher feel like it’s just too flimsy to control?
Early on, I ignored the importance of testing my pitcher’s resilience. Instead of adjusting my technique, I kept battling with unpredictable pours. The mistake I made was using a cheap, overly flexible pitcher, thinking that all stainless-steel models are the same. But the truth is, not all pitchers are created equal, especially when it comes to control and flow. For a detailed guide on selecting the best barista gear—like the ideal milk pitcher—you can visit this resource. It’s a game changer.
Prepare Your Pitcher and Milk Correctly
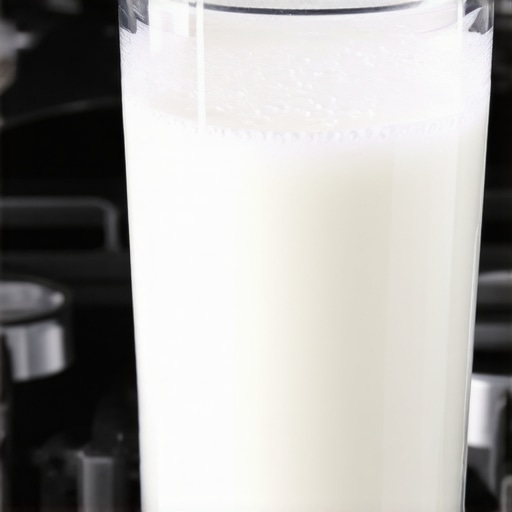
Start by selecting the right milk pitcher—ideally one with a narrow spout and a sturdy handle for control. Fill it to just below the spout level—overfilling makes control difficult and can cause splattering. Use cold, fresh milk to ensure better microfoam; warmer milk pools at the bottom and doesn’t integrate well. I remember pouring cold milk from a glass jar into my pitcher and realizing that the coldness made the milk resistant to frothing, leading to uneven microfoam.
Set Up Your Espresso Machine and Steam Wand
Ensure your machine is at optimal temperature—between 190°F and 200°F—and the steam wand is properly cleaned and preheated. Attach the pitcher so the tip of the wand is just beneath the milk surface to introduce air first, then submerge deeper to create velvety microfoam. During my very first attempt, I accidentally kept the wand too high, creating large bubbles and a foam that looked more like whipped cream than silky microfoam.
Master the Pouring Technique
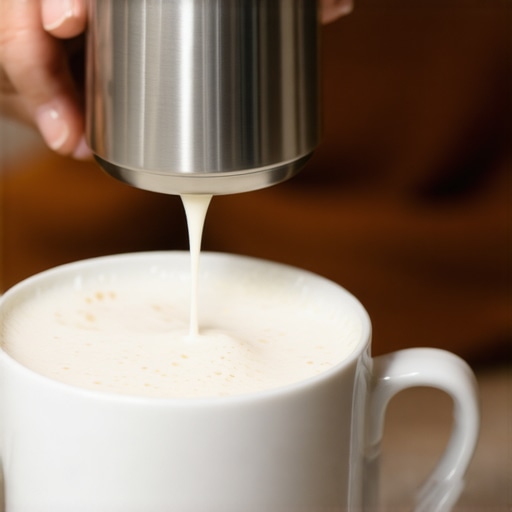
Begin with a steady hand, holding the pitcher at a 45-degree angle over your cup. Start pouring slowly, aiming for the center of the espresso to integrate the milk. When the milk reaches your target volume, lift the pitcher slightly and pour in a smooth, continuous motion. I once tried to rush this step, resulting in jagged patterns and inconsistent foam. Patience is key—think of pouring as combining art with science, where controlled flow produces the perfect latte art.
Adjust and Practice Micro-Adjustments
If your microfoam is too airy or too dense, tweak your steam wand position—closer for denser foam, slightly higher for lighter foam. Additionally, experiment with the rolling motion of your wrist during the pour, which can influence the design’s clarity. I improved my foam texture significantly once I consciously slowed down and practiced subtle wrist tilts, noticing smoother textures and clearer latte art.
Integrate Tips for Consistency
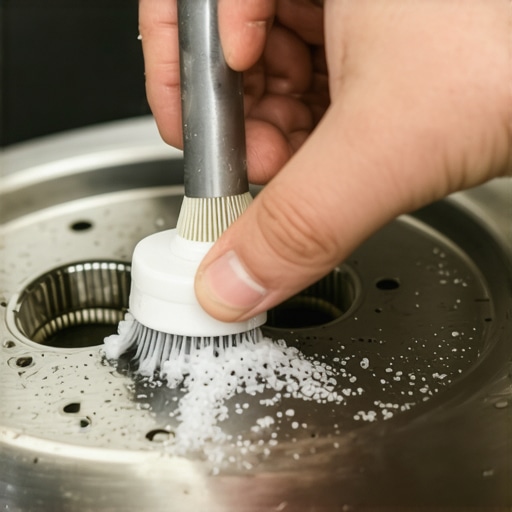
Consistency comes through regular practice and calibrating your equipment. Regularly clean your steam wand and milk pitcher to prevent buildup, which skews flow and foam quality. Use a thermometer to monitor milk temperature, preventing overheating that can cause burnt tastes or foam breakdown. When I started measuring milk temperature actively, my microfoam became much more uniform across different sessions. For further insights on equipment choices, visit this guide.
Final Touches: Artful Presentation
Once you have your microfoam ready, focus on the pouring method—adjust height and speed to create beautiful patterns like rosettas or tulips. Practice makes perfect, so don’t get discouraged by initial messes. Remember, every spill and imperfect pour is a step toward mastering microfoam. Incorporate deliberate wrist movements and consistent pouring speed to refine your skill over time. With persistent effort, your lattes will transition from mediocre to mesmerizing.

While many home baristas focus on choosing the right espresso machine or grinder, there’s a subtlety that often escapes even experienced enthusiasts: the intricate relationship between gear specifications and actual brewing outcomes. Common myths, like believing that the most expensive equipment guarantees perfect results, can lead you astray. In reality, understanding the nuanced compatibility between your grinder, machine, and accessories is crucial for dialing in excellent espresso.
One prevalent misconception is that milling finer always results in better extraction. However, over-fine grinding can cause excessive pressure build-up, leading to channeling and uneven shots. A study published in the Journal of Coffee Science highlights the importance of matching grind size to machine pressure profiles to achieve optimal extraction—don’t just go finer for the sake of it; adjust based on your specific setup.
Another trap is underestimating the importance of portafilter design and handling. Many assume that newer, high-tech portafilters are inherently better. Yet, nuances like the handle temperature or gasket tightness significantly influence shot consistency. For instance, a leaking portafilter can cause pressure fluctuations, and over time, this subtle issue deteriorates shot quality. Regularly inspecting and maintaining these components is often overlooked but vital.
Why do upgrade cycles often miss the mark for home espresso perfection?
Many enthusiasts chase the latest gear upgrades, convinced that new technology will solve lingering issues. However, this can be a red herring if foundational skills and maintenance are neglected. The real secret lies in mastering equipment calibration, pressure profiling, and routine cleaning. For example, ensuring your machine maintains consistent water temperature is fundamental; studies show that temperature fluctuations directly impair extraction quality. Upgrading without mastering existing gear can lead to diminishing returns.
Additionally, the choice of accessories like tampers, milk frothers, or cleaning tools plays a nuanced role. A mismatched tamper size can lead to uneven puck density, affecting shot uniformity. Similarly, using a poorly designed milk frother may cause inconsistent foam, regardless of your steaming technique. Read more about selecting the perfect coffee grinder or tamper in this detailed guide.
Don’t fall into the trap of assuming that gear alone defines your coffee quality. Instead, focus on the synergy between equipment, calibration, and technique. Regularly refining your routine and understanding gear limitations often outweighs costly upgrades. Remember, a well-maintained, properly calibrated setup with knowledge of its nuances leads to consistently better espresso. Want to learn more advanced insights? Check out this expert resource. Have you ever fallen into this trap? Let me know in the comments.
Essential Tools for Ongoing Excellence
To keep your espresso machine, grinders, and accessories performing at their peak, investing in the right tools is crucial. I personally rely on a high-quality portafilter handle cover to prevent heat transfer, especially during extended brewing sessions. Additionally, a digital precision thermometer helps me monitor temperature fluctuations, which are vital for consistent extraction. For grinder maintenance, I use a feature-rich cleaning brush designed to reach burrs and chute areas, extending the grinder’s lifespan and ensuring uniform grind size.
Developing a Routine for Long-Term Results
Establishing a regular maintenance schedule prevents common issues like clogs, scale buildup, and inconsistent flow. I recommend a weekly deep clean of your steam wand and faucet, using a quick cleaning routine that can save hours of troubleshooting later. Incorporate daily checks of water hardness using testing strips; optimal mineral levels help prolong equipment life and optimize flavor. Recently, I incorporated a routine of flushing my espresso machine with citric acid every two months, as advised in the internal cleaning guidelines, which significantly improved shot quality.
Scaling Up Without Sacrificing Quality
When your setup grows in volume, scalability becomes a concern. At this stage, I transitioned to a more robust commercial-grade espresso machine that still fits well in a home environment. Upgrading equipment is only part of the story; implementing a systematic calibration protocol ensures consistent results across multiple sessions. For grinding, I moved to a high-precision grinder with stepless adjustments, enabling precise dialing-in for different beans and roast levels.
How do I maintain my gear over time?
Regular cleaning is non-negotiable. I use a dedicated cleaning schedule that includes backflushing the espresso machine with cleaning solutions recommended by the manufacturer, deep cleaning the burrs, and descaling every three months. Monitoring wear parts like gasket and portafilter gaskets ensures you catch leaks early, avoiding costly repairs. Experts suggest inspecting gasket condition monthly; a worn gasket can cause pressure drops, affecting shot quality—learn more from this detailed guide. Most importantly, stay proactive—waiting until equipment shows obvious faults often leads to more extensive, expensive repairs.
Future Trends in Maintenance
The industry is heading toward smarter, self-diagnosing equipment with integrated sensors that alert you to maintenance needs in real time. I predict the rise of IoT-connected devices that will automatically schedule descaling and cleaning cycles based on usage patterns. Until then, mastering manual maintenance routines remains essential for any serious home barista. Start by incorporating the tip to regularly check your water hardness and adjust your descaling routine accordingly—if you haven’t, it might just be the game changer in consistent flavor and equipment longevity.
For a detailed breakdown of maintenance techniques, visit this resource. I encourage you to try the quick, two-minute descaling hack—it’s simple, effective, and can significantly extend your machine’s lifespan. Regular upkeep ensures that your investment continues to reward you with perfect espresso shot after shot.
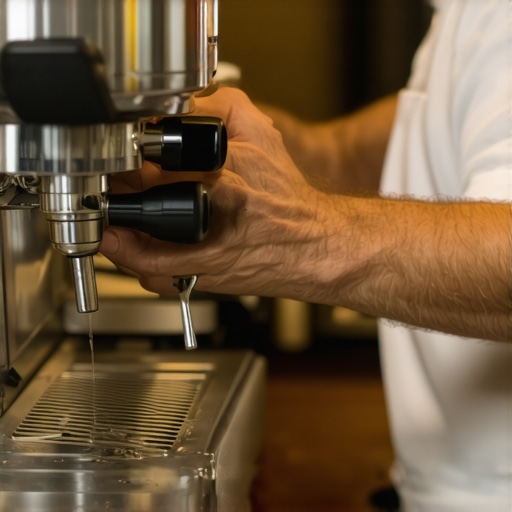
Image showing a well-maintained espresso machine with cleaning tools, highlighting the importance of regular maintenance for consistent quality. The image emphasizes routine care and professional-grade tools that can help preserve your setup’s performance.
The Hardest Lesson I Learned About Espresso Gear
One of the most profound realizations I had was that equipment choices often mask underlying technique gaps. I once believed that upgrading my grinder or machine would instantly elevate my coffee, but I soon discovered that mastery over basic maintenance, calibration, and understanding my gear’s nuances was far more impactful. It’s tempting to chase shiny new gear, but true progress comes from deep knowledge of what’s already at your fingertips.
What They Don’t Tell You About Perfect Microfoam
Early on, I underestimated how crucial milk temperature and pitcher control are in creating those silky microfoam textures. I thought it was all about the frothing technique, but mastering the specific angles, pouring speed, and milk steaming temperature transformed my latte art from scribbles to art. Consistency is born from deliberate practice, not just instinct.
Breaking the Myth: Better Equipment Isn’t Always Faster
I used to think that a more powerful machine would save me time and improve quality simultaneously. Instead, I found that slower, more deliberate workflows—like dialing in grind size and tamping pressure—actually yielded better results with less frustration. Investing time in understanding my existing setup proved more valuable than rushing for the latest model.
Sources That Became My Coffee Bible
- This guide on barista gear selection helped me understand the importance of matching gear specifications to my brewing style and coffee beans, rather than just chasing the newest gadgets.
- Choosing the right grinder was pivotal in achieving consistent extraction, emphasizing the significance of grind uniformity and build quality over brand names.
- Mastering home espresso techniques provided the foundational knowledge I needed to troubleshoot and refine every shot, regardless of equipment upgrades.
- Daily grinder maintenance routines kept my equipment performing optimally, saving me time and money in repairs.
Your Turn to Craft Coffee Bliss
Embarking on your journey to home espresso mastery can be both challenging and rewarding. Remember, the secret lies in understanding your gear deeply, refining your technique patiently, and continuously learning. Every pour, every shot, is a chance to improve and enjoy the process. I encourage you to experiment, ask questions, and celebrate small victories along the way.
What’s the biggest lesson you’ve learned about making great coffee at home? Share your stories below and let’s grow together in this passion for espresso excellence.