How to Stop Your Portafilter from Splattering Coffee All Over the Counter
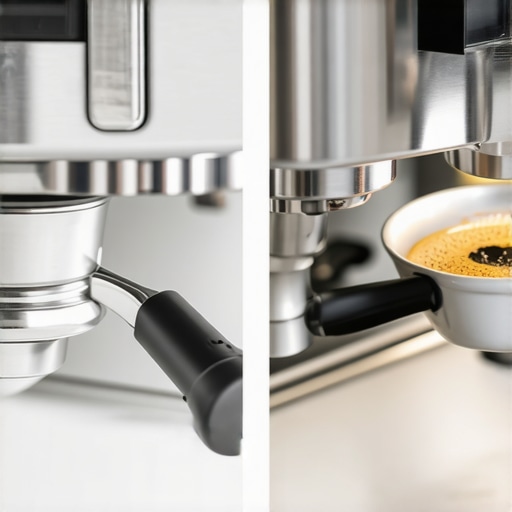
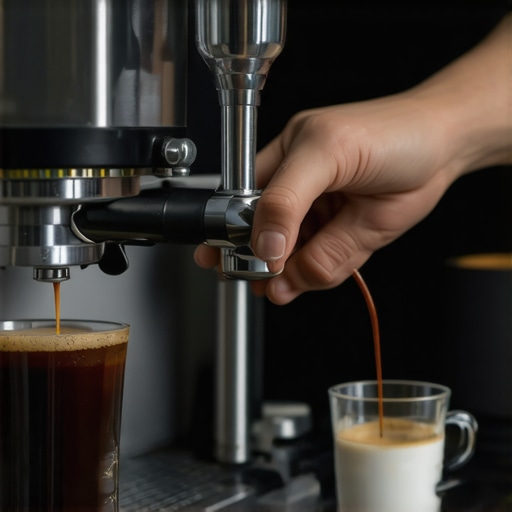
Ever had that frustrating moment when you’re about to enjoy a perfect shot of espresso, only to be greeted by a splash of hot coffee all over your counter? I remember the first time it happened to me—coffee flying in every direction, leaving a mess and a sense of disappointment. It was a lightbulb moment that I couldn’t ignore: there’s a better way to manage my portafilter.
If you’ve experienced similar chaos during your espresso sessions, you’re not alone. That splattering isn’t just embarrassing; it can also be a sign that something’s off with your technique or equipment. But here’s the good news: with a few simple adjustments, you can keep your coffee contained and enjoy a clean, mess-free brew every time.
Why Your Portafilter Sends Coffee Flying and How to Stop It
Many home baristas struggle with splattering because of a common mistake—overloading the portafilter or tamping unevenly. When the coffee puck isn’t evenly compressed, water finds the path of least resistance, causing side-wall channeling and, ultimately, spillage during extraction. This not only creates a mess but can also lead to inconsistent espresso quality.
Early on, I made the mistake of thinking that pressing the coffee as hard as possible would improve flavor. Instead, I learned that proper grind size, distribution, and tamping pressure are key. For instance, using a consistent tamp (around 30 pounds of pressure) helps create a uniform puck that resists splattering. Plus, ensuring your coffee is evenly distributed before tamping prevents uneven flow and teasing out those unwanted coffee sprays.
Have you faced this issue? If so, don’t worry—fixing it isn’t complicated.
To keep your espresso crafting clean and enjoyable, we’ll explore practical tips that address the root causes of portafilter splattering, so stay tuned for step-by-step solutions. For more insights on precision in brewing, check out [this guide on mastering home espresso techniques](https://espressotechguide.com/mastering-the-art-of-home-espresso-tips-for-beginners). Let’s get ready to tame that stubborn spray and make your espresso experience smoother and cleaner.
Master the Dose and Distribution
Start by measuring your coffee precisely—using a scale for consistent shots. A common mistake is overfilling the basket, which increases the chance of spillage. Once your dose is accurate, use a distribution tool or gentle taps to level the coffee evenly. I once added 18 grams of coffee but failed to distribute it properly, resulting in uneven tamping and splattering. After adopting a light tap and spreading with a butter knife, the flow became cleaner and more stable.
Efficient Tamping for a Uniform Puck
Use the Right Tamping Pressure
Apply consistent pressure—about 30 pounds—using your tamper. Think of tamping as pressing down with the palm of your hand; it should be firm but not excessive. I once used my full arm, which caused uneven density and water bypass, leading to spray-outs. Today, I focus on steady, level pressure to create a compact, even puck that resists side-wall channeling.
Level the Coffee Surface
Ensure the coffee surface is perfectly flat before tamping. Use the tamper to gently spin once or twice, smoothing the surface. A tilted puck encourages channels, leading to uneven extraction and coffee sprays. When I kept the surface level, my shots stayed contained, and cleanup was swift.
Inspect and Prepare the Equipment
Regularly check the portafilter gasket and basket for wear—these can cause leaks and splattering if damaged. Clean the baskets weekly to prevent residual oils and coffee grounds from disrupting the flow. I keep a small brush dedicated to basket cleaning, which makes a noticeable difference in shot quality and cleanliness.
Optimize Your Coffee Grind
Fine-tune your grinder to achieve the right grind size. Too fine, and water struggles to flow, increasing pressure and risking sprays; too coarse, and the flow is uneven, causing turbulence. I experimented by adjusting my grinder and found that a slightly coarser setting reduced channeling and splatter. For detailed guidance on selecting equipment, see this resource.
Control your Brew Pressure
Ensure your machine’s pressure is within recommended ranges (9 bar typically). Too high, and the water forces its way unevenly, causing spray. Use a pressure gauge or rely on your machine’s display if available. I once noticed my machine’s pressure spiking, leading to messes; adjusting the grind and tamping made a significant difference. For advanced troubleshooting, visit this tutorial.
Final Tips to Keep Your Shots Clean
Always lock your portafilter securely into the group head—loose fittings can cause leaks during extraction. Before brewing, wipe excess coffee grounds from the rim to prevent drips. When I started double-checking these small details, cleanup was easier, and I avoided unexpected sprays.
Implementing these concrete steps has transformed my espresso routine. No more coffee flying everywhere—just smooth, clean extractions that taste as good as they look. Remember, consistency is key—practice and patience will make these techniques second nature.
When diving into the world of home espresso, many enthusiasts assume that owning the fanciest machine or the most expensive grinder guarantees perfect results. However, this belief can lead to costly mistakes and disappointment. Let’s debunk some common myths and shed light on nuanced aspects that only seasoned baristas and experts understand.
One widespread misconception is that high-end equipment automatically produces superior coffee. While quality gear matters, **consistent technique and understanding your machine’s quirks** are far more impactful. For instance, many assume that grinding finer always yields better extraction, but over-fine grounds can cause channeling and pressure buildup, leading to uneven shots. Proper knowledge of grind size adjustments, based on the roast and bean freshness, is crucial. For detailed insights on selecting the right grinder, check out this comprehensive guide.
Another trap many fall into involves milk frothers. The misconception that all frothers are created equal can sabotage your milk texture and foam quality. **Cheap or poorly designed frothers often produce inconsistent microfoam**, which is essential for latte art and smooth texture. Investing in a quality milk frother, or learning how to manually froth with a steam wand, makes a significant difference. For tips on that, visit this resource.
Advanced users often overlook the importance of maintaining their equipment properly. Even the best machine can underperform if neglected. Regular backflushing, descaling, and cleaning of grinder burrs prevent buildups that cause uneven extraction or motor strain. An often-overlooked aspect is the internal water reservoir. Many assume that water quality is secondary, but pollutants and mineral buildup can affect flavor and machine longevity. Learn how to properly clean inaccessible parts in this guide.
Don’t fall into the trap of thinking that more expensive gear equates to better results without effort. The subtle nuances—like tamping pressure consistency, grind adjustment finesse, and temperature stability—are what distinguish a good shot from a mediocre one. This is especially true when using sophisticated machines with PID controllers and semi-automatic features. Experts often spend months mastering these finer points. To deepen your understanding, consider reading the latest top-rated espresso machine reviews.
**How about the typical rookie mistake of neglecting your grinder’s static and retention issues?** Static buildup can cause inconsistent dosing and messes, while retained coffee grounds affect grind consistency. A simple but effective fix involves controlling humidity and regularly adjusting grind settings. For detailed troubleshooting, see this article.
Finally, many home baristas forget that equipment calibration and environmental factors, like room temperature and humidity, influence brewing outcomes. An often overlooked aspect is adjusting the brew temperature according to bean origin and roast level, which can dramatically improve flavor clarity. For advanced techniques on this, visit this step-by-step guide.
Remember, mastering espresso is a journey of continuous learning and adjustment. Did you ever fall into a trap that hindered your progress? Let me know in the comments. By understanding these hidden nuances, you’ll be well on your way to consistently brewing cafe-quality drinks at home.
Invest in Quality Tools for Consistent Results
To keep your espresso setup running smoothly, select tools that offer precision and durability. I personally swear by a high-accuracy digital scale like the Ohaus SC214, which ensures each shot is perfectly dosed. Accurate dosing is the cornerstone of consistent extraction, and this scale’s readability to 0.1 grams makes a noticeable difference in shot quality. Additionally, I use a flat burr grinder with stepless adjustment to fine-tune grind size on the fly, crucial for adapting to different beans and roast profiles.
Routine Maintenance Prevents Costly Repairs
Regular maintenance is vital for longevity. I recommend scheduling a deep clean of your espresso machine every 150-200 shots. This involves backflushing—especially with a blind filter—and descaling your boiler and water reservoir to prevent mineral buildup. My preferred method is following the detailed backflushing routine outlined here. In addition, inspecting seals and gaskets monthly helps catch leaks early. Over time, I’ve noticed that neglecting these steps leads to inconsistent pressure and steam issues, which compromise shot quality.
How do I maintain my grinder over time?
Grinder upkeep is often overlooked but just as crucial. I use a daily cleaning brush to remove residual grounds, which preserves burr sharpness and prevents static issues. Every few months, I perform a burr alignment check using the marker method for perfect particle consistency. Maintaining your grinder not only prolongs its lifespan but also ensures each grind remains uniform—a key for reliable extraction. Don’t forget to occasionally replace worn bearings to avoid uneven burr rotation that can cause inconsistent dosing.
Tools I Recommend for Long-term Success
Beyond basic cleaning, investing in specialized tools accelerates and simplifies maintenance. For example, a chute cleaning kit makes removing residual coffee easy, preventing old grounds from contaminating new batches. A good cleaning brush and descaling tablets are essentials on my shelf; I prefer descaling agents designed for espresso machines that are gentle on seals yet effective against minerals. Using these tools regularly minimizes downtime and keeps your gear performing at peak.
Stay Ahead with Technology and Trends
Looking forward, I predict an increased integration of smart maintenance sensors into high-end espresso machines. These devices will monitor wear and notify you when cleaning or part replacements are needed—saving time and preventing unexpected breakdowns. Until then, setting regular reminders for manual checks remains essential. Remember, a well-maintained machine and grinders are your best allies for consistently excellent espresso. Why not try scheduling your weekly cleaning routine this weekend with a quick backflush and water descaling? It’s a simple step that pays off in flavor and equipment longevity. For more expert advice, visit this resource.
Lessons from the Trenches: What Nobody Tells You About Perfect Shots
One of the toughest lessons I learned was that even the best equipment can fall short without proper technique. I once believed that upgrading to a premium machine would instantly improve my espresso, but it was my inconsistent tamping and grind adjustments that truly made the difference. The real secret is consistency—finding a routine that works and sticking with it.
Another insight is how small details matter—a slightly uneven distribution or a tilted puck could cause splattering and uneven extraction. I started using a distribution tool and noticed my shots stayed cleaner, and flavors became more balanced. These nuances teach us that refinement comes from attention to detail and patience.
Furthermore, I underestimated the importance of regular maintenance. Cleaning my group head and cleaning grinder burrs consistently prevented clogs and pressure fluctuations. This proactive approach not only extended my equipment’s lifespan but also stabilized shot quality over time. The takeaway? Success lies in routine care and ongoing learning, not just gear upgrades.
My Arsenal of Proven Tools and Resources
Over the years, I’ve curated a set of tools that empower me to brew confidently. A precision digital scale like the Ohaus SC214 has been indispensable for consistent dosing. For grinders, a high-quality stepless burr grinder allows for effortless adjustments and precise particle size control, which are crucial for avoiding channeling. Additionally, detailed guides like this one have deepened my understanding of complex concepts like temperature stability and pressure profiling.
Don’t forget the importance of regular deep cleaning. Equipment maintenance kits and descaling products from trusted brands have kept my machine and grinder performing at peak. Investing in the right tools and allocating time for upkeep has paid dividends in flavor and consistency.
Embrace Your Brewing Journey: It’s More Than Just Equipment
The true magic of home espresso lies in your willingness to experiment, learn, and adapt. The journey can be daunting—that’s part of what makes it rewarding. Remember, every barista started somewhere, making mistakes along the way. Your next shot could be the breakthrough moment you’ve been waiting for. I encourage you to set a routine, stay curious, and enjoy the process of honing your craft.
Are you ready to elevate your home espresso game? Share your biggest challenge in the comments below. Let’s learn and grow together in this flavorful journey!