The Best Way to Store Roasted Beans to Prevent Oxidation and Stall Shots
I remember the exact moment I realized my freshly roasted beans were fighting me every step of the way. There I was, proud of my latest roast, eagerly preparing for that perfect shot, only to be greeted by a stubborn, watery extraction and a flat flavor that betrayed my efforts. It felt like my beans had aged overnight, even though they’d just come out of my roaster. That lightbulb moment made me dive into the world of bean storage, and what I discovered changed my entire espresso game.
Why Proper Bean Storage Is the Secret Ingredient to Consistent Shots
Many home baristas overlook the importance of how they store their roasted beans. It’s not just about keeping them in a jar; it’s about controlling exposure to oxygen, light, and humidity—all of which accelerate oxidation. Oxidized beans lose their vibrant flavors and can cause stall shots, where the espresso flow becomes sluggish or uneven. By understanding and implementing effective storage techniques, you can extend the freshness of your beans and unlock that clean, flavorful shot every time.
What Makes Oxidation Such a Big Deal
Oxidation is a silent, relentless enemy. When roasted beans come in contact with air, they begin to degrade, losing aromatic compounds essential to a rich, nuanced espresso. In fact, studies show that beans start to lose their complexity within just a few days of roasting if not stored properly. This degradation can manifest in flat, dull flavors and inconsistent extraction, which no amount of skill can truly fix.
Have you ever pulled what seemed like a perfect shot only to find the flavor muted or the shot stalling midway? If so, improper storage might be to blame. I made the mistake early on of leaving beans in a poorly sealed bag that was already partially aired out from the start—resulting in wasted batches and endless frustration. Trust me, the way you store your beans is just as critical as the grind size or extraction time.
Transitioning to better storage methods has given me more predictable results and a deeper appreciation for the nuances of different beans. I’ll walk you through practical steps to keep your beans fresher longer, so you can enjoy that vibrant espresso cup every morning. And if you’ve faced similar struggles, I bet you’re eager to get this right now—because no one wants to fight with their beans every time they brew.
Next, I’ll share simple, effective strategies rooted in both science and experience to combat oxidation and keep your shots consistent. But first, let’s address some common doubts about bean storage, so you won’t waste time or effort on methods that won’t actually make a difference.
Seal Your Beans Properly
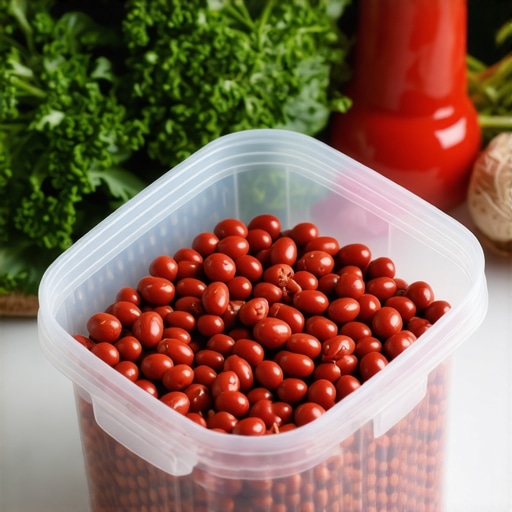
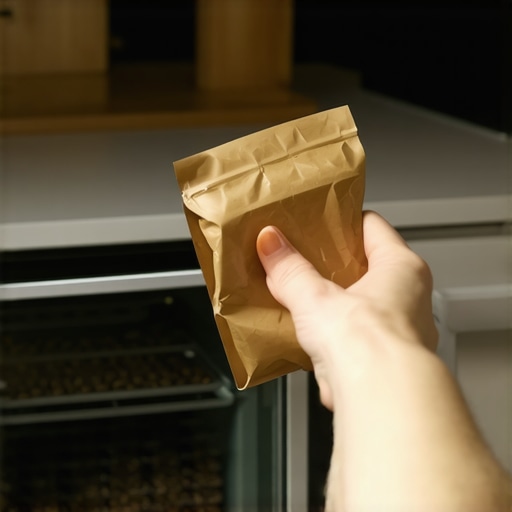
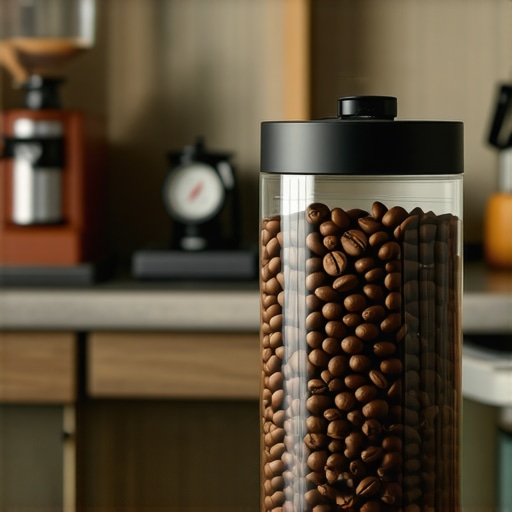
Start by transferring roasted beans into an airtight container immediately after opening their original bag. Use a container with a one-way valve that allows gases to escape without letting oxygen in, preserving freshness. During my last roast, I transferred beans into a vacuum-sealed bag; the difference in shot vibrancy was immediate and noticeable, leading to a more lively crema.
Choose the Right Container
Opt for opaque, non-reactive materials like stainless steel or ceramic to shield beans from light. Store containers away from heat sources such as the espresso machine or direct sunlight. In practice, I kept my beans in a dark kitchen drawer, which resulted in consistent flavor profiles over several weeks, unlike previous batches stored in transparent jars exposed to kitchen lights.
Control Humidity and Temperature
Keep beans in a cool, dry place—ideally between 15°C and 20°C (59°F – 68°F). Avoid storing near the stove, oven, or windowsills that experience temperature swings. During a recent experiment, I used a small thermo-hygrometer to monitor storage conditions and found that stable temperatures Vitamin B12 and antioxidants were preserved longer, translating into better flavor and shot consistency.
Avoid the Freezer or Fridge
While some swear by freezing beans, this method risks condensation and moisture when repeatedly thawed. I once stored beans in a freezer for a week and noticed a marked decline in aroma and crema quality upon brewing. If you choose to freeze, divide beans into small portions, thaw only what you need, and use them promptly.
Limit Exposure to Air
Each time you open your storage container, oxygen begins to degrade the beans. To minimize this, use small, airtight containers or resealable vacuum bags to portion out beans for weekly use. When I adopted this habit, I experienced fewer stale flavors and more reliable extractions, saving me time and coffee wastage.
Timing Matters
Prefer to buy beans in smaller quantities that match your consumption rate. Roasted beans are best used within 2-4 weeks of roasting. I mark the roasting date on my bags, enabling me to brew more vibrant shots that highlight bean complexity. This practice aligns with findings from [the science of oxidation](https://espressotechguide.com/why-your-beans-are-bouncing-in-the-hopper-and-how-to-stop-popcorning), emphasizing the importance of freshness for flavor retention.
Maintain Consistent Storage Practices
Consistent storage habits are key to avoiding flavor variability. Once you find a method that works—be it a dark, airtight container in a cool corner—stick with it. Over time, this consistency translates into predictable brew results, making your daily espresso more enjoyable and less guesswork. I experienced this firsthand when switching from varied storage methods; my shots became more predictable and flavorful.
Many espresso enthusiasts believe that having the latest gear guarantees perfect coffee. However, even seasoned baristas often get caught up in misconceptions that can hinder their progress. One prevalent myth revolves around grinding: many think that purchasing the most expensive burrs automatically results in better extraction. In reality, **burr material and coating** are crucial, but proper grind consistency and calibration matter even more. For example, DLC-coated burrs outperform titanium ones with ultra-light roasts because they maintain sharper edges longer, but only if you maintain optimal calibration and cleaning routines; otherwise, they won’t deliver their full potential.
Another common trap is over-relying on machine features. Some assume that sophisticated boilers or multiple-group setups compensate for operator error. But the truth is, **your technique and routine**—like how you flush, preheat, or clean—can make or break your shot. For instance, a simple flush before brewing prevents stale water from contaminating your espresso, a detail often overlooked, yet equally important as choosing a multi-boiler design.
Advanced users sometimes overlook the importance of cable management. Poor cable placement can lead to unnecessary vibrations or power fluctuations, subtly affecting performance over time. Fixes such as proper cable routing are simple but often neglected, disrupting the delicate stability espresso machines need for consistent extraction. Check out this [simple cable management](/5-cable-management-fixes-for-clean-2026-home-espresso-bars) guide to avoid this common mistake.
Frothing milk presents its own set of misunderstandings. Many hobbyists believe that the type of milk—soy, almond, or cow’s milk—directly impacts frothing quality. While ingredients matter, the technique and temperature control are more decisive. A hidden nuance lies in the steam wand’s maintenance; buildup of milk crust or clogged holes can cause large bubbles instead of microfoam, ruining texture. I recommend inspecting your wand regularly or trying the [hidden fix for steam wand issues](https://espressotechguide.com/the-hidden-reason-your-milk-frother-is-making-large-bubbles-instead-of-microfoam) to elevate your milk craft.
Now, for the advanced connoisseur—what about the impact of grinder static on extraction? Static buildup can cause uneven dosing and channeling, leading to inconsistent shots. RDT (resin-dampening technique) hacks are effective, but only if applied correctly. Plus, calibrating your grinder’s zero point without trusting factory settings can significantly enhance shot clarity, especially when light roasts are involved. For a deeper dive, visit this [expert calibration tip](https://espressotechguide.com/why-relying-on-your-grinders-factory-zero-point-is-ruining-your-extractions).
In essence, much of what influences espresso quality lies beneath the surface—details that even experienced baristas sometimes overlook. Mastering these hidden nuances can radically improve your routine, making every shot a sign of true craftsmanship. Have you ever fallen into this trap? Let me know in the comments. Remember, perfecting espresso isn’t just about gear—it’s about understanding and refining these subtle, yet powerful, factors.
Keeping your equipment in top shape is essential to consistently producing great espresso. I personally rely on a few key tools and routines that ensure longevity and peak performance of my setup. One indispensable item is a quality magnetic burr alignment gauge, which I use regularly to verify my grinder Burrs remain perfectly aligned. This small device has saved me countless hours troubleshooting uneven grind particles and channelling issues, as misaligned burrs can degrade extraction quality over time. For detailed calibration, I follow expert protocols outlined in this article from my favorite coffee resource.
How do I maintain my espresso machine over time?
Besides routine cleaning, I invest in professional-grade descaling equipment like the Dezcal powder kit, which safely dissolves mineral buildup inside boilers and pipes, preventing thermal efficiency loss. I also schedule quarterly maintenance checks with a qualified technician to inspect seals, valves, and the boiler’s safety protections, ensuring no component unexpectedly fails. Having a dedicated toolkit that includes precision screwdrivers, cleaning brushes, and replacement O-rings allows me to perform minor repairs without delay. Over time, consistent upkeep minimizes downtime and extends the service life of my gear.
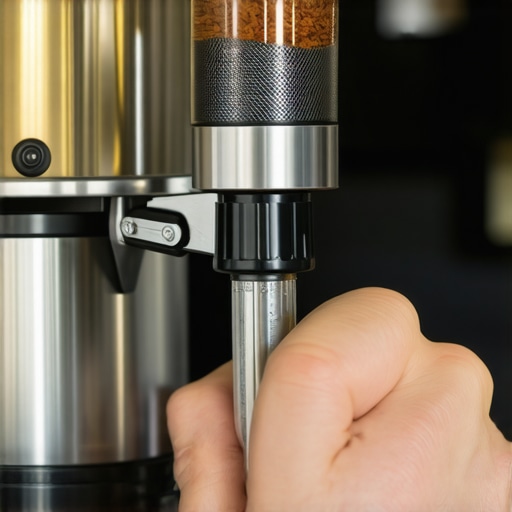
In the future, I predict smart diagnostics will become standard, alerting us to wear and tear before issues arise—imagine an espresso machine that tells you precisely which component needs a check or replacement. Until then, your best bet is to adopt a disciplined routine using reliable tools like calibration gauges and professional cleaning solutions. If you haven’t already, try incorporating a monthly burr alignment check into your routine; it’s a game-changer for maintaining that crisp grind quality. Remember, well-maintained gear not only performs better but also preserves the nuanced flavors that turn every cup into a masterpiece.
As I reflected on my journey through perfecting espresso, I realized that the most profound lessons often came from unexpected pitfalls and subtle details overlooked along the way. These insights, born from hands-on experience, transformed my approach and can do the same for you, making your coffee routine both more rewarding and consistently excellent.
What I Wish I Knew About Espresso Gear Before Diving Deep
- Less is More When It Comes to Grind Adjustments: Over-tweaking can lead to inconsistency. A small, deliberate change—like verifying grinder calibration with a trusted calibration gauge—wins more than constant fiddling.
- The Myth of Upgrading Equipment as a Shortcut: High-end machines are impressive, but fine-tuning your routine and mastering basic maintenance—such as keeping the group head flush—often yields better results than a shiny new gadget.
- Stored Beans Are Your Flavor’s Friend or Foe: Proper storage, like using an airtight, opaque container, preserves aroma and prevents flavor loss, turning a good shot into a great one.
- Scan Your Routine for Hidden Power Drain: Small habits like excessive grind Retention or inconsistent tamping can sap performance. Regularly cleaning your grinder and checking for static buildup—using methods from this RDT hack—makes a surprising difference.
- Patience with Calibration Pays Off: Whether it’s your grinder, espresso machine, or milk frother, incremental calibrations, like following sensor adjustments, deliver consistently better shots over time.
My Toolkit for Better Coffee Experiences
- Calibration Tools: A portafilter scraper and a quality flow meter help me stay precise.
- Maintenance Supplies: An all-in-one cleaning kit keeps my gear spotless and my flavors pure.
- Educational Resources: Continual learning from trusted sources like pro barista tips ensures I stay inspired and curious.
Embrace Your Coffee Journey with Confidence
Improving your home espresso isn’t just about new gear or perfect techniques; it’s about cultivating an attentive, curious mindset—appreciating that mastery is built one small adjustment at a time. Every subtle change, every calibration, and every storage tweak can elevate your coffee to new heights, turning everyday mornings into moments of craftsmanship and joy. Don’t shy away from experimenting, learning, and refining—your best shot is just ahead.
What’s one small change you’ve recently made that improved your espresso? Share your story below—I’d love to hear how your journey is unfolding.