Why putting a commercial grinder in your home kitchen is a mistake
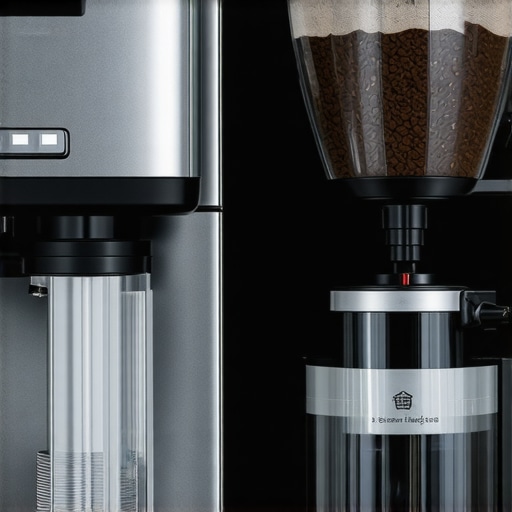
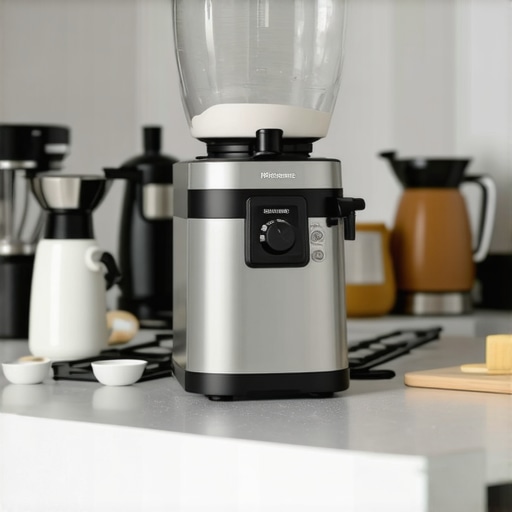
I’ll never forget the moment I spilled a mountain of freshly roasted beans all over my pristine kitchen floor, trying to load my new, shiny commercial grinder. The noise was deafening, the beans scattered everywhere, and I felt overwhelmed by how complicated this seemingly simple upgrade was supposed to be. It struck me then—why did I think bringing in a beast of a grinder would make my mornings easier? That was my lightbulb moment.
Is Bigger Always Better for Home Coffee Gear?
There’s a common misconception among coffee enthusiasts that bigger, more commercial-grade equipment guarantees better brews at home. I, too, believed that if I could just get my hands on a professional-grade grinder, my espresso game would skyrocket overnight. But after a few weeks of battling with its weight, noise, and frequent maintenance, I realized I was fighting an uphill battle. It made me question whether I was genuinely improving my coffee or just complicating my mornings unnecessarily.
Questioning the Real Value of Commercial-Grade Equipment
A major mistake I made early on was assuming that equipment designed for bustling cafes would automatically translate into a perfect home setup. Instead, I found myself spending more time troubleshooting, cleaning, and moving heavy gear than actually enjoying a good cup. Studies have shown that over-investing in high-end equipment without proper understanding can lead to dissatisfaction and increased frustration. Curious if you’ve faced similar issues, like struggling with oversized grinders that fill your kitchen with noise and mess?
The truth is, many home baristas get caught up in the allure of commercial-grade gear, believing it’s the quickest path to expert-level coffee. But sometimes, less is more, especially when it allows you to focus on perfecting the basics. In the next sections, I’ll share practical insights on how to choose gear that complements your space and skill level without overwhelming your daily routine. If you’re battling with noisy, inefficent equipment, stay tuned—you’re not alone, and there are better ways to brew.
Choose the Right Grinder for Consistent Particles
Start with a high-quality burr grinder, as inconsistent grind size is the root of many espresso issues. Opt for a flat or conical burr grinder that offers fine-tuning adjustability. When I first tried dialing in my espresso, I manually adjusted the grinder one click at a time, patiently testing each setting until I achieved a balanced extraction. This meticulous approach paid off—sharper particle consistency meant fewer channeling and a richer shot. To find the best grinder, consider reading detailed reviews at this guide.
Perfect Your Dose and Tamp Technique
Measure your coffee dose precisely, typically between 18-20 grams for a double shot. Use a digital scale for accuracy—eye-balling often leads to uneven extraction. Apply even pressure with your tamper, pressing down with about 30 pounds of force. A consistent tamp ensures uniform contact, which promotes even water flow through the puck. I once had a session where I used a scale to monitor tamp pressure, which immediately improved shot consistency. For tips on optimizing tamp pressure and avoiding channeling, see this article.
Maintain Water Temperature and Pressure
Your espresso machine’s boiler should be set correctly, typically around 93°C (200°F). Regularly check and calibrate your machine’s PID controller to prevent temperature fluctuations. Use a thermometer or a digital brewing scale to monitor shot temperature. I once tweaked my PID settings, which eliminated bitter notes caused by overheating. Also, ensure your machine maintains steady pressure, ideally 9 bars during extraction. If your machine struggles to hold pressure, consult guides such as this resource. Regularly descaling your machine and cleaning the group head prevents buildup that disrupts pressure and temperature stability.
Optimize Extraction Time for Flavor
Aim for an extraction time of around 25–30 seconds. Use a stopwatch or a shot timer to measure this precisely. If your shot pulls too fast, your grind may be too coarse; too slow means it’s too fine. When I adjusted my grinder to achieve a 28-second shot, I noticed a marked improvement in flavor clarity. Remember, small adjustments can have a big impact—change the grind setting by a click or two and re-test. Experimentation is key, and resources like this beginners’ guide can help refine your technique.
Refine Milk Frothing Skills
Use cold, fresh milk, ideally whole milk for richness. Submerge the steam wand just below the surface and open the valve fully to introduce air, creating microfoam. As I practiced, I noticed that positioning the wand slightly off-center and angling it helped produce consistent, velvety foam. Keep the pitcher at a slight angle, and listen for a gentle hissing sound—this indicates proper frothing. For advanced techniques on milk texturing, consult this resource. Always purge your wand after each shot to prevent buildup that causes sputtering and incomplete froth.
Finalize and Taste
Once you’ve dialed in grind size, dose, tamp, temperature, and pressure, pull a test shot. Taste and observe the extraction: a balanced espresso has a rich aroma, thick crema, and no sour or bitter flavors. If not, make incremental adjustments. Over time, maintaining consistency in these core steps will elevate your home espresso to professional levels. Remember, patience and precision are your best tools for brewing perfection at home, much like tuning an instrument for flawless performance.Many home baristas assume that upgrading to high-end espresso machines automatically elevates their coffee game, but in my experience, this is a misconception that can lead you astray. The common myth that bigger, more expensive gear guarantees better results overlooks the nuances of technique and maintenance. For instance, many believe that commercial-grade grinders produce more consistent grinds, but without proper adjustment and care, they can actually cause more trouble than they’re worth. Regular calibration is essential—just as with machines, burrs require periodic alignment to prevent bitter, uneven shots. Moreover, novice enthusiasts often overlook the importance of breathability in milk frothing, neglecting that too much heat or improper airflow can destroy microfoam—an advanced mistake that ruins the texture and flavor. Don’t fall into the trap of believing that new gear can compensate for inconsistent technique; instead, focus on mastering core skills like precise dosing and tamping.
Should I Invest in the Most Sophisticated Barista Gear or Focus on Technique?
This question is crucial for advanced home baristas aiming for perfection. While high-end equipment offers features like PID temperature control and programmable shot volumes, studies have shown that user skill level significantly influences the final brew quality. Even the best machine can’t fix a poorly tamped puck or inconsistent grind setting. For comprehensive guidance on selecting gear that complements your skill, consider visiting this resource. Remember, equipment maintenance is just as critical—calcium buildup from hard water can degrade pressure stability, leading to sour or bitter shots. Regular descaling and cleaning prevent such issues, ensuring consistent performance. And when it comes to grinder health, avoid the mistake of grinding oily dark roasts on dull burrs, which can cause uneven particle sizes—a subtle culprit behind channeling and under-extraction. Check this article for tips on preserving your grinder’s precision.
For more insights on optimizing your home setup and avoiding these nuanced mistakes, explore cornerstone guides like top-rated machines for 2025, which help you invest wisely. Remember, patience in technique often outweighs expensive gear—so keep refining your skills and make your coffee truly exceptional. Have you ever fallen into this trap? Let me know in the comments.Keeping your espresso setup in top shape requires more than just occasional cleaning; it involves strategic maintenance, choosing the right tools, and understanding how to scale your equipment as your skills improve. One investment I highly recommend is a **calibrated digital scale** like the [Hario Scale](https://espressotechguide.com/why-your-espresso-scale-is-giving-you-three-different-readings-for-one-shot), which ensures precise dosing and extraction timing—crucial for consistency over the long haul. Regularly checking and adjusting your grinder’s burrs with a **burr alignment tool** can prevent bitter shots caused by uneven particles, as detailed in [this guide](https://espressotechguide.com/why-your-flat-burrs-are-producing-bitter-shots-and-how-to-re-align). Additionally, maintaining your machine’s water circuit with a high-quality descaling kit prolongs its lifespan and ensures steady pressure, a habit that expert baristas swear by. To simplify ongoing maintenance, I use a **maintenance schedule app** that prompts me for monthly cleaning tasks, avoiding neglect that could lead to costly repairs. As technology advances, expect more AI-driven diagnostic tools to flag potential issues before they become serious—keeping you ahead of the curve and your espresso tasting perfect. For future-proofing your setup, consider investing in a **scalable modular grinder system** that can be upgraded with new burrs or motors as needed, sidestepping the need for complete replacement. How do I maintain my gear over time? By establishing a routine of weekly cleanings, quarterly calibrations, and annual overhauls—practices that keep my equipment performing harmoniously. If you’re serious about long-term quality, try integrating a **copper water filter** to reduce mineral buildup and protect delicate machine components, as recommended in industry standards. Stay vigilant, and your investment will reward you with perfect shots for years to come. Want to step up your maintenance game? Start by scheduling your first monthly clean and calibration today—your taste buds will thank you.
What I Wish I Knew When Buying My First Espresso Gear
One of the most profound lessons I learned was that equipment alone doesn’t make a great espresso. Focusing on technique—like proper tamping and grind size—has a more significant impact than chasing the latest machines. I spent months upgrading machines but neglected foundational skills, which led to inconsistent shots. Trust me, honing your skills beats expensive gear every time.
Secrets Only Experienced Baristas Will Share
Consistent extraction depends heavily on even distribution of coffee in the portafilter. Using tools like a distribution tool can seem trivial but saves hours of frustration. Also, calibrating your grinder regularly ensures particle size remains uniform, empowering you to dial in shots precisely. These insider tips made me realize that attention to small details leads to big improvements.
How My Perspective on Home Espresso Changed Everything
Investing in quality water filtration transformed the flavor of my brews. I used to think water quality didn’t matter much—until I noticed bitter and flat tastes. Now, with a simple water filter, my espresso shines with clarity. It taught me that even minor upgrades can unlock hidden depths of flavor, making each cup a true delight.
Prioritizing Maintenance Over New Gadgets
Routine cleaning and calibration have prevented countless issues. I used to overlook simple maintenance, leading to frequent machine hiccups. Now, I set monthly reminders for descaling and cleaning, which keeps my setup humming. This habit not only prolongs equipment life but also ensures every shot tastes as fresh as the first. It’s a small change that truly elevates your home espresso game.
My Journey to Understanding Equipment Lessens the Gaps
Watching videos at this resource helped me realize that high-end gear can be a distraction without proper technique. Mastering fundamental skills provides a stable foundation—then, upgrading becomes an enhancement, not a crutch. Empowering yourself with knowledge is the most valuable investment in your coffee journey.