Why Your Machine’s Drip Tray Is Full After Two Shots
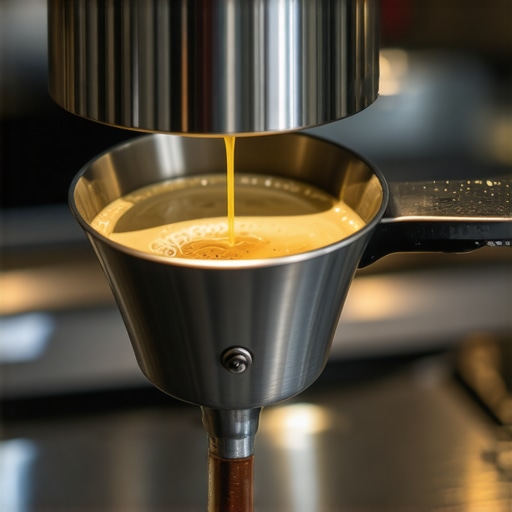
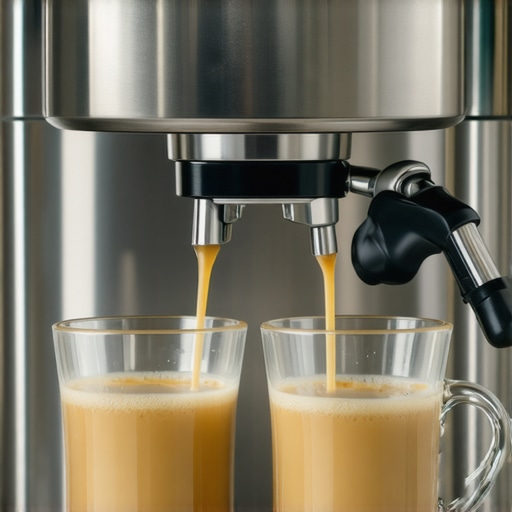
I stood there with my favorite ceramic mug in one hand and a soggy dish towel in the other, staring at a miniature lake that had formed where my drip tray used to be. It was only my third morning with the new setup. I’d pulled exactly two shots—one for me, one for my wife—and yet the tray was already sloshing over the sides. I felt that familiar pit in my stomach. Did I break it? Is there a hole in the boiler? When you’re mastering the art of home espresso, every little sound or puddle feels like a catastrophic failure. But after months of frantic forum-diving and a few very messy kitchen counters, I realized that my machine wasn’t dying. It was actually performing a high-tech cleanup job that I just didn’t understand yet. [image_placeholder]
That Rapidly Filling Tray is Actually a Good Sign
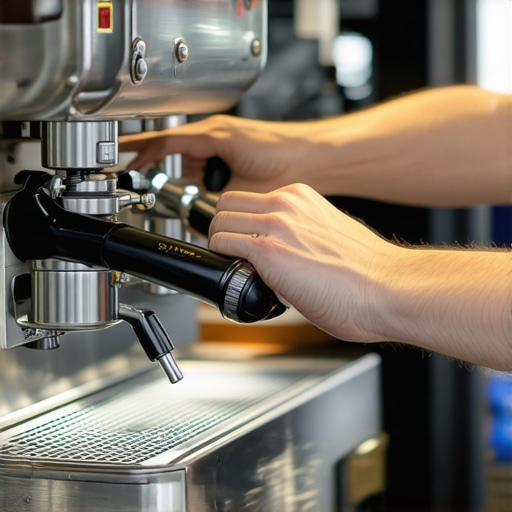
There’s a very specific reason your machine seems to be ‘bleeding’ water into the tray, and it usually comes down to a component called the 3-way solenoid valve. This little piece of hardware is the unsung hero of the modern espresso world. When you finish your shot, it instantly redirects the excess pressure and a bit of water away from the puck and down into the tray. In my early days, I was convinced I was doing something wrong, like why your portafilter handle should never be tightened too far, thinking that extra force would keep the water where it belonged. It didn’t. I spent weeks over-tightening things and worrying about the easy way to tell if your pump is sucking air, only to find out that the water in the tray was a sign of a healthy, functioning pressure release system.
Is My Machine Just Wasting Water and Money?
It’s a valid fear. Seeing fresh, filtered water get dumped straight into a dirty tray feels like a waste. However, without this mechanism, your coffee puck would be a soupy, exploding mess every time you removed the portafilter. According to technical documentation from Home-Barista’s equipment guides, the 3-way solenoid can vent as much as 1 to 2 ounces of water per cycle depending on your machine’s design and how long you’ve been running the pump. This isn’t a flaw; it’s a feature that prevents the dreaded ‘portafilter sneeze.’ If you aren’t seeing this water, your machine might actually be due for maintenance, which is why your machine needs a backflush every single week to keep those internal channels clear. I want to help you understand what’s normal, what’s a leak, and how to stop obsessing over the tray and start focusing on the flavor. Have you ever found yourself emptying the tray more often than you’re refilling the hopper? Let me know in the comments, because I’ve definitely been there. Today, we’re going to look at the mechanics behind the mess and how to manage it without losing your mind.I remember the first time I actually timed how fast my tray filled up. I was using one of those top-rated espresso machines for coffee lovers in 2025, and I was convinced the internal plumbing had snapped. I had just finished dialling in a finicky light roast, and the tray was nearly at the brim after just four shots. I spent twenty minutes looking for a crack in the plastic, only to realize I was witnessing the ‘OPV’ and the solenoid valve doing their jobs in tandem. It wasn’t a leak; it was a conversation between the pump and the pressure relief system.
Track the Water to Find the Source
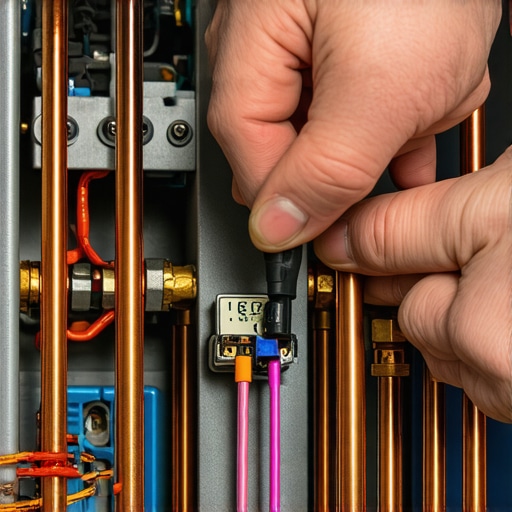
To manage the water, you first have to identify where it is coming from. Most modern machines have two main ‘exit points’ for water that isn’t going into your cup. The first is the 3-way solenoid valve, which vents pressure from the group head. If you hear a sharp ‘whoosh’ or a metallic snap—similar to the reason your pump makes a clicking sound—that is the valve opening to dry out your coffee puck. The second source is the Over Pressure Valve (OPV). Think of the OPV like a security guard at a club: if the pump tries to push 15 bars of pressure but your machine is set to 9, the guard diverts that extra 6 bars of water straight into the tray.
Test Your System with a Blind Basket
If you suspect the tray is filling *too* fast, you can perform a simple diagnostic. Insert a blind filter (the solid one used for cleaning) into your portafilter. Run the pump for ten seconds and watch the tray. If water gushes out while the pump is running, your OPV is venting the excess. If it only sprays when you turn the pump off, your solenoid is the primary contributor. This is a crucial distinction when you are trying to figure out why your espresso machine pressure gauge stays at zero or why your shots feel inconsistent. I once had a piece of scale get stuck in my OPV, causing it to stay partially open. Every time I turned the machine on, water trickled into the tray constantly. I was losing temperature stability and pump pressure without even knowing it. 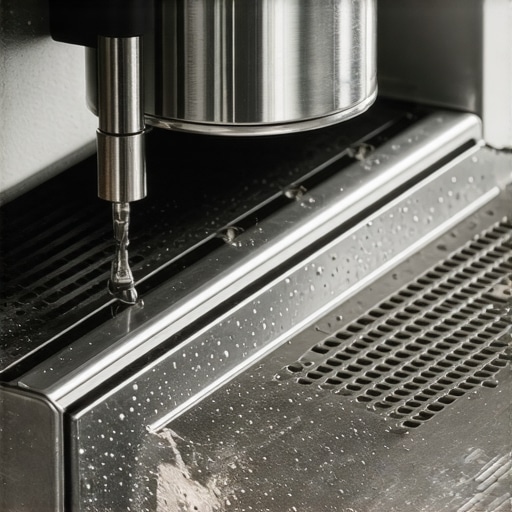
Keep the Sludge from Building Up
Because the drip tray receives ‘spent’ water from the group head, it isn’t just clean water sitting there. It’s a mixture of coffee oils, fine particulates, and heat. If left for more than a day or two, this turns into a swampy film that smells like burnt rubber. I made the mistake of leaving my tray for a long holiday weekend once; when I came back, the bottom was coated in a black, sticky residue that took an hour of scrubbing to remove. This is why why your machine needs a backflush every single week to ensure the paths the water travels are clear of rancid oil.
Eliminate the Annoying Tray Rattle
Sometimes the problem isn’t the water volume, but the noise it causes. As the tray fills, it can become a sounding board for the pump’s vibrations. If your machine sounds like a jackhammer every morning, you should learn how to fix a vibrating drip tray without tools. A simple trick I use is placing a small piece of food-grade silicone tubing along the edge where the tray meets the machine frame. It cushions the metal-on-metal contact and makes those early morning shots significantly more peaceful. If you are using a lighter machine, you might also find that the tray shifts during the grind; ensuring you know how to position your grinder to minimize countertop vibration can prevent the tray from slowly walking its way off the counter while you aren’t looking.Beyond the drip tray, there is a much bigger myth that I see almost every new home barista fall for: the ‘pure water’ trap. Most people think that using distilled or zero-mineral water is the ultimate way to protect their investment. In reality, this is one of the most dangerous things you can do to a prosumer boiler. Water without minerals is ‘hungry’—it wants to reach an equilibrium. It will actually leach ions from the metal of your boiler and heating elements, leading to pitting and premature failure. Furthermore, many sensors rely on the electrical conductivity of water to know when the boiler is full. If you use distilled water, your machine might think it’s empty even when it’s overflowing. According to the SCA Water Quality Handbook, a specific balance of magnesium and calcium is required not just for the flavor of your espresso, but for the chemical stability of the machine’s internal components. This is the mistake of using distilled water in your boiler that can lead to a very expensive repair bill. 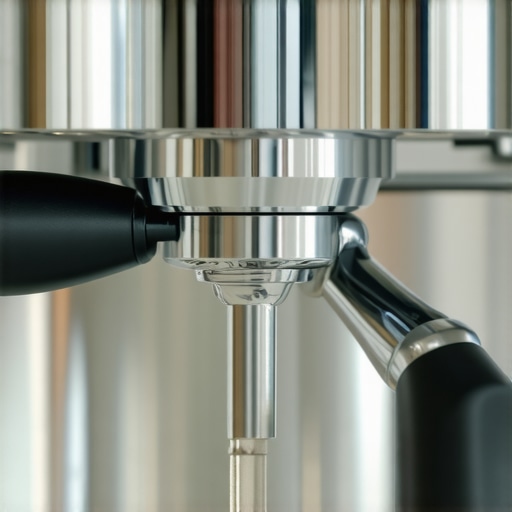
The Friction Factor in Your Morning Routine
Another nuance that often gets overlooked in the quest for the ‘perfect setup’ is the importance of the grinder’s thermal stability. We focus so much on top-rated espresso machines for coffee lovers in 2025, but we forget that the friction from grinding can heat up the burrs significantly. If you are pulling shots back-to-back, the temperature change can actually cause your grind size to shift mid-morning. It’s not your technique failing; it’s the physical expansion of the metal burrs. Have you ever fallen into this trap? Let me know in the comments, because it drove me crazy for months before I figured it out.
Why does the first shot of the day always taste like a mistake?
Even if you’ve mastered the water and the grinder, there’s the ‘dead space’ issue. Almost every grinder retains a few grams of stale coffee from the previous day. If you don’t purge a small amount of beans first, your morning espresso is a blend of fresh grounds and yesterday’s leftovers. This is why the first shot of the day is always a throwaway. I used to think my palate was just ‘waking up’ and that’s why it tasted sour, but it was really just oxidation at work. If you’re struggling with consistency, look at how to tell if your grinder is retaining too much coffee before you start adjusting your machine’s PID.
Don’t Over-Tool Your Puck Prep
Finally, let’s talk about the ‘puck prep’ obsession. Many people think buying more gear solves the problem, but why your wdt tool is actually causing more channeling is often down to using it too aggressively or with the wrong needle thickness. When choosing the best barista gear for coffee enthusiasts, focus on tools that solve a specific problem rather than just following a trend. If your water chemistry isn’t right, no amount of expensive needles will save your extraction. Mastering how to select the perfect coffee grinder for your brew and understanding how to tell if your water hardness is damaging your boiler will always yield better results than a drawer full of gadgets you don’t need.
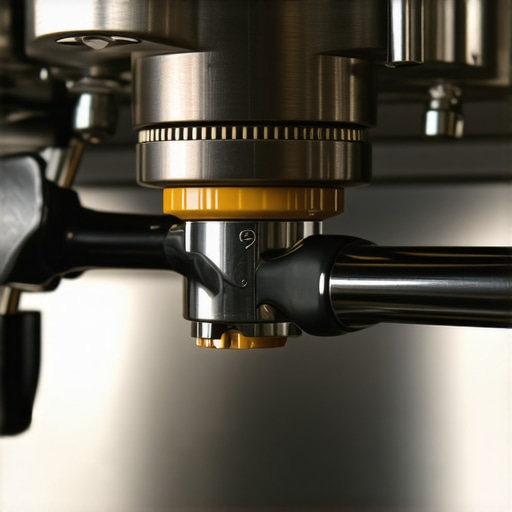
When the honeymoon phase with your new machine fades, you are left with the reality of heat and pressure. Most enthusiasts don’t realize that their group head is essentially a high-pressure oven that never fully cools down. This constant thermal cycling is the reason your portafilter gasket is getting brittle faster than you’d expect. I’ve seen gaskets so baked into the group head that they had to be chipped out like ancient pottery. To avoid this, I personally swap my rubber gaskets for silicone versions every six months. Silicone doesn’t bake onto the metal, making it much easier how to replace a group gasket without scratching the chrome when the time comes. If you can feel the portafilter handle moving further to the right than it used to, that’s your sign that the seal is compressing and losing its elasticity.
Stop Your Group Head from Eating Your Gasket
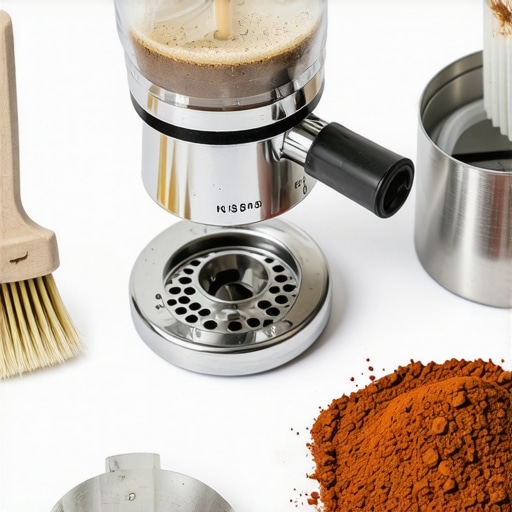
Maintenance isn’t just about the big parts; it’s about the invisible buildup. Every time you pull a shot, coffee oils are forced into the nooks of your dispersion screen. I follow the best routine for a weekend-deep-clean, which involves soaking the metal parts in a specialized detergent. I don’t just backflush; I actually remove the screen entirely. You would be shocked at the sludge that hides behind that thin piece of perforated metal. If you’ve just upgraded your setup, don’t forget the best way to season new grinder burrs fast by running a few pounds of cheap, oily beans through the system first to smooth out the factory edges. This ensures your ‘real’ coffee extracts evenly from day one. I’ve also had moments of panic where the fix for a grinder that wont turn on after cleaning was simply a misaligned safety sensor—always check the small things before calling a technician.
How do I keep my gear running like new for years?
The secret is a combination of proactive cleaning and understanding your machine’s unique ‘language.’ According to technical service manuals from La Marzocco, commercial-grade machines require a full gasket and screen replacement every 3,000 to 5,000 shots, but in a home environment, the stagnant water is actually your biggest enemy. If you are using milk frothers that transform your coffee experience, you must be even more vigilant. Milk proteins harden into a cement-like substance inside the steam wand almost instantly. I predict that in the next few years, we will see ‘smart’ boilers with integrated conductivity sensors that lockout the machine if it detects scale-forming water or the wrong mineral balance. We are moving toward a future where the machine protects itself from the user’s mistakes. For now, you have to be the brain. Learning how to adjust the expansion valve on your prosumer machine is a great way to take control of your brew pressure without needing a professional.
If you want to truly level up your longevity game, I highly recommend performing a ‘wiggle test’ on your portafilter today. Lock it in and try to move it; if there’s play, your gasket is gone. Don’t wait for a leak to start acting. My challenge for you this week: pull your dispersion screen and look at the ‘hidden’ side. If it’s black, your coffee has been tasting like burnt carbon for a month. Give it a soak and taste the difference in your very next shot.
Hard-Won Secrets from My Morning Coffee Rituals
After years of obsessing over every drip and click, I’ve realized that the biggest breakthroughs don’t come from expensive upgrades, but from listening to what your machine is telling you. First, never underestimate the damage of neglect; for instance, learning why you should never leave water in your reservoir overnight is a lesson my first boiler taught me the hard way when it developed a funky biofilm. Second, I’ve learned that the problem with cheap spring-loaded tampers is often their lack of precision, which can lead to uneven extraction regardless of how hard you push. Finally, remember that consistency is a habit, not a feature. If you notice your shots drifting, check why your coffee scale is giving you inconsistent readings—sometimes a simple low battery or a stray coffee bean under the plate is the culprit, not your technique.
My Trusted Arsenal for Perfect Pucks and Pristine Boilers
When you are ready to move beyond the basics, there are a few resources and tools I swear by. I always tell friends that knowing how to tell if your coffee beans are truly espresso roast is the first skill to master before buying more gear. To keep my workspace from becoming a swamp, I highly recommend learning how to pick a coffee mat that doesnt absorb odors, as it saves your countertops from the inevitable splashes of the 3-way valve. For deep technical knowledge, the SCA Water Quality Handbook remains my bible, but for day-to-day troubleshooting, I rely on the internal community guides here at Espresso Tech Guide. These tools have helped me stop worrying about the ‘mess’ and start enjoying the ritual.
Your Path to Barista-Level Bliss Starts Today
The journey of mastering the art of home espresso is exactly that—a journey. You will have mornings where the tray overflows, the puck sneezes, and the first shot tastes like vinegar. But every mistake is just the machine giving you data. Don’t be afraid to get your hands dirty, pull that dispersion screen, or adjust that expansion valve. You aren’t just making coffee; you are mastering a craft that combines physics, chemistry, and culinary art. Have you ever struggled with a specific part of your machine’s maintenance or felt like your gear was fighting against you? Let me know in the comments below!