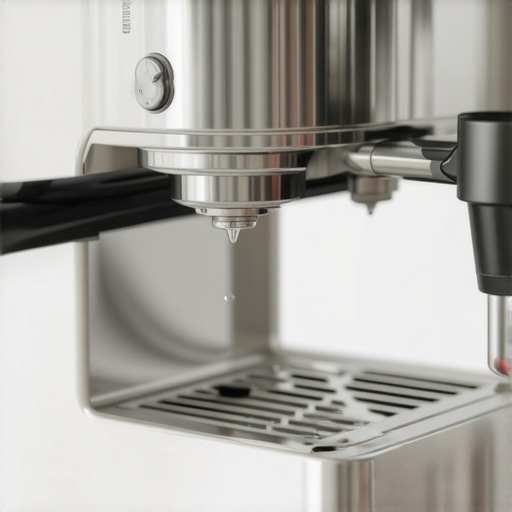
Why your espresso machine is leaking from the bottom plate
It was a typical Saturday morning, and I was gearing up to enjoy my perfectly brewed espresso when I noticed a small puddle forming beneath my machine. My heart sank. I’d spent hours perfecting that shot, and now this? It felt like I was back to square one. We’ve all been there—struggling to keep our beloved espresso machines in top shape, only to face unexpected leaks that leave us scratching our heads.
Why Your Espresso Machine Might Be Leaking from the Bottom Plate
Leaking from the bottom isn’t just messy; it can be a sign of deeper issues that, if ignored, might lead to costly repairs or even a total replacement. The good news? Many of these leaks are fixable, and understanding the root causes can save you time and money. Early on, I made the mistake of dismissing minor drips as just part of the process, but what I didn’t realize was that small signs can escalate quickly, leading to bigger problems down the line.
According to a report by the Specialty Coffee Association, regular maintenance can extend your machine’s lifespan by up to 30%. This underscores how crucial it is to catch issues early. So, how do you identify whether your leak is a quick fix or a sign of something more serious?
Have you ever faced this problem, only to find that a simple tightening did not solve the issue? If so, you’re not alone. We’ll explore the common causes of bottom plate leaks, including seal failures, blockages, and internal component wear, and I’ll share the steps I took to fix mine. Stick around, because understanding these causes is the first step toward a leak-free espresso station.
Now, let’s move from the frustrating discovery to practical solutions—because nobody wants a puddle every morning. Ready to get your machine back in shape? Let’s dive in.
Inspect the Seal and Gasket
Begin by turning off your espresso machine and unplugging it to ensure safety. Remove the portafilter and examine the rubber seal or gasket around the group head. If you notice cracks, tears, or deformities, replacing the seal can prevent leaks. To do this, gently pull out the old gasket using a pair of pliers or a gasket removal tool, then install a new one matching your machine model. When in doubt, consult your machine’s manual or visit a dedicated repair shop for advice. A worn gasket often causes leaks from the bottom plate because it fails to create a proper seal during brewing.
Check Internal Plumbing Connections
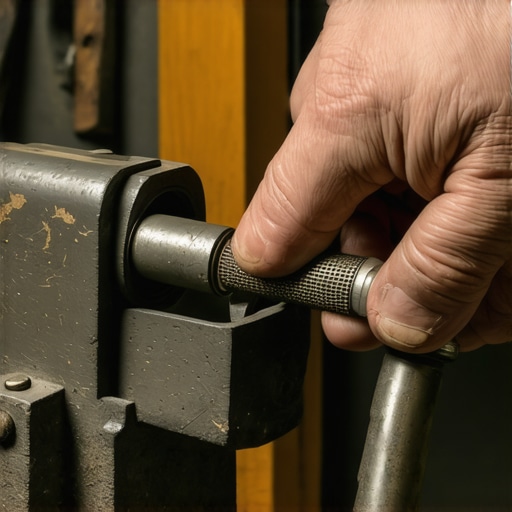
Next, remove the outer panels of your espresso machine as per the manufacturer instructions. Look for loose or disconnected hoses and fittings, especially those leading to the water reservoir and pump. Tighten any loose fittings with a wrench or replace damaged hoses. Internal leaks sometimes happen when these connections degrade over time or become dislodged. Tightening fittings is similar to securing a garden hose connector; ensure a snug fit without over-tightening, which could damage threads. This step makes a significant difference, as a loose connection can lead to water seeping onto the bottom plate.
Clean and Clear Blockages
Clogged or mineral-deposited channels obstruct water flow, increasing pressure that could cause leaks. Use descaling solutions or vinegar to flush the system, following the manufacturer’s instructions. Run hot water through the machine to rinse out residual deposits. This cleaning process is akin to clearing a blocked pipe in your home plumbing. Regularly performing this maintenance prevents buildup that could trigger leaks from internal pressure. For some machines, removing and cleaning internal valves and filters can restore proper water circulation.
Inspect for Internal Component Wear
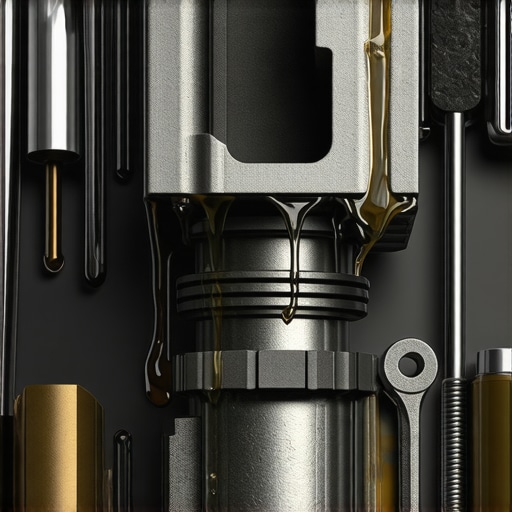
Over time, internal parts like the pump piston or valves may wear out, leading to leaks. Look for signs of corrosion or damage, especially around the pump housing—sometimes visible if you remove the top or side panels. Replacing worn-out components may require ordering specific parts, so consult your machine’s repair manual or manufacturer. This step is critical because a failing pump or valve can exert excess force, pushing water past seals and causing leakage. If you’re not comfortable with internal repairs, consider seeking professional service.
Test and Fine-Tune After Repairs
Once you’ve addressed seals, connections, and internal components, reassemble the machine. Fill the water reservoir and perform a test brew. Observe the bottom plate for signs of leaks or drips. A steady, dry bottom indicates success. Adjust tightness of fittings or seals if leaks persist. Also, check the machine’s pressure gauges during operation; abnormal readings may point to other underlying issues. Remember, small leaks can be tricky; sometimes, a simple tightening or re-seating of seals resolves the problem. For more tips, visit this guide on portafilter leaks.
Many home baristas believe that upgrading to more expensive gear will instantly improve their espresso quality, but in reality, most misconceptions stem from a lack of understanding about nuanced gear behavior and maintenance. For example, a common myth is that heavier tampers always produce more consistent shots, yet in practice, grind quality and distribution are far more critical factors. Relying solely on gear weight can lead to uneven extraction, which diminishes flavor and muddles crema. Exploring these nuances reveals how improper tamping pressure or inconsistent grind size often have a far greater impact than gear weight alone.
A hidden trap many fall into involves the static electricity build-up in grinders, which *seems* insignificant but can cause major issues with dosing consistency. This static can result in uneven grounds distribution, creating channeling and under-extraction. To overcome this, seasoned baristas use tricks like static reduction techniques, which are often overlooked by amateurs fixated only on grind size.
Why do some grinders produce more static than others, and how can I fix it?
Understanding static buildup isn’t just about airflow—it’s also about the grinder’s material and design. Using a simple shim trick can improve alignment and reduce unnecessary grind retention, enhancing consistency.
Also, don’t assume higher-end espresso machines eliminate the need for careful calibration. Many enthusiasts overlook the importance of *precise* pressure profiling, which can dramatically alter extraction. For instance, mastering volumetric calibration for your specific shot size and grind setting ensures you’re extracting optimal flavors, rather than just relying on factory presets. More advanced users may explore calibration techniques to fine-tune their equipment.
Another frequently misunderstood aspect is milk frothing, where many believe that more froth automatically means better foam. However, proper microfoam requires delicate control of temperature and texturing techniques, especially with alternative milks. An advanced mistake is over-whipping, which skews the protein structure and causes separation, ruining latte art chances.
Have you ever fallen into this trap? Let me know in the comments. Deep understanding of these hidden nuances empowers you to move beyond basic gear upgrades and approach your craft with a more analytical mindset, leading to consistently higher quality espresso and milk drinks.
Keep Your Equipment Running Smoothly: Essential Maintenance Tips
Owning high-quality espresso machines, grinders, and milk frothers is only half the battle; consistent maintenance ensures their longevity and optimal performance. I personally schedule monthly deep cleans and inspections, which have significantly reduced unexpected breakdowns and taste inconsistencies. For instance, regularly descaling your espresso machine with a appropriate solution prevents mineral buildup that can clog internal channels, a common cause of pressure drops and leaks. Exploring tools like the internal grinder cleaning kit helps streamline this process. Future trends point towards smart-enabled coffee gear that can self-diagnose issues, but for now, manual routines remain irreplaceable.
How do I maintain my coffee grinder and espresso machine over time?
Maintaining your grinder involves regular burr checks and cleaning. I use the paper towel test monthly to assess burr sharpness and replace them when needed. Internal components like the pump or valves also require periodic inspections. Did you know that tiny pockets of air inside the pump can cause cavitation, which I address through the air pocket fix? Applying these practices consistently reduces breakdowns and keeps shots tasting consistent. Remember, a small investment in proper maintenance tools and routines can save you from costly repairs down the line.
Tools I recommend for dependable performance
For grinders, I rely on static reducers like the static fix to prevent static buildup, which causes uneven dosing and channeling. Using a precision calibration kit is essential—aligning your grinder after burr replacements ensures consistency in extraction, as detailed in this calibration guide. For espresso machines, a reliable pressure gauge helps monitor and fine-tune brewing pressure, maintaining optimal extraction parameters. For milk frothing, a microfoam thermometer guarantees texturing at the perfect temperature, boosting your latte art skills.
Anticipating shift in coffee gear technology
In the near future, I predict a surge of IoT-enabled espresso machines that self-monitor and suggest maintenance. Think of a machine that alerts you when descaling or part replacements are due, akin to smart thermostats. This shift will empower home baristas to maintain gear without guesswork. For now, integrating reliable tools and establishing routine cleaning schedules—like the proper cleaning methods—are your best bets for longevity and perfect shots. Challenge yourself this week: try calibrating your grinder using the guide linked above, and experience the immediate improvement in flavor consistency.
Lessons the Coffee World Forgot to Share
- It took me ages to realize that every tiny leak was a sign to check my seals and connections—ignoring it only led to bigger repairs. Sometimes, the smallest signs hold the biggest lessons.
- Upgrading my gear without mastering maintenance is like buying a fancy car and never changing the oil—fancy doesn’t guarantee performance. Sound familiar?
- Discovering that static build-up in my grinder was causing uneven doses was a lightbulb moment; simple fixes often have complex causes beneath the surface.
Gear that Ensures Smooth Sailing
- I swear by the static reducer for grinders: it changed my dosing game entirely.
- Using a calibration kit unlocked consistent shots, saving me time and frustration.
- A good pressure gauge helped me troubleshoot brewing issues quickly instead of guessing.
Believe in Your Barista Journey
Remember, perfecting your espresso setup isn’t just about gear—it’s about understanding your equipment’s quirks and giving it proper love. Each tweak, each fix, gets you closer to that ideal shot, filling your mornings with pride. Don’t hesitate—start experimenting and fine-tuning. Your taste buds will thank you! Are you ready to tackle that leak or calibration issue today? Let me know below.