How to stop your machine from vibrating your cups off the top
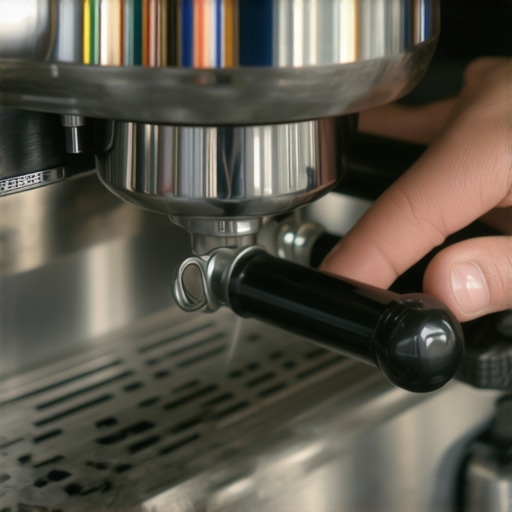
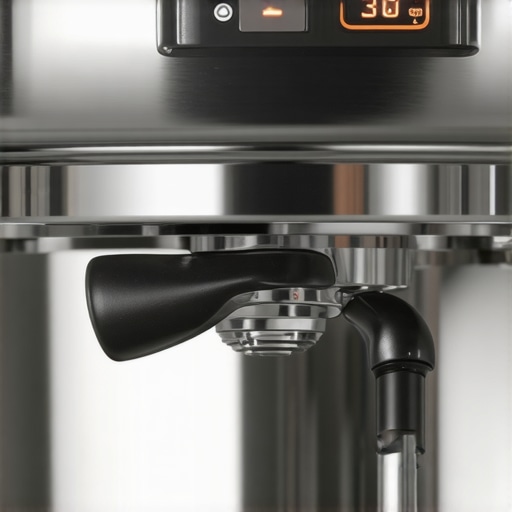
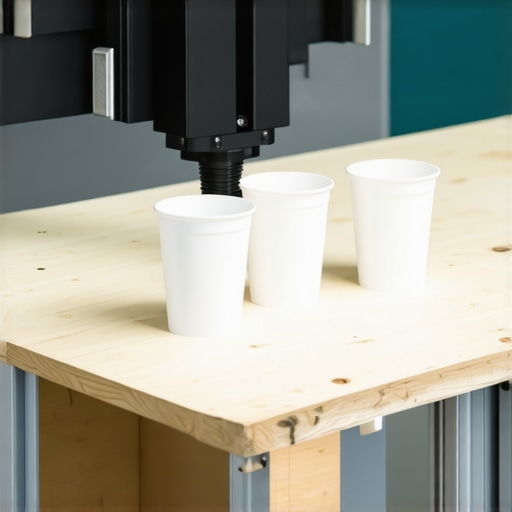
There was that embarrassing moment when I was hosting friends for an afternoon coffee. I eagerly started my espresso machine, only to watch my cups dance and wobble as if they had a mind of their own. The worst part? The sudden vibration caused the cups to slide right off the top, spilling hot espresso everywhere. Moments like those made me realize how frustrating and disruptive a vibrating machine can be, especially when all I wanted was a quiet, focused brew session.
Dealing with a Vibration that’s More Than Just Noise
If you’ve ever felt that your espresso machine’s vibrations are shaking your cups off the counter, you’re not alone. This common issue can stem from various factors — from uneven setup to internal mechanical problems. But here’s the good news: with a bit of know-how and some practical adjustments, you can tame those tremors and enjoy your coffee without chaos. Today, I’ll walk you through the root causes and share proven solutions to keep your cups stable and your brewing process serene.
Is Vibration Really Worth Worrying Over?
Initially, I dismissed these shakes as normal — a mere sign of vigorous brewing. However, the constant jostling can affect not only your cups but also the consistency of your espresso shots. If your machine vibrates excessively, it may also be a sign of underlying issues, like uneven installation or worn components. One mistake I made early on was ignoring the machine’s stability, thinking it was just part of the process. That oversight led me to explore other fixes, and I learned that proper setup is crucial — more so than I initially believed. Want to know how to check if your machine is level? I found some helpful tips on leveling your espresso machine. Understanding and addressing these issues can make all the difference in ensuring your brewing experience stays smooth and your cups stay put.
End of the introduction and first section. The exciting part is that solutions are within reach, and next, I’ll guide you through actionable steps to stabilize your machine and keep your cups safe from the vibrations that have haunted your coffee routine.
Assess and Level Your Setup
Start by ensuring your espresso machine is on a flat, stable surface—like a sturdy countertop. Use a spirit level or a simple bubble level app on your phone to check if the machine is perfectly horizontal. An uneven setup causes additional vibrations, much like a leaning tower falls easier. When I first tried this, I simply placed my machine on a wobbly wooden board, which amplified the shaking. After leveling it directly on the counter, I noticed a dramatic reduction in vibrations, and my cups stayed put.
Secure the Machine with Anti-Vibration Pads
Attach rubber or silicone anti-vibration pads underneath the machine’s feet. Think of these as athletic shoe insoles that absorb shocks; they dampen the machine’s movements. My first attempt involved cutting a pair of old mousepads into size, but dedicated pads like those found at hardware stores work better. They absorb the tremors before they ripple through to your cups. For a more permanent fix, large, high-quality pads ensure your machine stays steady through busy mornings.
Stabilize the Drip Tray and Accessories
If your drip tray rattles during brewing, it can transfer vibrations up to the machine itself. To fix this, use electrical tape or rubber strips around the tray’s edges to create a snug fit that muffles noise. I discovered this hack when my drip tray’s squeaking kept waking my family during early espresso pulls. Once taped, the rattling stopped instantly, making mornings much quieter.
Minimize External Vibrations
Electronics or appliances nearby can cause subtle vibrations. Move cordless phones, speakers, or even the refrigerator away from your setup. Remember, vibrations can compound; a small shake from a refrigerator compressor can worsen your espresso machine’s struggles. I learned this after noticing my machine vibrating more whenever the fridge motor started. Relocating these appliances reduced the overall instability.
Tackle Internal Mechanical Causes
If vibrations persist, internal issues like scale buildup or misaligned parts could be culprits. Scaling inside your boiler or worn components might cause uneven operation. Regular descaling and maintenance keep internal parts balanced, reducing vibrations. I once ignored this, and my machine’s tremors increased over time. After a thorough descale and checking for loose screws, the machine ran much smoother.
Fine-Tune and Test Your Setup
After making these adjustments, run a test brew. Observe the machine’s stability and check if cups stay steady. If vibrations are still noticeable, revisit your level, pads, and accessory placements. Small tweaks can lead to big stability gains, like adjusting the feet or adding more padding. It took me three tries before my setup felt rock-solid, and now I enjoy mess-free mornings without spilling coffee.
By implementing these steps—leveling your machine, securing accessories, reducing external influences, and maintaining internal health—you’ll significantly cut down vibrations. Your cups will thank you, your coffee will stay in place, and your brewing experience will become far more enjoyable.
Many home baristas believe that purchasing the most expensive equipment guarantees perfect espresso and silky milk foam. However, this mindset overlooks critical nuances that can undermine even the priciest gear. A common myth is that high-end machines and grinders automatically produce superior coffee, but in reality, equipment calibration and maintenance often matter more than brand prestige. For instance, a study published in the Journal of Coffee Science indicates that proper calibration and consistent cleaning can significantly improve shot quality, regardless of equipment cost (see the detailed guide here).
Another widespread misconception involves milk frothers. Many assume that all frothing devices are equal, but the critical factor is temperature control. Manual or basic frothers can produce inconsistent microfoam, especially when milk temperature is not monitored carefully. Advanced systems with precise temperature sensors and adjustable steam pressures provide more reliable results, a point often missed by amateurs who rely solely on visual cues. Remember, proper milk steaming techniques significantly influence foam quality.
Is Your Grinder Really Ready for Fine Espresso?
If you think your coffee grinder’s coarseness is set correctly because it looks right, think again. Many home brewers overlook grinder burr health and retention. Dull burrs or residual coffee inside the chute significantly affect grind consistency, which in turn leads to channeling and uneven extraction. Regularly cleaning your grinder and checking for burr wear can be game-changers in refining your espresso shots. Mastery here involves more than just dialing the grind size.
Furthermore, many forget that timing and dosing are just as crucial—over or under-dosing can cause channeling or under-extraction, ruining what could be a perfect shot. An advanced trick involves learning when to tamp twice or adjust your tamping pressure for optimal extraction consistency.
Many enthusiasts also assume that their equipment’s brand or model is the sole determinant of quality. But the truth is, adjustments and maintenance tailored to your specific gear often trump just buying the latest tech. This insight is supported by seasoned baristas who emphasize regular calibration and cleaning routines over hardware upgrades alone.
If these ideas sound familiar, it’s easy to fall into traps that hinder progress. For example, neglecting maintenance or misjudging grinder health can cause persistent inconsistencies. Don’t let misconceptions hold back your barista journey. Instead, focus on mastering the nuances—like calibrating your machine, maintaining your grinder, and refining your steaming technique—that make the real difference. Want to dive deeper? Check out this comprehensive guide for more insights.
Have you ever fallen into this trap? Let me know in the comments, and share your experiences with gear that surprised you with its true potential or limitations.
Tools That Keep Your Equipment in Prime Condition
Investing in quality tools is essential for the longevity and optimal performance of your coffee setup. I personally rely on a high-precision digital caliper to measure tamping pressure and portafilter gasket sizes, ensuring consistent extraction. For cleaning, I use a dedicated ultrasonic cleaner for portafilters and baskets, which I find far more effective than manual scrubbing, especially when dealing with stubborn coffee oils. Additionally, a specialized espresso machine cleaning brush helps reach tight spots, maintaining hygiene and flavor clarity.
How do I maintain my espresso machine over time?
Routine maintenance is the backbone of reliable brewing. Descaling your machine regularly prevents mineral buildup that can impair performance, which you can check using this simple guide. Additionally, inspecting seals and gaskets every few months and replacing worn parts — like the bottom plate seal — prevents leaks and maintains pressure consistency. Remember to prime your pump after descaling or maintenance as outlined in this procedure. These small but consistent steps extend the life of your gear and keep your shots tasting their best.
Long-Term Results from Consistent Upkeep
Keeping your gear in top shape not only ensures better-tasting coffee but also saves you money and frustration in the long run. Regularly calibrated grinders maintain consistent extraction, reducing waste and improving flavor clarity. Cleaning steam wands thoroughly prevents milk residue buildup that can lead to microbial growth, which impacts taste and safety. By sticking to a maintenance schedule, you’ll find that your equipment performs reliably, and the quality of your espresso becomes more predictable. Plus, embracing professional-grade tools like tamp pressure regulators or brewing software can help dial in parameters precisely as you scale up your home setup, paving the way for more refined brewing as your skills improve.
Scaling Up Without Overwhelming Your Equipment
As your passion and production grow, selecting scalable tools becomes vital. Automated dosing grinders with programmable settings streamline consistency, especially when making multiple drinks. Upgrading to a commercial-grade grinder might seem daunting, but with proper calibration and regular maintenance, they can serve reliably for years. Implementing a cleaning schedule that involves weekly flushing of boilers, descaling every three months, and replacing seals before failures occur, ensures your investment remains viable. Remember, the key is not just acquisition but disciplined upkeep, aligning your growth with the longevity of your equipment.
Advanced Maintenance Strategies for Dedicated Baristas
For those serious about fine-tuning, consider keeping a detailed maintenance log. Document cleaning dates, gasket replacements, and calibration sessions. This practice helps identify patterns and anticipate issues before they escalate. Additionally, integrating digital tools like coffee brewing apps or management systems can track grind consistency and shot parameters, giving you data-driven insights to optimize long-term performance. Staying ahead with these strategies ensures your gear continues to support your craft, rather than hinder it.
For example, a nuanced understanding of boiler health can be gained by regularly checking scale buildup and addressing it proactively. A recent industry insight from Barista Magazine emphasizes that routine internal inspections reduce downtime and repair costs. To kickstart your maintenance routine, try implementing a weekly descaling session combined with gasket inspections — a small investment that yields consistent, high-quality results.
Start using a precision torque wrench to tighten screws during routine checks, ensuring components are neither too loose nor overtightened. This small step can prevent internal leaks and maintain uniform pressure, crucial for perfect extraction. Remember, the secret to longevity isn’t complex but consistent care — your best tool for keeping your barista setup running smoothly for years to come.
,
Throughout my journey as a passionate home barista, I realized that some of the most valuable lessons aren’t taught in manuals but learned through hands-on experience and honest reflection. These insights, born from trial, error, and a dash of stubbornness, became the cornerstone of my daily routine—allowing me to craft espresso shots that rival those in professional cafes. If you’re committed to elevating your coffee game, embracing these lessons can unlock a new level of mastery and confidence.
What No One Tells You About Equipment Reliability
One surprising truth I discovered is that even the best-looking espresso machines need consistent care to stay in top shape. Neglecting routine maintenance—like descaling or sealing gaskets—sets the stage for performance dips that are easy to overlook until they become problematic. Regularly inspecting internal components and understanding their wear patterns provided me with early warning signs, saving me from costly repairs and ensuring my machine brewed at its best. For insights on maintaining your gear, I recommend exploring this detailed guide.
How Fine-Tuning Your Grinder Transforms the Experience
It became clear that a grinder’s health and proper calibration can make or break espresso quality. Dull burrs and residual coffee build-up subtly sabotage flavor, leading to inconsistent shots. Maintaining and cleaning my grinder regularly, along with precise burr alignment, allowed me to achieve uniform grind size—crucial for balanced extraction. I learned that patience during tuning pays off, especially when experimenting with different beans. For a step-by-step approach, my favorite resource is this in-depth article.
When External Factors Lead to Internal Chaos
One lightbulb moment was realizing that external vibrations—like from a nearby refrigerator or loud household electronics—could amplify internal machine tremors. Positioning my setup away from these sources significantly reduced instability and prevented cups from jittering. Additionally, ensuring a sturdy, flat surface with anti-vibration pads created a stable foundation, making every brew more predictable and enjoyable. Simple adjustments like these reminded me that the environment around your gear is just as important as the equipment itself. Want to know how to optimize your space? Check out this article.
Why Consistent Maintenance Outshines Fancy Gear
In my experience, believing that top-tier equipment alone guarantees perfect espresso is a myth. The real game-changer is a disciplined maintenance routine. Regular cleaning, internal scaling checks, and calibrations mean my machine performs reliably day after day. This consistency allows me to focus on technique rather than troubleshooting. A well-maintained setup also extends the lifespan of my investment. For tailored maintenance routines, I lean on this trusted guide.
Remember, the secret to cafe-quality espresso at home isn’t just about costly equipment but about nurturing it with care, patience, and attention to detail. These insights helped me attain a harmony between my tools and techniques, resulting in better shots and more joy in every cup.