Why Your Milk Foam Collapses Before You Reach the Table
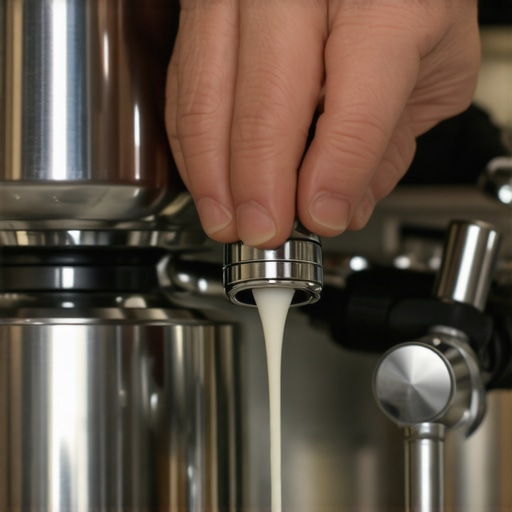
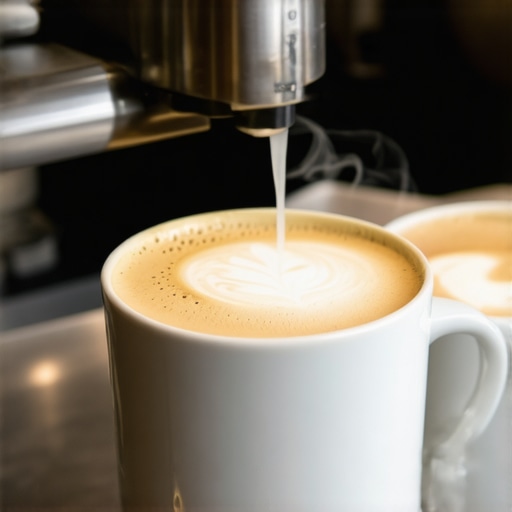
Have you ever poured a perfectly steamed milk into your latte, only to see the foam collapse within seconds? It’s like watching your beautiful microfoam turn into a sad, bubbly mess right before your eyes. I remember the first time this happened to me during a weekend brunch—my hopes were high, but then, my carefully crafted latte looked like a foamy deflation. Talk about a punch to the confidence!
That moment was my lightbulb—something was going wrong, and I needed to understand why my milk foam kept collapsing. If you’ve faced this frustration, you’re not alone. Many home baristas and coffee lovers struggle with achieving stable, silky microfoam that stays flawless until the last sip.
Let’s unravel this mystery and get your milk foam to last longer
Are You Falling for Common Milk Frothing Myths?
One mistake I made early on was thinking that all milk frothers are created equal or that any steaming technique would do. That was a costly misconception. I didn’t realize that subtle factors—like the angle of your milk pitcher or the milk’s temperature—make a huge difference. When I started paying closer attention to these details, my foam’s stability improved significantly. Curious? Check out this guide for more tips on creating microfoam that lasts.
Actually, studies show that the protein structure in milk plays a crucial role in foam stability. According to research, proper steaming and milk choice can extend the life of your microfoam. So, understanding the science behind the foam can save you from future disappointments.
Now, before we dive into specific techniques, I want to address a common fear: is perfect milk froth actually worth the effort? Absolutely. It elevates your coffee experience and makes even a simple espresso feel special. Plus, with a few tweaks, you’ll see that achieving lasting foam isn’t just for professional baristas—it’s well within your reach.
Let’s explore the practical steps to prevent your foam from collapsing, so every cup can be a beautiful, lasting masterpiece.
Control Your Milk Temperature
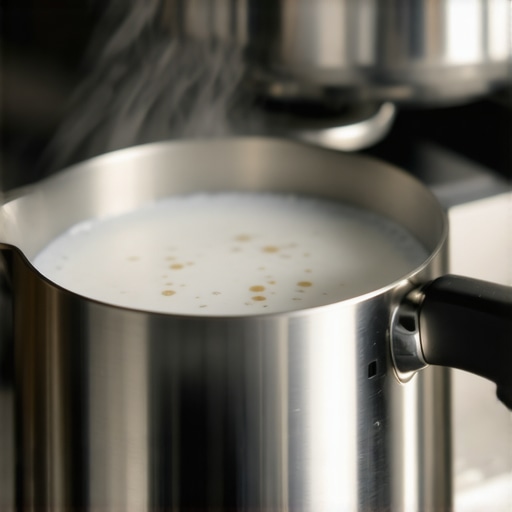
Start by heating milk to around 140°F (60°C); use a digital thermometer to be precise. I once guessed my milk was hot enough, but the foam collapsed within seconds. Using a thermometer helped me find the sweet spot, resulting in velvety foam that lasts until the last drop. Never rely solely on the feel of the pitcher—measure consistently for best results.
Use Fresh, Cold Milk
Chilled milk produces more stable foam. When I switched from warm milk stored on the counter to cold milk straight from the fridge, my foam noticeably improved. Fresh milk retains the proteins responsible for foam stability, making your microfoam smooth and resilient during steaming.
Choose the Right Milk Type
Whole milk tends to create richer, more stable microfoam due to its higher fat content, whereas skim milk froths easily but produces lighter foam that’s more prone to collapsing. Experiment with different milk types to find your preference, noting that ultra-pasteurized milk can sometimes hinder foam stability.
Master the Pitcher Angle and Position
Keep your pitcher at a 45-degree angle, with the wand tip just below the surface of the milk. I struggled early on by holding the wand too deep or at a steep angle, which caused uneven heating and unstable foam. Holding the pitcher steady and maintaining the right angle ensures consistent airflow and uniform microbubble formation.
Perfect Your Steaming Technique
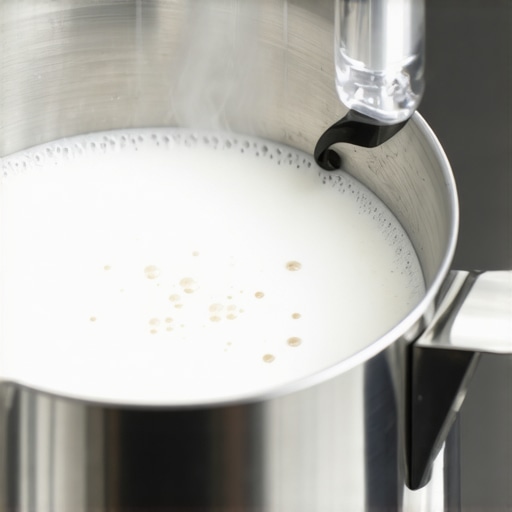
Start with a gentle crackling sound—this indicates the introduction of air. Once the milk expands slightly, dip the steam wand slightly below the surface to create a whirlpool, rotating the milk and integrating air evenly. I practiced this for weeks, and by gradually increasing the steam pressure, I achieved long-lasting, silky microfoam.
Ensure Proper Steam Pressure
Check that your espresso machine’s steam pressure is within the ideal range (around 1-1.5 bars). Low pressure results in thin foam prone to collapse. If your machine’s pressure drops mid-frothing, see this troubleshooting guide to stabilize your steam flow.
Froth in Small Batches
Frothing too much milk at once can cause the foam to fail. I learned to froth only as much as I needed, typically 6-8 ounces at a time. Smaller batches heat more evenly and produce more consistent foam, helping it stay stable longer.
Finish with a Gentle Tap and Swirl
After steaming, tap the pitcher on a counter to burst large bubbles, then swirl to integrate the foam into a glossy, cohesive texture. This simple step improved my foam’s longevity considerably, preventing separation or collapse during pouring.
Remember, the key to lasting microfoam is precision and patience. Each step—from milk choice to steaming technique—builds toward achieving foam that holds until your first sip.
When it comes to brewing the perfect espresso at home, many enthusiasts focus on high-quality beans or fancy machines. However, even seasoned home baristas often miss subtle yet critical nuances that can make or break extraction quality. One common misconception is that investing in a top-tier machine guarantees professional results. While equipment matters, understanding the intricate behaviors of your gear and how to manipulate them is equally vital. For instance, many believe that dialing in grind size is just about taste, but in reality, it heavily influences extraction consistency and flavor profile, as highlighted in expert analyses on proper grinder calibration. [Learn more about selecting the right grinder](https://espressotechguide.com/how-to-select-the-perfect-coffee-grinder-for-your-brew). Moreover, the myth that higher steam pressure always produces better microfoam can lead to soggy, unstable milk textures. Advanced baristas know that controlling steam pressure, along with milk temperature and pitcher position, is crucial for durable microfoam, as verified by scientific studies on milk behavior. An overlooked detail is the significance of puck prep—tamping pressure and distribution can introduce channeling or uneven extraction, impacting shot quality. Many overlook that static electricity or inconsistent tamping can cause uneven flow, a trap that even experienced hands fall into. Interestingly, the common emphasis on tamping firmness neglects factors like the basket’s condition or distribution technique. For example, using the ‘distribution tool’ improperly can cause uneven puck density, undermining the shot’s consistency. Also, advanced users experiment with adjusting water temperature slightly above or below standard 200°F (93°C) to optimize extraction for different roasts, which can significantly impact flavor and clarity. Scientific research supports this nuanced temperature adjustment as a way to unlock hidden flavors, especially for light roasts.
Why does tweaking water temperature matter for flavor complexity?
Because different beans respond uniquely to temperature variations—light roasts often benefit from slightly higher temps to extract delicate aromatics, while darker roasts prefer a cooler approach to prevent over-extraction. Understanding this ‘hidden’ nuance can dramatically elevate your brewing mastery. Finally, many home baristas underestimate the importance of machine maintenance—scale buildup or worn seals subtly influence pressure stability and water flow, degrading shot quality over time. Neglecting regular cleaning and part replacements can be a trail of silent performance issues. Studies on machine longevity reveal that routine maintenance extends equipment life and ensures consistent extraction quality. So, take it from the experts: mastering these subtleties transforms your espresso routine from good to extraordinary. Have you ever fallen into this trap? Let me know in the comments.
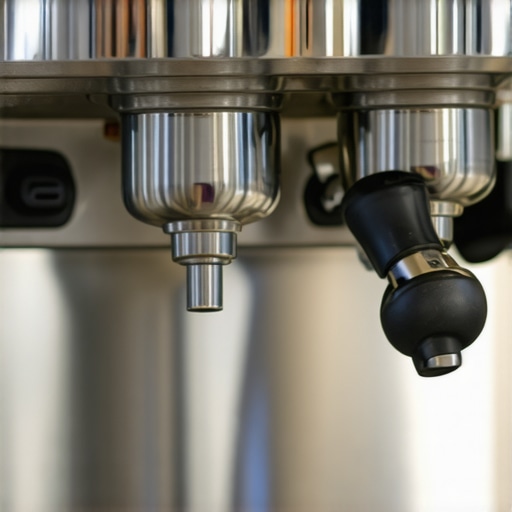
Maintaining your espresso setup is crucial to preserving the quality and consistency of your coffee. From grinders to milk frothers, each component requires regular care to perform optimally. I personally rely on simple yet effective maintenance routines to keep my equipment running smoothly, preventing breakdowns that could ruin a shot. Regular cleaning, timely parts replacement, and using appropriate tools are investments that pay off in long-term reliability.
Invest in Quality Tools for Effortless Maintenance
For grinders, I swear by a dedicated compressed air blower. It helps keep chutes and burrs free of coffee grounds, reducing static and preventing clogging. A high-quality precision cleaning pick makes removing stubborn residue from shower screens or portafilter gaskets quick and safe. When it comes to milk frothers, a gentle descaling once a month with vinegar or commercial descaler prevents buildup that can clog steam wands or taint flavors.
Prioritize Scheduled Maintenance for Consistency
Develop a routine checklist: daily rinsing and wiping, weekly deep cleaning of portafilters and steam wands, and monthly descaling. This proactive approach minimizes equipment downtime and ensures long-lasting performance. Recall that scientific tests emphasize the importance of clean boiler components to maintain steam pressure and temperature stability, directly affecting your microfoam quality. Expert advice from this guide underscores how neglected maintenance can lead to pressure drops and inconsistent milk texturing.
How do I maintain my espresso gear over time?
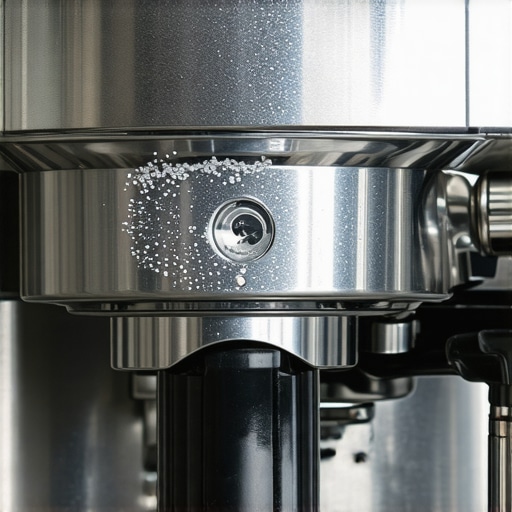
Understanding the specific needs of each component is key. For grinders, regular burr replacement or re-alignment prevents uneven grounds and static issues. Using a dry-erase marker on burrs for alignment ensures precise calibration. Espresso machines benefit from a thorough annual descaling, especially if you use tap water, to prevent mineral deposits that block water flow and compromise extraction. Routine inspection of seals and gaskets, such as the group head seal, prolongs machine life and avoids leaks or pressure leaks, which are detrimental to shot quality.
In the near future, I predict a rise in smart maintenance solutions integrated with IoT sensors that monitor pressure, temperature, and cleaning schedules in real time. This technology will automate alerts and even schedule service appointments automatically, making upkeep less of a chore.
Take the initiative today—try implementing a weekly cleaning routine with a dedicated cleaning tool, and see how your espresso quality improves. Remember, consistent maintenance isn’t just about keeping equipment alive; it’s about elevating your entire coffee experience.
As I reflect on my journey with home espresso, I realize that the most profound lessons often come from the moments when things didn’t go as planned. These experiences became my stepping stones toward mastery, revealing nuances that textbooks rarely cover. For instance, I once spent hours tweaking grind size, only to discover that the real breakthrough was in maintaining consistent tamping pressure. That realization transformed my approach and improved my shots significantly.
Another eye-opener was understanding that machine maintenance isn’t just routine—it’s a powerful tool for consistency. Regularly cleaning despite feeling busy might seem tedious, but it’s the secret ingredient that keeps my espresso tasting fresh and my equipment performing at its best. These lessons remind me that in the world of barista gear, attention to detail often trumps fancy gadgets.
Over time, I’ve learned that genuine progress comes from experimenting with small adjustments—be it milk temperature, pitcher angle, or pressure stability. Embracing these subtleties has made my mornings not just about caffeine, but about crafting a ritual of precision and care. The goal isn’t perfection but continuous improvement, turning everyday coffee into a personal masterpiece.
Lessons That Changed My Espresso Perspective
- Consistency Over Complexity: Focusing on the basics—like tamping and milk temperature—outperforms chasing the latest gizmos. Sometimes, simplifying your workflow yields the best results.
- The Science Behind Stability: Knowing how proteins in milk react to temperature helped me achieve microfoam that lasts longer. Dive into resources like this guide to deepen your understanding.
- Regular Maintenance Is Wealth: Routine cleaning and parts checks prevent unexpected breakdowns and flavor alterations. It’s a small investment with massive returns in quality and equipment longevity.
- Experiment, Then Observe: Each tweak—be it grind size or water temperature—teaches you something. Keep notes, and watch your skills evolve systematically.
Tools and Resources That Boost My Coffee Craft
- Precision Thermometers: A reliable digital thermometer helps nail milk and brew temperatures, essential for microfoam and shot clarity.
- Quality Grinder: I rely on a grinder like a top-rated grinder to ensure consistent particle size—a cornerstone of great extraction.
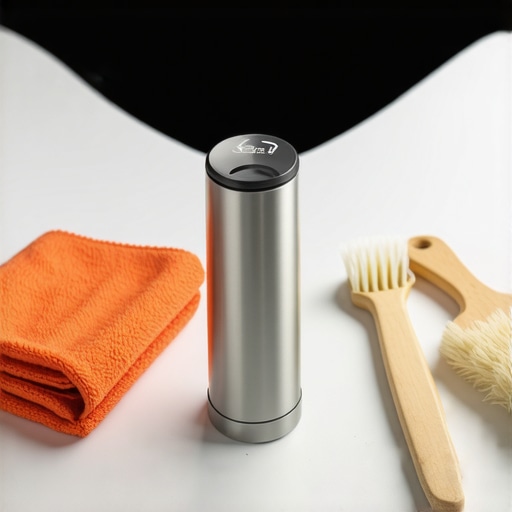
- Cleaning Equipment: From brushes to descalers, maintaining my equipment with these tools keeps my gear in peak condition.
- Educational Content: I find value in tutorials and blogs—like these resources—which continually refine my technique and understanding of espresso science.
Keep Pushing Your Espresso Boundaries Today
Remember, mastery isn’t a destination but a journey of small, meaningful improvements. Each shot you pull, every adjustment you make is a step toward elevating your home barista skills. Don’t settle for good enough—embrace the minor details that make a big difference and turn your daily coffee routine into a rewarding craft. The world of espresso is full of secret techniques waiting for your discovery, so stay curious and keep experimenting.
What was the most unexpected lesson you’ve learned while tinkering with your espresso setup? Share your story below and inspire fellow enthusiasts!