How to align your manual coffee grinder for better particle uniformity
It was a morning just like any other, but as I pulled my manual coffee grinder to prepare a fresh brew, I noticed something unsettling. The grind size was inconsistent, and my espresso was turning out more like a muddy soup than a smooth shot. Frustrated, I realized I hadn’t adjusted my grinder in ages, yet somehow, my coffee was suffering. That lightbulb moment hit me—if only I had known how to properly align my grinder, I could have avoided this mess and brewed like a true barista at home.
Why Proper Grinder Alignment Changes Everything
Aligning your manual coffee grinder might sound intimidating, but trust me, it’s one of the most impactful tweaks you can make to improve your coffee quality. When your burrs aren’t aligned correctly, you get uneven particle sizes—some too coarse, others too fine—which leads to under-extraction or over-extraction, ruining the flavor and consistency of your brew. I’ve been there, and I know how disheartening it can be to think you’re doing everything right, only to end up with a disappointing cup.
Aligning your grinder isn’t just about aesthetics or maintenance; it’s about unlocking the full potential of your beans. Think of it like tuning a musical instrument—small adjustments make a world of difference. In my experience, a few simple steps can dramatically elevate your coffee game. Plus, learning how to properly align your burrs boosts your confidence, saves money by reducing waste, and could even make the difference between an average cup and that astonishing shot you’ve been craving.
Have you faced those mornings where your freshly ground coffee just doesn’t taste right, no matter how careful you are? If so, I’m here to tell you that fixing this is easier than you might think, and it all starts with understanding how to properly align your grinder.
### Is Grinder Alignment Actually Worth the Hype?
Early on, I made the mistake of ignoring the importance of burr alignment, thinking the grinder’s initial setup would suffice. That was a huge oversight. Studies show that particle uniformity is crucial for optimal extraction, which directly influences flavor and aroma. Misaligned burrs throw off this balance, resulting in bitter or sour notes that shouldn’t be there. So, yes—taking the time to learn how to align your burrs is absolutely worth the effort.
In the following sections, I’ll walk you through the exact steps I’ve developed over years of troubleshooting and trial-and-error, helping you achieve consistent, delicious grounds every time you grind. Ready to transform your coffee experience? Let’s dive in and master the art of grinder alignment together.
Identify Your Burrs and Prepare for Adjustment
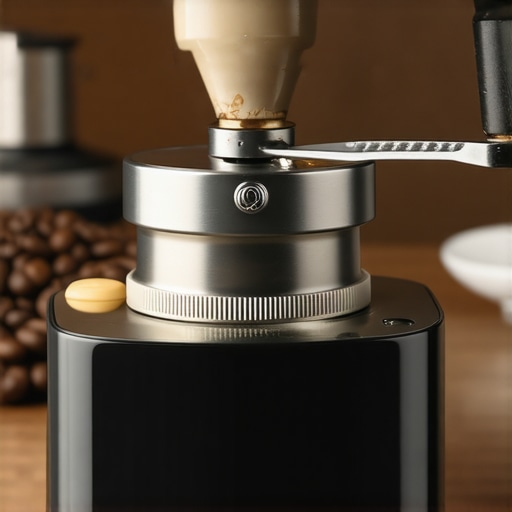
Start by locating your grinder’s burrs—these are the teeth-like components responsible for crushing coffee beans evenly. Remove the hopper and unscrew the top burr using the manufacturer’s instructions. Remember, each grinder has unique mechanics, so consult your manual or resource guides for model-specific tips.
Assess the Current Burr Alignment
Check if the burrs are flush with each other and parallel. A helpful analogy is aligning two puzzle pieces—you want them perfectly matched without gaps or tilts. One quick way is to run the grinder on a coarse setting, then observe the grounds. Uneven particles hint at misalignment; I once experienced this when a slight tilt caused my grounds to look inconsistent, leading to bitter shots. Make sure to clear out old coffee residues before proceeding.
Use the ‘Shims’ Technique to Fine-Tune Alignment
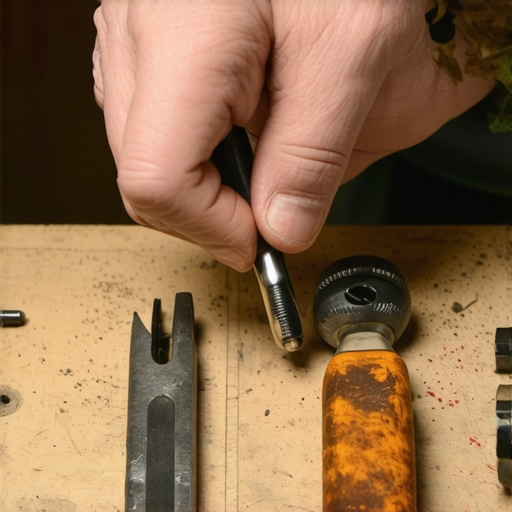
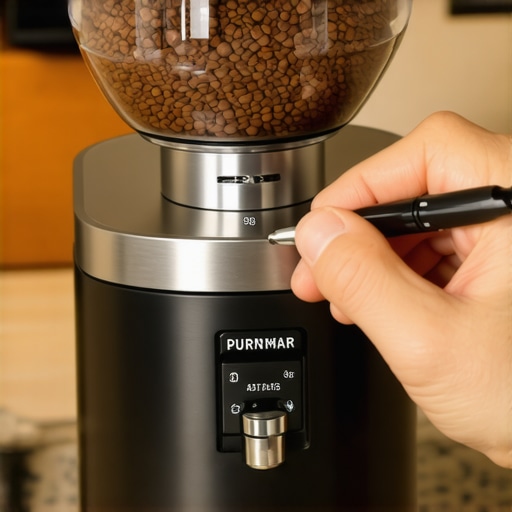
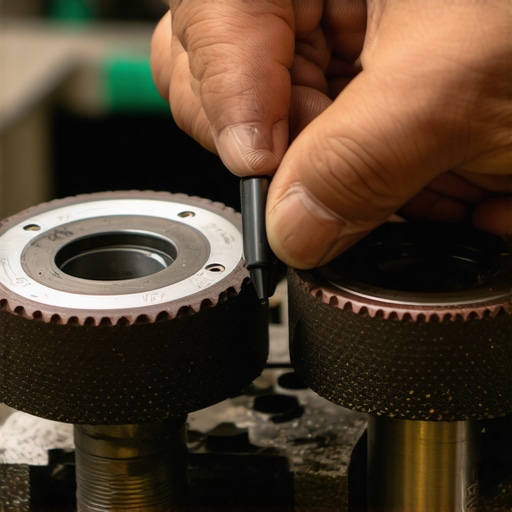
If your burrs are off by even a hair, applying shims—thin metal or paper pieces—can correct this. Insert a shim between the burr and the adjustment collar, then tighten and test grind. Think of it as leveling a wobbly table—small tweaks make big differences. For flat burr grinders, a handy trick is to mark the burr edges with a fine Sharpie to see if they’re aligned after adjustments. For further precision, check out this detailed method.
Reassemble and Run Test Grinds
Carefully reassemble your grinder, ensuring all parts are securely in place. Run a batch of coarse grounds, then inspect their size and consistency. If particles are still uneven, repeat the shims adjustment process. Remember, consistency is key—think of it as tuning a guitar string until perfect pitch is achieved. I once spent nearly an hour adjusting my burrs before I finally achieved uniform grounds, which transformed my espresso shots.
Perform a Fine Adjustment for Precision
After achieving rough alignment, switch to a fine grind setting akin to usual espresso requirements. Fine-tune the adjustment collar—turning it clockwise to tighten or counter-clockwise to loosen—until the grounds are consistently uniform. Visualize balancing a scale; small turns lead to noticeable improvements. This step often needs patience, but once dialed in, your coffee will taste a significant step closer to cafe-quality.
Document Your Perfect Settings and Maintain Regular Checks
Keep track of your optimal adjustment settings, especially if you switch beans regularly. Periodically revisit alignment—every few months or after cleaning—to prevent drift. A misaligned burr can turn your rich aroma into a dull underwhelming brew, so regular maintenance is essential. For more tips on keeping your gear in peak condition, visit this guide.
Many home baristas fall prey to misconceptions about espresso gear, especially when it comes to milk frothers, espresso machines, and grinders. One prevailing myth is that expensive equipment guarantees perfect coffee. In reality, understanding the subtleties of each component and how they interact is crucial. For instance, choosing a high-end espresso machine without mastering proper dialing-in can lead to subpar results, despite its premium price. Doing thorough research, like consulting our comprehensive guide on grinders, can save you from costly mistakes.
Another common misconception involves milk frothers. Many assume that all foam is equal, but the truth is that different frothers employ varying mechanisms—handheld, steam wand, or automated systems—and each requires specific techniques for optimal results. Relying solely on automatic frothers often leads to underdeveloped microfoam, which is essential for latte art and texture. For more insights, see this article on milk frothers.
Advanced enthusiasts should also be aware of the intricacies of burr alignment. It’s a mistake to assume that burrs stay perfectly aligned forever. Small deviations can cause uneven grind size, affecting extraction and flavor. Many overlook this, leading to bitter or sour shots. Regular checks, like using the “shims” technique detailed in our alignment guide, can make a noticeable difference.
But why do these nuances matter? Because the devil is in the details. Even minor misalignments or misunderstandings about gear can compound, resulting in a compromised cup. Mastering your tools involves not just knowing how to operate them but understanding their hidden intricacies.
Now, a warning for the savvy: avoid rushing to upgrade your equipment without first mastering what you already have. Upgrading a grinder or machine won’t fix fundamental technique errors. Instead, focus on fine-tuning your current gear, which can often outperform poorly used high-end equipment. Regular maintenance, calibration, and learning the quirks of your specific setup are vital steps in elevating your coffee game.
Are you aware of common pitfalls like these? Have you ever fallen into this trap? Let me know in the comments. For those ready to optimize their gear, I recommend exploring our articles on best espresso machines of 2025 and cleaning and maintaining your grinder. Remember, mastery lies in understanding the nuances—only then can your daily brew truly shine.Maintaining your barista tools is essential to keep your coffee tasting just right and prolong the lifespan of your equipment. To ensure your espresso machine, grinder, and milk frother perform at their best, investing in specific tools and adopting solid routines makes all the difference. One indispensable item I swear by is a **precision calibration scale**. I personally use the [Espro Calibrated Scale](https://espressotechguide.com/how-to-calibrate-your-espresso-scale-when-it-starts-drifting), which allows me to dial in each shot with accuracy, minimizing waste and ensuring consistent extraction.
Beyond measuring, cleaning tools are crucial. A **small brush with stiff bristles** dedicated to cleaning portafilter baskets and grinder burrs helps prevent build-up that can taint flavors. I recommend maintaining a set of **compressed air cans**, which are invaluable for clearing out residues from grinder chute and espresso machine filters—this simple step prevents clogging and maintains flow rate.
Regularly replacing parts like **group head gaskets** and **steam wand seals** keeps leaks and pressure issues at bay. For this purpose, I keep a set of OEM replacement parts on hand. The manufacturer’s guides, such as this one on leak prevention, give detailed steps and are worth reviewing.
Looking toward the future, I believe automation and IoT integration will revolutionize home barista setups. Imagine sensors that track wear and schedule maintenance automatically—much like the [BaristaBot](https://espressotechguide.com/why-your-burr-grinder-is-getting-hot-during-your-third-shot) concept discussed in recent tech forums.
### How do I keep my gear working over time?
Perform routine inspections monthly, especially before big coffee sessions. Use a **calibration scale** to verify shot weights and perfect your grind setting. Regularly clean your grinder burrs with a dedicated brush, and check gasket health annually. Replacing worn seals prevents pressure loss that can ruin extraction. Remember, a small investment here pays off with improved flavor, fewer breakdowns, and longer equipment life.
For the meticulous espresso enthusiast, I recommend creating a maintenance log. Track dates of parts replacements and calibration adjustments. Doing so helps identify patterns and anticipate issues before they become serious. As espresso legend Scott Rao emphasizes, “Routine maintenance is the foundation of consistent quality” (source: source article).
Don’t forget to try one advanced tip: periodically using a **light oil application** on your grinder’s gears (sparingly and with food-safe oil) can reduce static and improve the flow of grounds, especially if you notice clumping or static buildup. This little trick can dramatically streamline your morning routine.
Investing in the right tools and sticking to a routine ensures your espresso gear remains reliable and your coffee consistently excellent. Stay proactive—your taste buds will thank you.
Through my journey of fine-tuning my home espresso setup, I discovered that the smallest adjustments often yield the most remarkable improvements. One lesson that truly stood out was realizing how crucial it is to treat your gear like a living partner—regularly communicating and caring for it to unlock its full potential. I once overlooked the importance of regularly cleaning my grinder’s chute, only to find my grounds inconsistent and my shots lacking depth. That simple act transformed my routine and revitalized my taste buds.
The Hidden Gems of Barista Wisdom That Changed My Perspective
- I’ve learned that the most overlooked step—like performing routine maintenance on my grinder and machine—can make a night-and-day difference. It’s akin to tuning a piano; neglecting it results in discordant music. Small, proactive actions save time and effort in the long run.
- Understanding the real cause behind common problems—such as static buildup in grinders—has helped me avoid unnecessary repairs or replacements. Using anti-static tools or tweaks in my grind environment kept my workflow smooth and my coffee consistent.
- Investing in quality tools like a calibrated scale wasn’t just about precision—it’s about building confidence. Knowing my exact dose and yield means I can consistently reproduce my favorite shots and experiments with new beans without guesswork.
- Perhaps most surprisingly, embracing the learning curve without fear transformed brewing from a daunting task into an enjoyable craft. Embracing imperfections and viewing each fix as a step toward mastery fueled my enthusiasm.
Tools and Resources That Elevated My Coffee Game
- Espro Calibrated Scale—A game-changer for precise dosing and yield tracking, ensuring consistency in every shot.
- High-Quality Cleaning Brushes—Simple but vital, these tools kept my grinder and machine performing at their best, preventing clogs and flavor contamination. For detailed cleaning routines, consulting this guide helped me tremendously.
- My Favorite Literature—Books like “Mastering the Art of Home Espresso” offered insights that sparked confidence and introduced me to technical nuances that made a visible difference in my brewing.
- Community Forums and Expert Blogs—Engaging with seasoned enthusiasts provided real-world troubleshooting advice and fresh ideas. A good example is this comprehensive guide.
Absolutely No Room for Waiting—Start Today
Transforming your coffee experience is less about acquiring the next fancy gadget and more about refining what you already have. Approach your gear with curiosity and patience, knowing that each small tweak brings you closer to barista-level excellence. Remember, mastery in home brewing isn’t a destination but a continuous journey—every adjustment, every clean, every experiment sharpens your skills and deepens your appreciation for this craft.