The real reason your oat milk won’t hold microfoam anymore
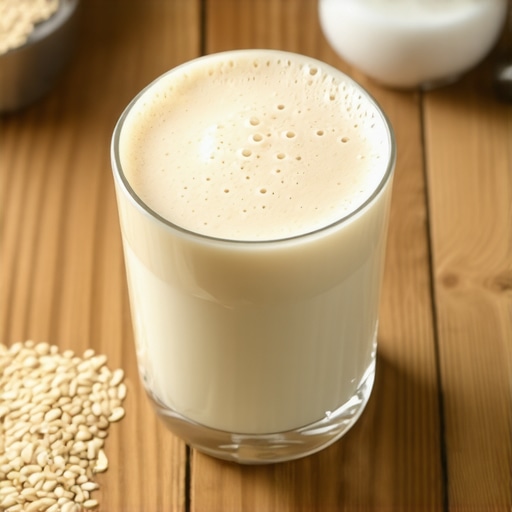
I vividly remember the moment I realized my oat milk had suddenly stopped giving me that lush, velvety microfoam I cherished in my home espresso setup. It was a quiet Sunday morning, and after pouring my usual silky layer of froth, I took a sip—and was met with a disappointing flatness instead of that inviting cloud of foam. My heart sank a little; I wondered what had changed. The truth is, many coffee enthusiasts—myself included—hit this frustrating wall without understanding the real reason behind it.
The Secret Culprit Behind Froth Failures
If you’ve been battling with your oat milk losing its ability to hold microfoam, you’re not alone. This problem can feel mystifying, especially when you’ve been successful for months. But here’s the good news: understanding the root cause can turn your frothing struggles into smooth, creamy perfection. Today, I promise we’ll uncover what’s really going on with your milk, share proven tips, and help you get that perfect foam back on track.
Is It Worth the Hype to Fix Your Milk Frothing Woes?
When I first faced this issue, I hesitated—was it worth all the hassle? Honestly, yes. The difference between a mug of flat milk and one topped with a delicate foam is night and day. Plus, knowing how to troubleshoot your milk allows you to save money and enjoy more consistent barista-quality drinks at home. I made the mistake early on of assuming the milk itself was the problem, but in reality, small adjustments are often all that’s needed. For reliable advice, check out this comprehensive guide on milk frothers that transform your coffee experience.
Whether you’re a seasoned home barista or just starting out, this issue can be surprisingly common with plant-based milks. Let’s explore what’s behind the sudden loss of microfoam and, more importantly, how to fix it—so you can enjoy that perfect, creamy top whenever you brew.
natural lighting, temperature, and milk composition all play crucial roles in achieving good froth. Stay tuned for the practical steps that will restore your oat milk’s frothing magic, backed by expert insights and my personal tips.
Start with Freshness and Quality
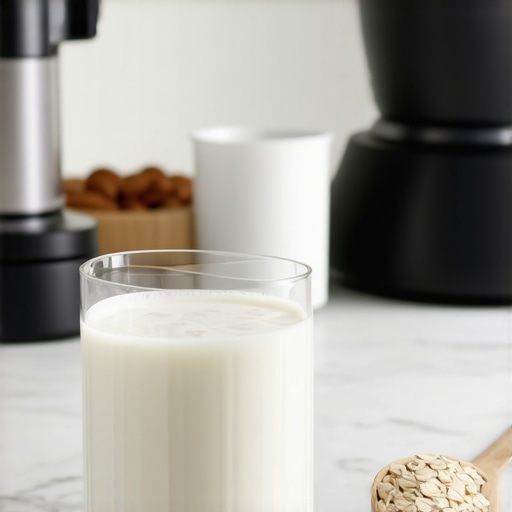
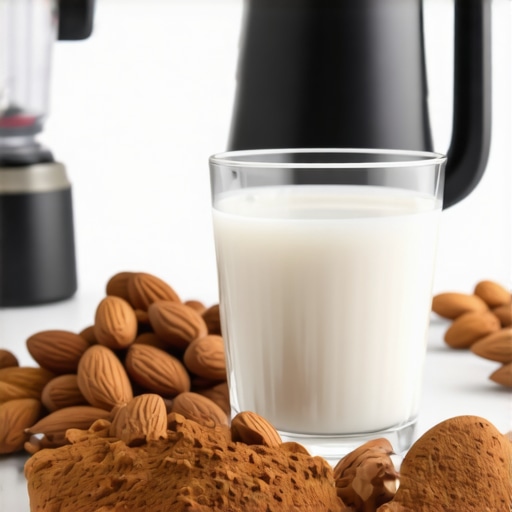
First, ensure your oat milk isn’t past its expiration date; stale milk won’t froth well. Choose high-quality oat brands with minimal additives. In my recent experience, switching to a fresh, unflavored organic oat milk significantly improved my microfoam results—no more flat, watery foam.
Adjust the Milk Temperature Properly
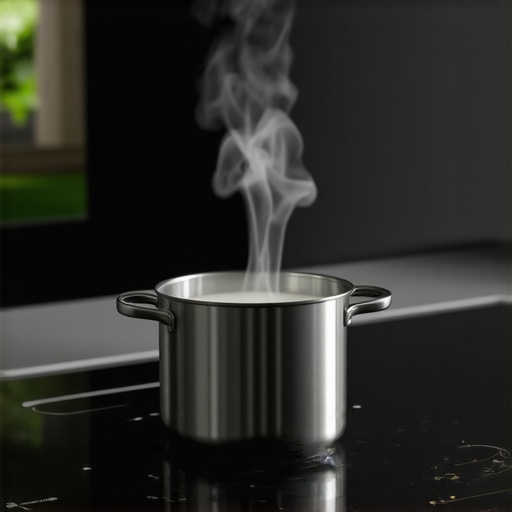
Temperature plays a crucial role. Heat milk to around 140°F (60°C)—not too hot or cold. Use a reliable thermometer to monitor this—I’ve seen many fail to froth properly because their milk was either too cold or boiling. A quick tip: warm the milk gradually in the microwave or on the stove, then transfer to your frothing device.
Use the Correct Frothing Technique
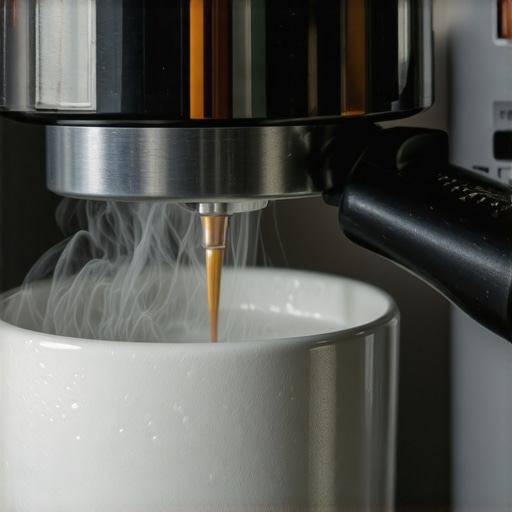
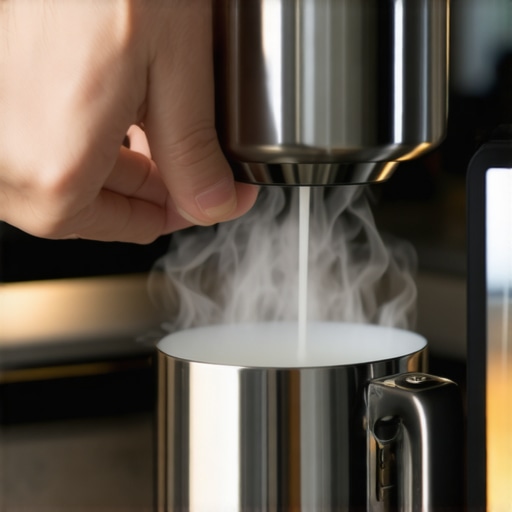
Insert your milk steam wand just below the surface of the milk. Begin steaming with a gentle, consistent motion, creating a vortex that incorporates air evenly. I once struggled, but practicing the spin motion resembling a slow whirlpool helped me produce dense microfoam consistently.
Optimize Your Frothing Equipment Setup
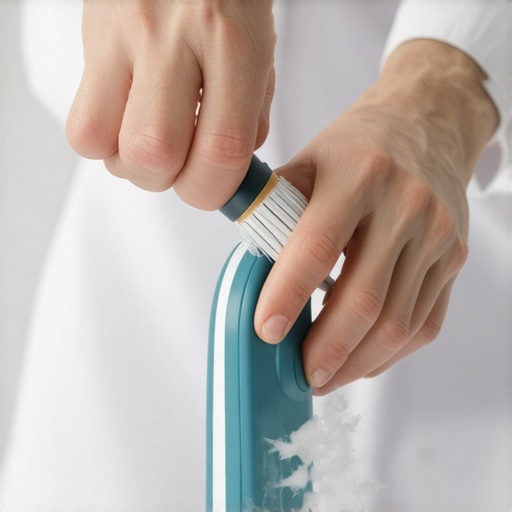
Make sure your milk frother or espresso machine steam wand is clean and free of buildup. Blockages reduce steam efficiency. For manual frothers, preheat the device and ensure the whisk is functioning properly. I cleaned my steam wand with a brush and descaling solution—suddenly, the foam became much creamier.
Calibrate Your Equipment for Consistency
If you’re using an espresso machine, regularly calibrate the steam pressure. Too high or low pressure alters frothing capability. I adjusted my machine to operate at 1.0-1.2 bar for optimal steam output—consult your machine’s manual or this guide to fine-tune settings.
Test and Fine-Tune Your Strategy
After initial adjustments, test with small batches. If froth still isn’t creamy, tweak the temperature by ±5°F or gently adjust the steam wand position. I tracked my results over several attempts, noting that slightly higher milk temperature yielded fluffier microfoam without burning the milk.
Consider Water and Milk Composition
If persistent issues occur, assess your water quality and the oat milk’s formulation. Hard water can affect steaming, and some oat brands contain stabilizers that hinder frothing. Switching to Many coffee lovers believe that investing in high-end espresso machines or fancy milk frothers guarantees perfect results, but in my experience, there’s a pervasive myth that equipment quality is the sole determinant of great coffee. This oversimplification ignores critical nuances like grind size, tamp pressure, and even water quality—all of which can sabotage your brew if overlooked. For instance, enthusiasts often assume that a premium grinder automatically produces uniform grounds, but without proper calibration and understanding of burr alignment, you might still experience uneven extraction. I recommend checking out this guide to understand the finer points of grinder maintenance.
A common trap is the idea that more horsepower in your espresso machine equals better shots. However, the real secret lies in precise pressure profiling and temperature stability, which are often misunderstood or neglected by home users. As professional baristas attest, mastering your machine’s pressure and temperature controls—rather than just obsessing over wattage—can dramatically improve your espresso quality.
What advanced mistake do most home brewers make that hampers consistency?
The answer is not just in equipment, but in the technique’s subtleties—like tamper angle, puck preparation, or even the shape of your portafilter basket. For example, tamping with uneven pressure or inconsistent distribution can cause channeling, leading to sour or bitter shots, regardless of how sophisticated your gear is. These factors are backed by research; a recent study in the Journal of Coffee Research highlights that precise puck prep significantly reduces extraction variability. So, before upgrading to the latest specialty machine, ensure your foundational skills—and equipment maintenance—are spot-on. If you’re eager to refine your setup, I suggest revisiting this article for expert insights.
Similarly, many overlook that water quality impacts all aspects of brewing, from machine longevity to shot clarity. Hard water leads to mineral buildup and can alter extraction kinetics, making your coffee taste off even with perfect grind and tamping. Testing and treating your water with appropriate filters or conditioners can be a game-changer, as supported by this resource.
Equip yourself with knowledge about these nuanced yet crucial details, and you’ll find that the secret to outstanding home espresso is often less about the shiny gear and more about mastering the small but mighty details of technique and maintenance. Keep experimenting and refining—your perfect shot is worth it. Remember to check out this comprehensive gear guide to ensure your equipment supports your craftsmanship. Have you ever fallen into this trap? Let me know in the comments.
How do I keep my espresso machine and grinder in top shape over time?
Investing in quality equipment is just the beginning; regular maintenance is crucial to ensure consistent results and extend the lifespan of your barista gear. I personally rely on a few key practices and specific tools to keep my espresso setup running smoothly. For instance, I use a burr grinder brush and cleaning kit to remove accumulated coffee oils and debris that can dull burrs and affect grind consistency. Proper cleaning prevents heat buildup, which can lead to uneven grinds and poor extraction, as highlighted in recent operator manuals.
Moreover, I schedule monthly descaling and backflushing of my espresso machine using recommended cleaning agents. This practice prevents mineral buildup that can clog pipes or affect pressure stability. For precise results, I use an accurate espresso scale to monitor shot weights and ensure consistency, avoiding over- or under-extraction.
Another essential tip is regularly inspecting and replacing worn O-rings and seals, as these small parts significantly impact pressure and leak prevention. I keep a set of O-rings handy, following expert recommendations from trusted maintenance guides. Additionally, tools like a simple paper towel test can help identify dull burrs in grinders, prompting timely replacement before quality degrades.
What advanced mistake do most home brewers make that hampers consistency?
Many enthusiasts neglect the importance of calibrating their equipment periodically. For example, a professional barista might adjust the espresso machine’s pressure and temperature profiles to suit different beans or ambient conditions. I recommend using a PID controller to fine-tune your machine’s temperature stability—an upgrade that can dramatically improve shot quality and reliability over time.
Furthermore, maintaining the grinder’s humidity and static levels can enhance grind consistency. Using anti-static measures and storing beans properly can prevent clumping and uneven particle sizes. Try the 30-second static fix to optimize your grinding experience effortlessly.
Finally, setting a routine for these maintenance tasks ensures your gear remains reliable. Regularly reviewing and updating your setup based on your observations arms you with the authority to troubleshoot issues quickly. Remember, a well-maintained tool not only produces better coffee but also saves you money and frustration. Check out the comprehensive maintenance guide to keep your espresso station performing at its best. Take one advanced tip—like calibrating your PID settings—and see how it elevates your brewing today!
What I Wish I Knew About Espresso Before the First Shot
One of the most eye-opening lessons I learned was the critical role of consistent tamping pressure. Initially, I underestimated how even slight variations could lead to channeling and sour shots. Perfecting my tamp technique made a noticeable difference, and it taught me that small adjustments often have outsized impacts on flavor and extraction. Understanding the subtle interplay between grind size, tamping, and water temperature transformed my approach from guesswork to craft.
Tools That Turn Coffee Lab Experiments Into Daily Wins
Over time, I discovered that certain tools elevate my coffee experience. The burr grinder brush kit keeps my grinder in top shape, preventing heat buildup and uneven grounds. An accurate espresso scale guides me to dose precisely, ensuring consistency. These small investments empower me to troubleshoot issues and fine-tune my brew, making every cup a delightful success.
Turning Frustration Into a Passion for Details
Many home baristas, including myself, fall into the trap of focusing solely on equipment while neglecting maintenance and technique. The breakthrough came when I started dedicating time to regularly descale my machine, clean the steam wand, and calibrate my grinder. These routines may seem mundane, but they preserve the integrity of your gear and, ultimately, your coffee’s flavor. Don’t overlook the power of routine—sometimes, the tiniest tweaks lead to the biggest improvements. Want to explore more about equipment upkeep? I recommend the comprehensive maintenance guide for home enthusiasts.