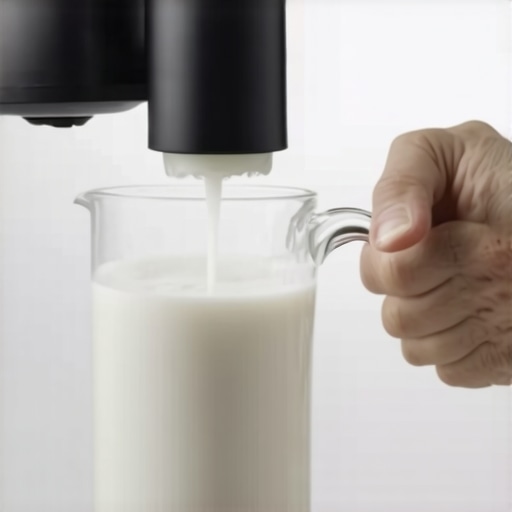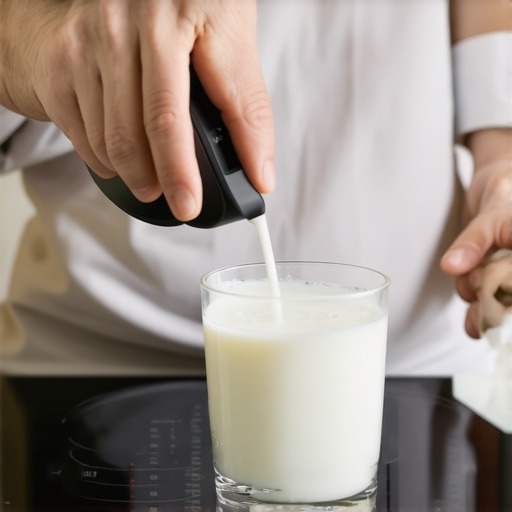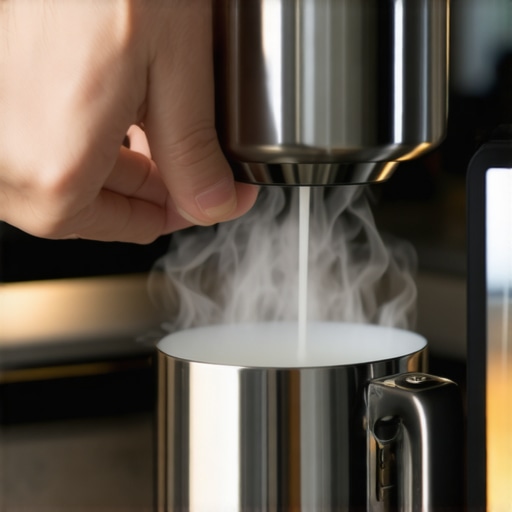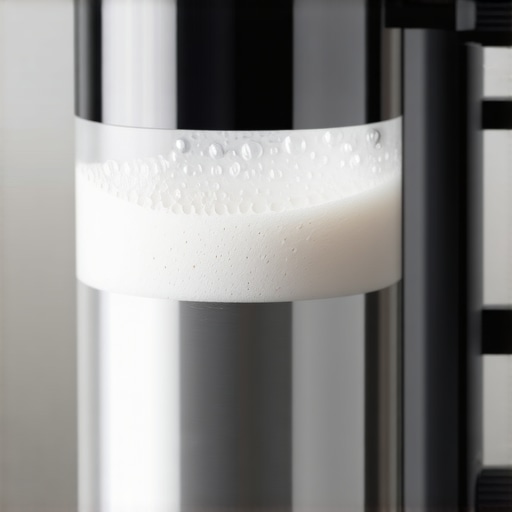
The hidden reason your frother makes large bubbles instead of foam
I remember the first time I tried to make that velvety microfoam at home, only to end up with a frothy battleground of giant bubbles. Frustrated, I stared at my milk, wondering what I had done wrong. Turns out, the culprit was something so simple—yet so overlooked—that it cost me countless attempts before I finally cracked the code.
The Surprising Secret to Smooth, Creamy Froth
If you’ve ever agonized over frothing milk only to be greeted by a froth filled with enormous bubbles instead of a lush, velvety foam, you’re not alone. Believe me, I’ve been there, curling my lip at the sight of that unsightly mess. What’s even more frustrating is when this happens repeatedly, making you question whether your equipment or technique is to blame.
The good news is, that unruly bubble problem often has a hidden cause that’s easier to fix than you might think. In fact, the very process of frothing can go awry if you’re unknowingly introducing air at the wrong stage or if your equipment isn’t prepared properly. I used to believe that the quality of my milk or the temperature was solely responsible for poor foam. But as I dug deeper, I discovered a small yet crucial detail that makes all the difference.
According to *Barista Hustle*, improper steam wand technique and insufficient equipment maintenance are leading causes of large bubbles and unstable foam. Proper care and technique can transform your frothing results, elevating your home barista game from amateur to professional-quality. So, if you’ve been battling giant bubbles, stay tuned—we’re going to unravel the mystery together and set your foam on the right path.
Did I really mess up early on by ignoring my steam wand’s cleanliness?
Absolutely. The first mistake I made was thinking that my equipment’s age or the milk’s quality was the root problem. It wasn’t. It was my neglect of a simple maintenance step—cleaning my steam wand regularly. A dirty wand can introduce air pockets and disrupt the pressure needed to create those tiny, stable bubbles that give you that perfect microfoam. For a comprehensive guide on keeping your equipment in top shape, check out this helpful post.
But don’t worry—once I understood the significance of proper steam wand maintenance and technique, everything changed. Now, I want to share the insights that can help you stop large bubbles from ruining your coffee experience. We’ll cover practical, proven steps to troubleshoot and master your frothing, no matter your equipment or skill level. Ready to turn those giant bubbles into silky microfoam? Let’s dive in and fix this once and for all.
Start with Fresh, Cold Milk
Always use cold milk from the refrigerator; it froths better and gives you more control. I once prepared my milk at room temperature, expecting quick results, but ended up with uneven bubbles. Cold milk allows for gradual, consistent heating and better microfoam formation.
Use the Right Equipment and Prepare It Properly
Invest in a quality milk frother or steam wand—think of it as your own miniature pressure cooker for milk. Before frothing, purge the steam wand or frother to clear any residual water and milk crust, which can introduce unwanted bubbles or disrupt pressure. Regular maintenance by cleaning the wand’s tip ensures a smooth, stable microfoam.
Position the Wand Correctly
Insert the steam wand just below the milk surface, angling it to create a whirlpool—similar to stirring with a spoon in a bowl. This introduces tiny air bubbles uniformly. I once struggled with large bubbles until I adjusted my wand placement, and instantly saw microfoam develop. Proper wand positioning is vital for tiny, stable bubbles.
Master the Technique of Air Introduction
Engage the steam wand at the right moment—start with a gentle hiss to introduce micro-bubbles, then submerge the wand deeper to heat the milk evenly. Keep the pitcher at a slight angle for a consistent whirlpool. I recall a messy attempt that splashed milk everywhere until I learned to control the pressure and timing of air incorporation.
Control the Steaming Temperature
Use a thermometer or learn to gauge by feel—aim for around 140-150°F. Overheating destroys microstructure, producing large, unstable bubbles. An accidental overheat once resulted in a bubbly mess. Constant practice helps develop sensory awareness for optimal temperature without tools.
Stop Frothing at the Right Moment
Finish when the milk reaches a shiny, creamy texture, with microbubbles no larger than a grain of sand. This requires attentiveness—over-frothing can break microfoam into larger bubbles, ruining the texture. I’ve learned to turn off the steam just as the pitcher feels warm to the touch, preserving perfect microfoam consistency.
Practice, Adjust, and Refine
Every attempt teaches you something—adjust wand position, steaming duration, and milk quantity. Keep notes on what yields the best foam and replicate that. Sometimes, a minor change—like angle or depth—makes all the difference. Remember, consistent results come from deliberate practice and equipment upkeep.
Many coffee enthusiasts fall prey to misconceptions about essential barista equipment, often oversimplifying choices that greatly impact coffee quality. Contrary to popular belief, investing in high-end espresso machines alone doesn’t guarantee stellar brews; the nuances of grinder calibration and machine maintenance are equally critical for optimal extraction. A common trap is assuming that all coffee grinders are created equal—this can lead to choosing devices without considering burr quality or grind consistency, which directly influence shot flavor. For instance, a burr grinder with dull or uneven burrs can produce inconsistent particle sizes, resulting in channeling and weak flavors, as highlighted in a study from the
best practices for grinder selection.
It’s tempting to purchase the most visibly impressive espresso machine on the market, but neglecting proper setup and routine descaling can cause frequent pressure issues and poor steaming performance. Do you know that if the steam pressure drops after only a few seconds, it may be due to scale buildup or worn seals? Regular maintenance, including checking and replacing worn parts, is essential for sustained performance. Many believe that milk frothers are simple devices, yet improper cleaning or using the wrong frothing techniques can lead to giant bubbles rather than silky microfoam. Properly cleaning and calibrating your frothing device can dramatically improve texture, as detailed in expert guides.
Furthermore, there’s a significant misconception that more expensive gear always equates to better results. While quality equipment lays a solid foundation, mastering technique, such as precise tamping pressure and water temperature control, is what truly elevates your brewing. Advanced users sometimes overlook subtle factors like the freshness of beans or grind bed uniformity, which can be the difference between decent and exceptional shots. A helpful tip for refining your setup is regularly inspecting and aligning your burrs to ensure consistent particle sizes, preventing bitterness caused by over-extraction.
Are you aware of the hidden dangers in neglecting routine calibration and maintenance? Over time, even your favorite grinder’s burrs can become dull or misaligned, subtly degrading flavor extraction. Using a simple method like the paper towel test can reveal dull burrs, prompting timely replacements that preserve shot quality.
Remember, building a mastery over your equipment involves understanding these nuanced details—it’s not just about acquiring gear but about integrating proper care and technique. Think you’re following best practices? Double-check your routine and see if you’re overlooking any subtle yet impactful aspects. If you want a comprehensive checklist to elevate your setup, visit our contact page for expert advice. Have you ever fallen into this trap? Let me know in the comments!,
Invest in Quality Equipment Tailored to Your Brewing Style
Owning top-tier coffee gear is just the beginning; ongoing maintenance ensures longevity and performance. Personally, I rely on the Baratza Virtuoso+ grinder because of its durability and consistent grind size, which is vital for espresso extraction. Choosing equipment that suits your brewing frequency and preferences can prevent unnecessary wear and costly repairs in the future.
Establish a Routine for Regular Cleaning and Checks
Clean your espresso machine’s group head and steam wand daily using the methods outlined in this detailed guide. Incorporate weekly descaling, especially if you use hard water, to avoid mineral buildup that can cause pressure drops and flavor degradation. I personally schedule a deep cleaning session every Saturday, which helps me catch issues early and keep my equipment running smoothly.
Utilize Calibration Tools for Consistency
For grinders, using calibration tools like a calibration ring ensures uniform particle size, preventing channeling and over-extraction. I regularly check my grinder’s burr alignment with a dedicated eyelash tool, as recommended by the pros. This attention to detail can substantially improve shot quality over time.
Tools That Make Maintenance Easier and More Effective
Invest in a bladder-driven pressure tester for your espresso machine to monitor health and detect issues proactively. I’ve found that using a set of precision brushes simplifies cleaning hard-to-reach areas, drastically reducing buildup and wear. Incorporating these tools into routine maintenance not only extends equipment lifespan but also guarantees expert-level shots at home.
Future Trends in Equipment Longevity and Smart Tech
Advancements in smart sensors and IoT-enabled coffee gear promise easier, real-time diagnostics. Manufacturers are beginning to embed sensors that alert users to descaling needs or component wear, which could revolutionize long-term maintenance. Embracing these innovations now positions you ahead of the curve. For example, exploring next-generation espresso machines with integrated diagnostics is a smart move.
How do I maintain my gear over time?
Set a weekly schedule to clean, calibrate, and inspect every component. Keep a detailed log to track recurring issues, which can inform timely repairs or upgrades. Regularly replacing burrs or seals before they fail is crucial—by doing so, you prevent pressure loss and flavor inconsistencies. To identify worn parts early, I recommend the burr inspection method. Don’t wait until your gear shows obvious signs of trouble—proactive maintenance saves money and keeps your grind and extraction on point.
Want to streamline your maintenance routine? Try adopting an annual deep clean combined with monthly mini-checks. Practice using the calibration tools I mentioned, and you’ll soon notice more consistent shots and less unexpected breakdowns. Remember, your gear is an investment; caring for it diligently will reward you with years of exceptional coffee experiences. Take the first step today by scheduling your next cleaning session and inspecting your equipment’s vital parts—your palate will thank you!
Lessons That Changed My Espresso Journey
One of the toughest lessons I learned was that even the best equipment won’t help if I ignore the basics of maintenance and technique. Neglecting routine wand cleaning led to persistent large bubbles, reminding me that upkeep is crucial for microfoam perfection. I also realized that patience during steaming yields far better results than rushing through the process—it’s about finesse, not speed.
Another insight came from understanding that small adjustments, like the angle of my pitcher or the timing of introducing air, dramatically affected my foam’s quality. These lightbulb moments taught me to observe and refine constantly rather than sticking to a static method. No matter how advanced your gear, these personal tweaks often make the biggest difference.
Finally, I discovered that a clean, well-maintained steam wand is the foundation of reliable microfoam. Regularly descaling and inspecting my machine prevented pressure drops and large bubbles, elevating my home espresso to a cafe-level experience. These lessons reinforced that mastery is an ongoing process—embracing patience, attention to detail, and care for your equipment turns good frothing into great.
Tools and Resources That Elevate Your Coffee Skills
For anyone serious about perfecting their microfoam, I recommend investing in a quality thermometer—precision in temperature control is non-negotiable. I trust the best at-home calibration tools to ensure my grinder produces consistent particle sizes, which directly impact foam stability. Additionally, regular use of maintenance guides keeps my equipment in peak condition, avoiding costly repairs and subpar foam.