How to Fix a Steam Wand That Keeps Drip-Dripping All Day
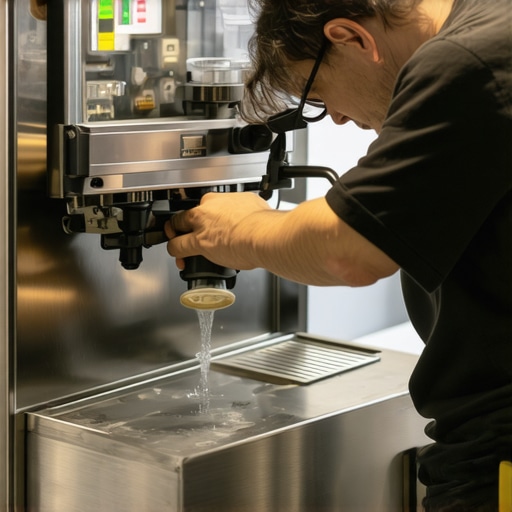
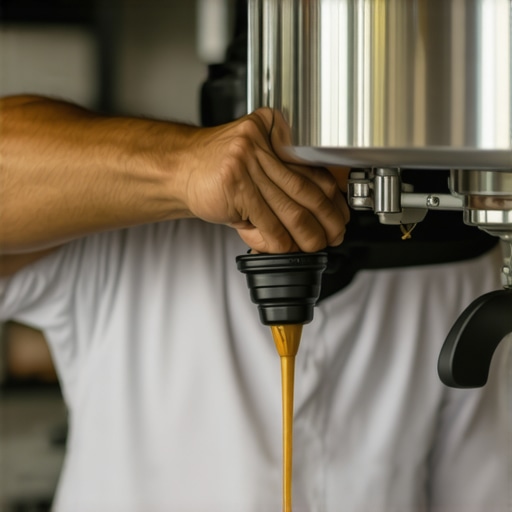
Ever had that frustrating moment late in the morning when your home espresso machine’s steam wand just won’t stop dripping? I remember the first time it happened—I was ready to start my day, eager for that perfect latte, only to find my steam wand leaking incessantly, soaking my countertop and wasting precious time. It was one of those lightbulb moments that made me realize how much I rely on my equipment to start my day right. If you’ve been battling a steam wand that drips all day long, you’re not alone. Many coffee enthusiasts face this issue, and trust me, it can be incredibly annoying, not to mention unprofessional in a busy morning routine.
So, why does this small part of our beloved espresso machines become such a troublemaker? The answer lies in a tiny but vital component—the O-ring. Over time, the O-ring can wear out, crack, or become misaligned, causing leaks that seem to persist despite your best efforts. This dripping not only wastes steam and water but can also lead to more severe issues if left unchecked, such as pressure buildup or damage to your machine.
Now, I want to promise you that fixing this problem isn’t as complicated as it seems. After years of tinkering and learning from my mistakes (which I’ll share with you so you don’t repeat my early blunders), I discovered simple, effective ways to stop that drip for good. What you’ll find here is a step-by-step approach based on real experience, designed to restore your steam wand to perfect working order.
Before we dive into the practical fixes, it’s useful to address a common concern —
Is fixing a leaky steam wand really worth the effort or just a temporary patch?
Many skeptics worry that these repairs might be complicated or short-lived. I once thought the same, especially when my initial attempt involved a quick twist or dab of silicone, which only made things worse. Initially, I made the mistake of ignoring the root cause, thinking a quick fix would suffice. But that only led to more leakage and frustration. Once I learned the importance of replacing worn-out parts like O-rings and properly aligning the components, my steam wand’s leak disappeared, and I saved myself a lot of headaches. For more insights on maintaining your machine, check out this detailed guide on mastering home espresso techniques—it’s been a game-changer for me.
Now that I’ve set the scene and shared my personal experience, let’s look at how you can troubleshoot and fix your steam wand leak effectively, starting with understanding the parts involved and how their wear leads to your drip dilemma.
Disassemble the Steam Wand Carefully
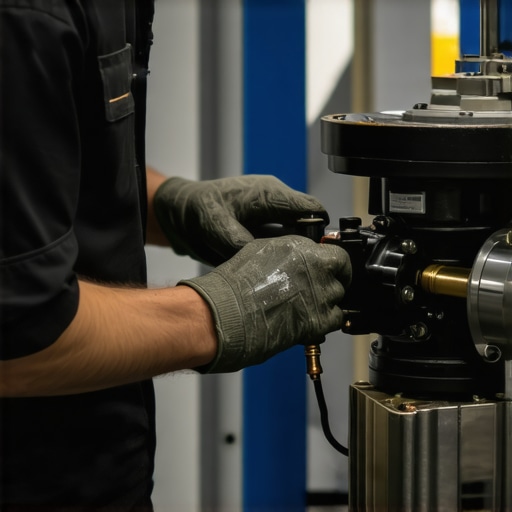
Start by turning off your machine and allowing the steam wand to cool completely. Use a wrench or screwdriver to detach the steam wand from the machine, paying close attention to how it’s assembled, so you can reassemble it correctly later. Remember, a messy removal can damage seals or misalign parts, leading to leaks.
Inspect the O-Ring and Seal
Once disassembled, examine the O-ring and rubber seals for signs of cracking, hardening, or debris buildup. Think of the O-ring as the gasket on a car engine—it must be pliable and intact to keep everything sealed tight. If it’s worn or damaged, replacement is essential to halt leaks and restore proper pressure.
Replace the Worn O-Ring
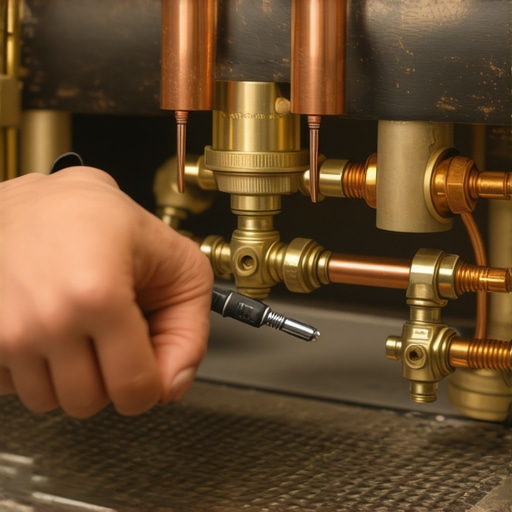
Remove the old O-ring carefully with tweezers or a small screwdriver, then select a matching size and type of replacement. Applying a tiny amount of food-grade lubricant or silicone grease will help the new O-ring seat properly and prevent it from tearing during reassembly. This step is similar to replacing a worn gasket in plumbing—you need a perfect fit for a proper seal.
Clean and Clear Blockages
Using a pipe cleaner or small brush, clean the interior passages of the wand. Think of it like unclogging a small pipe—blockages can cause pressure buildup and leaks. For stubborn residues, apply a cleaning solution designed for espresso machines or use a mixture of water and vinegar to dissolve mineral deposits. Be sure to rinse thoroughly afterward to prevent chemical residues from affecting taste or operation.
Unclog the Steam Tip
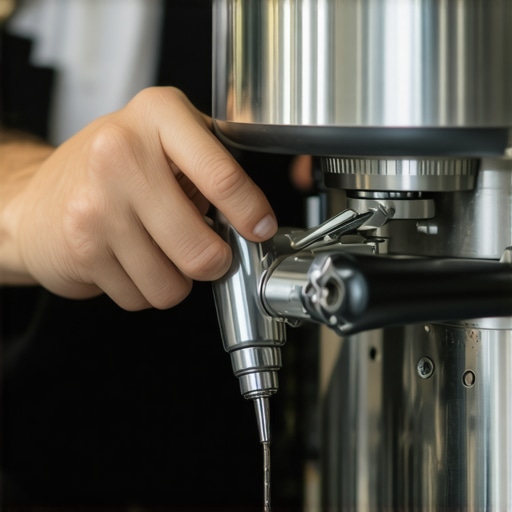
If steam only dribbles or sputters, the tip might be obstructed. Insert a 3-in-1 pipe cleaner or a thin wire into the tip opening and gently remove any buildup. This process ensures smooth vapor flow, preventing sputtering or drips during frothing sessions. Regular cleaning of the steam tip keeps the wand in top condition and avoids leaks caused by pressure inconsistencies.
Reassemble and Test
Once all parts are cleaned and the new O-ring is in place, reassemble the wand carefully, ensuring all connections are tight but not over-tightened. Turn on the machine and run a steam cycle to check for leaks. Watch closely around the seal area; if steam escapes, double-check connections and O-ring seating. Think of it as a test drive—small adjustments may be needed for a perfect, drip-free operation.
Maintain to Prevent Future Leaks
Regularly inspect the O-ring and seals, especially if you notice reduced steam pressure or slow drip. Deep clean the wand monthly to prevent mineral buildup. For detailed insights on maintaining your espresso gear, visit this comprehensive beginner guide.
Many coffee enthusiasts believe that investing in high-end barista equipment guarantees perfect results, but in my experience, this is a common misconception. The truth is, understanding the *nuances* and common pitfalls often matters more than the gear itself. For example, a frequent mistake is assuming that a pricier espresso machine automatically produces better shots. While quality equipment helps, factors like proper *tamping pressure* and *temperature stability* play a bigger role—highlighted by experts such as James Hoffmann, who emphasizes calibration and technique over brand name. Misjudging the importance of grinder calibration, for instance, can lead to over-extraction or channeling, even with premium grinders. Many overlook that *consistent grind size* requires regular adjustment based on beans and humidity—regardless of whether you own a fancy burr grinder or a basic one. Additionally, a hidden nuance is the *timing of dosing*; a few seconds’ difference in beans poured can drastically alter extraction. Think it’s trivial? A study published by the SCA confirms that dosage precision is crucial for shot consistency.
Another trap worth mentioning involves milk frothers. Many assume that all milk frothers produce microfoam, but the key lies in technique and *steaming temperature*—not just the machine. Many beginners also make the mistake of cleaning their equipment only when problems arise, instead of adopting routine maintenance. This often leads to *mineral buildup* obstructing steam wands or affecting brew temperature. If not addressed, it can cause leaks or inconsistent steaming that ruins the drink.
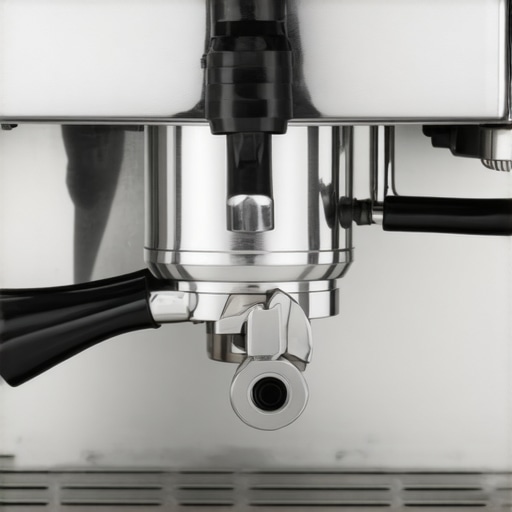
Are you aware that minor misalignments in your *group head gasket* can cause leaks and uneven extraction? Fixing this requires more than just replacing parts—it demands understanding how pressure and seal integrity interact over time. For those aiming for expert-level consistency, fine-tuning *pressure profiling* during extraction can make a difference. A recent article on home brewing techniques discusses how advanced temp and pressure control elevate espresso quality beyond basic setups.
Let me ask you: Have you ever fallen into this trap? Misjudged your equipment’s capabilities or overlooked subtle details that make all the difference? Drop your experience in the comments, and let’s unravel the real *nuances* of home barista mastery together.
Keep Your Equipment in Top Shape with Smart Maintenance Practices
For passionate coffee enthusiasts, maintaining your gear isn’t just about longevity—it’s about preserving the quality of every shot. Regularly inspecting and cleaning your espresso machine, grinder, and milk frother ensures consistent results and reduces unexpected breakdowns. Incorporate routine descaling with appropriate cleaning solutions and follow manufacturer guidelines to prevent mineral buildup, which can impair performance and flavor.
Investing in the right tools simplifies this upkeep. A high-quality set of pipe cleaners and brushes is invaluable for thorough cleaning of steam wands and brew pathways. Personally, I prefer a set with different diameters to tackle various components without hassle. For deep cleaning, I recommend a deliming solution—it’s crucial for maintaining optimal heat transfer and preventing leaks caused by mineral deposits.
Tools I Rely On to Keep Coffee Gear Running Smoothly
My go-to is a precision coffee grinder calibration kit. Regular calibration, combined with a high-quality dosing funnel magnet, helps ensure uniform grind size—a fundamental factor for extraction consistency. Additionally, a burr cleaning brush keeps particle buildup minimal, preventing uneven grinding and unwanted channeling.
For the milk frother, I swear by a microfoam-specific cleaning tool. Regularly cleaning your frothing wand, coupled with descaling your steam system, ensures velvety microfoam every time. Remember, a well-maintained setup prevents leaks, sputters, and pressure drops, laying the groundwork for cafe-quality drinks at home.
Preparing for Long-Term Success and Scaling Up
As you expand your setup, consider investing in a premium espresso machine with advanced diagnostics and easy-access components. These models not only offer better durability but also simplify maintenance routines. Pairing high-grade gear with a maintenance schedule inspired by professional cafes ensures your equipment stays in prime condition, offering consistent espresso shot after shot.
Looking ahead, I predict a rising trend toward smart, connected coffee devices. Imagine an app that alerts you when your machine needs descaling or a new gasket—making maintenance even more seamless. Embracing these innovations can elevate your home brewing experience and reduce downtime.
How do I maintain my coffee equipment over time?
The key lies in creating a maintenance routine that combines scheduled deep cleaning with quick daily checks. Use quality cleaning products, like descalers and gasket lubricants, tailored for your specific gear. Regularly inspecting seals, gaskets, and feeler gauges ensures no subtle leak or misalignment causes a decline in performance. For comprehensive guidance, check out this detailed beginner’s guide. Don’t underestimate the power of simple habits—like wiping down your machine daily and flushing water lines weekly—to extend its lifespan and ensure every cup meets your highest standards. Take that next step now: try employing a monthly maintenance checklist with the tools and tips discussed. You’ll be surprised how much smoother and more reliable your coffee routine becomes.
Lessons from the Least Expecting Spots
One thing I learned the hard way is that the tiniest component, like the O-ring in my steam wand, can make or break my entire coffee experience. Waiting too long to replace or maintain small parts led me to unexpected leaks and inconsistent steam pressure. My lightbulb moment was realizing that the most overlooked parts often hold the secret to smooth, professional-quality shots—if you know how to spot and fix them.
Another lesson is that routine maintenance isn’t just a chore; it’s an investment. Once I adopted a simple schedule of deep cleaning and inspection, I saw a dramatic drop in issues like sputtering or leaks, and my equipment performed like new. It’s about staying ahead of problems rather than chasing fixes after they disrupt your brew.
Lastly, I discovered that understanding the internal mechanics of my espresso gear—like how pressure builds and seals break—empowered me to troubleshoot confidently. Knowledge of these fundamentals turned small leaks into quick fixes, saving me both time and money, and elevating my coffee craft to new heights.