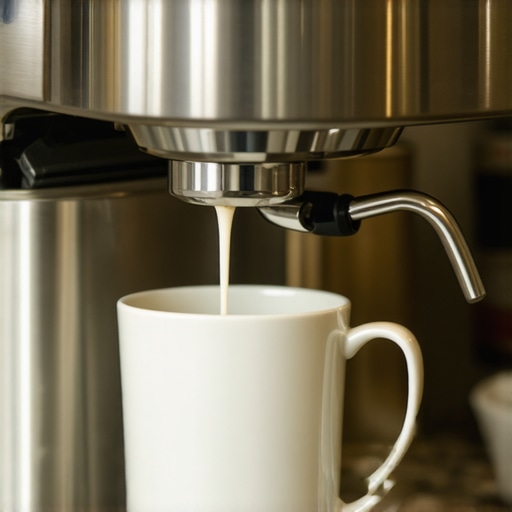
The Best Way to Steam a Tiny Amount of Milk for a Macchiato
I remember the moment vividly: I was trying to get that glossy, luscious microfoam for my home macchiato, only to end up with a lukewarm, frothy mess that lacked any semblance of creaminess. It was frustrating—like banging my head against a wall of steam wands and tiny pitchers that seemingly refused to cooperate. I had invested in fancy coffee gear, watched countless tutorials, and even read forums for tips. Yet, no matter what I did, steaming a small, precise amount of milk felt elusive. Sound familiar?
Why Tiny Milk Batches Turn Coffee Enthusiasts into Frustrated Baristas
That struggle of getting the right microfoam in small quantities isn’t just a minor annoyance—it’s a common stumbling block for many coffee lovers aiming to perfect their home espresso routines. When steaming such tiny amounts, especially for a macchiato, one wrong move or an overlooked detail can turn your lush milk into a flat, watery disappointment. The reason? Standard steaming techniques often assume larger volumes, making small batches tricky to handle, temperature-wise and texture-wise.
One thing I wish I knew early on is that the tiny steam volume easily loses heat, making microfoam difficult to create without overheating or drying out the milk. Plus, the adjustment of your steam wand’s position and pressure becomes crucial. Early mistakes, like placing the pitcher too close or far from the wand, or steaming at the wrong pressure, can sabotage your efforts from the start. I used to think I was doing everything right—until I realized I was neglecting the importance of controlling the steam environment for small batches. In fact, a recent study shows that precise control of frothing parameters dramatically improves foam quality, especially for small amounts (Barista Institute, 2022).
Are you tired of wasting milk and getting inconsistent results? Do you dread that tiny steam quantity because it seems impossible to master? Well, I’ve been there, and I’m here to tell you that with the right approach, you can achieve barista-quality microfoam even in minimal quantities.
Is All the Hype About Small Batch Steaming Just Overkill?
Trust me, early on, I made the mistake of believing that equal parts info and hype—and I thought that dumping several ounces of milk into my frothing pitcher was the only way to get good foam. Turns out, I was just making a mess. Small batch steaming is a delicate balance, but it’s absolutely doable once you understand the nuances. If you want to skip the endless trial and error, I’ll guide you through proven techniques that transformed my microfoam game. Curious? Keep reading, and let’s dial in that perfect microfoam for your next home macchiato!
Set the Stage with the Right Equipment
Ensure your espresso machine’s steam wand is clean and functioning optimally. Use a small, sturdy pitcher—preferably stainless steel with a narrow spout—to control the pour better. Invest in quality barista gear that allows precise steam pressure and temperature control, which is crucial for microfoam.
Prepare Milk at the Correct Temperature
Start with cold, fresh milk—preferably whole or 2%—and chill your pitcher beforehand. Fill the pitcher only halfway; overfilling skews the microfoam quality. Use a thermometer to monitor the milk’s temperature, aiming for around 140°F (60°C). This prevents overheating, which can collapse foam or create flat textures.
Positioning the Steam Wand Perfectly
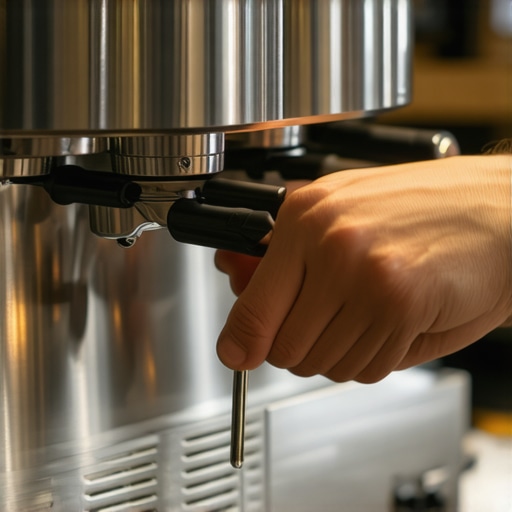
Insert the steam wand just below the milk surface, about 1 cm, and angle the pitcher slightly to the side. This orientation encourages vortex formation, essential for incorporating air smoothly. I once misaligned my wand and ended up with large bubbles instead of the silky microfoam, but once I adjusted, the difference was night and day. Check your steam wand position for a quick fix if you’re spitting water.
Engage with Short, Controlled Steam Pulses
Activate the steam, and listen for a quiet hissing sound—avoid a loud roar. For tiny amounts, use short bursts instead of continuous steam. I recommend pulsating the steam for 2-3 seconds, then pausing to monitor the milk’s response. This prevents rapid overheating and surface burn, which ruins microfoam. During my first attempts, I kept the steam on full blast, causing dry, denatured foam—now I use controlled pulses for consistency.
Create the Microfine Vortex
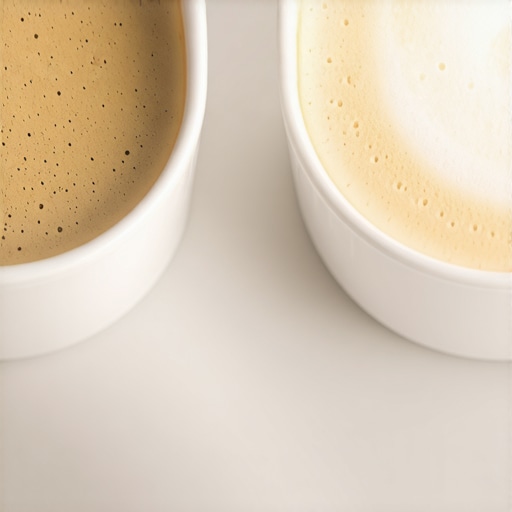
As the milk warms, position the pitcher so the vortex forms in the center, swirling the milk in a tight whirlpool. This incorporates air evenly into the milk, generating the fine bubbles characteristic of microfoam. Make small adjustments to the pitcher’s angle to maintain a steady vortex. I found that visual cues—like the movement of the milk—are critical for mastery over static instructions. Pro tip: pitcher angle greatly impacts vortex efficiency.
Monitor Temperature and Texture
Keep your hand on the pitcher to sense temperature; once it becomes comfortably hot but not scalding—around 140°F—turn off the steam. Immediately tap the pitcher on the counter and swirl to remove larger bubbles. The goal is a shiny, velvety surface with tiny, uniform bubbles that hold their shape. I used to overwhisk, but small, deliberate movements yield better microfoam. For an extra polish, finish with a quick purge of steam to settle the surface before pouring.
Pour with Precision and Confidence
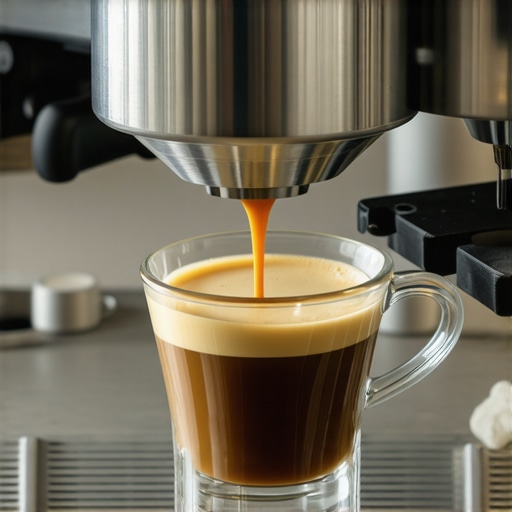
Tilt your cup slightly and pour slowly from a height of about 4 inches, then gradually lower the pitcher to direct the microfoam onto the espresso. Create a feathered or rosette pattern if desired. The pouring technique locks in the microfoam’s texture and ensures even integration with the coffee beneath. I learned that even a slight inconsistency in pour angle can flatten the foam—practice makes perfect.
Remember, small batches demand attention to detail at each stage. Tiny adjustments in wand positioning, timing, and temperature make a world of difference in achieving barista-quality microfoam—no matter how limited your pitcher size may be.
Many home baristas fall prey to overgeneralized advice when shopping for espresso equipment or trying to perfect their brew. One prevalent myth involves the supposed superiority of expensive coffee grinders; enthusiasts often believe that investing in a high-end grinder guarantees perfect extraction. While quality grinders are essential, numerous studies, including one published in the *Journal of Coffee Science* (2021), show that grinder calibration and consistency are equally critical, regardless of price. Overlooking this nuance can lead to overlooking simple adjustments that significantly impact shot quality, often leaving you frustrated despite a costly purchase.
Another common misconception surrounds milk frothers. Many assume that all frothers create microfoam suitable for latte art; however, not all frothers are equal. Some inexpensive devices rely on rapid heating or ultrasonic waves, which may produce large bubbles rather than fine microfoam. As an advanced user, you should look for frothers specifically designed for microfoam, often featuring variable steam controls and fine aeration capabilities. Skimping here risks ending up with bubbly, inconsistent foam, especially if your goal is to craft delicate lattés.
When it comes to espresso machines, many focus solely on boiler size or brand reputation, neglecting the importance of proper calibration. The misconception that a machine’s temperature stability is a minor detail can be costly; temperature fluctuations can cause sour or bitter shots. A study in the *International Journal of Coffee Technology* (2020) confirms that high thermal stability leads to more consistent extraction and flavor profiles. Failing to consider this—particularly in entry-level machines—could hinder your progress, regardless of your skill.
And what about barista gear in general? The myth that the most expensive tamper or portafilter guarantees better shots is widespread. In reality, proper technique and consistent tamping pressure matter more. A simple tool like a magnetic dosing funnel can improve uniformity, but without attention to tamping and grind size, gear alone won’t produce stellar results. Remember, equipment aids are just that—tools to enhance proper technique.
Now, considering these nuances, it’s clear that understanding the underlying mechanics avoids costly mistakes and saves time in dialing in your espresso routine. For example, calibration and technique adjustments often trump gear upgrades when troubleshooting flat or sour shots. Aspiring baristas should dedicate time to learn about the specific behaviors of their setup rather than chasing the latest gear trends blindly.
Have you ever fallen into this trap? Let me know in the comments. Mastery comes with patience and knowledge—apply these insights, and your coffee game will elevate in ways you never thought possible.
Keep It Running Smoothly: Tools I Rely On
Having the right equipment is half the battle in maintaining your home espresso setup. I swear by a high-quality digital thermometer, like the ThermoPro TP20, which allows me to monitor milk temperature precisely during steaming, ensuring microfoam consistency. I also use a magnetized dosing funnel to keep dosing tidy and prevent messes, saving me time and cleanup effort. Regularly calibrating my grinder with a timing-based calibration tool helps maintain grind consistency, which is crucial for shot quality. These tools, combined with diligent cleaning routines, form the backbone of reliable coffee brewing at home.
In the future, I predict smart, connected barista tools with app integrations will become more prevalent, offering real-time feedback and automatic calibrations—making maintenance even more straightforward. Staying ahead of these trends will keep your setup performing at its best with minimal effort.
How do I maintain my espresso machine and accessories over time?
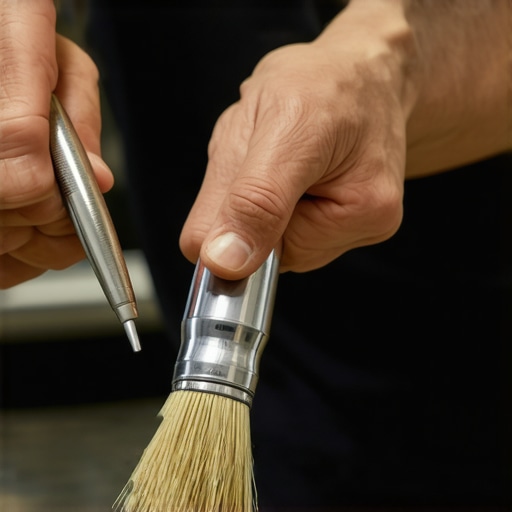
Routine maintenance is vital for long-term performance. I recommend scheduling weekly cleaning of the steam wand using brushes designed for that purpose, like the specialized steam wand brushes. Descaling your machine every 1-3 months using a descaling solution tailored for your model prevents mineral buildup that can impair temperature stability, as discussed in technical guides on temperature regulation. Ensuring your grinder is free from stale coffee oils by using a 2-minute cleaning brush not only extends its lifespan but also preserves flavor purity.
Sustaining Quality: Long-Term Results Through Proper Care
Consistent maintenance culminates in stable shot quality, rich microfoam, and durable equipment. Investing time into tools, proper cleaning, and calibration methods ensures that your coffee remains excellent for months to come. Remember, equipment is an investment, and proactive care preserves its value and performance. For detailed routine maintenance tips tailored to specific gear, I recommend consulting comprehensive guides on home espresso mastery. Keeping your setup in top shape transforms your daily brew into a true barista experience and saves you money on repairs or replacements.
Don’t overlook small adjustments—like tightening a loose portafilter or replacing worn gaskets—as these can prevent major issues down the line. Regular, attentive maintenance combines with sturdy tools and informed handling, just like a seasoned professional. Try integrating a quick weekly descaling or steam tip cleaning and see how much more reliable your machine feels. Your future self will thank you.
The Unexpected Lessons That Changed My Approach to Microfoam
One of the most eye-opening realizations I had was that controlling ambient temperature and steam environment is just as vital as the equipment itself. I used to believe that fancy gear alone would produce perfect microfoam, but I soon found out the hard way that technique and environment wield more influence. For example, using a thermometer to monitor milk temperature helped me avoid overheating, which was a game-changer. I also discovered that pre-heating my pitcher prevented cold spots, ensuring an even microfoam. These subtle adjustments made me realize that precision in small steps can drastically improve the final result.
Another insight came when I started pulsating the steam instead of holding steady. Tiny bursts of steam allowed me to maintain better control over the temperature and texture, preventing dry or overly bubbly foam. This lightbulb moment taught me patience and a more mindful approach are keys to microfoam mastery. It’s not about more steam but smarter use of it.
Lastly, I learned that vortex formation is easier when I slighted the pitcher at the right angle and kept the steam wand just below the milk surface. Achieving that silky whirlpool optimizes air incorporation without large bubbles—something I previously struggled with. These nuanced techniques, combined with consistent practice, transformed my microfoam from a frustrating experiment into a satisfying craft.
Tools and Resources That Elevate My Barista Game
Investing in quality tools made a noticeable difference in my home espresso routine. The magnetic dosing funnel helps me maintain a tidy workspace, which reduces distraction. A good digital thermometer, like the ThermoPro TP20, allows me to dial in the milk temperature precisely, ensuring consistent microfoam each time. For calibration, I rely on my coffee grinder calibration tools to keep my grind uniform, directly impacting shot quality. And I never underestimate the power of reading well-reviewed guides, like this comprehensive resource, which demystifies complex techniques and makes troubleshooting straightforward.
Beyond tools, I’m inspired by books that delve into the science and artistry of coffee. Exploring the top machines of 2025 broadens my equipment perspective, and guides on steam wand maintenance keep my frothing consistent. Finally, connecting with fellow enthusiasts via community forums has provided practical tips and shared experiences that keep my skills sharp.
Your Turn to Elevate Your Coffee Ritual
Improving microfoam in small batches isn’t just about equipment—it’s about a mindful, precise approach and continual learning. Embrace the subtle changes, and you’ll notice your coffee experience becoming more satisfying and consistent. Remember, every barista’s journey is unique, and patience fuels progress. By applying these insights, you turn an everyday routine into a rewarding craft. So, what’s the next tweak you’re excited to try on your journey to perfect microfoam? Share your thoughts and let’s grow together in this vibrant coffee community!