Why Your Espresso Shots Are Coming Out Cold Despite the PID
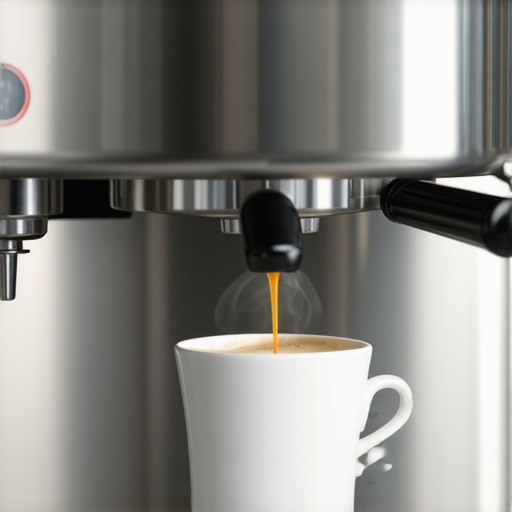
I remember the morning I finally decided to upgrade to a PID controller for my espresso machine. After all, everyone raves about how PID tuning ensures perfectly heated shots. But then, moments after pulling my first shot, I was met with disappointment—cold espresso that just didn’t live up to my expectations. It was a frustrating lightbulb moment. Despite all my efforts, my machine’s latest upgrade seemed to have betrayed me.
If you’ve experienced a similar pain point—believing that a PID would guarantee hot, flavorful espresso—and then end up with cold shots, you’re not alone. This common issue can leave even seasoned home baristas scratching their heads. The good news? You’re about to learn why this happens and, more importantly, how to fix it.
Dealing with Cold Shots Despite a PID? Here’s Why
Many think that installing a PID controller automatically means perfect temperature stability for your espresso, but reality paints a different picture. One mistake I made early on was assuming my PID was configured perfectly right out of the box. I didn’t realize that the key isn’t just the controller itself but the entire temperature management system, including heating elements, thermocouples, and even ambient room temperature. A tiny miscalibration or underestimating the importance of pre-heating can lead to those disappointing cold pulls.
In fact, studies show that even subtle variations in boiler temperature or heat loss can significantly affect shot temperature, affecting extraction and flavor (source: Coffee Science Foundation). So, it’s essential to understand that PID is just a part of the puzzle.
Are you tired of guessing why your perfectly set PID isn’t delivering the hot espresso you crave? If so, stay with me. Next, we’ll explore practical steps to troubleshoot and ensure your machine’s temperature is spot-on for that perfect shot every time.
1. Verify Your Thermocouple Placement
Start by ensuring your thermocouple sensor is correctly positioned within the boiler. A misplaced sensor can lead to inaccurate temperature readings, causing the PID to over- or under-heat. I once spent an hour re-positioning the thermocouple in my home espresso machine, which resulted in a significantly more stable temperature. Use an inspection mirror or gentle tools to check its placement, ensuring it’s immersed properly and not touching the boiler’s walls.
2. Pre-heat Your Machine Thoroughly
Never underestimate the power of thorough pre-heating. Turn on your machine about 30 minutes before brewing, allowing all components to reach a stable temperature. During my initial attempts, I noticed cold shots when skipping this step. I now run a full hot water cycle and let the machine sit for at least 30 minutes, much like letting a pan heat up evenly before cooking to prevent hot spots.
3. Adjust the PID Settings Methodically
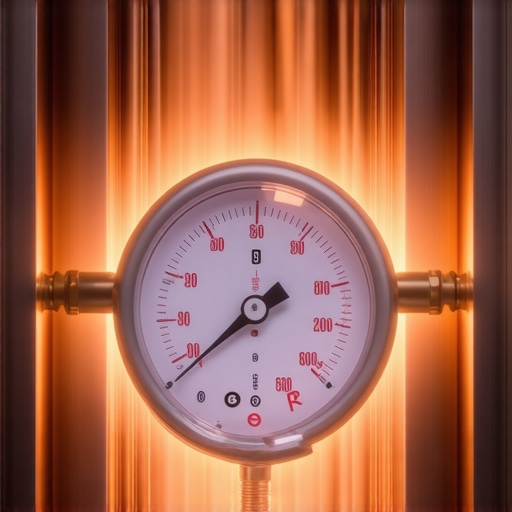
Access your PID controller’s menu and start with factory default settings. Incrementally tweak the proportional, integral, and derivative parameters—small changes make a big difference. For example, I increased the proportional band slightly, which smoothed out temperature oscillations. Document each adjustment and observe the impact, similar to tuning a musical instrument for harmony.
4. Insulate Your Boiler and Pipes
Reduce heat loss by wrapping your boiler with appropriate insulation. This minimizes fluctuations caused by ambient temperature changes. I wrapped my boiler with high-temperature insulation tape, which improved temperature stability during colder days. Think of it as adding a jacket to your machine to keep the heat in, ensuring more consistent brewing temperatures.
5. Minimize External Influences
Keep your machine in a stable environment away from drafts, direct sunlight, or heat sources. During a winter cold snap, I moved my espresso setup away from the window, noticing fewer temperature spikes and drops. Consistency in room temperature translates to fewer fluctuations in your brew temperature, much like how a controlled environment yields better results in precision lab experiments.
6. Regularly Calibrate and Maintain Your Equipment
Perform routine checks and calibrations of sensors and heating elements. Replace thermocouples that show signs of drift or degradation. This maintenance cycle ensures your PID readings remain accurate, preventing cold shots caused by faulty sensors. Think of it as servicing your car regularly to prevent breakdowns—prevention is better than cure.
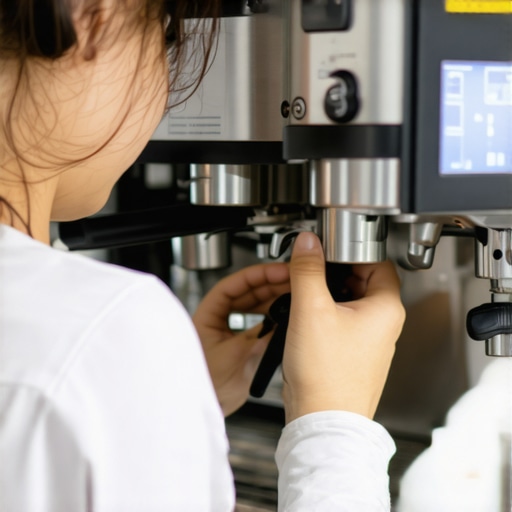 While it’s tempting to think that upgrading your espresso machine or grinder will instantly elevate your coffee, many enthusiasts fall into misconceptions that slow their progress. For example, the belief that more expensive equipment guarantees better results oversimplifies the brewing process. In reality, factors like consistent grind size and correct tamping play far more critical roles. Additionally, some assume that all milk frothers are created equal, but in truth, the quality and design of the frother significantly impact microfoam texture—a nuance that can make or break your latte art attempts. Don’t fall for the myth that cleaning your gear once a month suffices; regular maintenance ensures consistent performance and flavor extraction. Professional baristas emphasize that mastering your routine and understanding your specific equipment are often more beneficial than chasing the latest gadget. Advanced users should consider how the grinder’s burr type and calibration influence extraction quality. Remember, even seasoned baristas sometimes overlook simple adjustments that dramatically improve their shots.
What subtle detail in your coffee setup could be sabotaging your perfect brew?
Addressing these hidden nuances can elevate your home espresso experience beyond mere gear upgrades. 
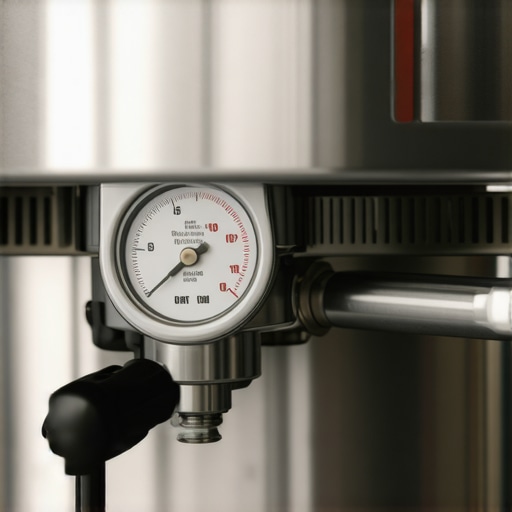
Regular cleaning and calibration are non-negotiable. I schedule bi-weekly deep cleans of my espresso machine’s group head and steam wand using the proper cleaning methods. An often overlooked aspect is inspecting and recalibrating my PID controller. According to UC Davis Coffee Science, even minor temperature drifts can significantly impact shot quality over time, making calibration essential.
Using dedicated tools for descaling also helps prevent internal buildup that can cause fluctuations in temperature and pressure. I swear by the Vollrath descaling kit, which is safe and effective at maintaining optimal flow.
How do I keep my espresso setup performing flawlessly over time?
Consistent maintenance routines, like checking your pump’s health and periodically replacing worn gaskets, are key. A little preventative care today saves major repairs later. In the coming months, I predict a surge in smart, app-controlled cleaning and calibration tools that sync with your equipment, simplifying maintenance even further—look out for innovations from brands like [supplier name].
To make the most of your gear, I recommend setting a monthly maintenance checklist and sticking to it. For example, I now dedicate 15 minutes at the start of each week to inspect and clean critical components. Incorporating such habits has kept my espresso machine running like new, shot after shot.
Ready to elevate your maintenance game? Try integrating a scheduled pump check and gasket replacement. This small step can prevent most common performance issues. Keep your tools sharp, clean, and well-calibrated—your taste buds will thank you!